Table of Contents
Ever bite into a sandwich and wish the bread was just…better? I know I have. That's where the magic of homemade french bread hoagie rolls comes in. Forget those flimsy, store-bought things that fall apart the second you add some sauce. We’re talking about sturdy, delicious rolls with a slightly crisp crust and a soft, chewy inside, perfect for piling high with your favorite fillings. This isn't some fancy, complicated baking project either; it’s a simple recipe that even a beginner can master, and I’m going to show you how. We'll start by understanding what makes a great hoagie roll, then I’ll walk you through the step-by-step process of making them yourself. Finally, I’ll share some tips and tricks I've learned along the way, including fun variations to make your sandwich game even better. Ready to level up your sandwich experience? Let’s get baking!
The Secret to Perfect French Bread Hoagie Rolls
The Secret to Perfect French Bread Hoagie Rolls
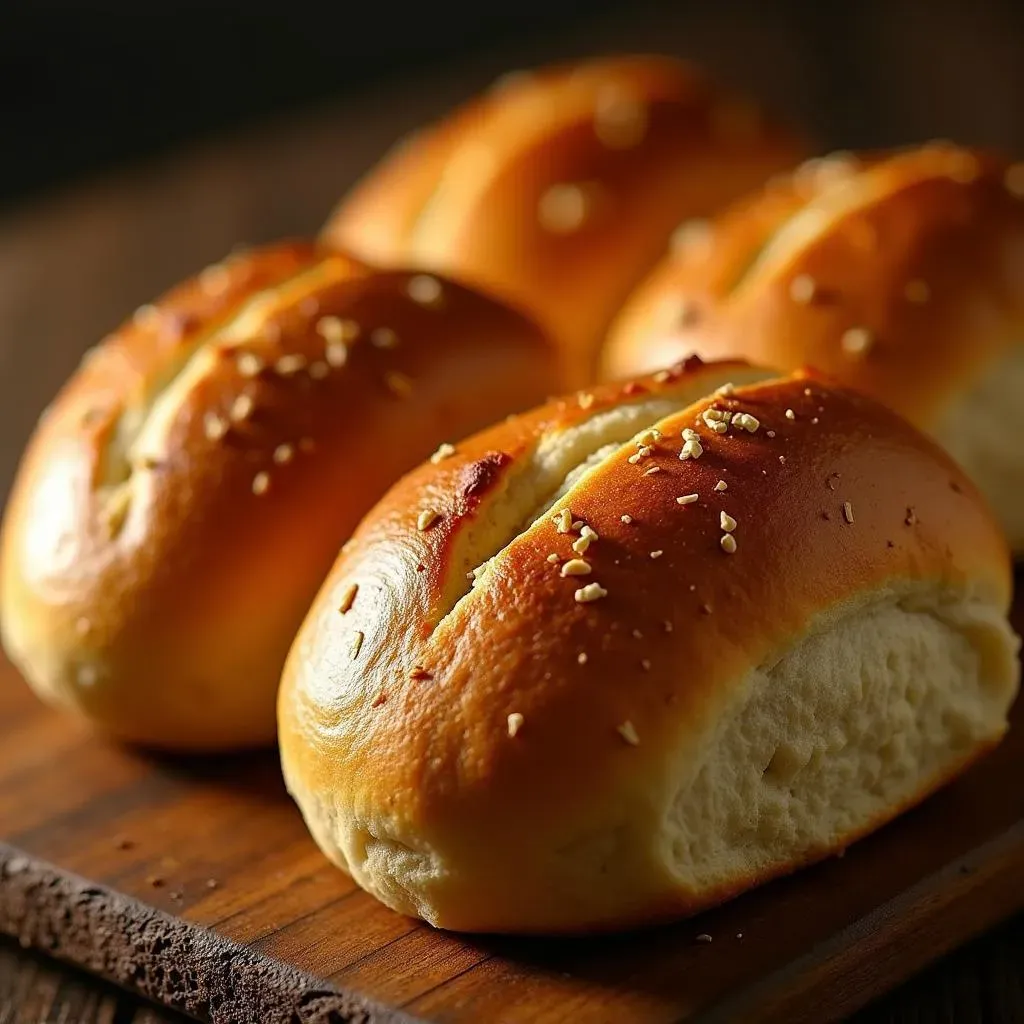
The Crust: Not Too Tough, Just Right
Okay, so here’s the deal about a great hoagie roll: it’s all about the crust. You want that satisfying slight crunch when you bite in, but you definitely don't want something that's going to wage war on your teeth. It’s gotta be easy to bite through, not some rock-hard barrier. The key here is the right amount of steam during baking. That steam creates that thin, delicate crust, and trust me, it’s a game-changer. Too little steam and you get a tough crust; too much and you’ve got a soggy mess. It’s a balancing act, but we’ll get it right.
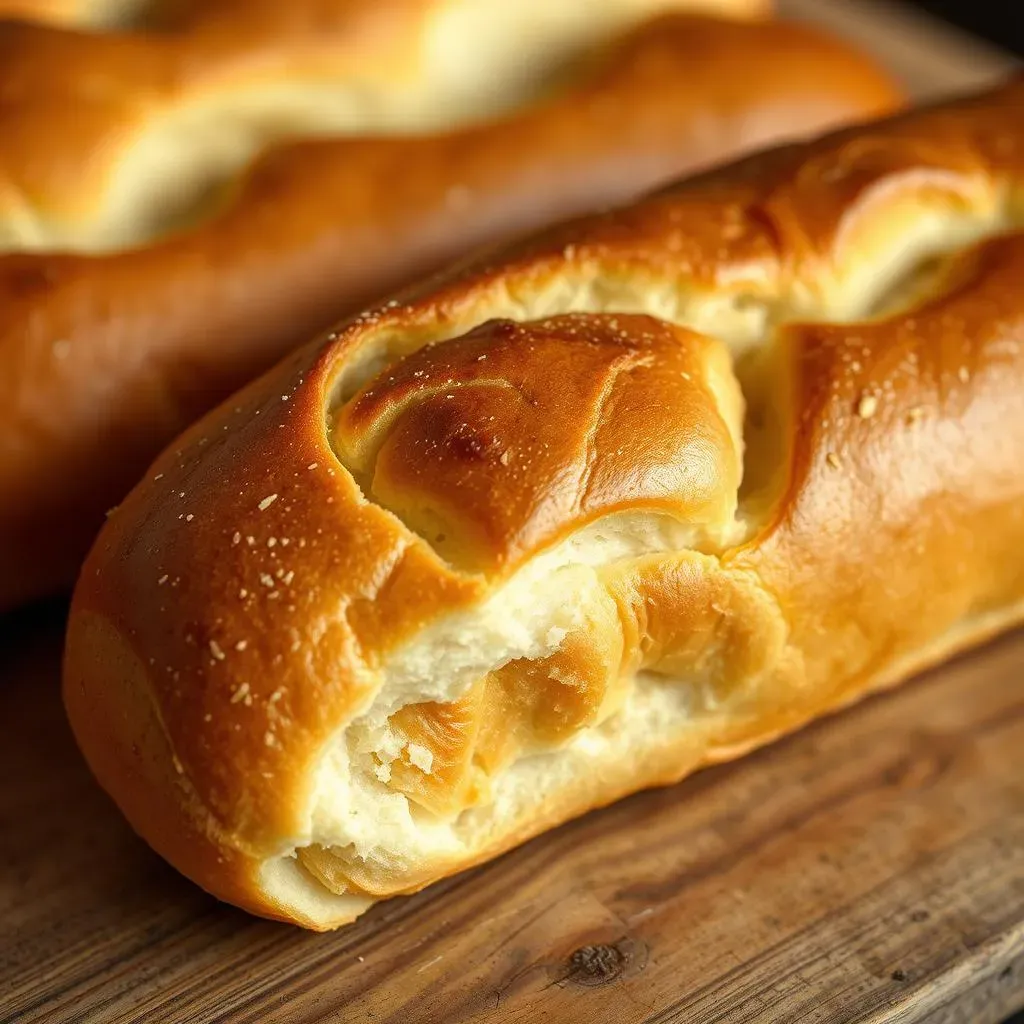
The Inside: Soft and Airy
Now, let’s talk about the inside of those rolls. It needs to be soft, airy, and just begging to be filled with deliciousness. We’re not aiming for dense, bread-like bricks here. Think of it like a fluffy cloud that’s ready to cradle your sandwich fillings. The secret to this is proper kneading and letting the dough rise properly. The yeast needs time to do its thing, creating those air pockets that give the bread its light and airy texture. Don't rush this process; patience is key for bread perfection.
Crust | Inside |
|---|---|
Slightly crunchy | Soft and airy |
Thin and delicate | Light and fluffy |
Easy to bite through | Perfect for fillings |
The Flavor: Simple, Yet Delicious
Finally, the flavor. We’re not going for anything overpowering here. These rolls should be the perfect canvas for your sandwich creations. A simple, slightly salty flavor is all you need. The best part is that the taste comes from the quality of the ingredients and the baking process. Good flour, a bit of salt, a touch of olive oil, and that’s pretty much it. No need for any fancy flavorings or add-ins; sometimes, simple really is best. It's about letting the natural flavors shine through.
“Good bread is the most fundamentally satisfying of all foods; good bread with fresh butter, the greatest of feasts.” - James Beard
Making Your Own French Bread Hoagie Rolls
Making Your Own French Bread Hoagie Rolls
Alright, let's get into the nitty-gritty of actually making these french bread hoagie rolls. It’s not as scary as it sounds, I promise. First, we're going to need some basic ingredients: yeast, water, bread flour, olive oil, and salt. Think of it like a science experiment, but one that ends with delicious sandwiches. We start by activating the yeast in warm water. It's like waking up a sleeping giant, and this is the key to getting those rolls nice and fluffy. Then, we mix everything together and knead it for a bit, this is where you get to put some muscle in. Let the dough rise, shape those babies, and bake them until golden brown. It's a process, but each step is pretty simple, and the final result is so worth it.
So, what exactly do you need to make these rolls? You’ll need 1 1/2 teaspoons of yeast, 1 cup of warm water, 3 1/4 cups of bread flour, 1 1/2 tablespoons of extra virgin olive oil, and 1 1/2 teaspoons of salt. It is important to measure them correctly, but it does not need to be perfect. Don't go crazy with precision, it is bread after all. You know, like when you try to measure out exactly 100 grams of flour and end up with 101 and think the world is going to end. It's not, I promise. Just get close enough, and you'll be fine. Just mix these ingredients, knead the dough for about 7 minutes, and put it into a greased bowl. Then we wait for the magic to happen.
Ingredient | Amount |
|---|---|
Yeast | 1 1/2 teaspoons |
Warm Water | 1 cup |
Bread Flour | 3 1/4 cups |
Extra Virgin Olive Oil | 1 1/2 tablespoons |
Salt | 1 1/2 teaspoons |
French Bread Hoagie Rolls: Tips, Tricks, and Variations
French Bread Hoagie Rolls: Tips, Tricks, and Variations
Baking Like a Pro: My Go-To Tips
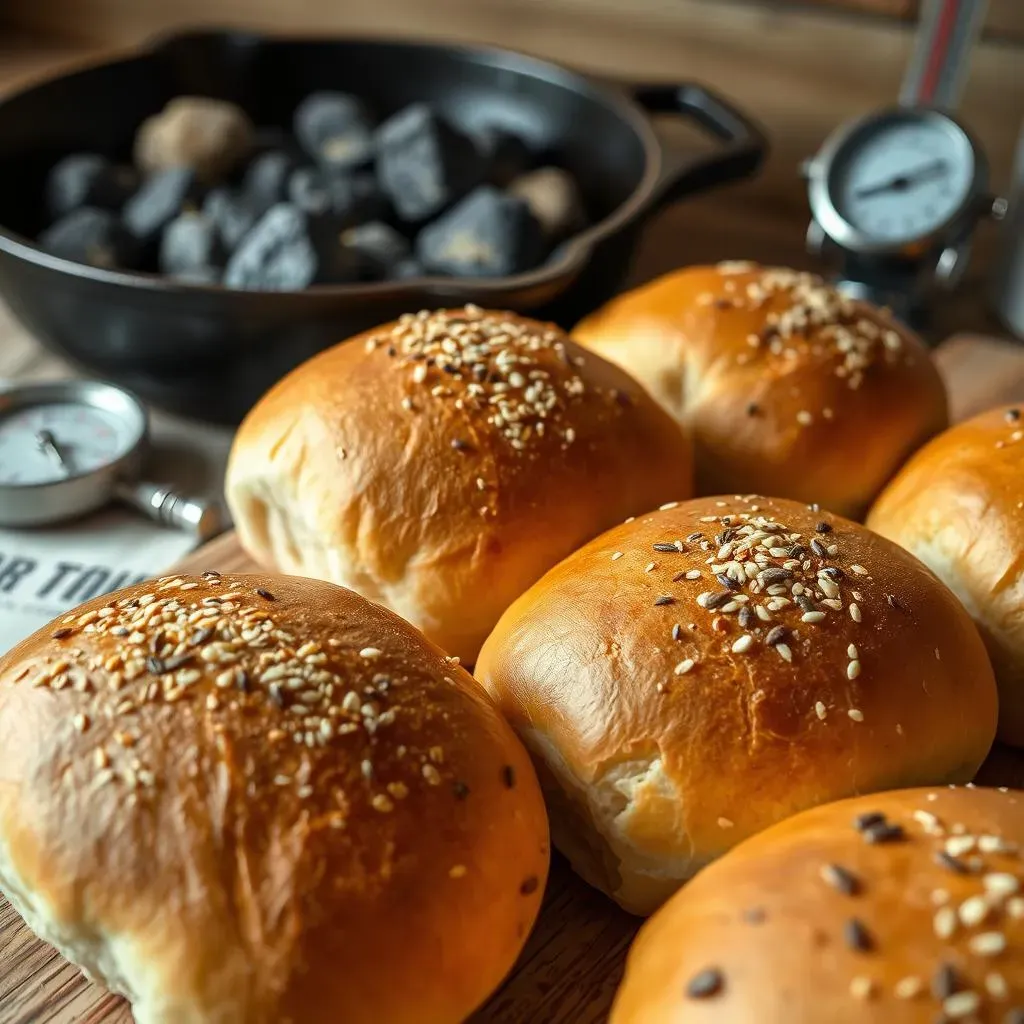
Alright, so you've got the basics down, but let's be real, there's always room for improvement. One of the biggest things I've learned is that the way you create steam in your oven can make or break your crust. Instead of just tossing water into a pan, which can be a bit unpredictable, try using a cast iron skillet or a broiler pan filled with lava rocks. Yeah, lava rocks, I know it sounds crazy, but they hold heat really well and create a steady stream of steam. Another tip I swear by is using a thermometer to check the internal temperature of the bread. It should be around 200-210°F when it's done. No more guessing games or undercooked middles. And hey, if your rolls aren't rising as much as you'd like, try placing the dough in a warm spot, like near a radiator or in a slightly warmed oven, to give that yeast a little extra boost.
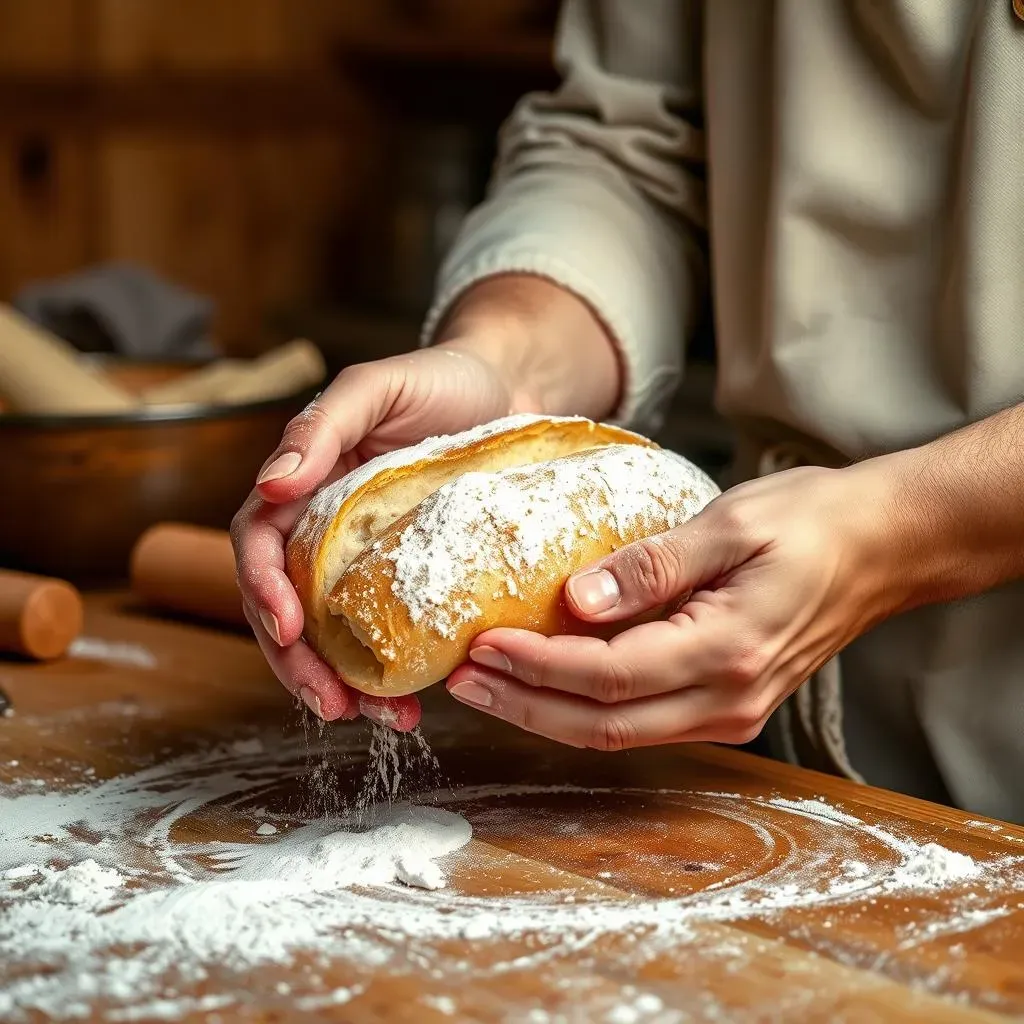
Also, don't be afraid to experiment with different flours. While bread flour gives you that perfect chew, you can swap out a bit of it for whole wheat flour for a nuttier flavor or even add some rye flour for a touch of earthiness. Just remember to adjust the hydration levels accordingly; whole grain flours tend to absorb more water. One more thing, when you are shaping the dough, be gentle. Too much handling can deflate the dough and ruin the airiness. Think of it like you are holding a little bird and you don't want to squish it. Just a light touch and you'll be good.
Tip | Description |
|---|---|
Steam Creation | Use lava rocks in a cast iron or broiler pan for consistent steam. |
Internal Temperature | Bake to 200-210°F for doneness. |
Rising Assistance | Place dough in a warm spot to encourage rising. |
Flour Experimentation | Try whole wheat or rye for different flavors. |
Dough Handling | Be gentle to avoid deflating the dough. |
Tweaking the Recipe: Making it Your Own
Now, let's talk about variations. Once you've nailed the basic recipe, you can start playing around with different flavors and textures. For a richer flavor, try adding a tablespoon of honey or molasses to the dough. You can also sprinkle some sesame seeds, poppy seeds, or even some dried herbs on top before baking for added flavor and visual appeal. If you're feeling adventurous, try adding some roasted garlic or caramelized onions to the dough for a savory twist. And if you want to get really fancy, try making garlic butter to brush on the rolls after they come out of the oven. It's like a flavor explosion in your mouth, and it's so worth it.
I even tried making mini hoagie rolls by dividing the dough into smaller pieces. They are perfect for sliders or appetizers. You can also try different shapes, like twists or knots. It's all about having fun and making the recipe your own. Remember, baking is a creative process, so don't be afraid to experiment and see what works for you. And trust me, your taste buds will thank you for it. It's like having a blank canvas to create your own edible masterpiece. So, go wild, and let your creativity flow.
Troubleshooting: What to Do When Things Go Wrong
Okay, so sometimes things don't go as planned, and that's totally normal. If your crust is coming out too tough, it usually means you need more steam. If your rolls are too dense, you might not have kneaded the dough enough or you didn't let it rise properly. If the dough is too sticky, you might have added too much water or the weather is too humid. Don't worry; every baker has been there. The key is to learn from your mistakes and adjust your technique next time. Sometimes, I even write down my mistakes, so I don't repeat them. It is like having a baking diary, but for my failures. But hey, even those failures can sometimes lead to happy surprises.
If you find that your rolls are browning too quickly, lower the oven temperature slightly or tent them with foil. And if they are not browning enough, increase the temperature for the last few minutes of baking. It is all about learning to read your oven and adjust. Baking is a skill that takes practice, so don't get discouraged if you don't get it perfect the first time. Just keep trying, and you'll get there. I mean, I've had my share of baking disasters, but it's all part of the fun. And at the end of the day, even the not-so-perfect rolls still taste pretty darn good when they are filled with your favorite sandwich ingredients.