Table of Contents
Ever crave that perfect, crispy, garlicky bite? You know, the kind that makes your taste buds sing? Well, you're in the right place! We're diving headfirst into the wonderful world of the french bread garlic toast recipe, and trust me, it's simpler than you think. This isn't just about slapping some garlic on bread; it’s about creating a flavor explosion that’ll have everyone begging for more. We'll start with gathering the right ingredients, focusing on fresh flavors that make all the difference. Then, we'll walk through creating a garlic butter that's so good, you might just want to eat it with a spoon. Finally, we'll get to the baking process, ensuring every slice is golden brown and perfectly crisp. Get ready to master this french bread garlic toast recipe; it's about to become your new go-to side dish, appetizer, or even late-night snack. So, grab your loaf, and let’s get started!
Gathering Your Ingredients for the Best French Bread Garlic Toast Recipe
Gathering Your Ingredients for the Best French Bread Garlic Toast Recipe
The Bread: The Foundation of Flavor
Okay, let's talk bread. For the best french bread garlic toast recipe, you absolutely need a good quality loaf. I'm talking about that crusty, chewy, airy goodness. A standard French loaf or an Italian loaf will work wonders. Avoid those soft, squishy sandwich breads; they just won't give you the right texture. You want something that can hold its own against the garlic butter and bake up nice and crispy. Think of it like choosing the right canvas for a masterpiece; it sets the stage for everything else.
And hey, don't be afraid to get a little extra. A slightly wider loaf means more surface area for that glorious garlic butter, and that means more flavor in every bite. When you're at the store, give the bread a little squeeze; it should feel firm but not rock-hard. A fresh loaf will make all the difference. Trust me on this one, it's a game changer.
The Garlic: The Star of the Show
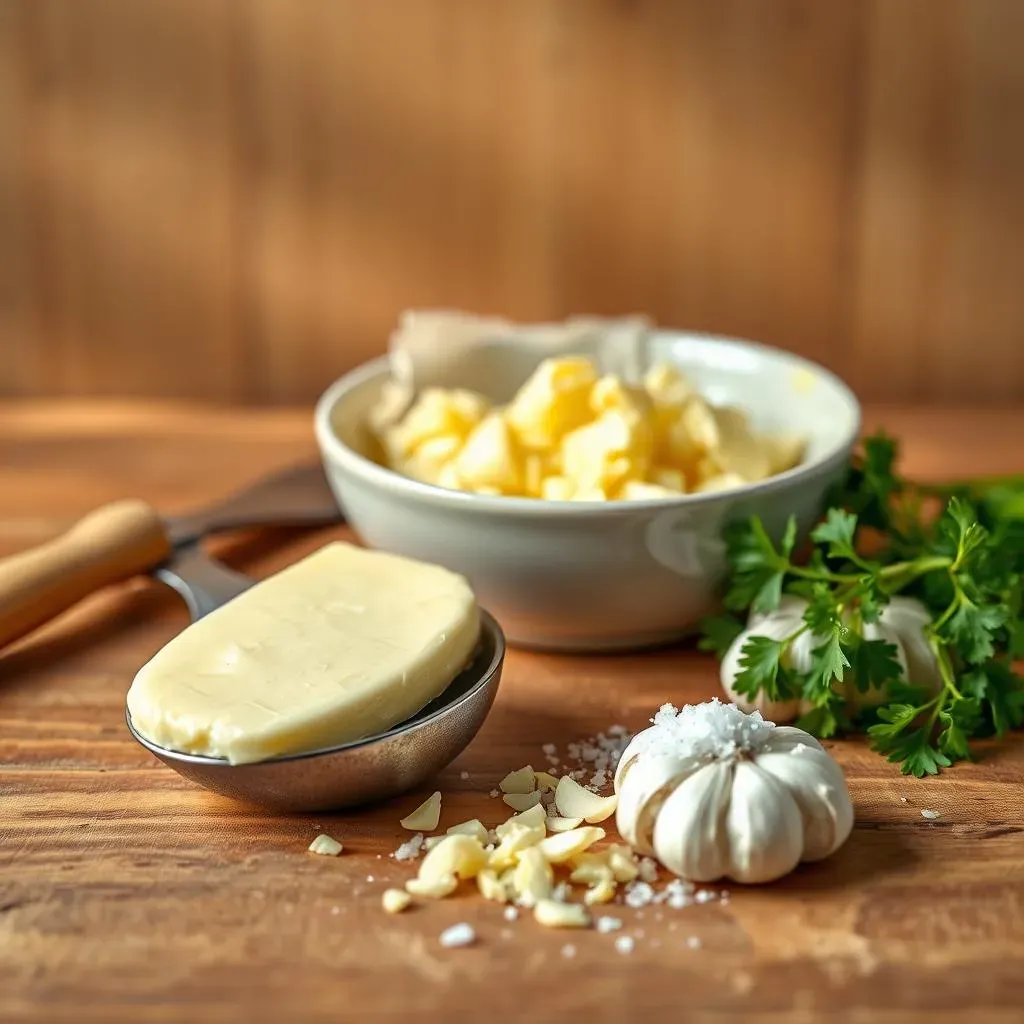
Now, for the star of our show: garlic! Forget that pre-minced stuff in a jar. We're going for fresh garlic cloves, the kind you have to peel yourself. I know, it's a little more work, but it's totally worth it. Fresh garlic has a punchy, vibrant flavor that's just impossible to replicate. You'll need about 4 cloves, but hey, if you're a garlic lover like me, feel free to add an extra one or two. It's your kitchen, your rules. Just make sure you mince them finely, so you get that garlicky goodness in every nook and cranny.
Pro tip: If you have a garlic press, now's the time to use it. It makes the mincing process a breeze. But if not, a sharp knife and a little patience will do the trick. Just remember to remove that little green sprout in the middle of the clove; it can taste a bit bitter. Once you've got your garlic minced, you're one step closer to garlic toast heaven.
Ingredient | Quantity | Notes |
|---|---|---|
French or Italian Loaf | 1 pound | Crusty, not soft |
Fresh Garlic Cloves | 4 | Mince finely, remove sprout |
Unsalted Butter | 1/2 cup | Softened, not melted |
Fresh Parsley | 1 tablespoon | Finely chopped |
Sea Salt | 1/8 teaspoon | To taste |
The Supporting Cast: Butter, Parsley, and Salt
Alright, let's not forget the supporting cast: butter, parsley, and salt. For the butter, use unsalted butter, and make sure it's softened, not melted. Softened butter blends so much easier, creating a smooth, creamy garlic butter that spreads like a dream. Don't skimp on the quality here; good butter makes a big difference. Then, we're adding a tablespoon of fresh parsley, finely chopped. It brings a fresh, herby note that balances out the richness of the butter and garlic. And finally, a pinch of sea salt. Salt is the unsung hero, enhancing all the flavors and making everything pop. Just a little bit is all you need. These ingredients might be simple, but they're crucial for getting that perfect french bread garlic toast.
StepbyStep: Making the Perfect Garlic Butter for Your French Bread
StepbyStep: Making the Perfect Garlic Butter for Your French Bread
Mixing the Magic: Combining Butter and Garlic
Alright, now for the fun part: making that incredible garlic butter. Grab your softened butter and put it in a medium-sized bowl. It's super important that the butter is soft, not melted, so it blends smoothly. Then, add in all that minced garlic you prepped earlier. The aroma at this point is just amazing, isn't it? It's like a sneak peek at the deliciousness to come. Now, here’s where the magic happens. Use a fork or a small whisk to mash and mix the butter and garlic together. You want to make sure the garlic is evenly distributed throughout the butter, creating a beautiful, fragrant mixture. Don't rush this step; take your time to really blend everything together.
Pro Tip: If you want an extra smooth garlic butter, you can use an electric mixer. Just make sure you start on low speed, so you don't splatter butter all over your kitchen. But honestly, a fork works just fine, and it gives you a good arm workout while you're at it. Once the garlic is completely mixed into the butter, it should have a pale yellow color with visible bits of garlic throughout. It’s like a little speckled piece of art, ready to be spread on bread.
Adding Freshness: Parsley and Salt
Okay, our garlic butter is looking and smelling fantastic, but it's not quite done yet. Now, let's add that fresh parsley we chopped earlier. Sprinkle it over the garlic butter and gently fold it in. The parsley not only adds a burst of freshness, but it also brings a pop of color, making our garlic butter even more appealing. Next, it’s time for our trusty sidekick: salt. A pinch of sea salt is all you need to really bring all the flavors together. Remember, we're not just seasoning the butter; we're enhancing all the beautiful flavors we've already got. So, use a light hand, and add a little at a time, tasting as you go. You want the salt to complement, not overpower, the other flavors.
Once you’ve added the parsley and salt, give the mixture one last gentle fold, ensuring everything is evenly distributed. The garlic butter should now be a vibrant mix of pale yellow, green, and speckled with tiny bits of garlic and salt. It’s a beautiful thing, and it's just about ready to be put on our bread. You can almost taste it, can't you? Don’t worry; we're getting there! We’re just a few steps away from garlic bread heaven!
Step | Action | Why |
|---|---|---|
1 | Combine softened butter and minced garlic | Ensures smooth, even flavor |
2 | Mix with fork or whisk | Distributes garlic thoroughly |
3 | Add chopped parsley | Brings freshness and color |
4 | Add a pinch of sea salt | Enhances overall flavor |
5 | Mix everything together gently | Ensures even distribution |
Taste Test Time: Adjusting for Perfection
Before we spread this glorious mixture on our french bread, let's do a quick taste test. Dip a small piece of bread or a spoon into the garlic butter and give it a try. What do you think? Is it garlicky enough for your taste? Does it need a little more salt or perhaps a touch more parsley? Now is the time to make any adjustments. Remember, cooking is all about personal preference, so don't be afraid to tweak the recipe to make it perfect for you. If you’re a big garlic fan, feel free to add another clove or two. If you prefer a more subtle flavor, a little less garlic might be better for you. And hey, this is the part where you get to be creative. If you want to add a pinch of red pepper flakes for a little kick, or some parmesan cheese for some extra flavor, go for it. The goal here is to create a garlic butter that’s not just good; it’s perfect for your taste buds.
Baking and Serving Your Delicious French Bread Garlic Toast
Baking and Serving Your Delicious French Bread Garlic Toast
Prepping the Bread and Oven
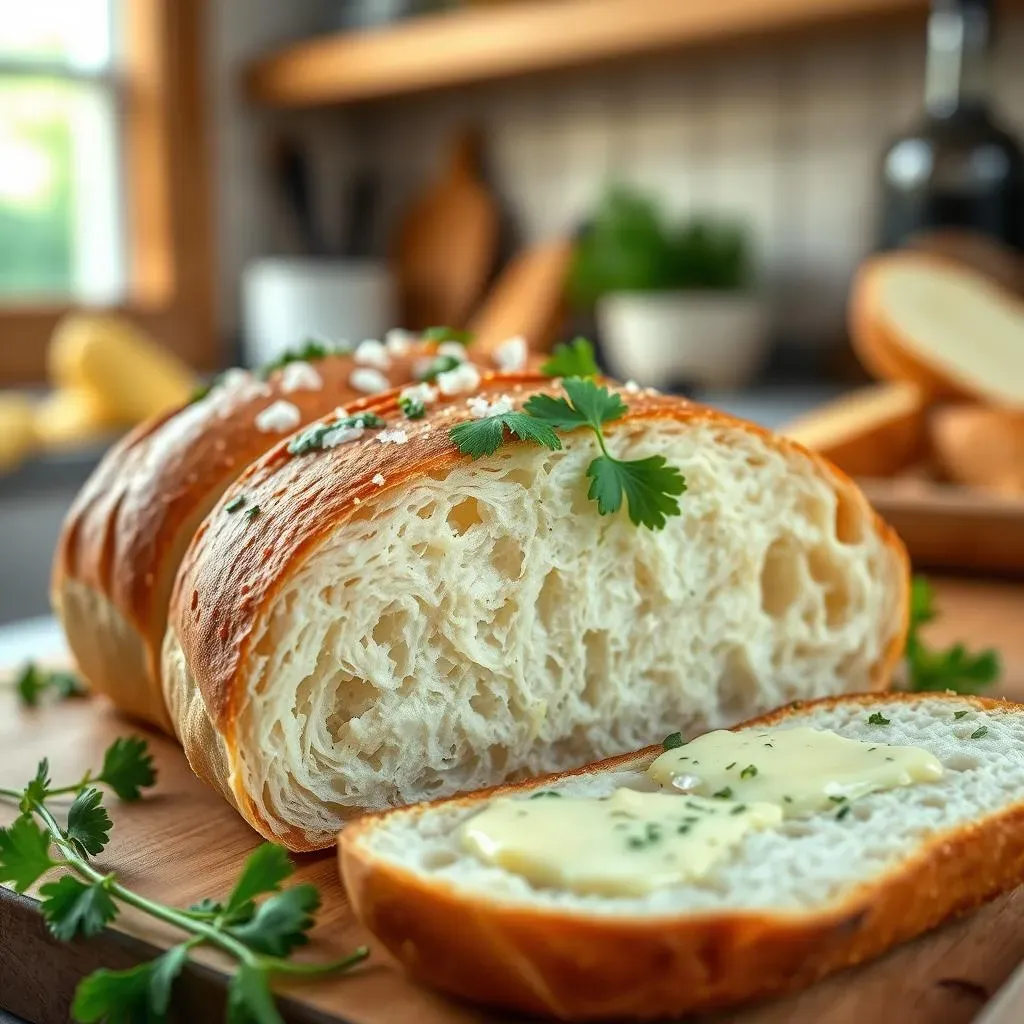
Alright, our garlic butter is ready, and it's time to get that bread prepped for its transformation. Grab your French loaf and, using a serrated knife, slice it lengthwise down the middle. It's like opening a book, but instead of pages, you'll have two perfect halves ready for garlic butter. Now, take a baking sheet and line it with parchment paper. This isn't absolutely necessary, but it does make cleanup a breeze, and it prevents the bread from sticking. Place the two halves of the bread, cut-side up, onto the prepared baking sheet. Now, let's talk about the oven. Preheat it to 400°F (200°C). This temperature is perfect for getting the bread nice and crispy without burning the garlic. While the oven is preheating, you can take a moment to admire your handiwork. The aroma of garlic is already filling the kitchen, and you know you're about to create something amazing.
Pro tip: If you want to be extra fancy, you can lightly score the cut-side of the bread with a knife. This will create little pockets for the garlic butter to seep into, ensuring every bite is packed with flavor. But if you’re in a hurry, don't worry about it; it’ll be delicious either way. Just make sure you don't cut too deep, you just want to create a few shallow slits. Once the oven is preheated, it's showtime. We’re about to take our garlic bread to the next level.
Spreading the Garlic Butter and Baking
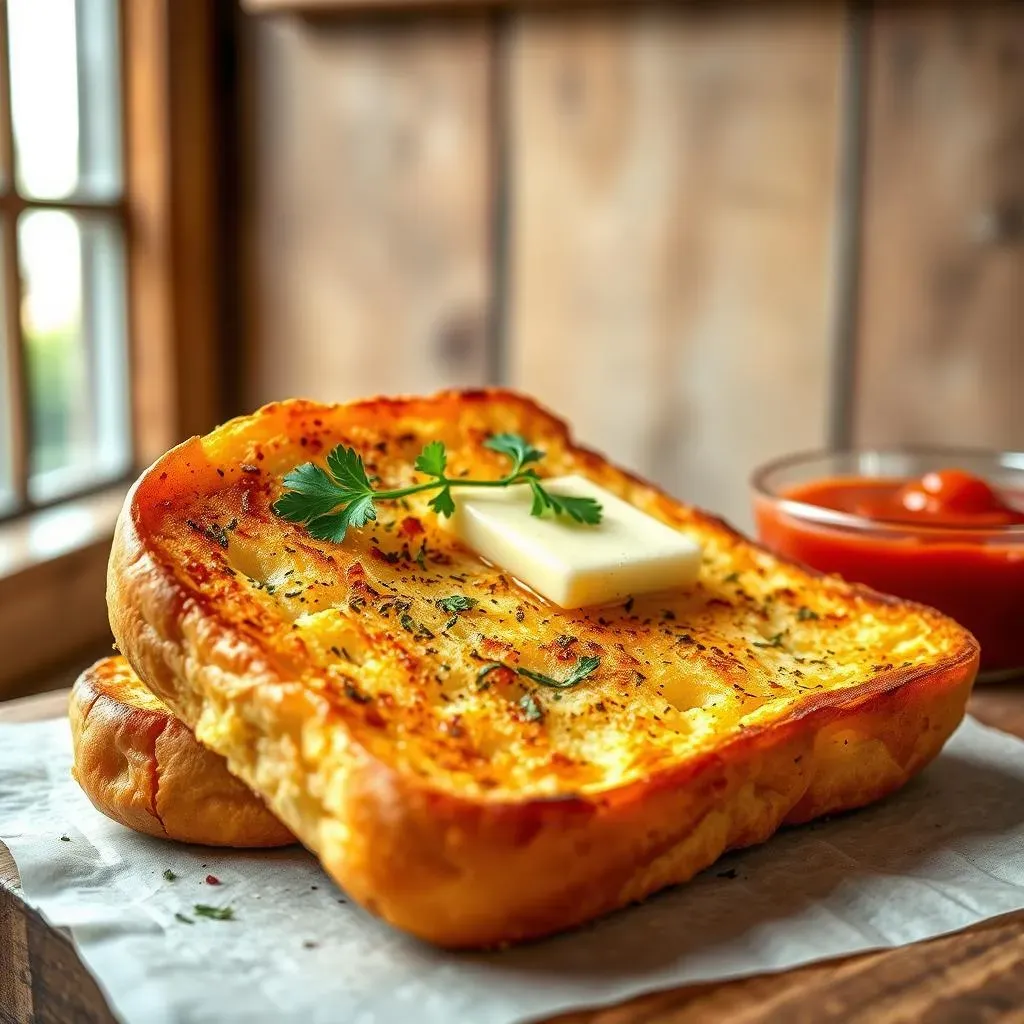
Now, for the moment we’ve all been waiting for: spreading that glorious garlic butter. Take your bowl of garlic butter and, using a spoon or a small spatula, spread it evenly over the cut sides of the bread. Don't be shy; make sure every nook and cranny is covered in that garlicky goodness. The butter should be thick enough to stay put but soft enough to spread easily. Once you've spread the butter, it's time to pop it in the oven. Place the baking sheet on the center rack of your preheated oven and let it bake for about 10-12 minutes. You'll know it's ready when the bread is golden brown and crispy, and the garlic is fragrant and lightly toasted. Keep an eye on it, as oven temperatures can vary. You might need a minute or two more or less, depending on your oven. The key is to get that perfect balance of crispiness and golden-brown color. And, of course, you want to make sure you don’t burn it. The aroma wafting from your oven is going to be absolutely irresistible, so be prepared for some hungry onlookers.
Step | Action | Time |
|---|---|---|
1 | Slice bread lengthwise | 1 minute |
2 | Preheat oven to 400°F (200°C) | 10 minutes |
3 | Spread garlic butter evenly | 2 minutes |
4 | Bake in oven | 10-12 minutes |
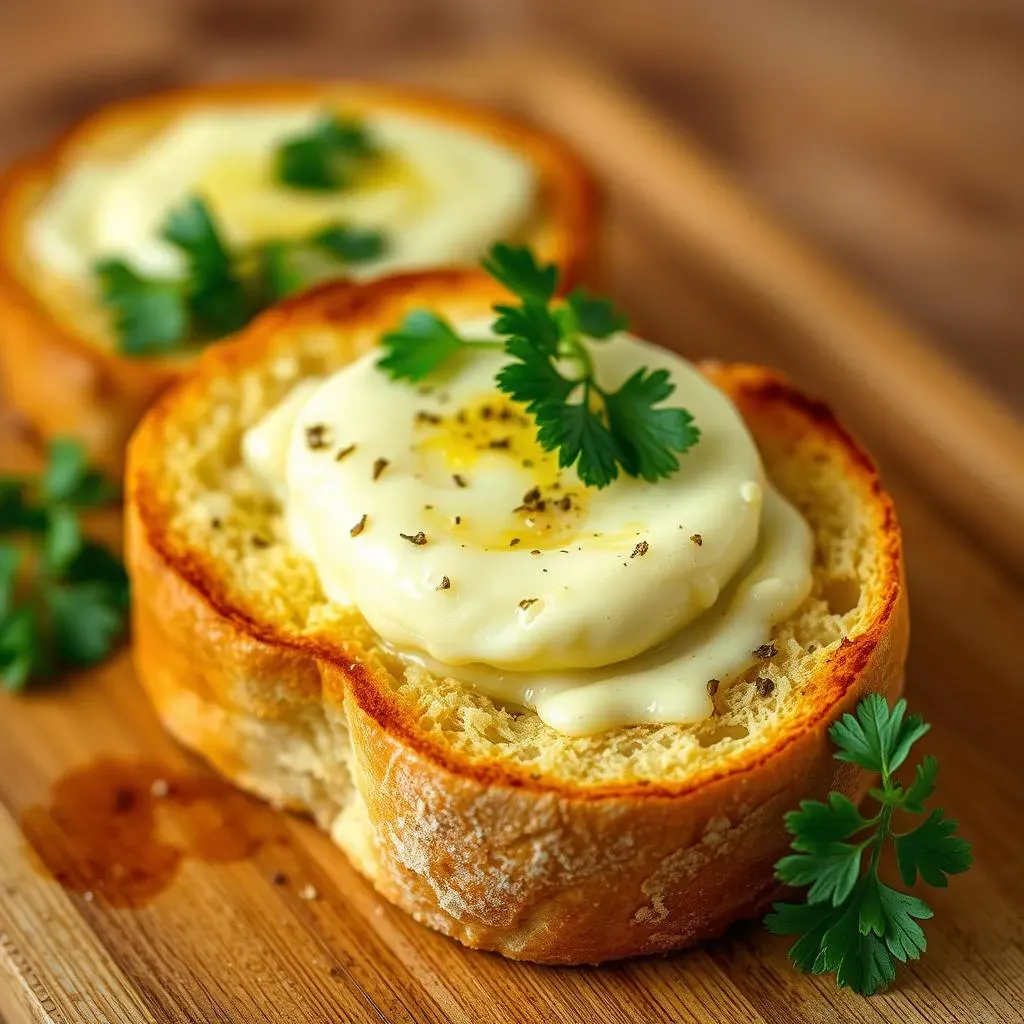
Serving and Enjoying Your Garlic Toast
Okay, the timer just went off, and your french bread garlic toast is looking and smelling absolutely incredible. Carefully remove the baking sheet from the oven and let it cool for a minute or two. This will make it easier to handle and will also give the bread a chance to crisp up even more. Now, using a sharp knife, slice the garlic toast into individual pieces. You can cut them into smaller squares or longer strips, whatever you prefer. Arrange the slices on a serving plate, and get ready for the compliments. This garlic toast is perfect for serving alongside pasta dishes, soups, salads, or just by itself as a delicious snack. It's also a crowd-pleaser, so it's perfect for parties and gatherings. And there you have it. You've just created the most delicious french bread garlic toast recipe, and you did it all by yourself. Now, it’s time to sit back, relax, and enjoy your delicious creation. And maybe, just maybe, make another batch, because trust me, they won't last long.