Table of Contents
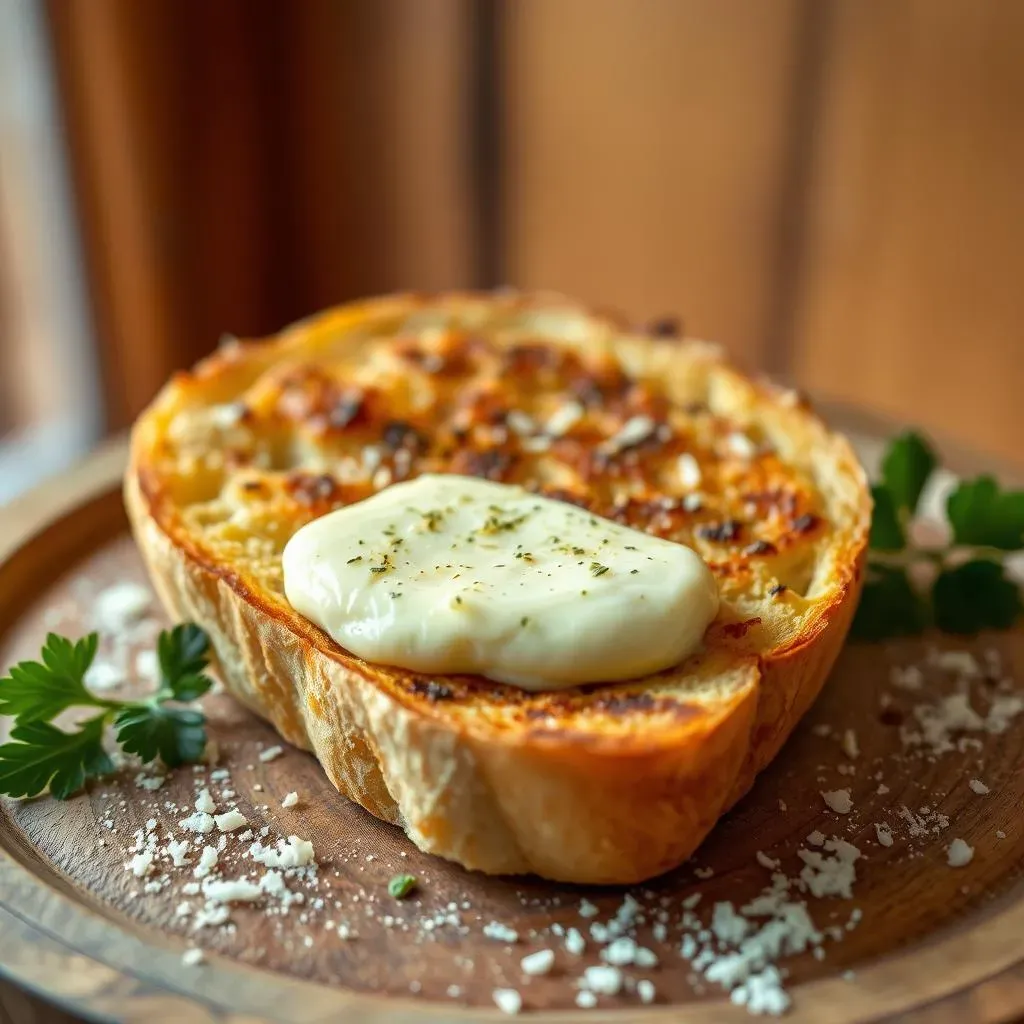
Let's be honest, is there anything more comforting than the smell of garlic bread baking in the oven? I'm talking about that perfect blend of crunchy crust, soft interior, and a burst of garlicky, buttery flavor. Today, we're not just making any garlic bread; we're crafting the ultimate french bread garlic toast. This isn't your average, store-bought stuff. We're going to make it from scratch, and I promise, once you try this recipe, you'll never go back. Forget those bland, dry slices. We're about to embark on a journey to garlic bread perfection. In this article, we'll uncover the secrets to achieving that ideal texture and taste. We'll start by mastering the art of garlic butter, then move on to the best baking techniques. I'll also share tips on how to serve and store your delicious creation. Get ready to transform simple french bread into a culinary masterpiece, one garlicky bite at a time!
The Secret to Perfect French Bread Garlic Toast
The Secret to Perfect French Bread Garlic Toast
The Bread Matters
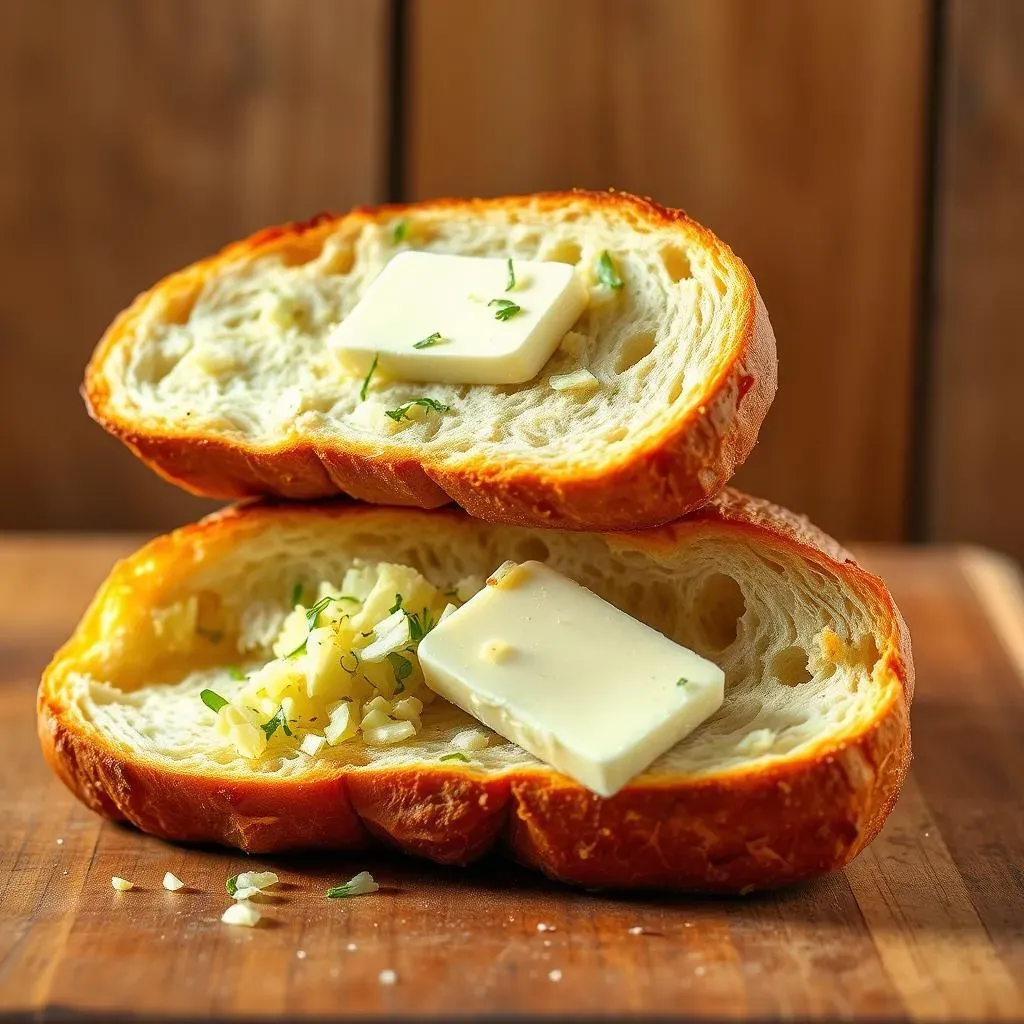
Okay, let's get real. The foundation of any great french bread garlic toast is, well, the bread! You can't just grab any old loaf and expect magic. You need a good quality french bread – the kind that's crusty on the outside and soft and airy on the inside. Think of it like a sponge, ready to soak up all that delicious garlic butter. Avoid those skinny, super-hard baguettes; they're going to turn into rocks in the oven. We're aiming for a loaf that’s substantial enough to hold its shape but not so dense that it becomes chewy.
I like to go to my local bakery to pick up a fresh loaf. You can usually tell by the smell and the feel. It should have some give, not be too hard. A good loaf is like the canvas for our masterpiece, and we want the best.
Garlic is King
Now, let's talk garlic. This is where things get serious. We're not talking about a sprinkle of garlic powder here. We want fresh, pungent garlic, and lots of it! I'm a firm believer in using several cloves, minced finely, to get that real garlicky punch. Don't be shy, you can never have too much garlic, in my humble opinion.
You can even add roasted garlic to the mix for a deeper, sweeter flavor. Roasting the garlic mellows it out and gives it a more complex taste, which I think is a nice touch for a special occasion. But for your everyday garlic bread, fresh minced garlic is just perfect.
Garlic Type | Flavor Profile | Best Use |
|---|---|---|
Fresh Minced | Pungent, sharp | Everyday garlic bread |
Roasted | Sweet, mellow, complex | Special occasions, richer flavor |
Garlic Powder | Mild, subtle | Emergency use only (we prefer fresh!) |
The Butter Base
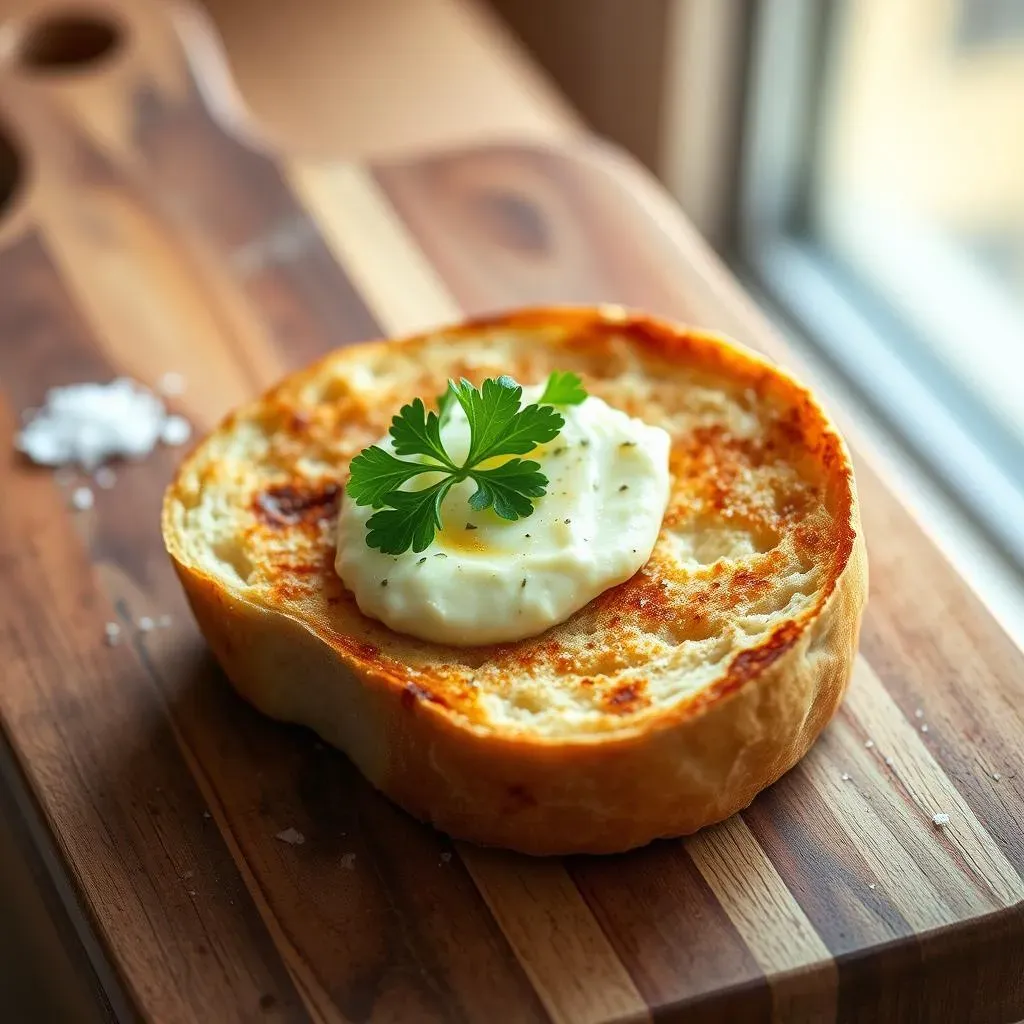
The final piece of the puzzle is the butter. And it's not just any butter, we need good-quality, unsalted butter. This is crucial because it’s the vehicle that carries the garlic flavor and creates that beautiful, crispy crust. Soften it, don't melt it completely. You want it spreadable, like soft ice cream. This makes it easier to mix with the garlic and other flavors.
I like to add a pinch of salt, some fresh parsley, and sometimes a little bit of dried oregano, but the real key is to ensure that the butter is at the right consistency.
Making Your Own Garlic Butter for French Bread
Making Your Own Garlic Butter for French Bread
The Perfect Blend
Alright, so we've got our bread and our garlic; now it's time to create the magic sauce: garlic butter. Trust me, this isn't just about melting butter and throwing in some garlic. It's an art form. We're going for a luscious, flavorful concoction that will make your taste buds sing. The key here is to start with softened, not melted, unsalted butter. You want it to be pliable, like soft ice cream, so it'll mix evenly with the other ingredients. We’ll need a good amount of minced fresh garlic – don't hold back! I usually go for about 4-6 cloves for a standard loaf, but hey, if you're a garlic fiend like me, go wild.
Next, we’re going to add a pinch of salt to enhance all of the flavors, and some finely chopped fresh parsley for a bit of freshness. Some people like to add a touch of dried oregano or even a tiny pinch of red pepper flakes for a little kick. It's all about personal preference. But remember, the core of this garlic butter is the balance between the butter and the garlic.
Mixing It Up
Now that we have all of our ingredients ready, let's combine them. In a medium bowl, add the softened butter, minced garlic, salt, parsley, and any other herbs you’re using. It’s important to mix everything thoroughly until it’s well combined. I like to use a fork to mash the garlic into the butter, making sure it's evenly distributed. This is where you really get to know your ingredients. You'll see the butter transform into a beautiful, fragrant mixture that's ready to take our french bread to the next level.
If you want to make the garlic butter ahead of time, you can store it in an airtight container in the fridge for a couple of days or even freeze it for later use. Just let it thaw and soften before you use it.
Ingredient | Quantity | Notes |
|---|---|---|
Unsalted Butter | 1/2 cup (1 stick) | Softened, not melted |
Fresh Garlic | 4-6 cloves | Minced finely |
Fresh Parsley | 2 tablespoons | Chopped finely |
Salt | 1/4 teaspoon | Or to taste |
Dried Oregano (optional) | 1/4 teaspoon | For a little extra flavor |
Red Pepper Flakes (optional) | Pinch | For a hint of heat |
Variations to Try
Don't be afraid to experiment with your garlic butter! If you're feeling adventurous, try adding a tablespoon of grated Parmesan cheese for a salty, cheesy kick. Or, for a richer, more complex flavor, you can try using roasted garlic instead of fresh. Simply roast a whole head of garlic until it's soft and caramelized, then squeeze out the cloves and mash them into your butter. You can also add a squeeze of lemon juice for a bit of brightness, or a dash of smoked paprika for a smoky flavor.
The possibilities are endless. It's all about finding what you love and making it your own. That’s the beauty of homemade garlic butter; you can tailor it exactly to your tastes.
StepbyStep Guide: Baking French Bread Garlic Toast
StepbyStep Guide: Baking French Bread Garlic Toast
Prepping the Bread
Alright, we've got our amazing garlic butter ready, now it's time to get that bread prepped for its transformation. Grab your loaf of french bread and a good bread knife. The goal here is to slice the bread lengthwise, creating two long halves. Think of it like opening a book. You want a clean, even cut so that each half will bake evenly. If you prefer individual slices, you can cut the loaf into 1-inch thick pieces instead, but for this recipe, I'm sticking with the halves.
Once you have your bread halves, place them cut-side up on a baking sheet. I like to line mine with parchment paper for easier cleanup, but it's not absolutely necessary. Now, we're ready for the fun part – applying that glorious garlic butter!
Spreading the Garlic Butter
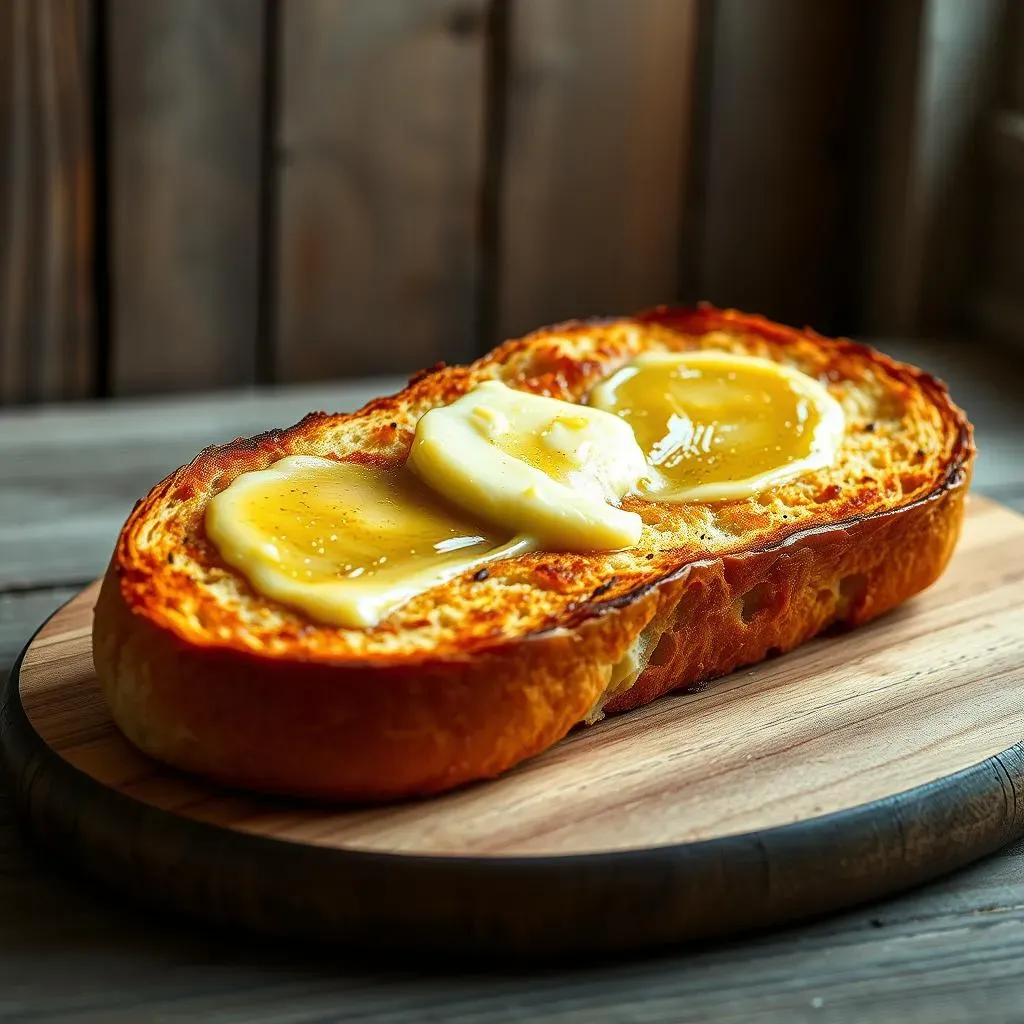
Now, take that bowl of heavenly garlic butter and grab a butter knife or a small spatula. We're going to generously spread the garlic butter all over the cut sides of the bread. Don't be shy; we want every nook and cranny covered in that garlicky goodness. Make sure to get right up to the edges, so every bite is bursting with flavor. The more butter you use, the crispier and more flavorful your garlic toast will be.
If you're using individual slices, spread the garlic butter on one side of each slice. Once they’re all coated, it's time to get these bad boys into the oven.
Step | Action | Notes |
|---|---|---|
1 | Slice bread | Lengthwise into halves or 1-inch slices |
2 | Place bread on baking sheet | Cut-side up, parchment paper optional |
3 | Spread garlic butter | Generously, covering all cut surfaces |
Serving and Storing Your Delicious French Bread Garlic Toast
Serving and Storing Your Delicious French Bread Garlic Toast
Serving Suggestions
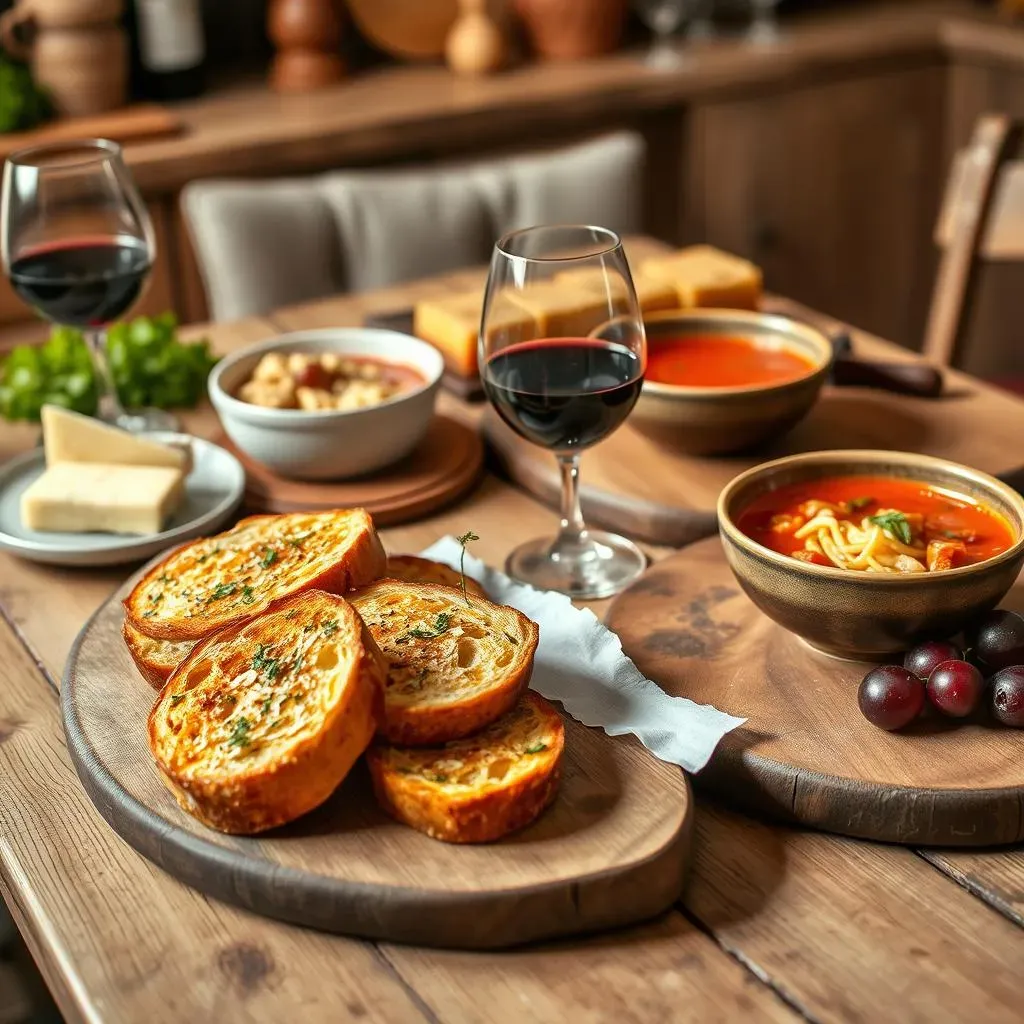
Okay, so you've just pulled your golden, garlicky masterpiece from the oven, and the smell is absolutely intoxicating. Now what? Well, the beauty of french bread garlic toast is that it pairs well with just about anything. It's a fantastic side for pasta dishes, from a simple marinara to a rich, creamy alfredo. It's also incredible with soups and stews, providing that perfect crunchy contrast to a warm bowl of comfort. Think about a hearty minestrone or a spicy chili – garlic toast is the ideal companion.
But don't limit yourself to just dinner. Garlic toast can also be a great appetizer for a party or a simple snack anytime. I love serving it alongside a cheese board or with some fresh bruschetta toppings. And if you're feeling a little rebellious, why not enjoy it as a late-night snack with a glass of wine? There are no rules here, just delicious possibilities.
Storing Leftovers
Now, let's talk about what to do if you have any leftover garlic toast (though, let's be real, that's a rare occurrence). If you're planning on eating it within a day or two, the best way to store it is at room temperature. Let the toast cool completely, then wrap it tightly in foil or plastic wrap to prevent it from drying out. You can also store it in an airtight container, but make sure it’s cooled before you seal it up.
If you need to store it longer, you can freeze it. Wrap each slice or half individually in plastic wrap, then place them in a freezer-safe bag. When you're ready to eat, you can pop them straight into a preheated oven or a toaster oven until heated through and crispy. Just be aware that the texture might be slightly different after freezing, but it'll still be delicious.
Storage Method | Duration | Notes |
|---|---|---|
Room Temperature | 1-2 days | Wrap tightly in foil or plastic wrap |
Freezer | Up to 1 month | Wrap individually, store in freezer bag |