Table of Contents
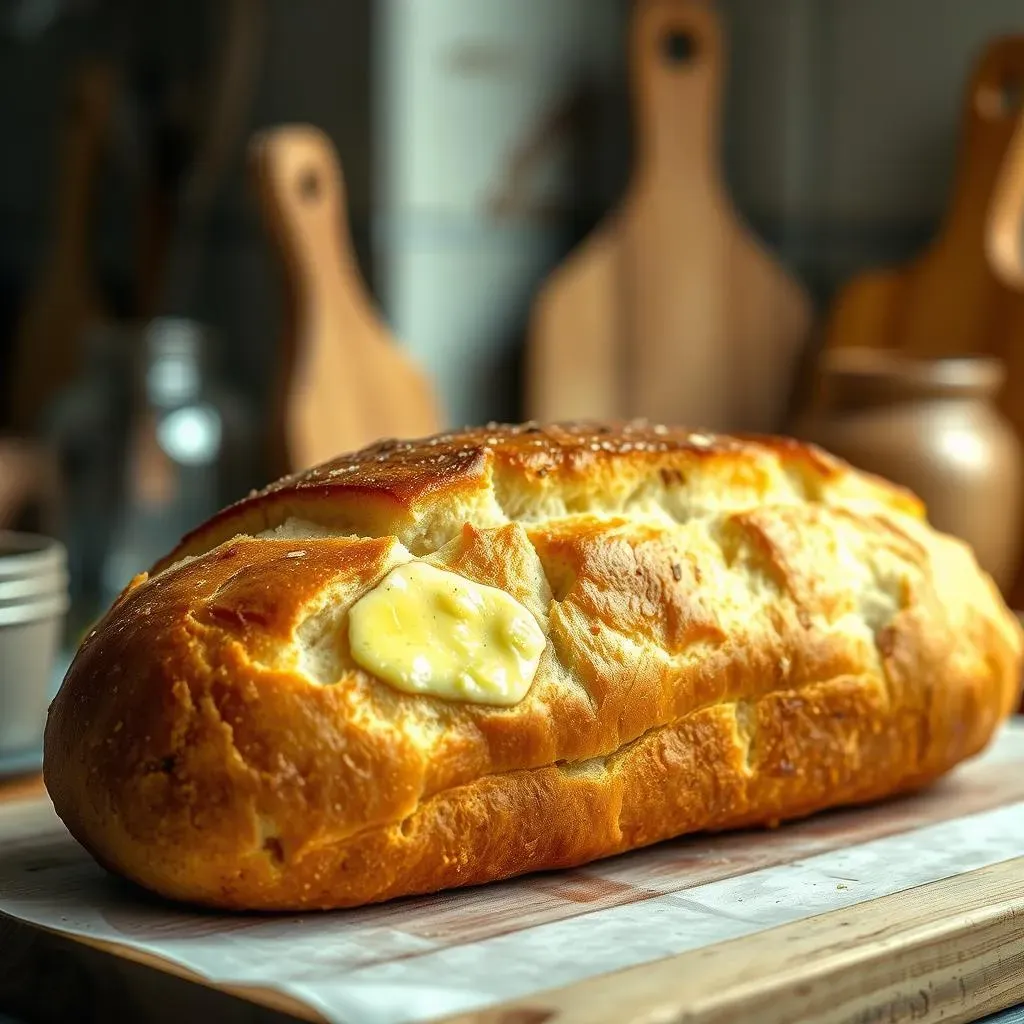
Picture this: a warm, crusty loaf of French bread, slathered with a generous amount of garlic butter, and baked to golden perfection. That's what we're making today! This isn't just any garlic bread; it's the kind that makes your kitchen smell amazing and has everyone reaching for seconds. I'm going to show you how to create the ultimate "french bread garlic bread in oven" experience at home. It's so simple, even a kid could do it (with a little help from a grown-up, of course). We'll start with why this recipe is a personal favorite, then we'll gather the essential ingredients. After that, I'll walk you through the easy steps to make it, and finally, I'll share some tips on how to serve and store your delicious creation. Get ready to transform a simple loaf into a flavor-packed side dish that will steal the show!
Why I Love OvenBaked French Bread Garlic Bread
Why I Love OvenBaked French Bread Garlic Bread
The Comfort Factor
Okay, let's be real, is there anything more comforting than the smell of garlic bread baking in the oven? For me, it's like a warm hug on a plate. It's not fancy or complicated, but that's exactly why I love it. It reminds me of family dinners and simple, happy times. The way the butter melts into the bread, the garlic gets all toasty, and the crust becomes perfectly crisp – it's a magical transformation. It's the kind of food that just makes you feel good, you know? Plus, it's super versatile. You can serve it with almost anything, and it always fits right in.
Simplicity and Satisfaction
Beyond the cozy vibes, I'm a huge fan of how easy it is to make. Seriously, we're talking about a few ingredients and minimal effort for maximum flavor payoff. It's the perfect recipe for a weeknight meal when you're tired but still want something delicious. Unlike some recipes that require a ton of steps, this one is straightforward. The satisfaction of pulling that golden-brown loaf out of the oven, knowing you created something so tasty with so little work, is just amazing. It’s proof that sometimes, the simplest things are truly the best.
Reason | Description |
|---|---|
Comfort | Warm, familiar, and evokes happy memories. |
Simplicity | Easy to make with minimal ingredients. |
Versatility | Pairs well with many meals. |
Key Ingredients for Perfect French Bread Garlic Bread
Key Ingredients for Perfect French Bread Garlic Bread
The Star of the Show: French Bread
First things first, you absolutely need a good loaf of French bread. I mean, it's in the name, right? But not just any loaf will do. You're looking for something that's got a nice, crusty exterior and a soft, airy interior. That texture is key because it'll hold up to the garlic butter without getting soggy. Think of it like the foundation of a delicious house – you need a solid base to build on. I usually go for a slightly wider loaf, it creates more surface for that garlic goodness.
If the bread is too dense, it just won't soak up the flavors the way we want it to. So, when you're at the store, give the loaf a little squeeze. It should have a bit of give but still feel substantial. And if you can, get it fresh that day for the best results. Trust me, it makes a difference.
The Flavor Bomb: Garlic Butter
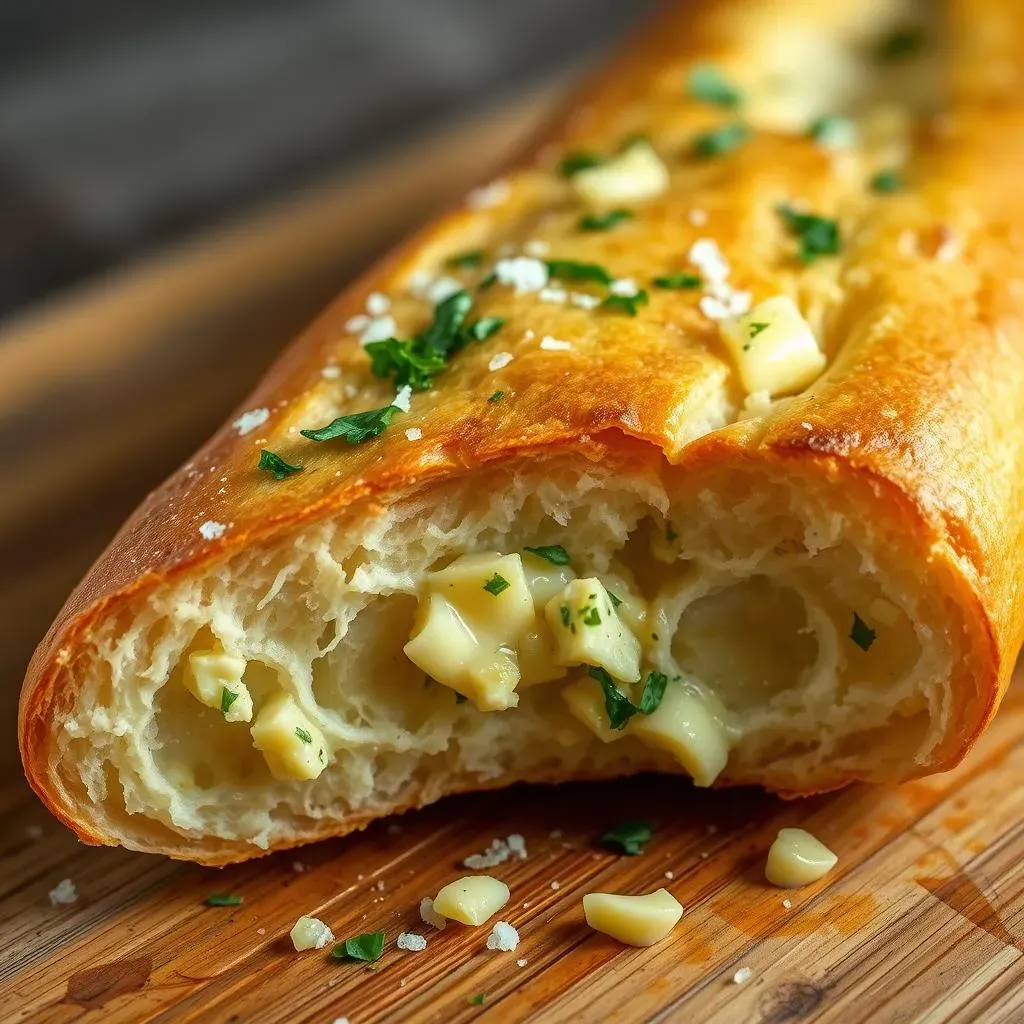
Now, onto the magic maker – garlic butter. This isn't just melted butter with a clove of garlic thrown in. Oh no, we're going for a full-on flavor explosion. For the butter, I recommend unsalted, so you can control the saltiness. As for the garlic, fresh is always best. Mince it finely, or even better, use a garlic press to get all that delicious juice out. We want every single bit of that garlicky goodness to shine through.
I like to add a little bit of garlic powder too, for an extra punch of flavor. It’s like the backup singer that really makes the lead vocalist sound amazing. And don’t forget the parsley flakes! They add a pop of color and a tiny bit of herby freshness that cuts through the richness of the butter and garlic. It all comes together to create the perfect flavor base for our garlic bread.
Ingredient | Why it's important |
|---|---|
French Bread | Provides the base; needs to be crusty and airy. |
Unsalted Butter | Creates the rich flavor base. |
Fresh Garlic | Offers the main flavor punch. |
Garlic Powder | Boosts the garlic flavor. |
Parsley Flakes | Adds color and a touch of herby flavor. |
Optional but Awesome: A Touch of Salt
While the garlic butter already packs a lot of flavor, a little sprinkle of salt can really bring everything together. It enhances all the other flavors and makes each bite even more satisfying. Think of it like adding a pinch of magic dust – it just makes everything better. I prefer to use sea salt, but any kind of salt will do.
I tend to add it at the end, after I’ve spread the garlic butter on the bread, that way it sits on top and you get that little bit of salt with each bite. Some people like to add cheese or other herbs, but for me, this simple combo is absolute perfection. It's all about getting those key ingredients just right to make the best garlic bread possible. Less is more, sometimes, and this recipe is a prime example.
StepbyStep: Making French Bread Garlic Bread in the Oven

StepbyStep: Making French Bread Garlic Bread in the Oven
Prep Work: Getting Started
Alright, let's get this garlic bread party started! First things first, you'll want to preheat your oven to 425°F (220°C). While that's heating up, grab your French bread and slice it lengthwise. It's like opening up a book, but instead of words, you're about to fill it with deliciousness. Now, in a small bowl, mix together your softened butter, minced garlic, garlic powder, and parsley flakes. This is where the magic happens, my friend. Take a good sniff – that's the smell of future deliciousness.
Once everything is well combined, it's time to spread that garlicky goodness all over the cut sides of the bread. I like to be generous here, making sure every nook and cranny is coated in the butter mixture. This isn't the time to be shy! Now, place the bread on a baking sheet. If you want to make sure the bread is extra soft, wrap it in foil. If you like it a little crustier, you can leave it unwrapped. Either way, it’s going to be amazing.
Baking to Golden Perfection
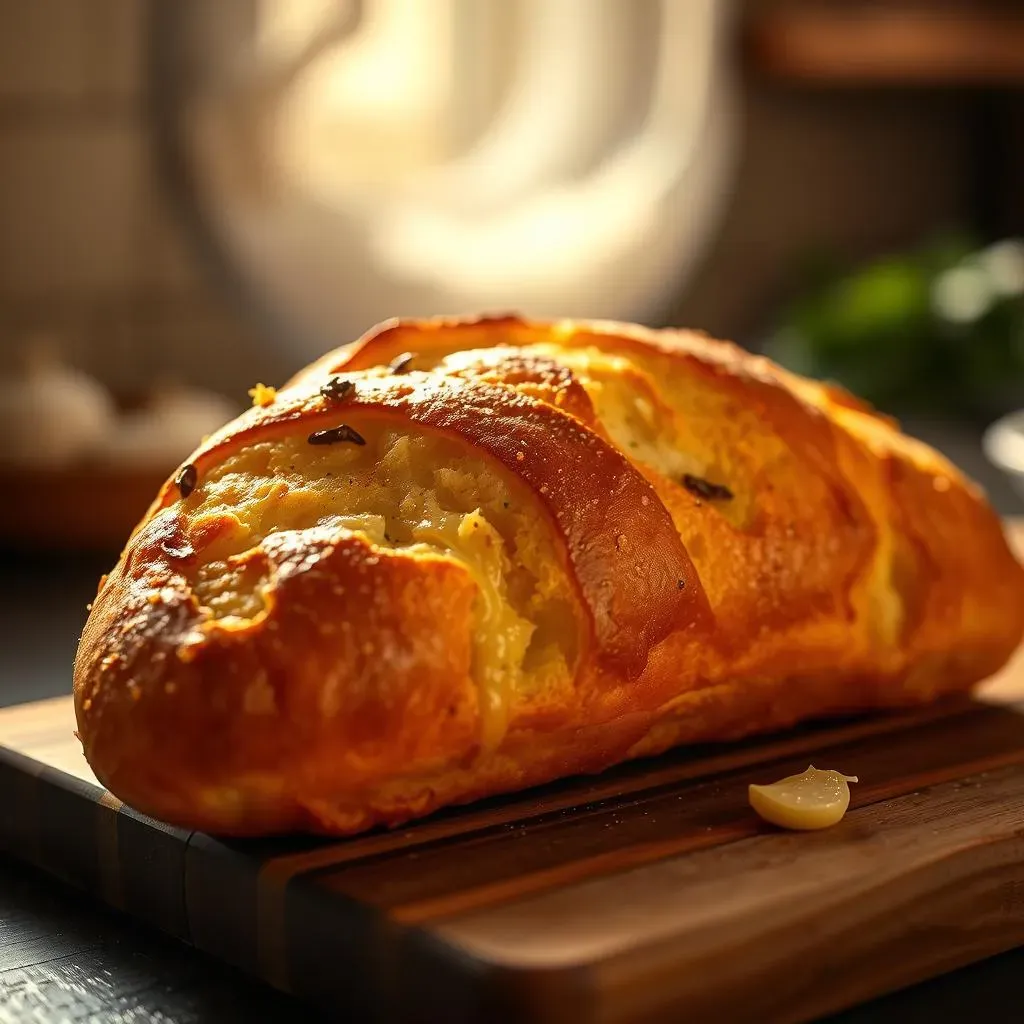
Now it's time for the oven to work its magic. Slide that baking sheet into the preheated oven and let it bake for about 12-15 minutes. Keep an eye on it, though, because ovens can be a bit temperamental. You're looking for that gorgeous golden brown color and a nice toasty aroma. When it's done, the garlic butter should be melted and bubbly, and the bread should be perfectly crisp. It's like a beautiful transformation, right before your eyes.
Once it's out of the oven, let it cool for a minute or two before slicing. This is the hardest part, I know! But trust me, it's worth the wait. The aroma of fresh garlic bread will fill your kitchen, and you'll be tempted to devour it right away. And you know what? You totally can! Serve it up warm and enjoy the fruits (or bread) of your labor. It’s that simple, and that delicious.
Step | Action |
|---|---|
1 | Preheat oven to 425°F (220°C). |
2 | Slice French bread lengthwise. |
3 | Mix butter, garlic, garlic powder, and parsley. |
4 | Spread mixture on bread. |
5 | Bake for 12-15 minutes. |
6 | Let it cool slightly before serving. |
Serving and Storing Your Homemade French Bread Garlic Bread
Serving and Storing Your Homemade French Bread Garlic Bread
Serving Suggestions: The Perfect Pairings
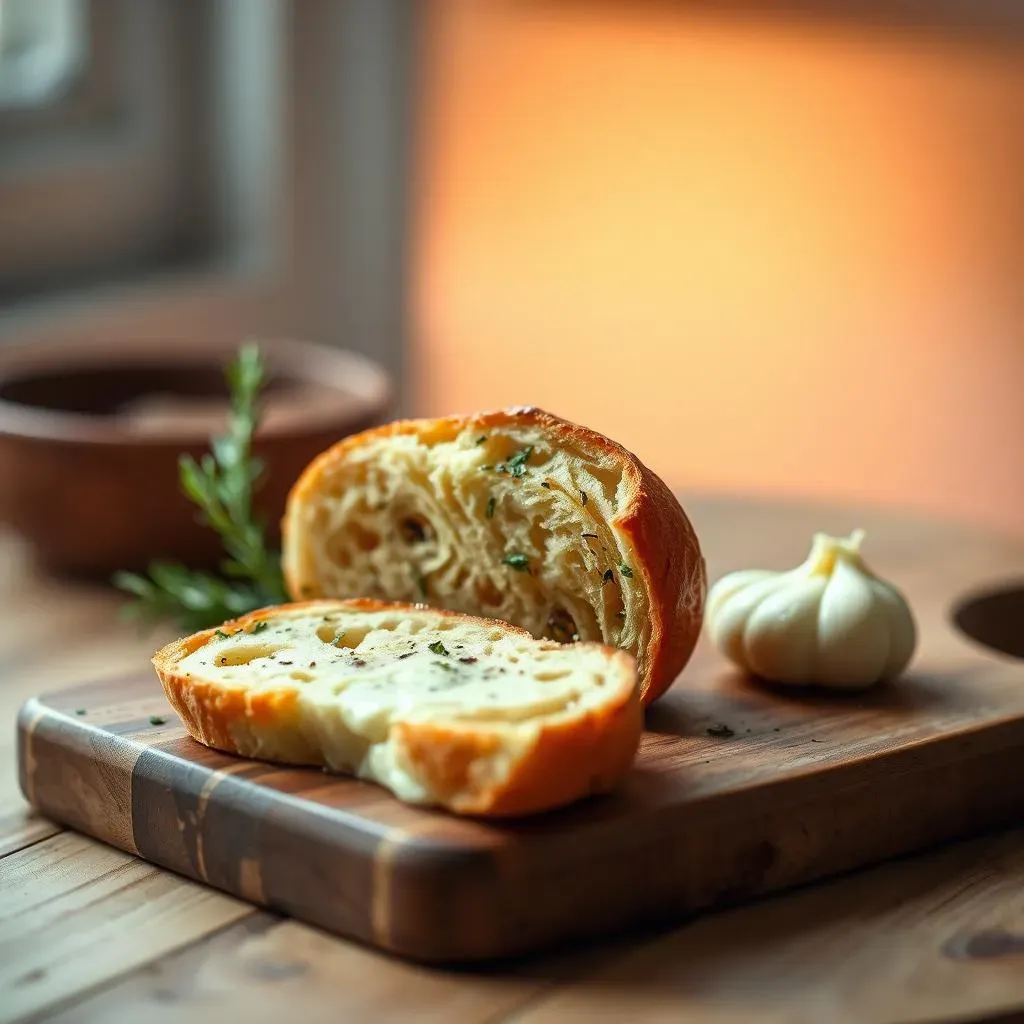
Okay, so you've got this amazing, warm, garlicky bread. Now what? Well, the possibilities are endless! This garlic bread is a fantastic side for so many dishes. It goes particularly well with Italian-inspired meals, like a hearty lasagna or a creamy pasta dish. Think about how perfectly it would soak up the extra sauce from a plate of spaghetti. It’s also incredible alongside a simple salad, adding a warm and flavorful touch. Don’t limit yourself to just Italian food, though. It can also be great with grilled meats or a comforting bowl of soup. The key is to serve it warm, fresh from the oven, to enjoy that perfect balance of crispiness and soft, garlicky goodness.
I’ve even served it as an appetizer before a meal, and it’s always a hit! It’s so versatile, that it will fit in with most meals, and it’s easy enough to serve at a moment’s notice. Whether you’re having a casual family dinner or a more formal get-together, this garlic bread will always be welcome. It’s like the friend who gets along with everyone – always a crowd-pleaser. Remember, the best part about serving it is watching people’s faces light up when they take that first bite. It’s a simple pleasure that brings so much joy.
Meal Type | Perfect Pairing |
|---|---|
Italian | Lasagna, Spaghetti, Ravioli |
Soup | Tomato, Minestrone, Vegetable |
Salad | Caesar, Garden, Greek |
Grill | Steaks, Chicken, Veggies |
Storing and Reheating: Keeping it Fresh
Now, let's talk about storing any leftovers – if there are any! If you find yourself with extra garlic bread, the best way to keep it fresh is to wrap it tightly in aluminum foil. This helps to prevent it from drying out. Then, you can store it at room temperature for a day or two. If you need to keep it longer, you can store it in the fridge for up to three days. Just be aware that the texture might change a bit, so it’s best to eat it sooner rather than later.
When it comes to reheating, the oven is your best bet for restoring that crispy texture. Preheat your oven to 350°F (175°C) and place the foil-wrapped garlic bread inside for about 10-15 minutes, or until it's heated through. If you want a crispier top, unwrap it for the last few minutes. You can also reheat it in a toaster oven for smaller portions. Avoid the microwave if you can, as it can make the bread soggy. With a little care, you can enjoy the deliciousness of your homemade garlic bread even after it's been stored.
- Wrap tightly in foil to store.
- Store at room temperature for 1-2 days.
- Store in fridge for up to 3 days.
- Reheat in oven at 350°F (175°C) for 10-15 minutes.
- Toaster oven works well for smaller portions.
- Avoid the microwave for reheating.