Table of Contents
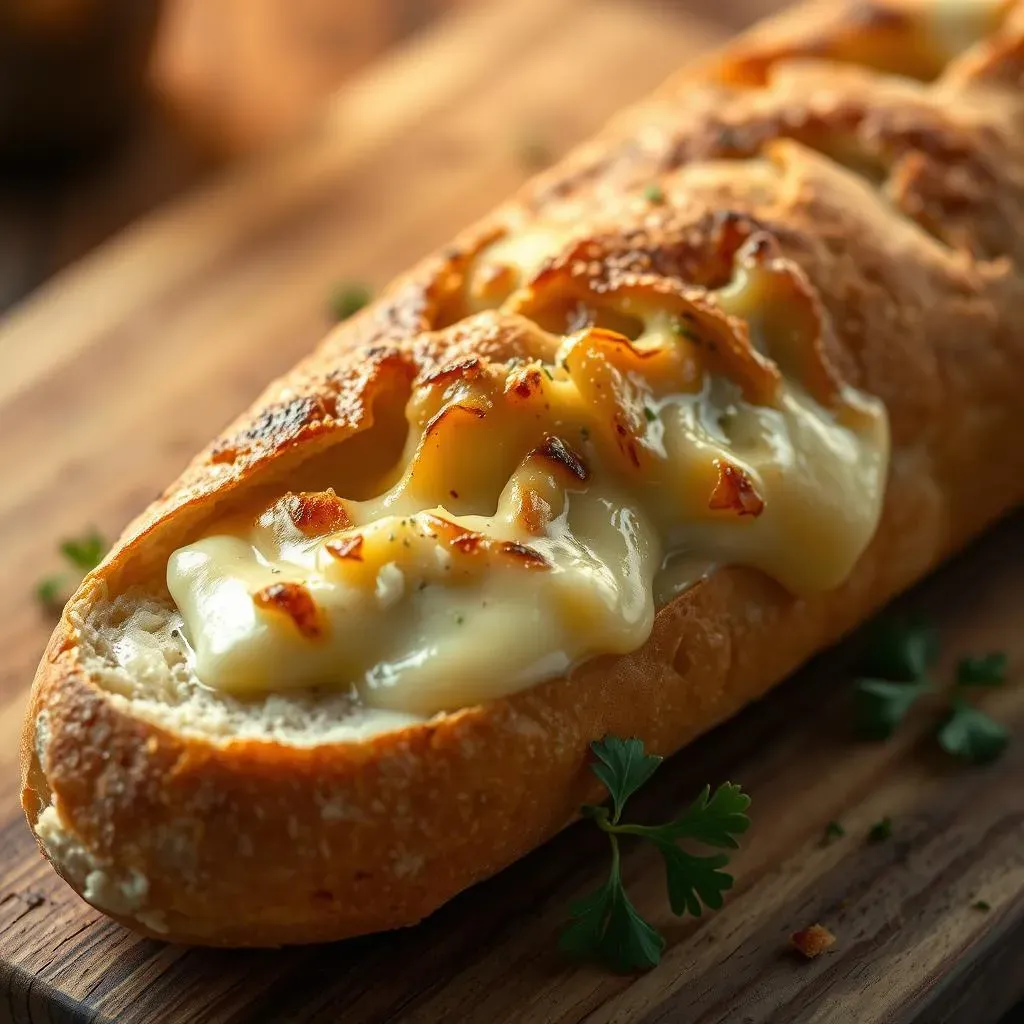
Who doesn't love the smell of warm, garlicky bread wafting from the oven? I know I do! Today, we're not just making any bread; we're crafting the ultimate comfort food: cheesy garlic bread, and we're using french bread as our star. This isn't your average, run-of-the-mill recipe. We’re talking about a symphony of flavors and textures. Imagine crispy, golden-brown french bread, slathered with a luscious garlic butter, and then topped with a generous blanket of melted, gooey cheese. It's the kind of dish that disappears in minutes, leaving everyone craving more. In this article, I’ll walk you through each step, from choosing the perfect loaf of french bread to achieving that irresistible, bubbly cheese topping. Get ready to transform a simple loaf into a crowd-pleasing masterpiece. We’ll cover how to make the garlic butter, the best cheeses to use, and my tips for baking it to golden, cheesy perfection. Let's get baking this amazing french bread garlic bread cheese!
French Bread: The Base of Our Cheesy Delight

French Bread: The Base of Our Cheesy Delight
Choosing Your French Bread
Okay, let's talk bread. Not just any bread will do for our cheesy garlic masterpiece. We need a good, sturdy loaf of French bread. Think of it as the foundation of our flavor house. You want something that's got a nice crust, but it's still soft and airy on the inside. That way, it'll get nice and crispy on the outside when we bake it, while still being fluffy enough to soak up all that glorious garlic butter. Don't go for those super skinny loaves, either. We need something that can handle the weight of all that cheese we're about to pile on. I prefer the longer ones; they just seem to bake better and give us more surface area for cheesy goodness.
Now, you might be tempted to grab a pre-sliced loaf, but I'm going to advise against that. Slicing it yourself is key. Why? Because we want to control the depth of the cuts. We’re not going all the way through, just enough to create little pockets for the garlic butter to seep into. This ensures every single bite is packed with flavor, not just the top layer. Plus, fresh-cut bread just tastes better, that's a hill I'm willing to die on. Trust me on this one; it's worth the extra minute.
French Bread Type | Crust | Inside | Best Use |
|---|---|---|---|
Long Loaf | Crispy | Soft, Airy | Ideal for garlic bread, more surface area |
Thin Loaf | Very Crispy | Dense | Not ideal for garlic bread |
Pre-Sliced Loaf | Varies | Varies | Less control over cuts, not recommended |
Preparing the French Bread
Alright, you've got your perfect loaf of French bread. Now, let's get slicing. Grab a good bread knife – serrated is your friend here – and carefully cut the loaf lengthwise. Imagine you're opening a book, and that's how we're splitting the bread. Then, using that same knife, make diagonal cuts across each half. These cuts should go about ¾ of the way through the loaf; you don't want to slice all the way down. These little valleys are where the magic happens, where the garlic butter will pool and make everything taste amazing. The goal here is to create a surface area with lots of nooks and crannies, so every bite is infused with garlicky goodness.
Think of it like this: if the bread is a sponge, we're creating more little holes for it to absorb the flavor. These cuts also make it easier to serve later, without having to hack at a giant loaf. It's all about efficiency and maximum deliciousness. Once you're done with the cuts, take a moment to admire your handiwork. You've just turned an ordinary loaf into a flavor canvas, ready for the next step. Now we are ready for the garlic butter.
Garlic Butter Bliss: Flavor Infusion for French Bread
Garlic Butter Bliss: Flavor Infusion for French Bread
The Magic of Garlic Butter
Alright, now for the star of the show: the garlic butter. This isn't just melted butter with some garlic thrown in; we're aiming for a flavor explosion. You need a good quality butter, the kind that tastes great on its own, because that flavor will shine through. I like to start with softened butter, not melted, because it's easier to work with and it mixes better with the other ingredients. We're not just using garlic, either. We need garlic powder to get that deep, roasted garlic flavor and some fresh minced garlic to give it a bit of a bite. This combo is what makes this garlic butter really sing.
A little bit of salt is crucial, but don't overdo it. We also need some Italian seasoning to add a layer of herbaceous flavor that complements the garlic beautifully. And here’s a little secret: I like to add a tiny pinch of red pepper flakes for a subtle kick. It's not enough to make it spicy, just enough to wake up your taste buds. Trust me, this garlic butter is so good, you might want to slather it on everything.
Ingredient | Purpose | Quantity |
|---|---|---|
Softened Butter | Base of the flavor | 1 stick (1/2 cup) |
Garlic Powder | Deep garlic flavor | 1 teaspoon |
Minced Garlic | Fresh garlic bite | 2 cloves |
Italian Seasoning | Herbaceous flavor | 1 teaspoon |
Red Pepper Flakes | Subtle kick | Pinch |
Salt | Enhances flavor | Pinch |
Mixing and Applying the Garlic Butter
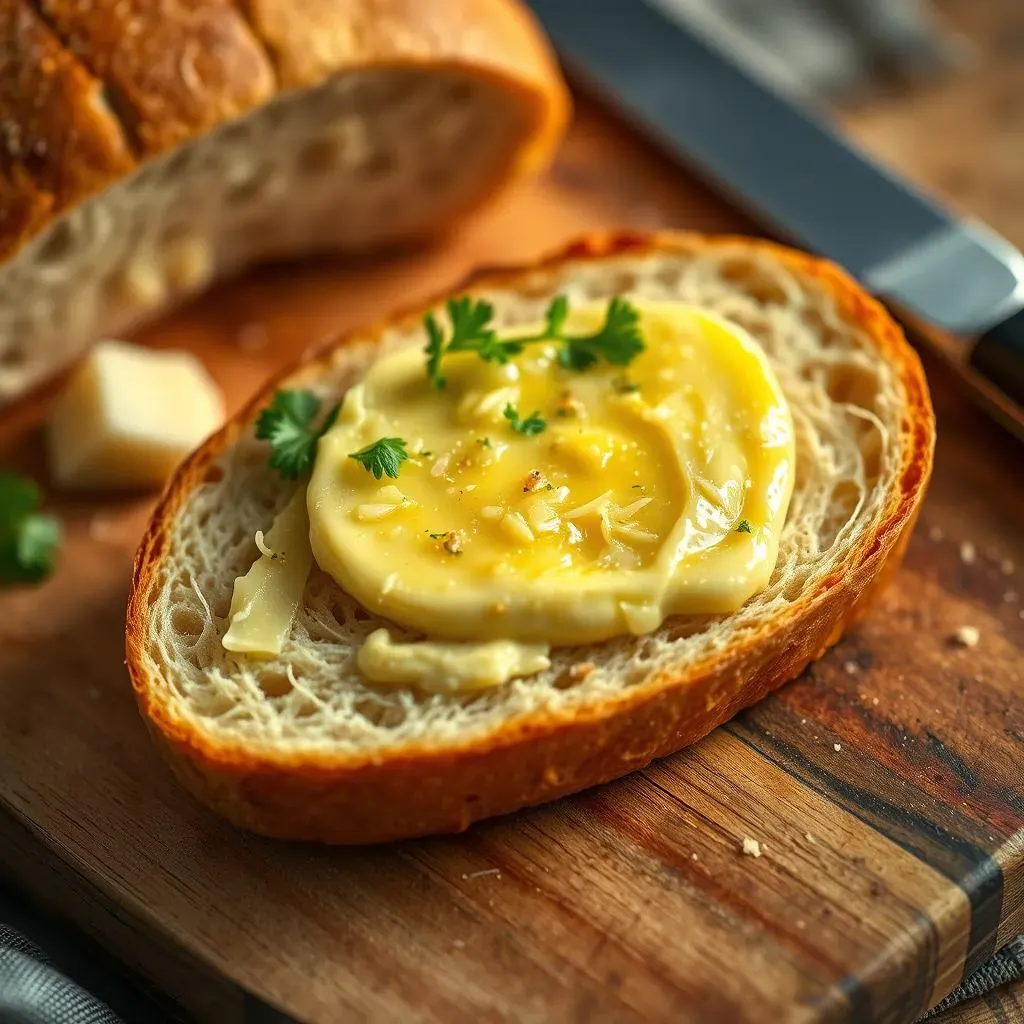
Okay, so you've got all your ingredients ready. Now, it's time to mix them together. In a small bowl, combine the softened butter, garlic powder, minced garlic, Italian seasoning, red pepper flakes, and salt. Using a fork, mash everything together until it's well combined. You want it to be a smooth, creamy paste. If your butter isn't soft enough, you can microwave it for 5-10 seconds, but be careful not to melt it completely. We need it to be spreadable, not liquid.
Once your garlic butter is ready, grab your sliced french bread, and let's get to work. Using a butter knife or a small spatula, generously spread the garlic butter all over the cut surfaces of the bread. Don't be shy; we want every single nook and cranny to be covered in this glorious mixture. Make sure to get the butter down into those little cuts we made earlier. This is where the magic happens, infusing every bite with that garlicky goodness. Once you've finished, take a moment to admire your handiwork. It's looking pretty good, isn't it? But we're not done yet; the cheese is next!
Cheese, Glorious Cheese: The Perfect Topping for Garlic French Bread
Cheese, Glorious Cheese: The Perfect Topping for Garlic French Bread
Choosing Your Cheeses
Alright, we've got our garlic-buttered french bread, and now it's time for the cheese—the glorious, melty, stretchy, cheesy goodness that takes this bread from great to absolutely unforgettable. Now, you could just grab any old cheese from the fridge, but let's be honest, some cheeses are just better suited for this task than others. I like to use a combination of cheeses for the best flavor and texture. Colby Jack is a great choice because it melts beautifully and gives a nice, mild flavor. It’s not too overpowering, which lets the garlic butter really shine. Then, we need a good mozzarella for that amazing cheese pull. You know, the kind that stretches out when you take a bite. It's all about the experience!
But here’s the thing, you don't have to stick to just Colby Jack and mozzarella, feel free to experiment with other cheeses too. A little bit of parmesan can add a salty, nutty flavor, and some provolone will give you an extra creamy texture. The key is to choose cheeses that melt well and complement each other. You don’t want anything too strong that'll overpower the garlic flavor; we’re aiming for a balanced symphony of tastes, not a cheese battle. I personally like to shred my cheeses fresh; it melts better than the pre-shredded stuff with all those anti-caking agents. It might take a bit more effort, but the results are definitely worth it. You’re going to have a hard time sharing this, so make sure you make enough!
Cheese Type | Flavor | Melting Ability | Best Use |
|---|---|---|---|
Colby Jack | Mild, slightly tangy | Excellent | Base cheese, good all-around |
Mozzarella | Mild, milky | Excellent | Cheese pull, stretchy texture |
Parmesan | Salty, nutty | Good | Flavor boost, sprinkle on top |
Provolone | Mild, creamy | Excellent | Creamy texture, extra richness |
Applying the Cheese
Okay, so you've picked your cheeses, and they are all shredded and ready to go. Now, it's time to assemble the final piece of our cheesy puzzle. Take your garlic-buttered french bread, and get ready to pile on the cheese. I like to start with a layer of Colby Jack, making sure to cover the entire surface of the bread. Then, I add a generous layer of mozzarella on top. You want to make sure that every single nook and cranny is covered in cheese. Don’t be shy; we want a nice, thick layer of cheese that will melt into gooey perfection.
If you're using parmesan, sprinkle it on top of the mozzarella. This will add a nice salty, nutty flavor and a little bit of texture. If you're using provolone, you can add it in between the layers of Colby Jack and mozzarella, or sprinkle it on top. The goal here is to create a beautiful, cheesy landscape that will make everyone's mouth water. Once you’ve finished piling on the cheese, take a moment to admire your work. It looks amazing, doesn't it? Now, we’re ready for the final step: baking it to golden, cheesy perfection.
Baking to Golden Perfection: Serving Your Cheesy Garlic Bread

Baking to Golden Perfection: Serving Your Cheesy Garlic Bread
Baking to Golden Perfection
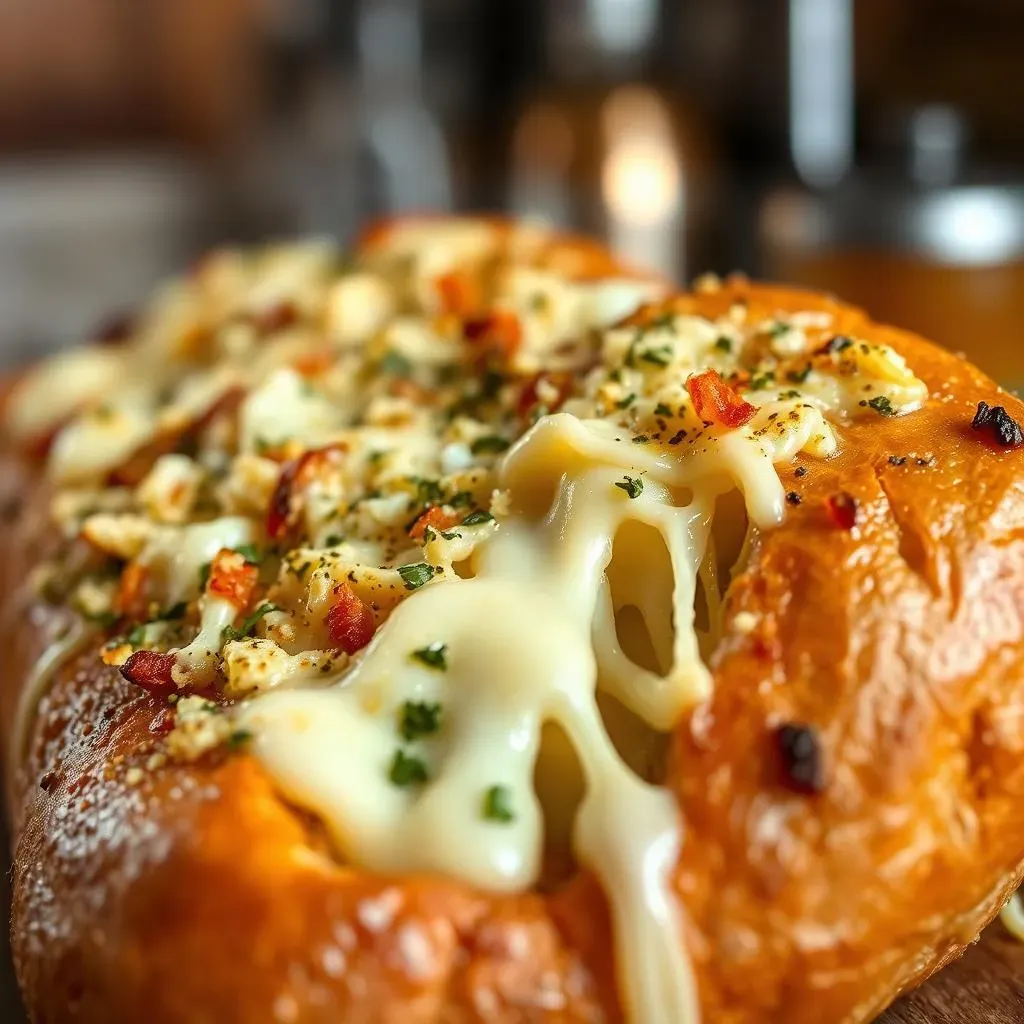
Alright, we've reached the final stretch, and it's time to bake our masterpiece. Preheat your oven to 400°F (200°C). This temperature is perfect for melting the cheese and getting the bread nice and crispy without burning it. Place your cheesy garlic bread directly on the middle rack of the oven. You don't need a baking sheet; the bread is sturdy enough to handle it on its own. Bake for about 12-15 minutes, but keep a close eye on it. The goal is to get the cheese melted and bubbly and the bread golden brown. You'll know it's ready when the cheese is oozing and slightly browned in spots and the edges of the bread are crispy. Every oven is different, so don't be afraid to adjust the baking time slightly if needed. It's all about watching it closely and trusting your instincts. And don't worry if it looks a little messy; that's part of the charm!
Once it's out of the oven, let it cool for a couple of minutes before you start slicing it up. This is important because the cheese is super hot and will be very gooey. You might be tempted to dive right in, but a little patience will go a long way. This cooling time allows the cheese to set up slightly, making it easier to handle and eat without burning your mouth. Plus, it gives you a chance to admire your handiwork and take some photos for the gram, if you're into that kind of thing. But seriously, this bread is going to be irresistible, and you won't be able to wait much longer, I know I can't!
Baking Step | Temperature | Time | Goal |
|---|---|---|---|
Preheat Oven | 400°F (200°C) | N/A | Ensure even baking |
Bake Bread | 400°F (200°C) | 12-15 minutes | Melt cheese, crisp bread |
Cool Slightly | Room Temperature | 2-3 minutes | Set cheese, easier handling |
Serving Your Cheesy Garlic Bread
Now that your cheesy garlic bread is baked to golden perfection, it's time to serve it up and enjoy the fruits of your labor. Carefully transfer the bread to a cutting board. If you made the diagonal cuts earlier, it should be easy to slice into individual servings. You can use a bread knife to cut along those lines, or you can just tear off pieces if you're feeling more rustic. I like to sprinkle a little bit of fresh parsley on top for a pop of color and a little bit of freshness. It's not essential, but it makes it look extra fancy.
This cheesy garlic bread is amazing on its own, but it also pairs well with so many things. It's perfect alongside a big bowl of pasta or as a side dish for a salad. It’s also great with a comforting bowl of soup or as an appetizer for a party. And let's be real, it's also totally acceptable to just eat it straight up because it's that good. The key is to serve it warm so the cheese is still melty and stretchy. This bread is best enjoyed fresh, so don't wait too long before you dig in. Trust me, this cheesy garlic bread is going to be a hit with everyone, and you'll be making it again and again. So go ahead, grab a piece and enjoy every cheesy, garlicky bite!
"The best way to spread love is through a warm slice of cheesy garlic bread." - Some random person on the internet