Table of Contents
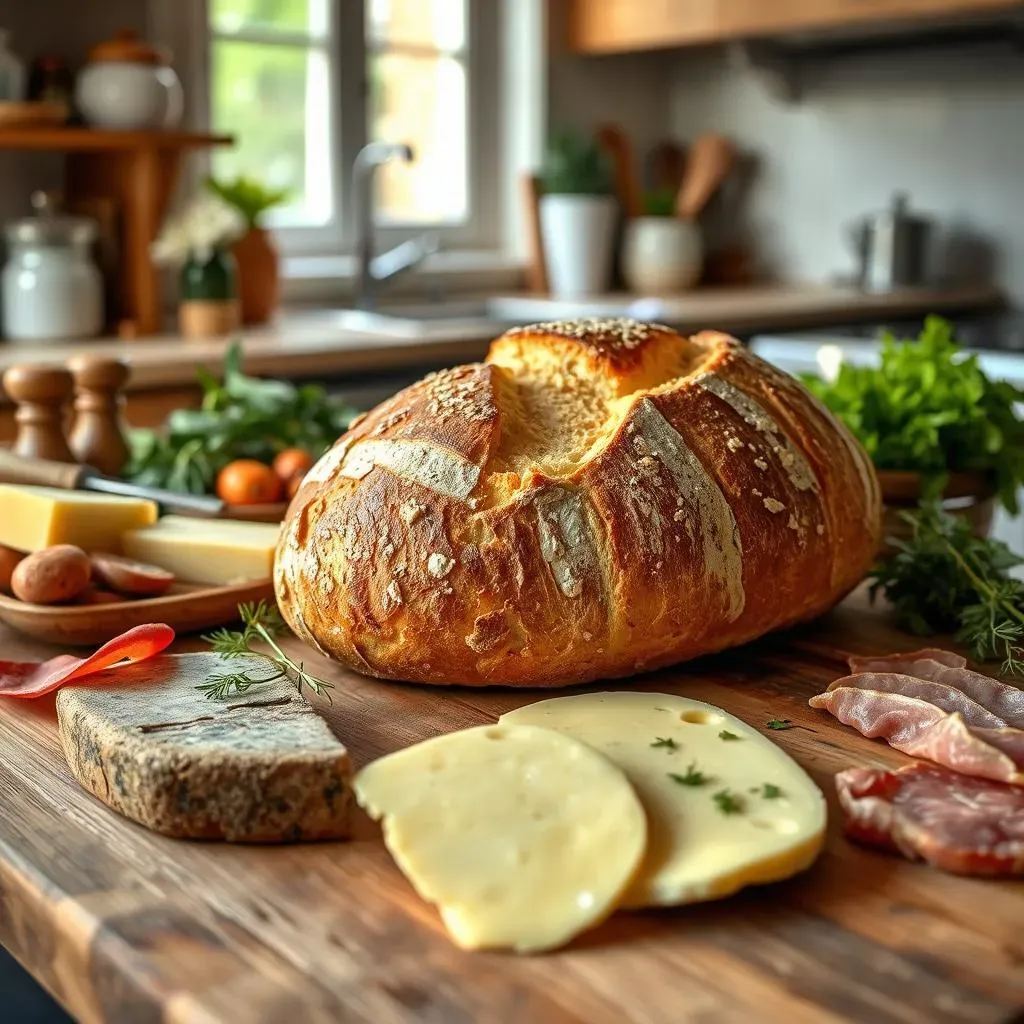
Ever dreamed of crafting restaurant-quality French bread in your own kitchen? It's easier than you think, especially with the tangy magic of a sourdough starter! This article is your complete guide to baking incredible French bread from sourdough starter. We'll walk you through every step, from understanding and nurturing your starter to mastering the art of shaping and baking the perfect loaf. Get ready to discover the secrets to achieving that signature crispy crust and airy interior. Whether you're a seasoned baker or just starting your culinary adventure, this guide will equip you with the knowledge and confidence to create truly exceptional french bread from sourdough starter. We'll cover essential techniques, troubleshoot common problems, and share expert tips to elevate your baking game. Prepare to be amazed by the delicious results – and the compliments that will surely follow! So, let's embark on this flavorful journey together and unlock the secrets to perfect homemade French bread!
Mastering the Sourdough Starter for French Bread
Mastering the Sourdough Starter for French Bread
Understanding Your Starter
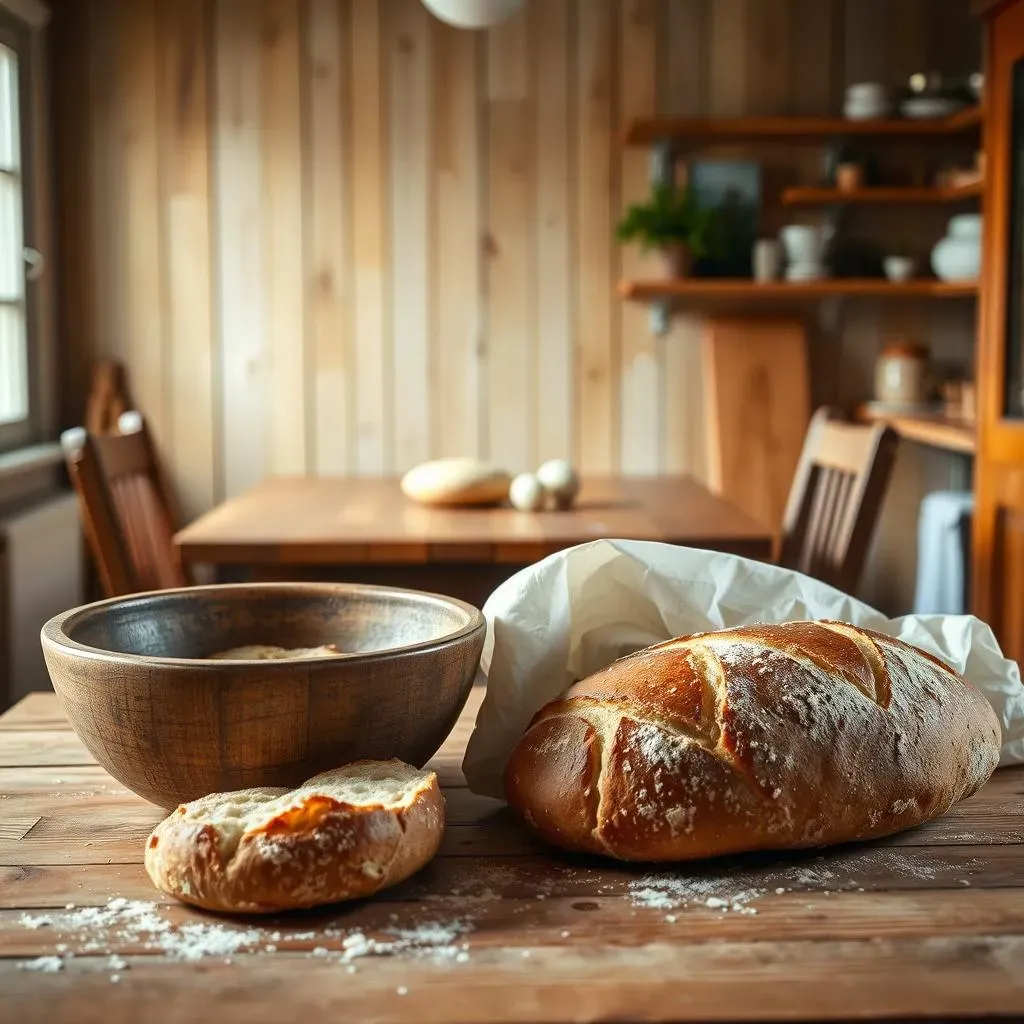
So, you're diving into the world of sourdough, huh? That's awesome! The heart of any great sourdough bread, including our star today – French bread – is a thriving, happy sourdough starter. Think of it as your secret ingredient, a living, breathing ecosystem of wild yeasts and bacteria. A properly maintained starter provides that signature tangy flavor and airy texture we all crave in amazing sourdough bread. Before you even think about flour or water, getting to know your starter is key. It’s a bit like having a pet; it needs feeding, attention, and the right environment to flourish. A healthy starter will be bubbly and active, a clear sign it's ready to work its magic.
Feeding your starter is simple, but consistency is key. Generally, you'll feed it by combining equal parts starter, water, and flour. The frequency depends on your starter's activity level and the temperature of your environment. It might need daily feedings, or it might be happy with every other day. Observe the rise of your starter; a good rise indicates a healthy, active culture, ready for baking. If your starter is sluggish, it might need a little extra TLC – a warmer environment or a slightly higher ratio of flour to water. Check out our guide to for more details.
Starter Stage | Appearance | Activity Level |
|---|---|---|
Young Starter | Slightly bubbly, may have a few air pockets | Slow rise |
Mature Starter | Very bubbly, significant rise, slightly sour smell | Fast rise, doubles in size within 4-6 hours |
Maintaining a Healthy Starter
Keeping your sourdough starter healthy is crucial for consistent baking results. Think of it as a tiny, hungry creature that needs regular nourishment and a stable home. Storing your starter properly is essential. You can keep it in the refrigerator to slow its activity when not in use, but remember to feed it before using it for baking. The refrigerator slows down the fermentation process, extending its life. When you're ready to bake, take it out a day or two in advance to allow it to regain its vigor. Make sure to store your starter in an airtight container, allowing it to breathe slightly.
Another crucial aspect is consistency. Try to feed your starter at roughly the same time each day. This helps maintain a regular feeding schedule, contributing to a more predictable and reliable fermentation process. Regular feedings ensure the starter remains active and produces the necessary gases for leavening the bread. If you're traveling or find yourself unable to feed it regularly, consider storing it in the refrigerator and feeding it when you return. If you’re struggling with a less-than-perfect starter, you might find our article on helpful.
- Store in an airtight container
- Feed regularly (every 12-24 hours)
- Keep at room temperature or refrigerate for long-term storage
Troubleshooting Common Starter Issues
Even the most experienced bakers encounter occasional hiccups with their sourdough starters. Don't panic! It’s a learning process. If your starter is unusually inactive or smells off, it might be a sign of trouble. If your starter smells like alcohol, it’s likely overfed or the environment is too warm. Try adjusting the feeding schedule or moving it to a cooler spot. If your starter isn’t rising at all, it’s possibly underfed or the environment is too cold. Try increasing the amount of flour or moving it to a warmer spot.
Sometimes, starters can get “off,” developing an unpleasant odor or a strange consistency. If you notice any signs of mold (fuzzy or colored spots), it's time to start over. Don't worry, it's not a personal failure; it happens to the best of us. It’s a chance to learn and improve your starter-handling skills. Remember, patience and observation are key to mastering sourdough. A healthy, active starter is the foundation of delicious bread. For more tips and tricks on how to deal with common issues, be sure to explore our recipe and guide.
The Art of Shaping and Baking Perfect French Bread from Sourdough Starter
The Art of Shaping and Baking Perfect French Bread from Sourdough Starter
Shaping Your Dough
Alright, let's talk about shaping your dough. This isn't just about making it look pretty; the shaping process is crucial for developing the right texture and structure in your final loaf. Think of it as sculpting – you're working with a living material that responds to your touch. Gentle handling is key. Rough treatment can lead to a dense loaf, lacking that airy interior we're aiming for. We’ll be focusing on creating a long, oval-shaped loaf, the classic form of French bread. This shape allows for even baking and a beautiful presentation.
Before you start shaping, ensure your dough is properly proofed. It should be soft, pliable, and slightly sticky, yet hold its shape. Gently turn the dough out onto a lightly floured surface. Avoid using too much flour; excess flour will make the dough dry and difficult to work with. For a detailed guide on shaping and handling your dough, check out our guide. Once shaped, allow the dough to proof for another hour or two, giving it time to rise before baking. This final rise gives the yeast time to produce carbon dioxide, creating those lovely air pockets inside the bread. A longer proof allows for a more complex flavor development.
- Gently handle the dough
- Use minimal flour
- Shape into an oval loaf
- Proof for 1-2 hours
Baking Your French Bread
Now comes the exciting part – baking! Preheat your oven to a high temperature (around 450°F or 230°C). A hot oven helps to create that signature crispy crust. Before putting your loaf in the oven, score the top of the dough with a sharp knife or lame. These scores not only look beautiful but also allow the bread to expand properly during baking, preventing cracks and tears. Experiment with different scoring patterns to find your favorite style. For more advanced scoring techniques, check out our .
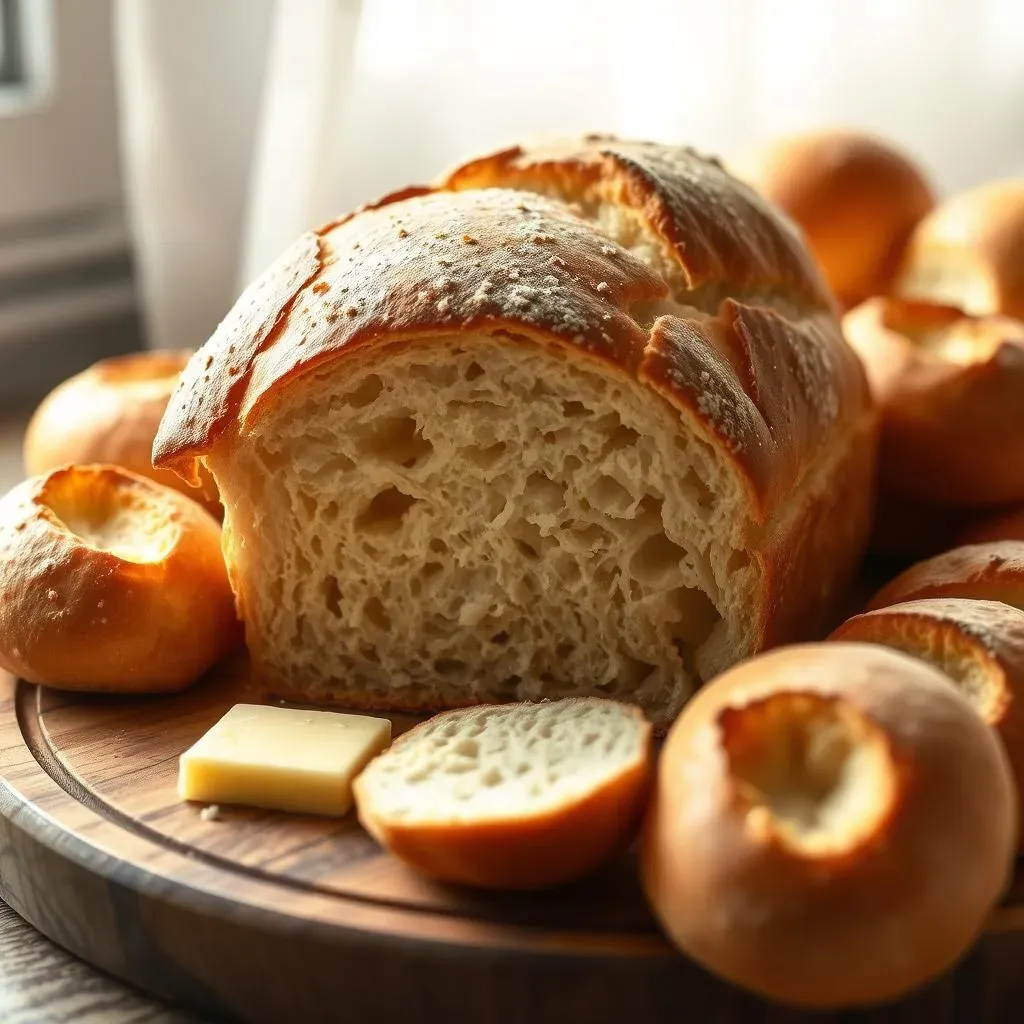
For extra-crisp crust, consider adding steam to your oven during the first few minutes of baking. This can be done by placing a pan of boiling water on the bottom rack of your oven. The steam creates a humid environment, promoting a better rise and a crispier crust. Keep an eye on your bread as it bakes. It's ready when it's deeply golden brown and sounds hollow when tapped on the bottom. A perfectly baked French bread should have a beautifully browned crust, a light and airy inside, and a distinct sourdough tang. Once baked, transfer it to a wire rack to cool completely before slicing and serving. Enjoy the fruits of your labor!
Baking Stage | Oven Temperature (°F) | Baking Time (minutes) |
|---|---|---|
Initial Bake (with steam) | 450 | 15-20 |
Final Bake (without steam) | 425 | 20-25 |
Tips and Tricks for the Best French Bread from Sourdough Starter
Tips and Tricks for the Best French Bread from Sourdough Starter
Flour Power: Choosing the Right Flour
Let's talk flour! The type of flour you use significantly impacts the final outcome of your French bread. A strong bread flour, with its high protein content, is ideal for creating a strong gluten network, resulting in a chewier, more structured loaf. This gluten network traps the gases produced during fermentation, creating that characteristic airy texture. Don't be afraid to experiment with different flour types; the possibilities are endless. For a deeper dive into flour choices, check out our guide on .
While bread flour is often preferred for its robust gluten development, you can also experiment with blends to achieve different results. Adding a small percentage of whole wheat flour can add a nutty flavor and a slightly denser crumb. You could even incorporate rye flour for a more complex taste. Remember, the key is to find a flour blend that works best for your starter and your desired texture. If you're short on time, consider our recipe.
- Use strong bread flour for best results
- Experiment with flour blends for varied flavor and texture
- Consider whole wheat or rye flour for added complexity
Hydration is Key: Finding the Right Balance
The hydration level of your dough is another crucial factor influencing the final texture of your French bread. Hydration refers to the ratio of water to flour in your dough. A higher hydration dough (more water) results in a more open crumb structure, a hallmark of excellent French bread. However, a higher hydration dough can be more challenging to work with, requiring more experience to handle effectively. For a detailed explanation of hydration levels, check out our guide.
Conversely, a lower hydration dough (less water) is easier to handle but may result in a denser crumb. Finding the right balance is crucial. Start with a recipe that suits your experience level. As you become more confident, you can experiment with different hydration levels to see how they affect the final product. If you're unsure, start with a recipe that suggests a medium hydration level and adjust accordingly based on your starter’s activity and the flour you’re using. Take a look at our recipe for a good starting point.
Hydration Level | Dough Consistency | Crumb Structure |
|---|---|---|
High (75-80%) | Very sticky | Open, airy |
Medium (65-70%) | Slightly sticky | Even, well-structured |
Low (60-65%) | Less sticky | Dense |
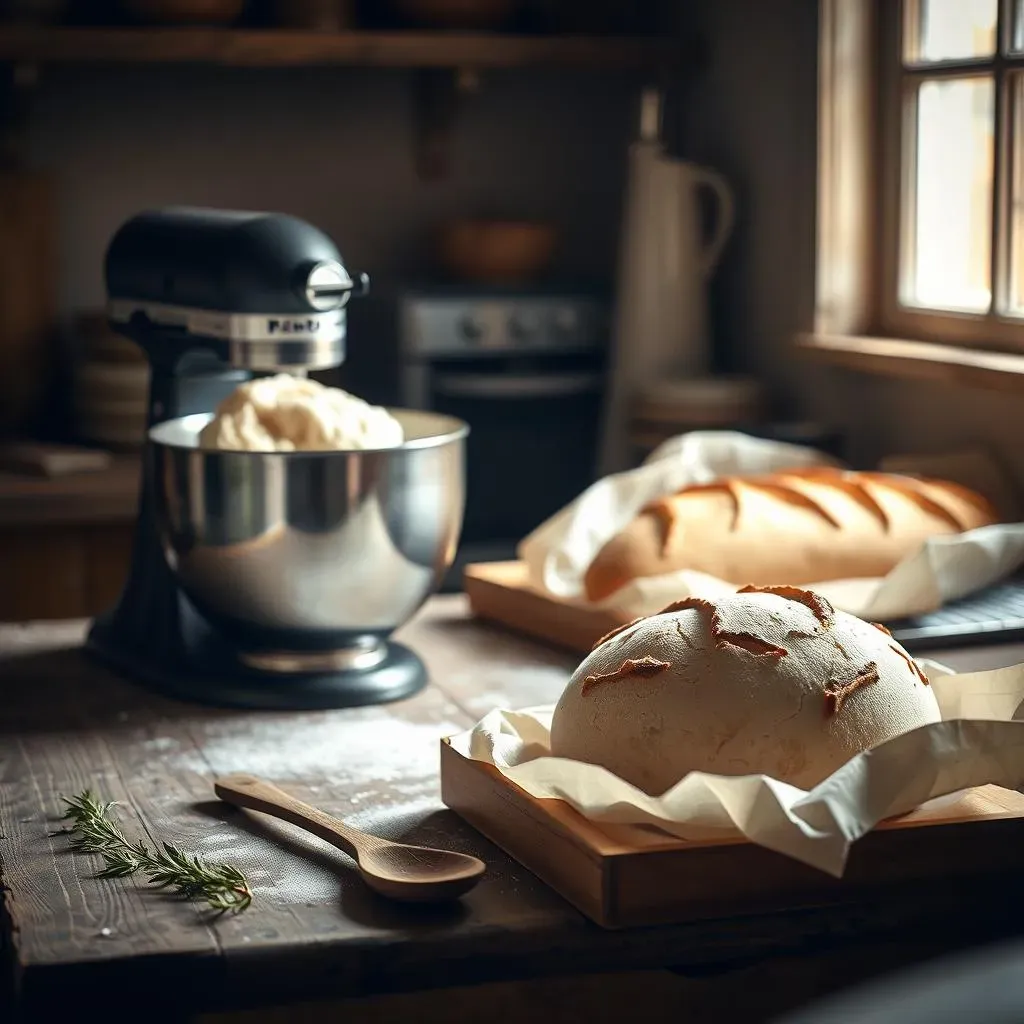
Bulk Fermentation: The Art of Patience
Bulk fermentation is the period when the dough rises before shaping. This crucial step allows the yeast to work its magic, producing carbon dioxide and developing flavor. The length of bulk fermentation depends on several factors, including the temperature of your environment, the activity of your starter, and the hydration of your dough. A warmer environment typically leads to faster fermentation. For more on fermentation, check out our .
During bulk fermentation, you may need to perform a few "stretch and folds." These gentle manipulations help to develop the gluten structure while distributing the yeast evenly throughout the dough. Don't rush this process. Proper bulk fermentation is crucial for achieving a light and airy loaf. If you're working with a less active starter, you may need to extend the bulk fermentation time. If your dough is rising too quickly, try lowering the ambient temperature. For quicker results, try our .
Proofing Perfection: The Final Rise
After shaping, your dough needs another rest – the final proof. This final rise allows the dough to relax and further develop its flavor. The proofing time depends on the temperature of your environment and the dough's activity level. A warmer environment will result in a quicker proof, while a cooler environment will slow down the process. A properly proofed dough will have almost doubled in size and will feel soft and airy. For a detailed guide on proofing, see our article on .
Over-proofing can lead to a flat loaf, while under-proofing can result in a dense texture. It’s a delicate balance. Use your senses to guide you. The dough should feel light and puffy. If it feels too firm or tight, it needs more time. If it's overly soft and collapsing, it may be over-proofed. For a more precise method, consider using a proofing box to maintain a consistent temperature and humidity. For a quick and easy recipe, try our recipe.
- Proof in a warm, draft-free environment
- Allow the dough to almost double in size
- Avoid over-proofing or under-proofing
Oven Spring: The Magic Moment
Oven spring is the final rise your dough experiences in the hot oven. This dramatic increase in volume is what gives your French bread that airy texture and impressive height. Achieving a good oven spring depends on several factors, including the proper fermentation, shaping, and proofing of your dough, as well as the oven's temperature and steam. A hot oven is crucial for a good oven spring. For a better understanding of oven spring, check out our .
Adding steam to your oven during the initial baking phase creates a humid environment that helps the dough rise more effectively. Scoring the dough properly also allows it to expand freely. Insufficient scoring can lead to uneven rising and potential cracking of the crust. For more advanced scoring techniques, see our guide on . Remember, a well-executed oven spring is a testament to your baking prowess!
Factor | Impact on Oven Spring |
|---|---|
Proper Fermentation | Essential for gas production |
Correct Shaping | Allows for even expansion |
Adequate Proofing | Sets the stage for final rise |
High Oven Temperature | Encourages rapid expansion |
Steam | Creates a humid environment |