Table of Contents
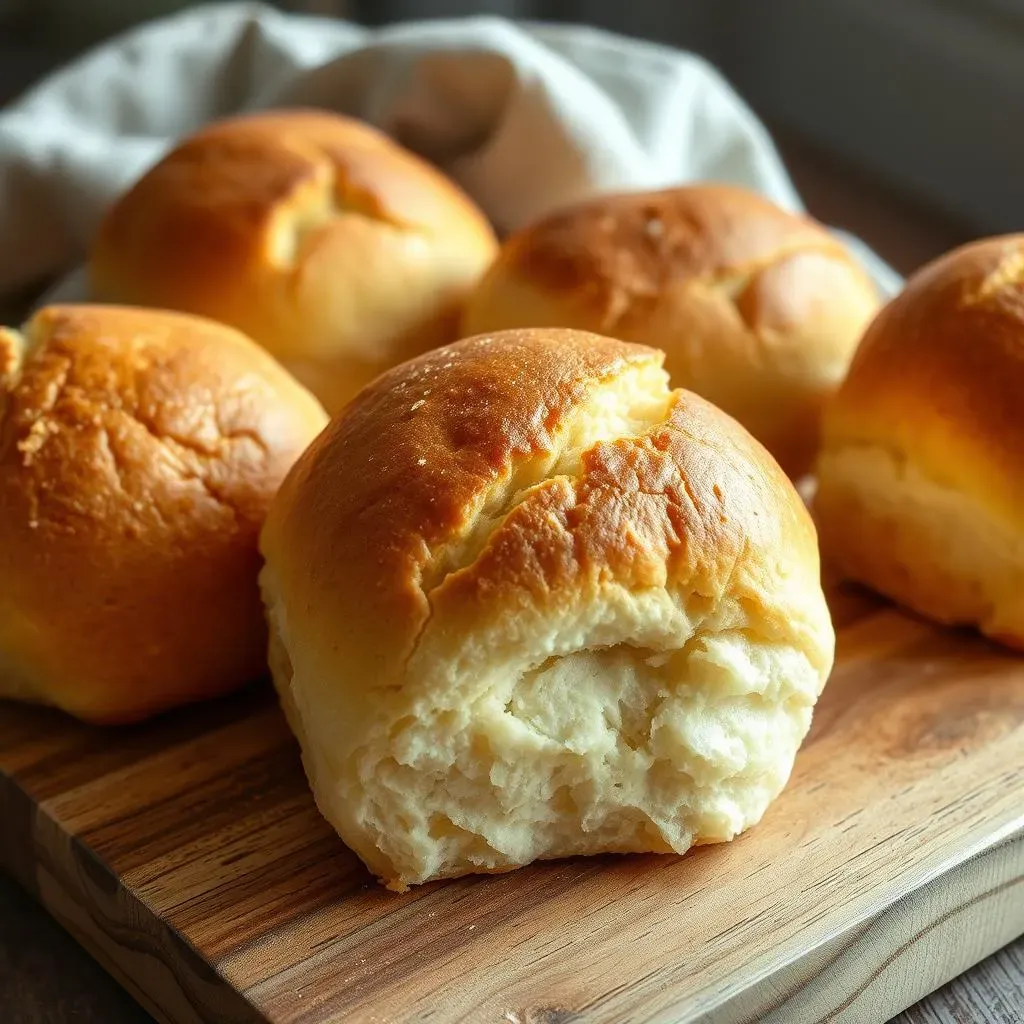
Ever dream of sinking your teeth into a warm, fluffy roll with a satisfyingly crisp crust? Then get ready, because we're about to make some magic happen in your kitchen! This isn't just any bread recipe; this is your go-to guide for crafting the most amazing french bread dinner rolls. Forget those store-bought imposters, we're talking about bakery-quality deliciousness, made right in your own home. I’ll walk you through each step, from mixing the simple dough to achieving that perfect golden-brown bake. Whether you're a kitchen newbie or a seasoned pro, this french bread dinner rolls recipe is so easy and forgiving that you’ll be whipping up batches in no time. We'll cover all the bases, from getting the dough just right to shaping those perfect little rolls. Plus, I'll share some sneaky tips and tricks to make your rolls even better. Get ready to impress everyone with your fresh-baked bread skills. So, let’s get baking!
Making the Perfect French Bread Dinner Rolls Dough
Making the Perfect French Bread Dinner Rolls Dough
The Foundation: Activating the Yeast
Okay, let's get down to the nitty-gritty of dough making. It all starts with the yeast, our little magic ingredient. You'll need warm water, not too hot, not too cold, think bathwater, about 105-115°F. If it's too hot, you’ll kill the yeast; too cold and it won't wake up properly. Sprinkle in your yeast and a pinch of sugar – this is like giving the yeast a little snack to get going. Let it sit for about 5-10 minutes. You'll know it's ready when it gets all foamy and bubbly, like a tiny science experiment. If it doesn't get foamy, your yeast might be old, and you'll need to start over with fresh yeast. Trust me, it's worth the wait!
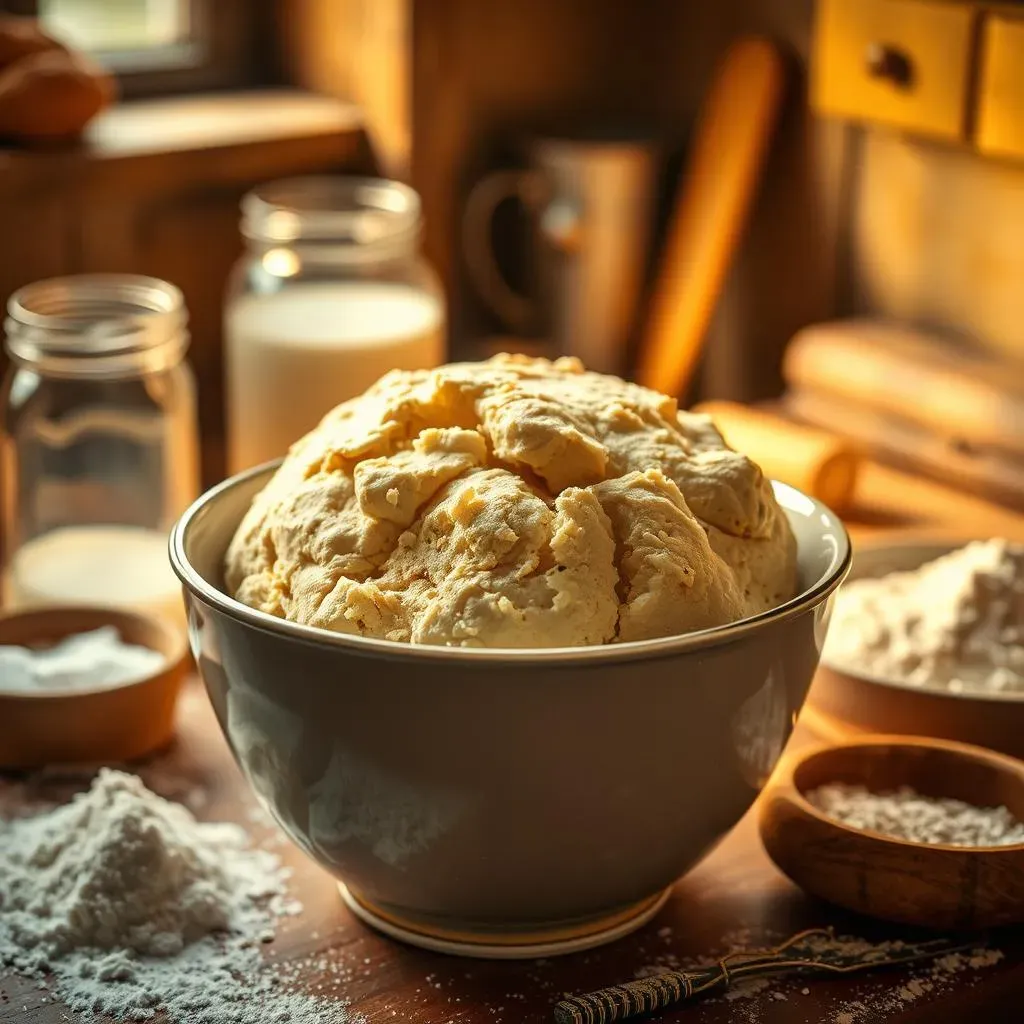
Next up, we combine the wet and dry ingredients. In a large bowl, mix your yeast mixture with oil, salt, and most of your flour. I usually start with less flour and add more as needed. Mix it all together until it forms a shaggy dough. Now, for the fun part: kneading. You can do this by hand on a lightly floured surface or use a stand mixer with a dough hook. Knead for about 8-10 minutes until the dough becomes smooth and elastic. It should feel soft and slightly tacky, but not sticky. If it's too sticky, add a little more flour, one tablespoon at a time. Remember, patience is key here – don't rush the kneading process.
Ingredient | Amount | Purpose |
|---|---|---|
Warm Water | 1 cup (105-115°F) | Activates yeast |
Active Dry Yeast | 2 1/4 teaspoons | Leavening agent |
Granulated Sugar | 1 1/2 teaspoons | Feeds the yeast |
Oil (Vegetable or Olive) | 2 tablespoons | Adds moisture and richness |
Salt | 1 1/2 teaspoons | Enhances flavor and controls yeast |
Unbleached All-Purpose Flour | 2 to 2 1/2 cups | Forms the structure of the dough |
The First Rise: Letting the Dough Work Its Magic
After kneading, place your dough in a lightly oiled bowl, turning it to coat. Cover the bowl with plastic wrap or a damp cloth and let it rise in a warm place until doubled in size. This usually takes about 1 to 1.5 hours, but it can vary depending on the temperature of your kitchen. A warm spot is key; I often use my oven with the light on. Don't skip this step, it's crucial for that light, airy texture. You'll want to resist the urge to peek, but trust the process. The dough needs its time to do its thing.
Once the dough has doubled, gently punch it down to release the air. This is a very satisfying step! Now, it's time to move on to shaping the rolls. You've done the hard work, now comes the fun part. This dough is so forgiving, you'll be amazed at how easy it is to work with. Remember, the key to great bread is patience and not overworking the dough. You've got this, and soon you'll have the best homemade french bread dinner rolls ever!
Shaping and Baking Your French Bread Rolls
Shaping and Baking Your French Bread Rolls
Dividing and Shaping the Dough
Alright, so your dough has doubled and you've punched it down – feels good, right? Now it’s time to divide it. Gently turn the dough out onto a lightly floured surface. Divide it into 12 equal pieces. I like to use a bench scraper for this, but a knife works just fine. Now, for the shaping. Take each piece and gently form it into a round ball. You don't need to be too fussy here, just make sure they're roughly the same size. Think of it like making little snowballs, but with dough. Place these little balls into a greased 9x13 inch pan. You want them close together, but not squished. They need a little room to puff up.
Once they are all snug in the pan, cover it with plastic wrap or a damp cloth and let them rise again. This second rise is super important, it's what gives you that light, airy texture. Let them rise until they're very puffy and doubled in size. This should take about 30-45 minutes. While they are rising, preheat your oven to 400 degrees. Yes, you heard me right, 400 degrees! You want that oven nice and hot to get that perfect crust. This is like a mini spa day for your rolls, and they're going to come out looking and tasting amazing, trust me.
Step | Action | Why |
|---|---|---|
Divide Dough | Into 12 equal pieces | Ensures even baking and portion sizes |
Shape Dough | Into round balls | Creates a classic roll shape |
Second Rise | Let rise in pan until doubled | Develops light and airy texture |
Baking to Golden Perfection
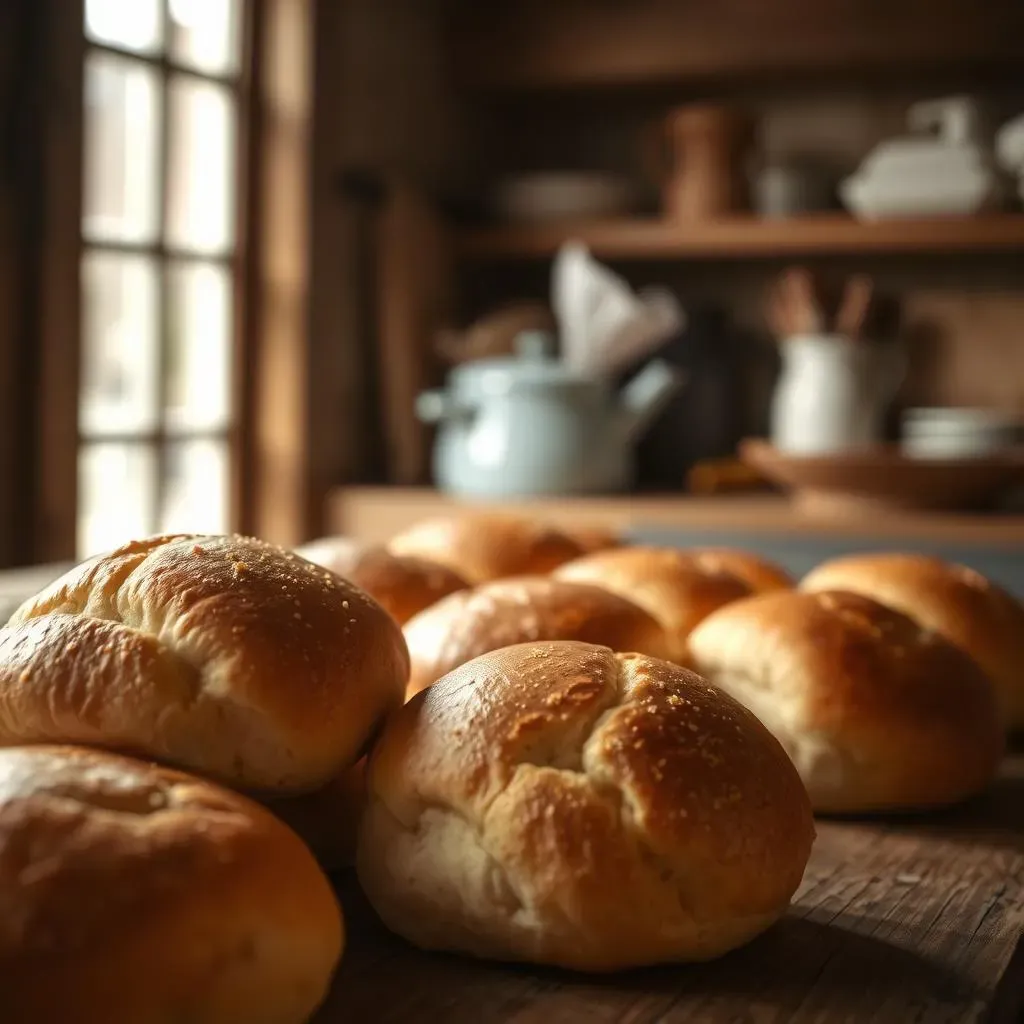
Okay, the oven is hot, and your rolls are looking all puffy and ready to go. Pop that pan into the preheated oven and bake for 15-17 minutes, or until they're lightly browned and cooked through. The timing might vary a bit depending on your oven, so keep an eye on them. You want them to be golden brown and sound hollow when you tap them. This is where the magic happens! The smell will fill your kitchen and you’ll start to get excited.
Once they come out of the oven, immediately brush the tops with melted butter. This is not just for looks, it adds a nice flavor and a beautiful sheen. Let them cool slightly in the pan before you transfer them to a wire rack to cool completely. If you can resist eating them right away, you're stronger than I am! I usually sneak one right off the pan, they are just that irresistible. And there you have it, your very own homemade french bread dinner rolls! You did it!
Serving and Enjoying Your Fresh Rolls
Now that you have these beautiful, golden brown rolls, what's next? Well, the options are endless! These french bread dinner rolls are perfect for sandwiches, subs, or just enjoying with a little butter. They're also amazing with soups and salads. Think about it: warm, crusty rolls with a bowl of creamy tomato soup, or piled high with your favorite sandwich fillings. You can also use them to make sliders for a party. The possibilities are endless!
These rolls also freeze really well. Once they are completely cool, you can put them into a freezer bag and they’ll keep for a few months. When you are ready to eat them, just thaw them and warm them up in the oven. They taste just as good as the day you baked them, which is pretty awesome. So, don't be shy about doubling or tripling the recipe; you’ll be glad you did. This french bread dinner rolls recipe is a total game changer, making every meal a bit more special. Now it’s time to gather your loved ones and enjoy the fruits of your labor!
Tips, Tricks, and Delicious Variations for Your French Bread Rolls Recipe
Tips, Tricks, and Delicious Variations for Your French Bread Rolls Recipe
Making the Most of Your Dough
Okay, so you've mastered the basic french bread dinner rolls recipe, congrats! But, let's be honest, there's always room to tweak and improve, right? One tip I swear by is using a kitchen scale for measuring flour. It makes a HUGE difference in consistency. If you're just using measuring cups, you might be packing in more flour than you think, which can lead to dry, dense rolls. And speaking of flour, don't be afraid to experiment! Try swapping out some of the all-purpose flour for whole wheat to get a nuttier flavor and a bit more fiber. Just don't go overboard, or you might end up with hockey pucks instead of rolls. Another trick is to add a little extra moisture to the oven while baking. You can do this by placing a pan of hot water on the bottom rack. This creates steam, which helps give your rolls a nice, crispy crust. It's like a mini bread spa for your rolls, and it makes a difference.
And here's a little secret: don't be afraid to let your dough rise a bit longer if you’ve got the time, a longer rise equals better flavor. I usually let mine go an extra 30 minutes if I'm not in a hurry. Also, if you want to get that perfect golden brown color, try brushing the tops with an egg wash before baking. It’s just a simple egg mixed with a tablespoon of water or milk, but it’s makes them look so professional. And don't forget the butter! Brushing melted butter on the rolls as soon as they come out of the oven is the best way to finish them off. It adds a delicious flavor and a beautiful shine. It's the little things, you know?
Tip | Why It Helps |
|---|---|
Use a Kitchen Scale | Ensures accurate flour measurement for consistent results. |
Experiment with Flour | Adds different flavors and textures, like using whole wheat. |
Steam in the Oven | Creates a crispy crust. |
Longer Rise Time | Improves flavor. |
Egg Wash | Gives a golden-brown color. |
Brush with Butter | Adds flavor and a beautiful shine. |
Delicious Variations to Try
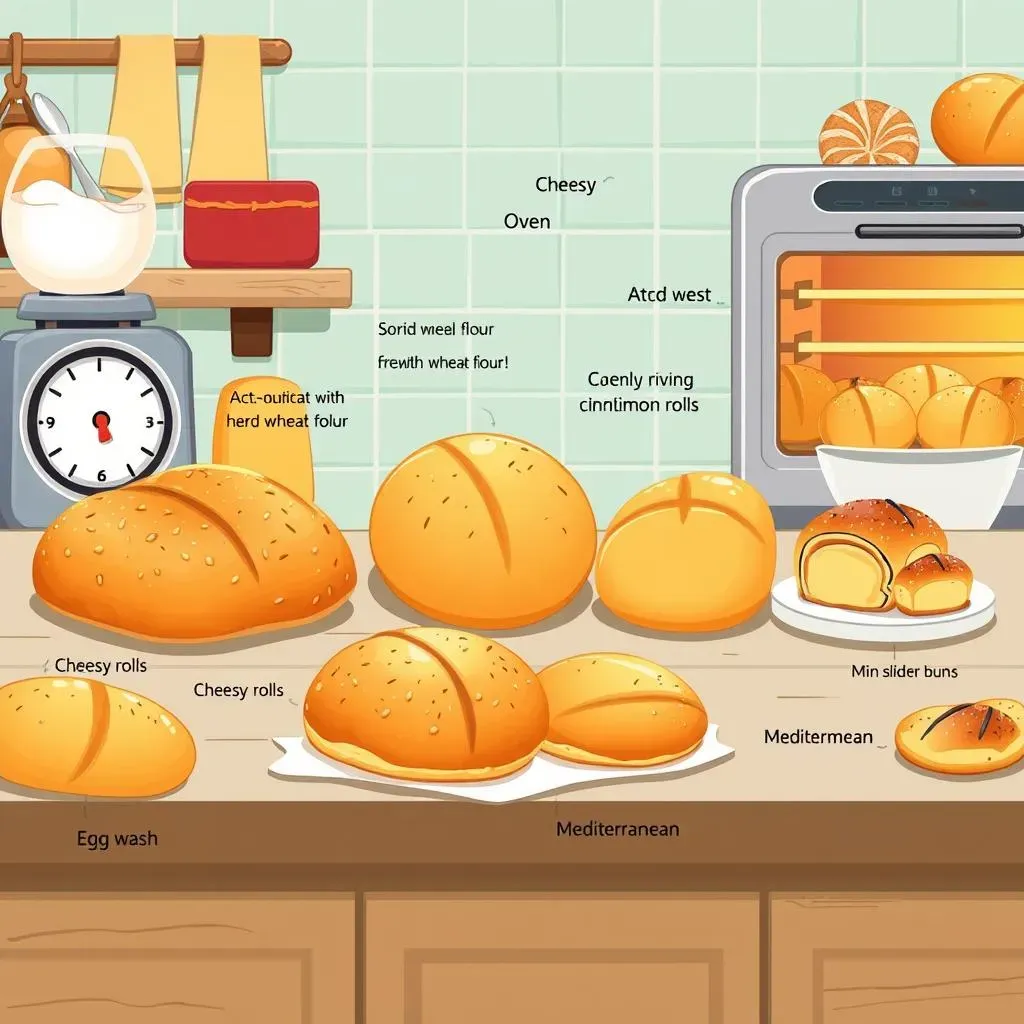
Now, let's get into the fun stuff – variations! Once you've got the basic french bread dinner rolls recipe down, the possibilities are endless. One of my favorites is adding some herbs and garlic. Just mix some minced garlic and your favorite herbs, like rosemary or thyme, into the dough before the first rise. It makes for a delicious savory roll that's perfect with pasta or soups. If you are feeling a little cheesy, try adding some grated parmesan or cheddar to the dough. It melts into pockets of cheesy goodness and it's so good, you will not regret it. You can also make sweet rolls by adding a tablespoon or two of sugar and some cinnamon to the dough. Then, before baking, sprinkle a little more cinnamon sugar on top. These are amazing for breakfast or as a sweet treat.
For a fun twist, try making mini slider buns! Just divide the dough into smaller pieces and bake them for a bit less time. They're perfect for parties or for a fun family dinner. You can also add some chopped olives or sun-dried tomatoes to the dough for a Mediterranean flavor. The key here is to not be afraid to experiment. Baking should be fun and you should try things out to make the recipe your own. So, go ahead, get creative and make these rolls your own. And the best part? You can brag about how amazing they are to all your friends. Happy baking!
- Herb and Garlic Rolls: Mix minced garlic and herbs into the dough.
- Cheesy Rolls: Add grated parmesan or cheddar to the dough.
- Sweet Cinnamon Rolls: Add sugar and cinnamon to the dough, sprinkle more on top.
- Mini Slider Buns: Divide the dough into smaller pieces for mini buns.
- Mediterranean Rolls: Add chopped olives or sun-dried tomatoes.