Table of Contents
Ever dream of pulling warm, crusty, and utterly irresistible rolls from your oven? Well, get ready because we're diving into the world of homemade french bread dinner rolls. Forget those store-bought disappointments; we're talking about the real deal, the kind that make your kitchen smell like a bakery and your family beg for seconds. This isn't just another recipe; it's your ticket to bread-baking glory, even if you've never kneaded dough before. In this article, I will guide you through a simple recipe, offer some tips to make your rolls perfect every time, and share ideas on how to serve and store them. We'll cover everything from mixing the dough to achieving that coveted golden-brown crust. So, grab your apron, let's bake some magic, and make some amazing french bread dinner rolls together!
The Magic of French Bread Dinner Rolls: A Simple Recipe
The Magic of French Bread Dinner Rolls: A Simple Recipe
The Foundation: Simple Ingredients, Big Flavor
Okay, let's talk about the magic behind these french bread dinner rolls. It's not some complicated spell, I promise! The beauty is in the simplicity, really. You just need a few basic ingredients you probably already have: flour, water, yeast, salt, and maybe a touch of sugar or honey to get the yeast going. That's it! It's like a science experiment, but instead of a volcano, you get delicious bread. And, honestly, watching those simple ingredients transform into fluffy rolls is pretty darn cool.
Don't let the idea of "yeast" scare you. It's just a tiny living thing that makes the dough rise and gives bread that amazing airy texture. Think of it like a tiny army of flavor-makers working their magic in your bowl. The key here is to make sure the water is warm, not hot, so you don't accidentally kill your little yeast buddies. We are not trying to make yeast soup, we want bread!. It’s all about creating a happy environment for them to do their thing, and trust me, your taste buds will thank you for it.
Ingredient | Purpose |
|---|---|
Flour | Provides structure and bulk |
Water | Activates the yeast and hydrates the flour |
Yeast | Makes the dough rise |
Salt | Controls yeast activity and adds flavor |
Sugar/Honey | Feeds the yeast |
The Process: From Dough to Deliciousness
So, you've got your ingredients, now what? The process is pretty straightforward. You mix everything together, knead the dough for a bit (that's the fun part where you get to punch it!), let it rise, shape it into rolls, and then bake until golden brown. It sounds like a lot, but it's actually quite relaxing. The kneading, for example, is like a mini-workout for your arms, and it's a great way to relieve some stress (and maybe work off the bread you're about to eat). And the smell? Oh man, the smell of baking bread is just the best.
Don't worry if your dough isn't perfect the first time. Bread making is a bit of an art, and it takes practice. The important thing is to have fun with it and learn as you go. Remember, even if your rolls don't look like they came from a fancy bakery, they'll still taste amazing because they're homemade with love (and maybe a little bit of flour). And that, my friend, is what makes these french bread dinner rolls so magical. It's the process, the smells, and the satisfaction of making something delicious with your own two hands.
Tips for Perfect French Bread Dinner Rolls: Techniques and Tweaks
Tips for Perfect French Bread Dinner Rolls: Techniques and Tweaks
The Kneading Know-How
Alright, so you've got your dough mixed, but here's the thing - kneading isn't just about punching dough. It's about developing the gluten, which is what gives the bread its structure and that lovely chew. Think of it like you're giving the dough a massage, gently working it until it becomes smooth and elastic. You'll know it's ready when it doesn't feel sticky anymore and it springs back when you poke it. It's a bit of a workout, I'm not gonna lie, but it's worth it. If you're using a stand mixer, let it do the work for about 8-10 minutes on medium speed. If you're kneading by hand, plan for about 10-15 minutes of some good ol' elbow grease.
Now, don’t be afraid to get your hands a little messy. It’s part of the fun! If the dough feels too sticky, add a tablespoon of flour at a time, but be careful not to add too much, or your rolls will be tough. If you feel the dough is too dry, add a teaspoon of water at the time. It’s all about finding that perfect balance. And remember, practice makes perfect. The more you knead, the better you'll get at feeling what the dough needs. It's like a secret language between you and the bread. And it's so satisfying when you get it right.
The Rise and Shine: Proofing Perfection
So, you've kneaded your heart out, now comes the waiting game, also known as "proofing." This is where the yeast does its magic, creating all those lovely air pockets that make your rolls light and fluffy. You want to place your dough in a greased bowl, turn it to coat, and cover it with a clean towel or plastic wrap. Find a warm, draft-free spot for it to hang out. Think of it like sending your dough on a mini-vacation to a spa. It needs to relax and get all puffy.
The ideal temperature is around 75-80°F (24-27°C). If your kitchen is cold, you can try placing the bowl in a slightly warm oven (turned off!) with the oven light on or near a warm spot. The dough should double in size, which usually takes about 1-2 hours, depending on the temperature. Don’t rush it; give it the time it needs. When it's ready, it will look all puffy and glorious. And that, my friend, is when you know you're one step closer to french bread dinner roll heaven. Also, don't punch the dough down too hard, we want all those lovely bubbles to stay in the dough.
Tip | Why it Matters |
|---|---|
Knead properly | Develops gluten for structure and chew |
Proof in a warm place | Ensures the dough rises properly |
Don't overwork the dough | Avoids tough rolls |
Use warm water | Activates the yeast properly |
Serving and Storing Your French Bread Dinner Rolls: Enjoying Your Bake
Serving and Storing Your French Bread Dinner Rolls: Enjoying Your Bake
Fresh from the Oven: Serving Suggestions
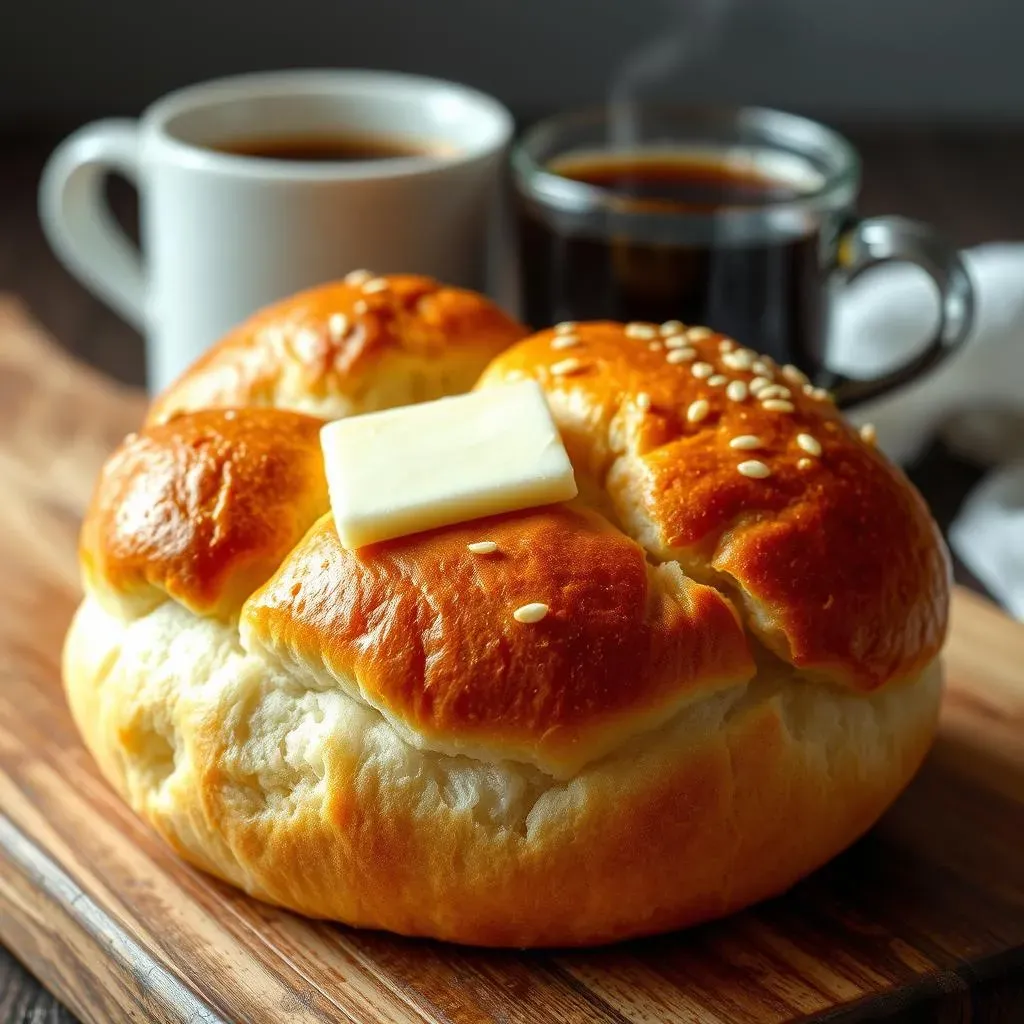
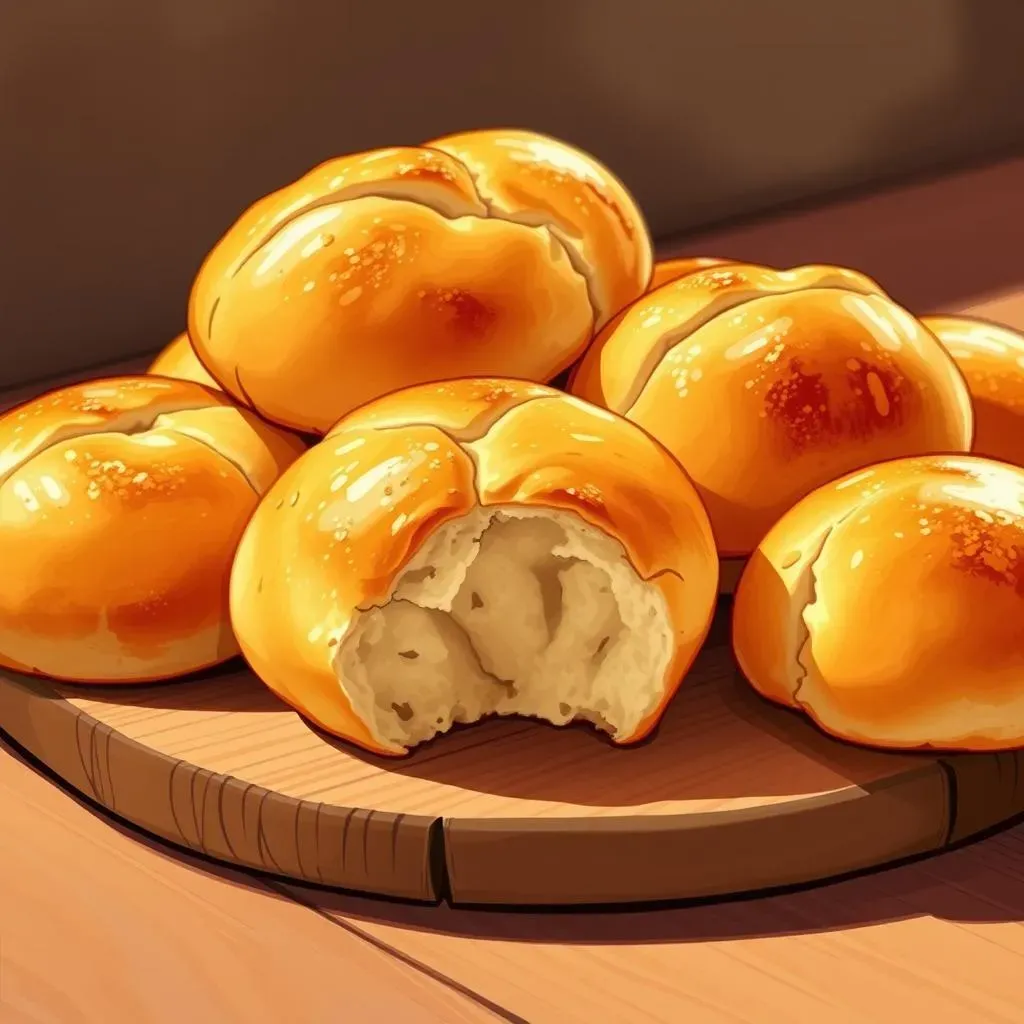
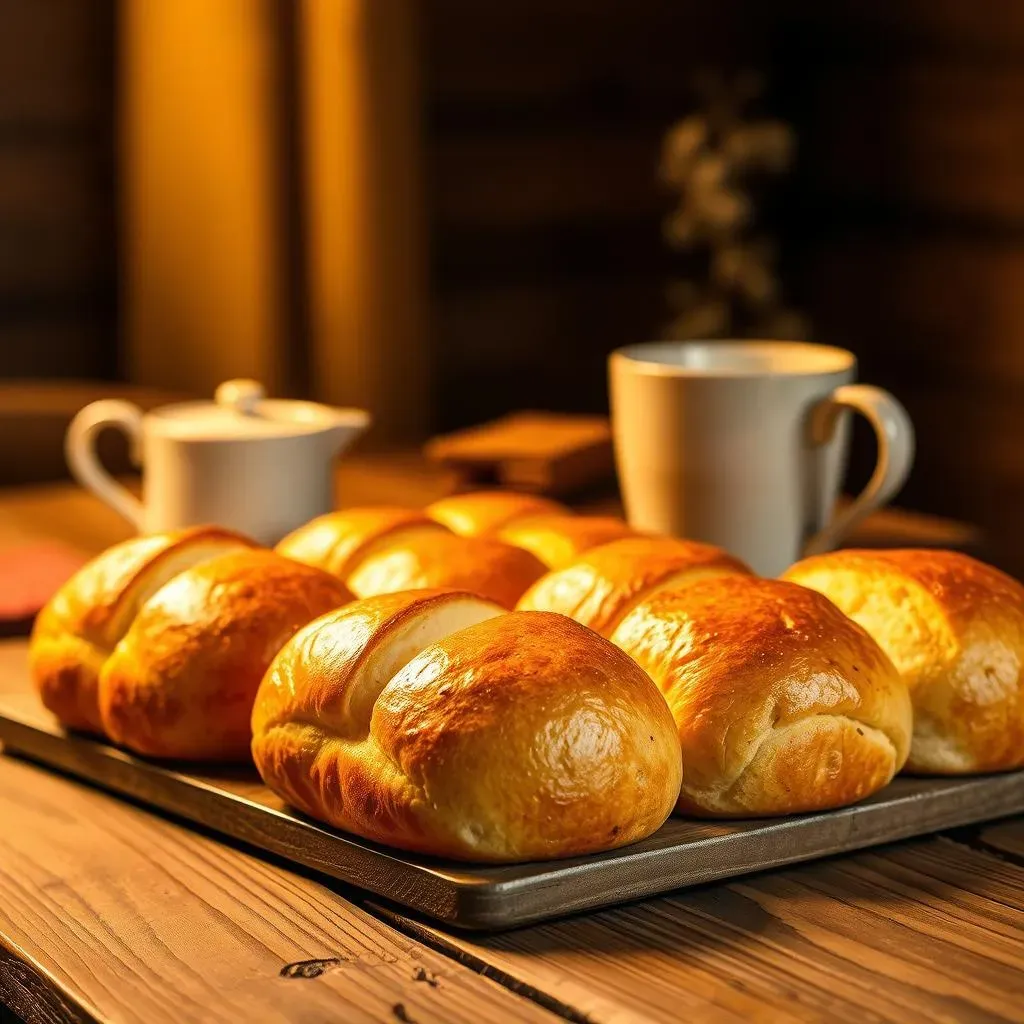
Okay, your french bread dinner rolls are out of the oven, golden brown, and smelling absolutely divine. Now what? Well, first of all, resist the urge to eat them all at once (I know, it's hard!). Seriously though, these rolls are so versatile. You can serve them warm with a pat of butter, or alongside your favorite soup or salad. They're also fantastic for mini-sandwiches, sliders, or even as a base for some killer garlic bread. Think of them as your blank canvas for deliciousness. And let's be honest, there's nothing better than tearing into a warm roll with your hands, maybe dipping it in some olive oil, and just enjoying the simple pleasure of freshly baked bread. It's the little things, right?
Don't be afraid to get creative! Try pairing them with different herbs and spices, or even adding a sprinkle of sea salt on top before serving. And if you're feeling fancy, you can make a quick garlic butter by melting some butter with minced garlic and a pinch of parsley. Brush it on the rolls while they're still warm for an extra layer of flavor. The possibilities are endless, really. It's all about finding the perfect way to enjoy your hard work. Remember, you made this, and that makes them taste even better.
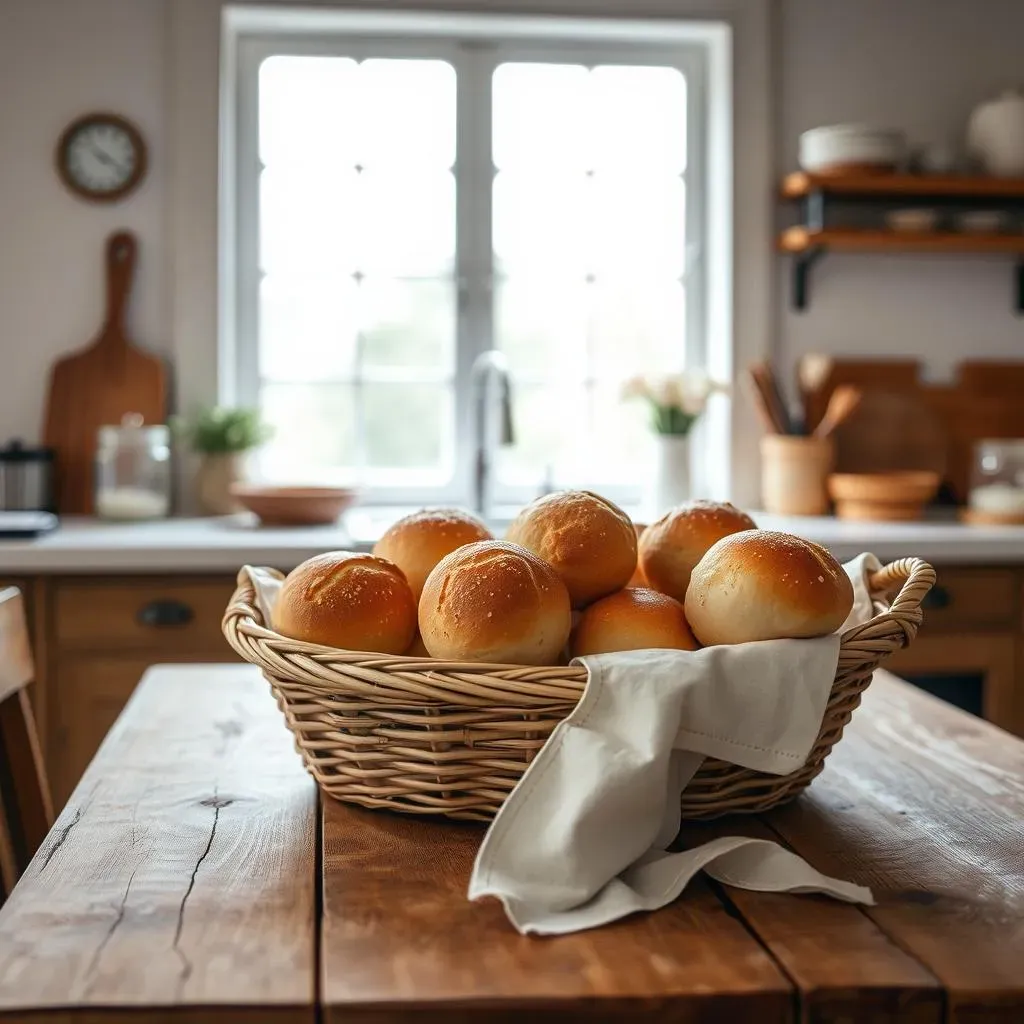
Keeping the Goodness: Storing Your Rolls
So, you've managed not to eat all the rolls (good job!), now you're wondering how to keep them fresh. Here's the deal: freshly baked bread is best eaten within a day or two. But, if you need to store them longer, you’ve got options. For short-term storage, keep them in a bread bag or airtight container at room temperature. This will help prevent them from drying out too quickly. If you want them to stay soft, you can put a paper towel in the bag, this will absorb any excess moisture, if you want to crisp them up a bit, do not use the paper towel.
For longer storage, freezing is your best bet. Let the rolls cool completely, then wrap them tightly in plastic wrap, followed by a layer of foil or a freezer bag. This will prevent freezer burn and keep them tasting fresh. When you're ready to eat them, just thaw them at room temperature or pop them in the oven for a few minutes to warm them up. And don't worry, they'll still taste amazing, almost as good as the day you baked them. It's like having a secret stash of deliciousness ready whenever you need it. And who doesn't need that?
Storage Method | How to Store | Duration |
|---|---|---|
Room Temperature | Bread bag or airtight container | 1-2 days |
Freezer | Wrapped tightly in plastic wrap and foil or freezer bag | 1-2 months |
Reheating for Maximum Enjoyment
Okay, so you've got some leftover rolls, maybe from the freezer. No problem! Reheating them is easy peasy. The best way is to pop them in a preheated oven at 350°F (175°C) for about 5-10 minutes, or until they're warm and crusty. If you're in a hurry, you can also use a toaster oven or even a microwave, but be careful not to overdo it, or they might get a bit rubbery. The oven is the best way to restore that lovely texture and warmth. It's like giving them a little spa treatment before they head to your plate.
Another trick is to lightly sprinkle them with water before reheating, this will help create a bit of steam and keep them from drying out. And if you're feeling extra fancy, you can brush them with a little bit of melted butter or olive oil before popping them in the oven. This will give them a nice golden color and an extra layer of flavor. Seriously, these rolls are so good, they're worth the extra effort. It's all about maximizing the enjoyment of your homemade french bread dinner rolls. Because let's be honest, you deserve it!