Table of Contents
Ever dreamt of pulling warm, crusty, and utterly delicious rolls from your oven? You know, the kind that make everyone at the table sigh with happiness? Well, you’re in luck! This isn't just any bread recipe; it's your ticket to homemade heaven with our foolproof french bread dinner roll recipe. Forget those store-bought, sad imitations. We're talking about rolls with that perfect balance: a crisp, golden crust giving way to a soft, fluffy interior. I've been baking these rolls for years, and trust me, they are a game-changer. We’ll walk through each step, from mixing the dough to achieving that perfect golden-brown color. I’ll also share some tips and tricks I've learned along the way, like how to get that perfect rise and what to do if your kitchen is a little chilly. Get ready to impress your family and friends with these amazing homemade rolls, and the best part? They're way easier to make than you think. So, let's get baking!
Making the Perfect French Bread Dinner Roll Dough
Making the Perfect French Bread Dinner Roll Dough
The Foundation: Simple Ingredients, Big Flavor
Okay, so, let's talk dough. It might seem intimidating, but honestly, it's just a handful of basic ingredients that, when combined correctly, transform into something magical. For our french bread dinner roll recipe, we're talking about flour, water, yeast, a touch of sugar, some salt, and a bit of oil. Nothing fancy, right? But here's the secret: the quality of your ingredients matters. Using good quality flour, for example, can make a noticeable difference in the texture of your rolls. And don’t skip the sugar; it's not just for sweetness, it’s what feeds the yeast and helps it do its thing. Don't worry about being too precise at first, baking is a journey, not a race, and we all start somewhere. Just make sure to use warm water, not hot, or you'll kill the yeast.
I remember one time, I was so impatient that I used water straight from the tap, which was way too hot. The yeast didn't rise, and my dough was a sad, dense mess. Lesson learned: patience is key, especially when it comes to yeast! So, take your time, measure carefully, and let’s get the foundation of our amazing rolls right.
Mixing and Kneading: The Art of the Dough
Now for the fun part: mixing the dough. You can totally do this by hand, which is kind of therapeutic, but a stand mixer with a dough hook makes things much easier. If you're going the mixer route, start by combining the warm water, yeast, and sugar. Let it sit for a few minutes until it gets all foamy and bubbly. That’s how you know the yeast is alive and ready to go. Then, add your flour, salt, and oil. Mix it all together until it forms a shaggy dough. Now, for the kneading. If you're doing it by hand, get ready to give your arms a workout! Knead for about 8-10 minutes until the dough is smooth and elastic. If you're using a mixer, let it knead for about 5-7 minutes. You’ll know it’s ready when it pulls away from the sides of the bowl and feels nice and smooth.
I've found that a good way to test if the dough is kneaded enough is the windowpane test. Take a small piece of dough and gently stretch it. If you can stretch it thin enough to see light through it without it tearing, it's ready. If it tears easily, knead it for a few more minutes. Kneading is what develops the gluten, which gives your rolls that lovely chewy texture. It's a crucial step, so don't skip it or skimp on the time!
Ingredient | Amount | Why it Matters |
|---|---|---|
Warm Water | 1 1/2 cups | Activates the yeast |
Active Dry Yeast | 1 tablespoon | Makes the dough rise |
Sugar | 2 tablespoons | Feeds the yeast |
Salt | 1 teaspoon | Flavor and controls yeast |
Olive Oil | 2 tablespoons | Adds moisture and texture |
Bread Flour | 4 cups | Structure of the bread |
First Rise: Patience is a Virtue
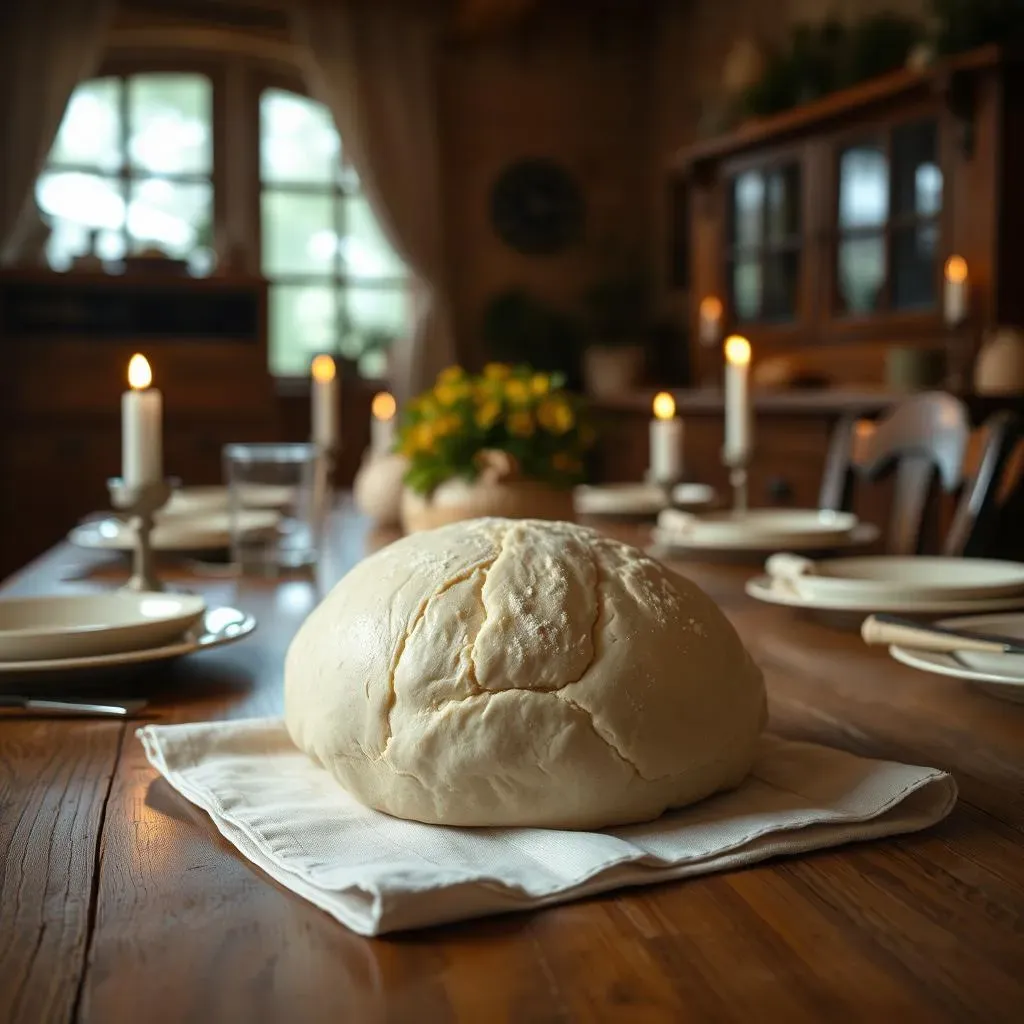
After all that kneading, your dough needs to rest and rise, this is important to get our french bread dinner roll recipe right. Place the dough in a lightly oiled bowl, turning it to coat. Cover the bowl with plastic wrap or a damp cloth, and let it rise in a warm place for about 1 to 1.5 hours or until it has doubled in size. This is where patience comes in. Don't rush it! The rise is what makes your rolls light and airy. A warm spot can be anywhere from an oven with the light on (but turned off!) or a warm corner of your kitchen. If it’s cold in your house, it might take a little longer. I remember one winter, my kitchen was so cold that the dough barely rose, so I ended up putting it near the radiator. It worked like a charm.
Once your dough has doubled, gently punch it down to release the air. It's always so satisfying to see how much it's grown, right? Now you’re ready to shape your rolls. We’re almost there, and the smell of fresh bread is just around the corner! This is a great time to preheat your oven, so it's ready when the rolls are.
"The secret ingredient is always love." - Unknown
Shaping and Baking Your French Bread Dinner Rolls
Shaping and Baking Your French Bread Dinner Rolls
Shaping the Rolls: It's All About the Technique
Okay, so the dough has risen beautifully, and it’s time to get our hands dirty again. This part of the french bread dinner roll recipe is all about shaping. Gently turn the dough out onto a lightly floured surface. Divide it into 12 equal pieces, or if you prefer smaller rolls, go for 16. I like to use a kitchen scale to make sure they’re all about the same size, but it’s not mandatory. Now, take each piece of dough and gently roll it into a ball. Then, you can either leave them as round rolls or shape them into oblong ovals, like mini baguettes. The key here is to not overwork the dough. Be gentle, and try to keep the surface smooth.
I remember when I first started, my rolls looked more like misshapen blobs. It took a few tries to get the hang of it, but with practice, you'll become a pro shaper in no time. If you're feeling adventurous, you can also try making knots or other fun shapes. Just remember, it's all about having fun with it! Once shaped, place the rolls on a baking sheet lined with parchment paper, leaving a little space between each roll.
The Second Rise: A Little More Patience
Before we bake, the shaped rolls need a second rise. Cover the baking sheet loosely with plastic wrap or a damp cloth, and let the rolls rise in a warm place for about 30 to 45 minutes. They won’t double in size this time, but they should look a bit puffier. This second rise is important for getting that light and airy texture we all love in a good roll. While they're rising, preheat your oven to 375°F (190°C). You want that oven nice and hot so that the rolls get a good crust. This is the final stretch, and the smell of baking bread is just moments away. Get ready for some serious deliciousness!
I once skipped the second rise because I was impatient, and the rolls came out dense and hard. It was a good reminder that every step in a recipe has a purpose. Don’t cut corners if you want the best results. Trust the process, and you'll be rewarded with amazing homemade rolls.
Step | Time | Why |
|---|---|---|
Divide Dough | 5 minutes | Prepare for shaping |
Shape Rolls | 10 minutes | Create desired form |
Second Rise | 30-45 minutes | Achieve light texture |
Preheat Oven | 15 minutes | Prepare for baking |
Baking to Perfection: Crispy Crust, Soft Interior
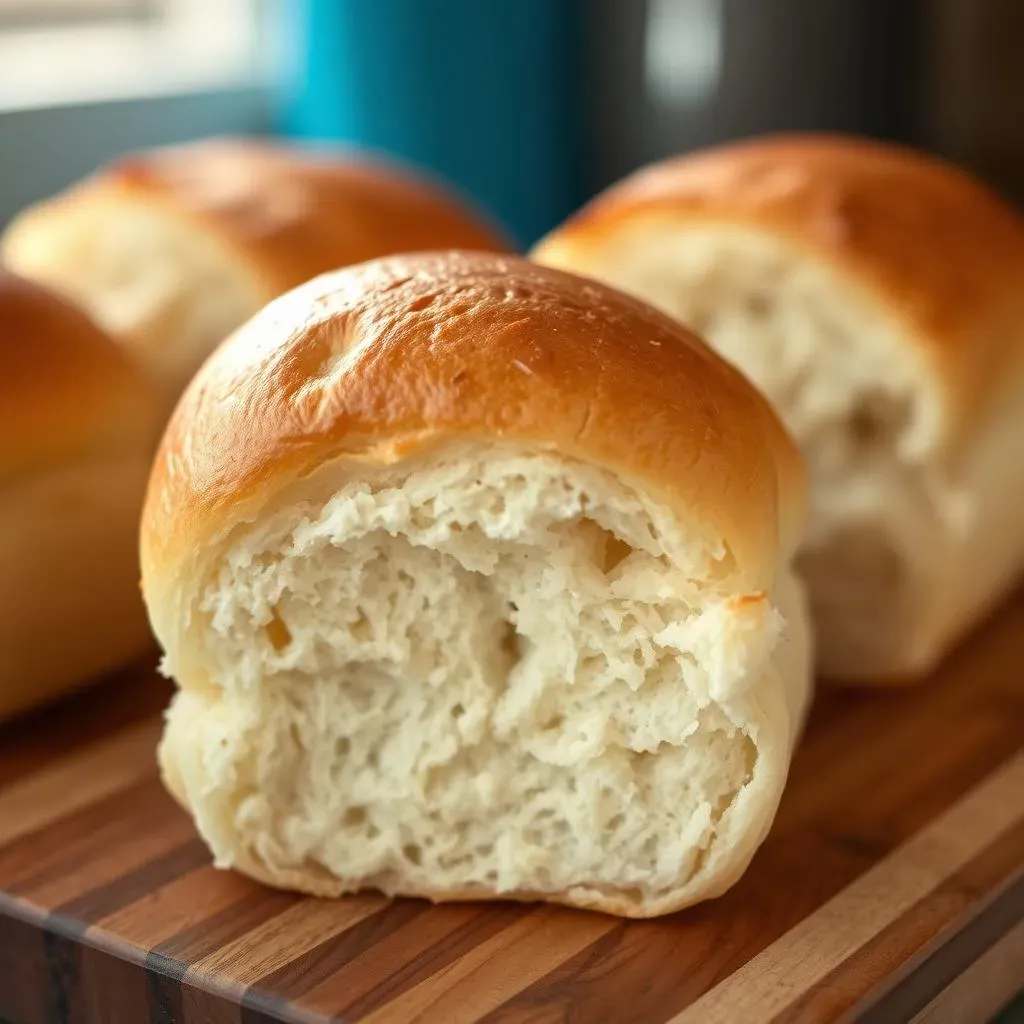
Now, for the moment we’ve all been waiting for: baking! Once the oven is preheated, place the baking sheet with the rolls in the center rack. Bake for about 18-20 minutes, or until the rolls are golden brown and sound hollow when you tap on the bottom. Keep an eye on them, as oven temperatures can vary. You might need a couple more minutes if you find the top is not golden enough. I like to rotate the baking sheet halfway through baking to ensure they cook evenly. The aroma filling your kitchen right now is simply divine. It’s the smell of homemade goodness and a job well done.
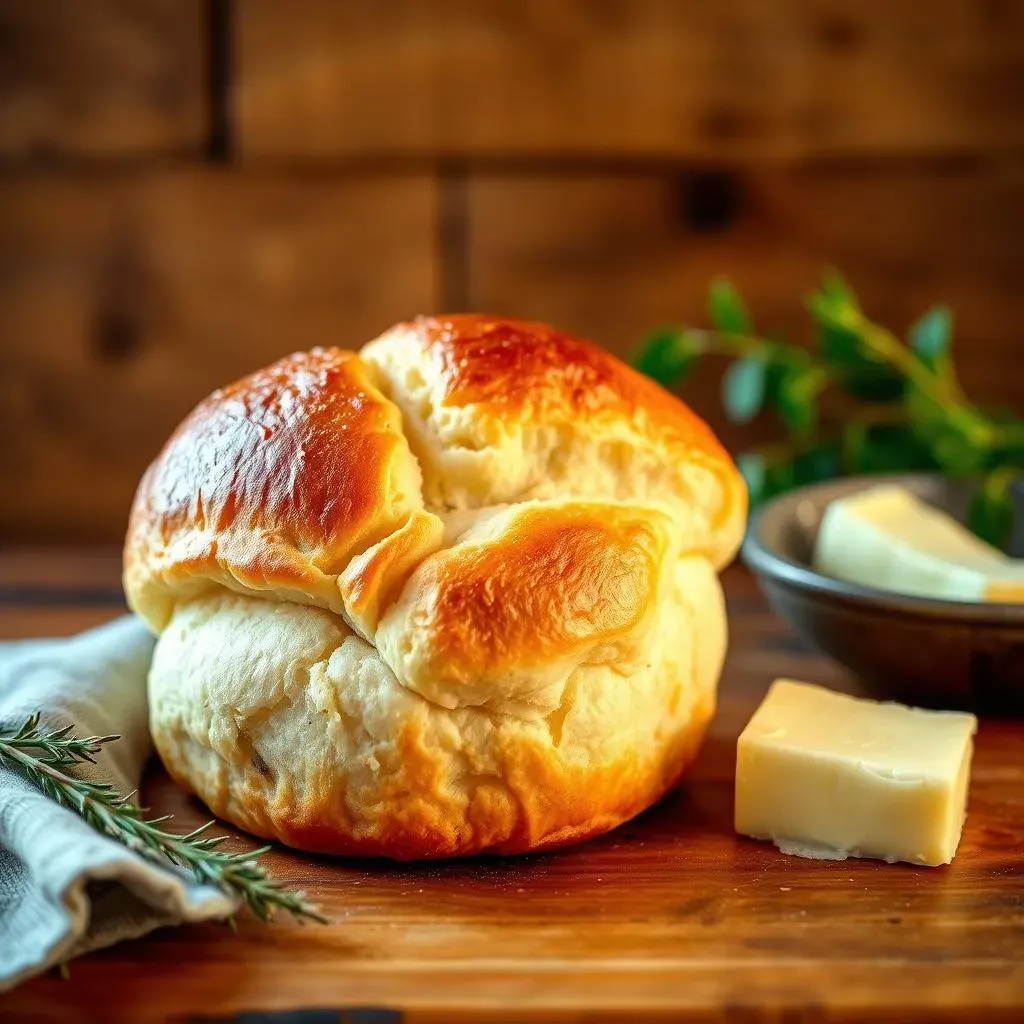
Once they're out of the oven, let them cool on a wire rack for a few minutes before devouring them. If you want an extra touch, you can brush the tops with melted butter right after they come out of the oven. It adds a lovely shine and a touch of extra flavor. These rolls are best enjoyed warm, straight from the oven, with a pat of butter or dipped in olive oil. You’ve just baked some seriously amazing french bread dinner rolls, and you should be proud!
“Happiness is the smell of freshly baked bread.” - Unknown
Serving and Storing Your Homemade French Bread Rolls
Serving and Storing Your Homemade French Bread Rolls
Serving Suggestions: Enjoying Your Freshly Baked Rolls
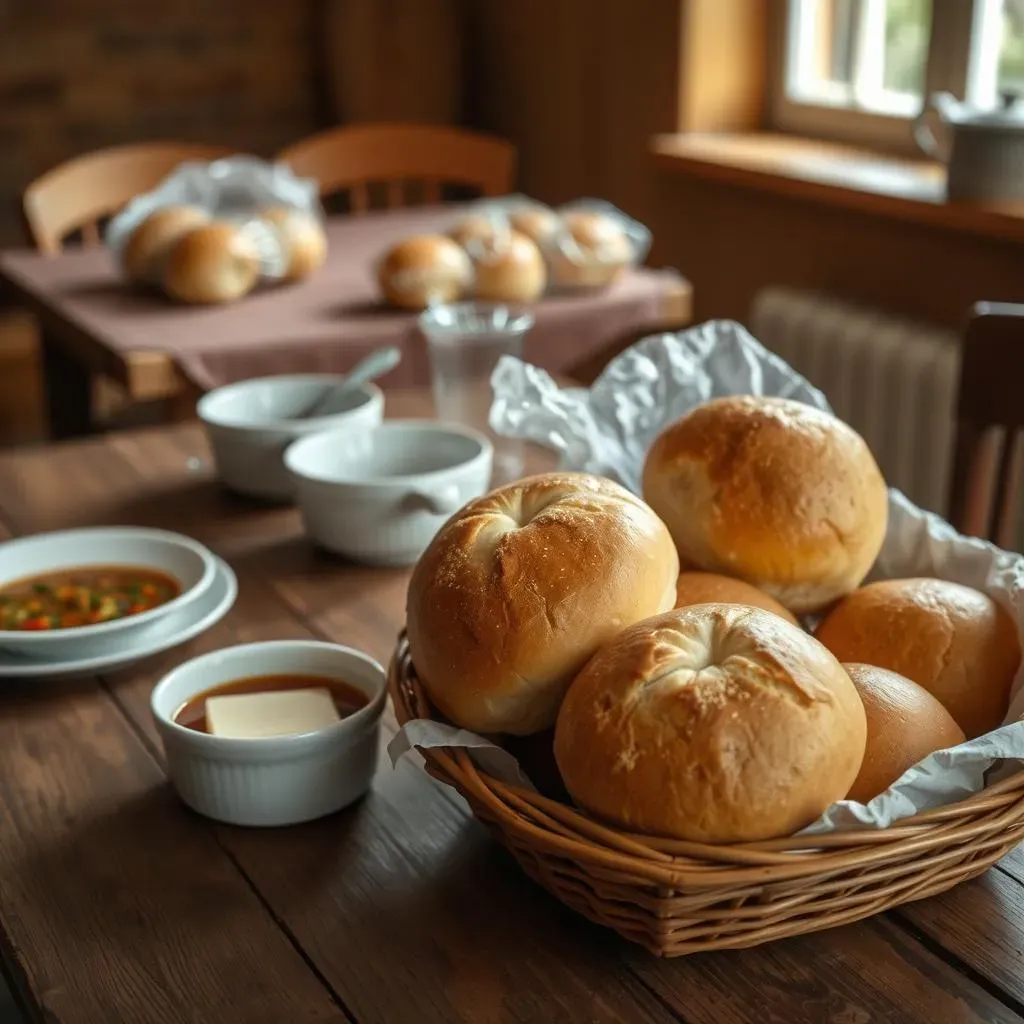
Alright, your kitchen smells amazing, and those french bread dinner rolls are practically begging to be devoured. So, how do you serve them up? Well, the possibilities are endless! I love serving them warm with a simple pat of butter – sometimes, the classics are the best. They're also fantastic dipped in olive oil with a sprinkle of herbs or alongside a hearty soup or stew. If you're feeling fancy, make some mini sandwiches or sliders. They're perfect for a casual lunch or a party appetizer. And let's not forget about breakfast – these rolls make a killer base for avocado toast or a simple jam and butter treat. Honestly, any way you serve them, they're going to be a hit. The key is to enjoy them fresh, while they're still warm and that crust is at its peak of perfection.
I remember once, I made these rolls for a dinner party, and they disappeared so fast that I barely got one myself! Everyone was raving about how delicious they were, and it made all the effort totally worth it. It's always so rewarding when your baking brings people together and makes them happy. So don't be shy, get creative with how you serve them, and enjoy the deliciousness you've created. After all, what's the point of baking if not to share and enjoy with others?
Storing Tips: Keeping the Freshness Alive
Okay, so maybe you didn't eat all the rolls in one sitting (though I wouldn't blame you if you did!). The good news is that these french bread dinner rolls can be stored and enjoyed later. For same-day enjoyment, keep them at room temperature in a bread bag or an airtight container. They'll stay relatively fresh for a few hours. If you want to keep them longer, freezing is your best bet. Let the rolls cool completely, then wrap them individually in plastic wrap, then place them in a freezer bag. They can stay in the freezer for up to 2 months. When you're ready to eat them, just let them thaw at room temperature and then reheat them in a preheated oven at 350°F (175°C) for about 5-10 minutes. This will bring back that crispy crust and warm, soft interior.
I've found that freezing the rolls right after they've cooled is the best way to maintain their texture and flavor. I once made a huge batch and froze half of them, and they were just as delicious a few weeks later as they were the day I baked them. So, don't be afraid to make a big batch and store some for later. It's always nice to have some homemade rolls on hand whenever the craving strikes. With proper storage, you can enjoy the fruits of your baking labor for days to come.
Storage Method | Duration | Tips |
|---|---|---|
Room Temperature | Few Hours | Use bread bag or airtight container |
Freezer | Up to 2 Months | Wrap individually, then freeze in a bag |
"Good bread is the most fundamentally satisfying of all foods; and good bread with fresh butter, the greatest of feasts." - James Beard