Table of Contents
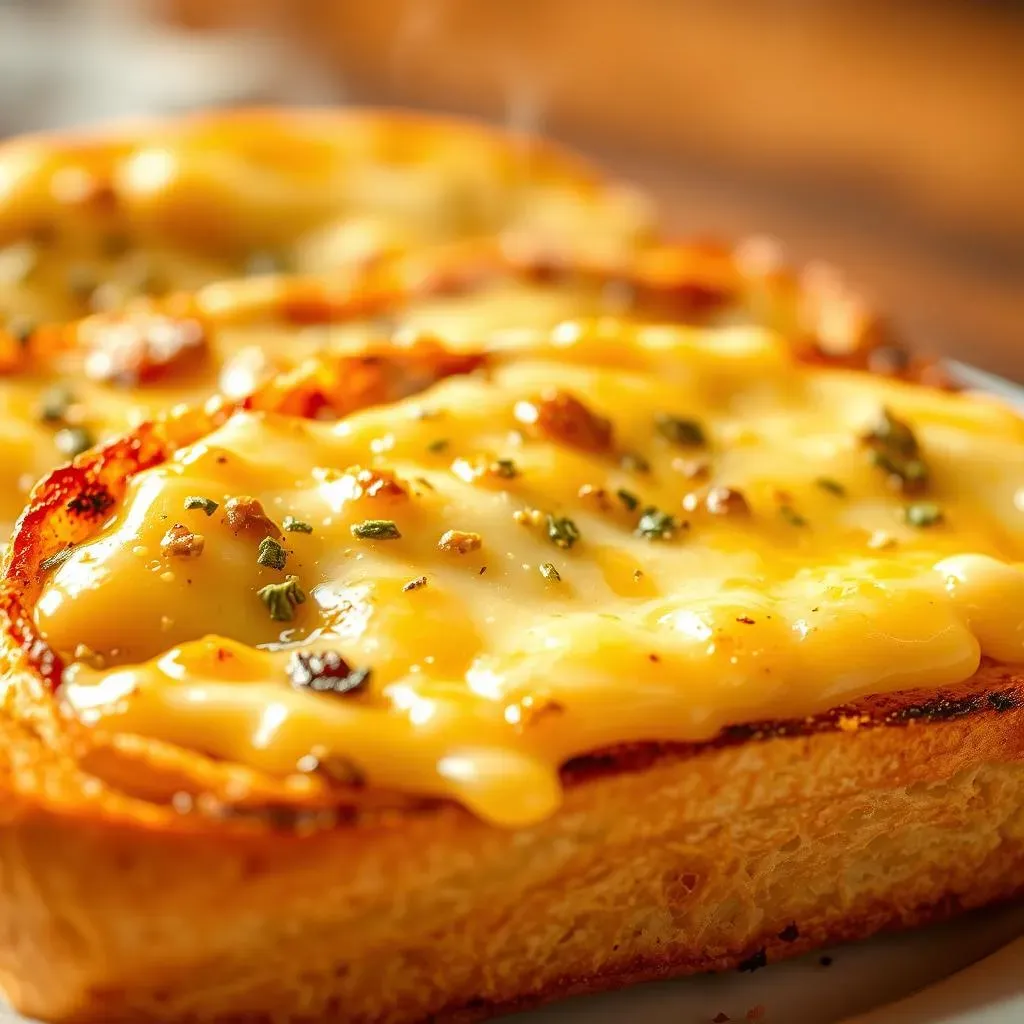
Let's be real, is there anything better than the smell of warm, cheesy garlic bread wafting through the kitchen? I think not. Today, we're not just making any garlic bread; we're diving headfirst into the world of *french bread cheesy garlic bread*. Imagine a crusty baguette, slathered with garlic butter, then blanketed in a glorious layer of melted cheese. Sounds amazing, right? This isn't some fancy restaurant dish; it's an easy-to-make, crowd-pleasing snack (or side, let's be honest) that anyone can master. We'll start by talking about what makes this cheesy garlic bread so special, then I'll guide you step-by-step through my easy-peasy recipe. After that, I'll share some tips and tricks to make sure yours is the BEST cheesy garlic bread ever. So, grab your apron, let's get baking!
The Magic of French Bread Cheesy Garlic Bread
The Magic of French Bread Cheesy Garlic Bread
The Perfect Base: French Bread
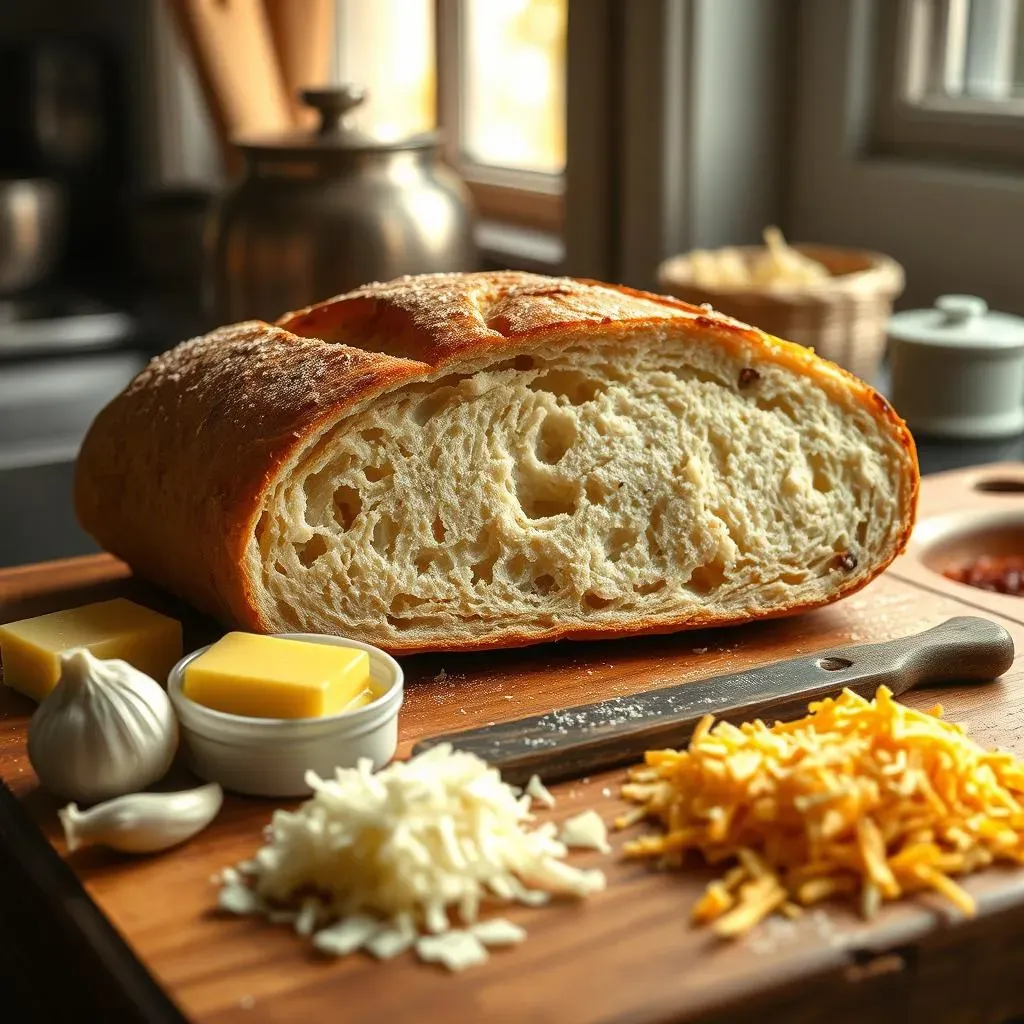
Okay, so first things first, let's talk about the star of the show: the French bread. It's not just any bread; it's the foundation of our cheesy masterpiece. Think about it: that slightly crusty exterior that gives way to a soft, airy inside – it's like a blank canvas waiting for flavor. Unlike some softer breads that can get soggy, French bread holds its own, creating the perfect texture contrast with the melty, gooey cheese. It's the sturdy base that can handle all the buttery garlic goodness we're about to load on top. It's not just bread; it's the vehicle for deliciousness.
The Flavor Bomb: Garlic and Cheese
Now, for the real magic: the garlic and cheese combo. It’s not just a topping; it’s a flavor explosion that makes your taste buds sing. Imagine the pungent, savory garlic mingling with the salty, creamy cheese. It's that perfect balance of bold and comforting. We're not talking about just a sprinkle of garlic powder here; we're talking about real garlic flavor that infuses every bite. And the cheese? Oh, the cheese! It’s the melty, stretchy, gooey blanket that holds everything together. It's the cheesy hug that makes this bread so addictive. It’s a simple combination, but it creates something truly extraordinary.
Ingredient | Why it's Important |
|---|---|
French Bread | Provides a sturdy, crusty base |
Garlic | Adds a pungent, savory flavor |
Cheese | Creates a melty, gooey texture |
Making Your Own French Bread Cheesy Garlic Bread
Making Your Own French Bread Cheesy Garlic Bread
The Butter and Garlic Base
Alright, let's get our hands dirty, or buttery, I should say. Making your own french bread cheesy garlic bread is way easier than you might think, and it's way more satisfying than buying it pre-made. First, you'll want to grab a stick of butter, yes, a whole stick – we're not skimping here. Melt it down, either in a pan or microwave, doesn't matter, just make sure it's nice and liquid-y. Then, add your garlic. Now, some people like garlic powder, but I'm a firm believer in fresh garlic. Mince up a few cloves, and toss them in that melted butter. It's going to smell amazing, like a warm hug for your kitchen. Let it sit for a bit, so the garlic can really infuse into the butter. This mixture is the secret to a truly flavorful bread.
Layering on the Cheese
Next up, the cheese! This is where you can get creative. I usually go for a mix of mozzarella and something with a little more flavor, like a sharp cheddar or a Monterey Jack. But hey, if you love provolone, go for it. The key is to shred it yourself; pre-shredded cheese often has cellulose added, which can prevent it from melting as nicely. Now, take your French bread, slice it in half lengthwise, and get ready for layering. First, spread that garlicky butter all over the cut sides of the bread, making sure every nook and cranny gets some love. Then, pile on the cheese. Don't be shy; we want a thick, gooey blanket of cheesy goodness. The more, the merrier, I always say.
Step | Action |
|---|---|
1 | Melt butter and add minced garlic |
2 | Slice French bread in half |
3 | Spread garlic butter on bread |
4 | Pile on shredded cheese |
Tips and Tricks for the Best Cheesy Garlic Bread

Tips and Tricks for the Best Cheesy Garlic Bread
The Garlic Game
Okay, so we've talked about the butter and garlic, but let's get real specific. Don't just throw in some garlic, treat it like gold. Mince it finely, so it really releases that flavor. And here's a pro tip: let the minced garlic sit in the melted butter for at least five minutes before spreading it. This allows the garlic to infuse the butter completely, giving you that intense garlic flavor we all crave. Some people even like to roast their garlic first for a sweeter, milder flavor. It's all about finding what you love best. It's not just about adding garlic, it's about maximizing its potential.
Cheese Choices and Application
Now, let’s talk about the cheese. I know I said mozzarella and cheddar are great, but don’t be afraid to experiment. A little Parmesan adds a salty kick, while provolone brings a lovely creaminess. The key is to use a variety of cheeses that melt well and bring different flavors to the party. And when you’re layering it on, don't just sprinkle it; pile it high. Make sure every bit of that bread is covered in cheese, so you get that perfect cheesy pull in every single bite. You want it to be a cheese explosion, not a cheese drizzle.
- Freshly minced garlic for the best flavor.
- Let the garlic infuse the butter for a few minutes.
- Use a mix of cheeses for complex flavor.
- Pile the cheese high, don't be shy!
Baking to Perfection
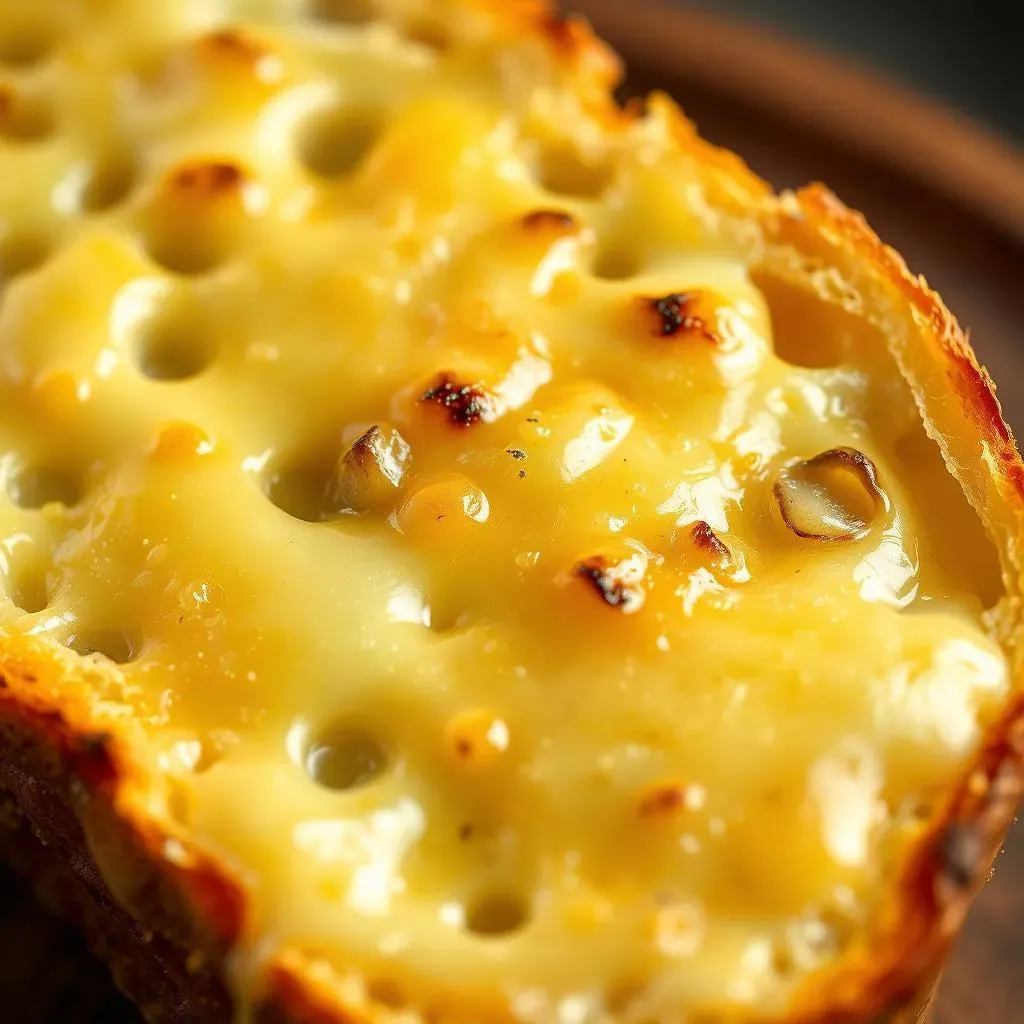
Finally, let's talk about baking. You want that bread to be golden brown and crispy, while the cheese is melted and bubbly. The oven temperature is key here – 400°F (200°C) is usually a good bet. But keep a close eye on it; every oven is different. It should take around 12-15 minutes, but you might need a bit more or less time. And here's another secret: a few minutes under the broiler at the end can give you that perfect golden-brown crust on top. Just watch it like a hawk, so it doesn't burn. You want it to be perfectly toasted, not charred.
Tip | Why it matters |
|---|---|
Bake at 400°F (200°C) | Ensures the bread is crispy and the cheese is melted |
Keep a close eye on it | Prevents burning and ensures perfect doneness |
Broil for a few minutes | Gives the cheese a golden-brown crust |