Table of Contents
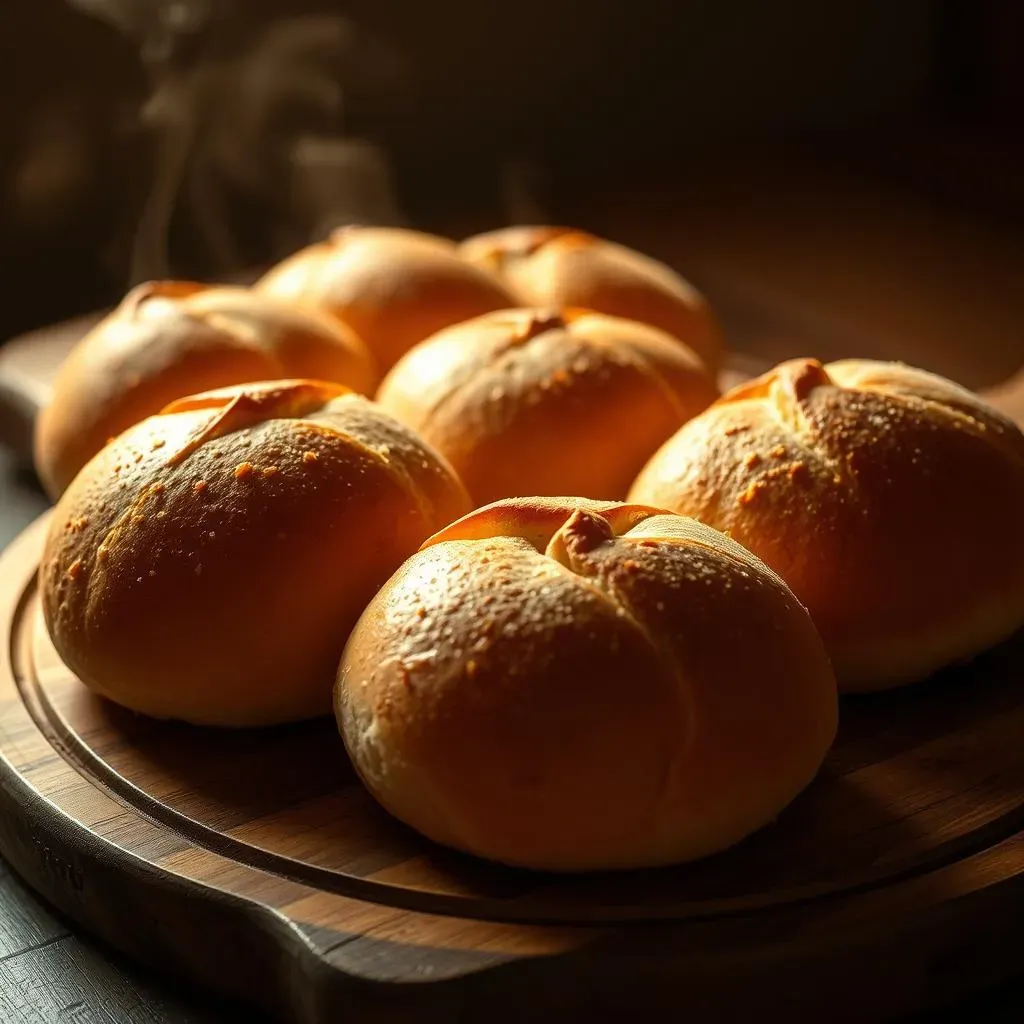
Ever dream of biting into a warm, fluffy roll with a perfect crust? Well, your dream is about to become reality. Forget complicated recipes, because we're diving into the world of easy french bread rolls. This isn't about spending hours in the kitchen, but rather creating something amazing with minimal effort. We'll guide you through a simple step-by-step process, from mixing the dough to that satisfying moment when you pull those golden rolls from the oven. Think of this as your guide to making bakery-worthy bread at home. This article will show you the secret to achieving that light, airy texture, and we'll even share some fun variations. You'll learn how to mix the dough by hand, with a stand mixer, or even a bread maker. Get ready to impress your friends and family with your newfound bread-making skills. Plus, we'll share tips on how to freeze these beauties, so you've always got a delicious treat on hand. So, let's get baking!
The Secret to Easy French Bread Rolls
The Secret to Easy French Bread Rolls
The Magic of Simple Ingredients
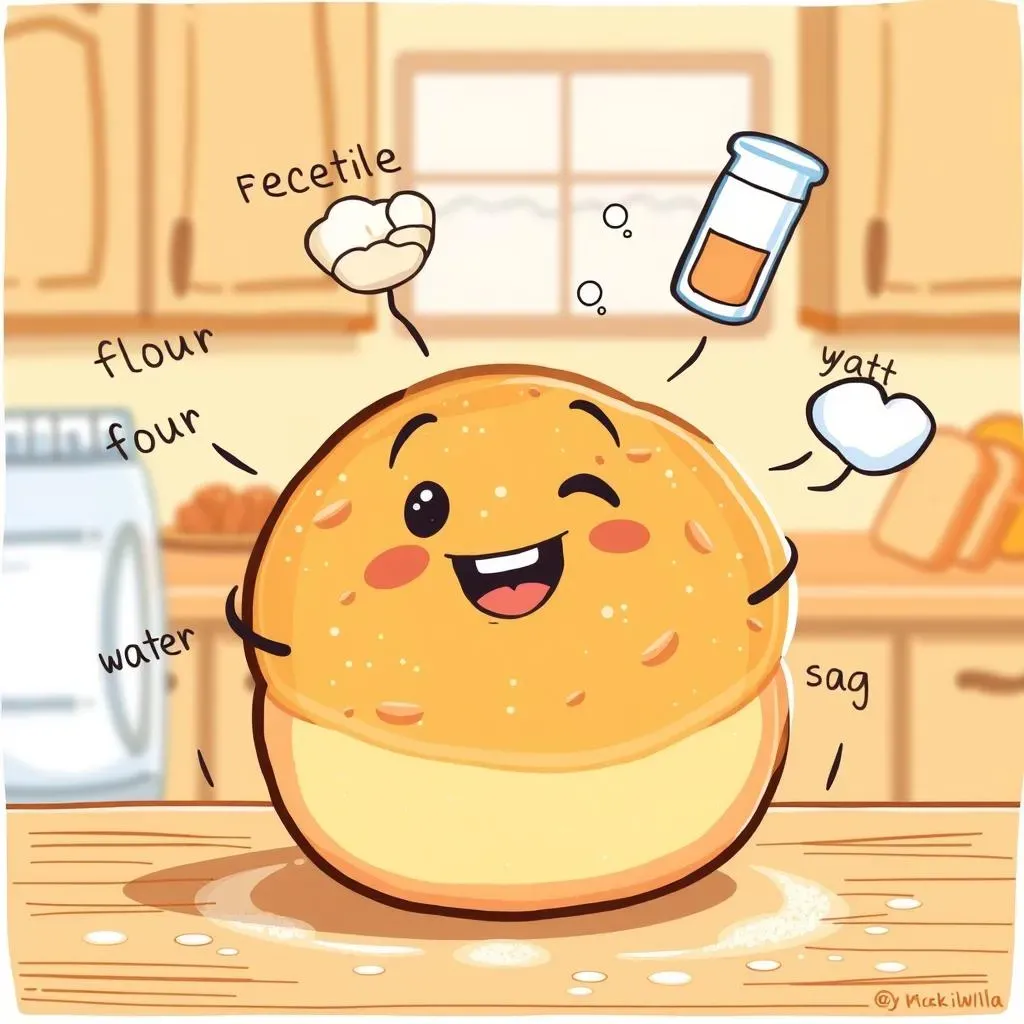
Okay, so what's the real deal behind making amazing easy french bread rolls? It's not some crazy baking secret, I promise. It all comes down to the basics. We're talking about just a few key ingredients: flour, water, yeast, salt, and a touch of sugar. That's it! Seriously. The magic happens when these simple ingredients come together in just the right way. The water activates the yeast, which is what gives the bread its airy texture. The salt controls the yeast, while the sugar feeds it. And the flour? Well, that’s the backbone of the whole operation. It’s about understanding how these simple elements interact to produce something incredible. It’s like a tiny science experiment, but one that smells amazing and tastes even better.
Think of it like building with LEGOs. You don't need a million different blocks to make something awesome. Just a few well-chosen pieces, put together thoughtfully, can create something amazing. Same goes for bread. The best part? You probably already have these ingredients in your pantry, so you can start baking right now! No need for fancy trips to the store. We’re keeping it simple and accessible, because everyone deserves to enjoy a fresh, homemade roll. Remember, baking is about having fun, not stressing over complicated steps.
The Importance of Patience
Now, I know we're talking about "easy" french bread rolls, but there's one ingredient that takes a little bit of time: patience. The yeast needs time to do its thing, and that usually means letting the dough rise. It’s not about rushing the process. Think of it as giving your bread a little nap, so it wakes up all fluffy and wonderful. Some recipes will tell you to let it rise for an hour, others maybe even longer. It depends on the temperature of your kitchen and the type of yeast you use. The dough should double in size, and that's the sign that it's ready for the next step. It’s like watching a little balloon inflate. It’s actually quite satisfying.
Don’t be tempted to skip this step. Rushing the rise will lead to dense, heavy bread, and nobody wants that. I know it can be hard to wait, especially when the smell of baking bread is making you hungry, but trust me, it’s worth it. This is where the magic really happens. It's about letting the dough transform from a sticky mess into something light and airy. It’s the secret weapon to making truly incredible rolls. So, take a deep breath, put on some music, and let the dough do its thing. You’ll be rewarded with the most amazing rolls you’ve ever tasted.
Ingredient | Why it Matters |
|---|---|
Flour | The structure of the roll |
Water | Activates the yeast |
Yeast | Makes the bread rise and fluffy |
Salt | Controls the yeast |
Sugar | Feeds the yeast |
Making Your Easy French Bread Rolls
Making Your Easy French Bread Rolls
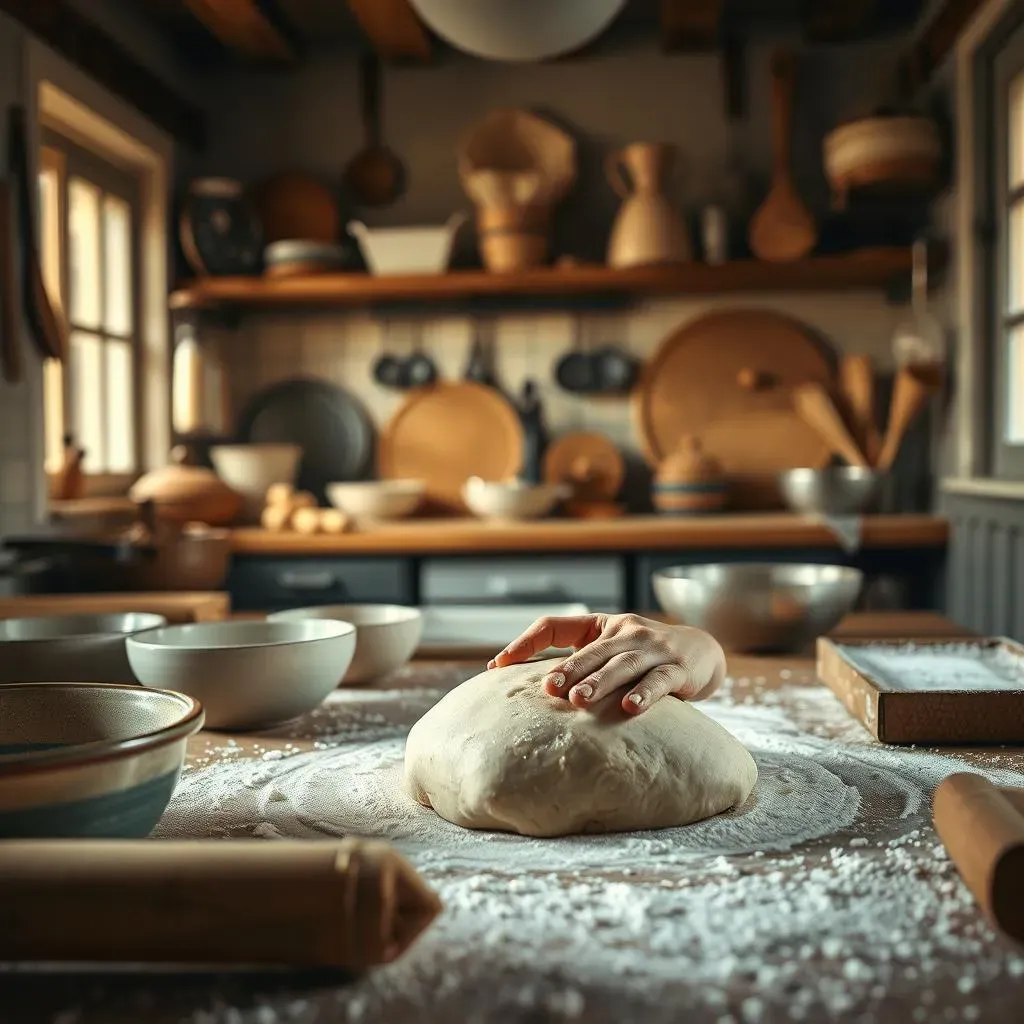
Mixing the Dough: Your Way
Alright, let's get our hands dirty, or maybe not, depending on your mixing method. When it comes to actually making your easy french bread rolls, you've got options. You can go old-school and mix everything by hand in a big bowl. It’s a great workout for your arms, and you really get a feel for the dough. Or, if you're like me and love the convenience, a stand mixer with a dough hook is your best friend. It does all the hard work while you sit back and watch. If you have a bread machine, even better! Just toss in the ingredients, and let it do its thing. No matter which method you choose, the goal is to combine everything until you have a smooth, slightly sticky dough. Don't worry if it's a bit messy, that’s part of the fun. Think of it like playing with Play-Doh, but this time, you get to eat it afterwards.
Once the dough is mixed, it’s time for that first rise. Remember that patience we talked about? Find a warm spot in your kitchen, cover the bowl with a towel or plastic wrap, and let the magic happen. I usually put mine near the oven, but not too close, just a nice warm spot. This is where the yeast starts working its magic, and the dough begins to puff up. It should take about an hour or two, depending on how warm your kitchen is. You'll know it's ready when it has doubled in size. It’s kinda like watching a balloon inflate, but a doughy one. This is a crucial step, so don't rush it. Trust me, the wait is worth it!
Mixing Method | Pros | Cons |
|---|---|---|
By Hand | Good workout, tactile experience | Can be tiring, takes longer |
Stand Mixer | Easy, consistent results | Requires equipment |
Bread Machine | Super convenient, hands-off | Requires equipment |
Shaping the Rolls
Now for the fun part, shaping the rolls! Once your dough has doubled in size, gently punch it down to release the air. Don't be too rough; we don’t want to squash all the air out. Turn it out onto a lightly floured surface. Then, divide the dough into equal portions. I usually go for about 8 to 12 rolls, depending on how big I want them. You can use a knife or a bench scraper to do this. Shape each piece into a smooth ball. Think about it like making a snowball, but instead of snow, it's dough. Then, place the dough balls onto a baking sheet lined with parchment paper. Give them some space, they need room to grow.
Now, we let them rise again. This second rise is shorter, about 30 to 45 minutes. You’ll notice the rolls will puff up even more. This step helps create that perfect light and airy texture. While the rolls are rising, preheat your oven. I always forget to do this, haha. Once they’re nice and puffy, it’s time to bake. Slide the baking sheet into the oven and let them bake until they are golden brown. And that's it, you are done! You have just created perfect, easy french bread rolls. The smell will be amazing, and everyone will gather around to taste your fresh homemade rolls. Remember, you did it!
Tips, Tricks and Serving Your Easy French Bread Rolls
Tips, Tricks and Serving Your Easy French Bread Rolls
Baking Like a Pro: Tips and Tricks
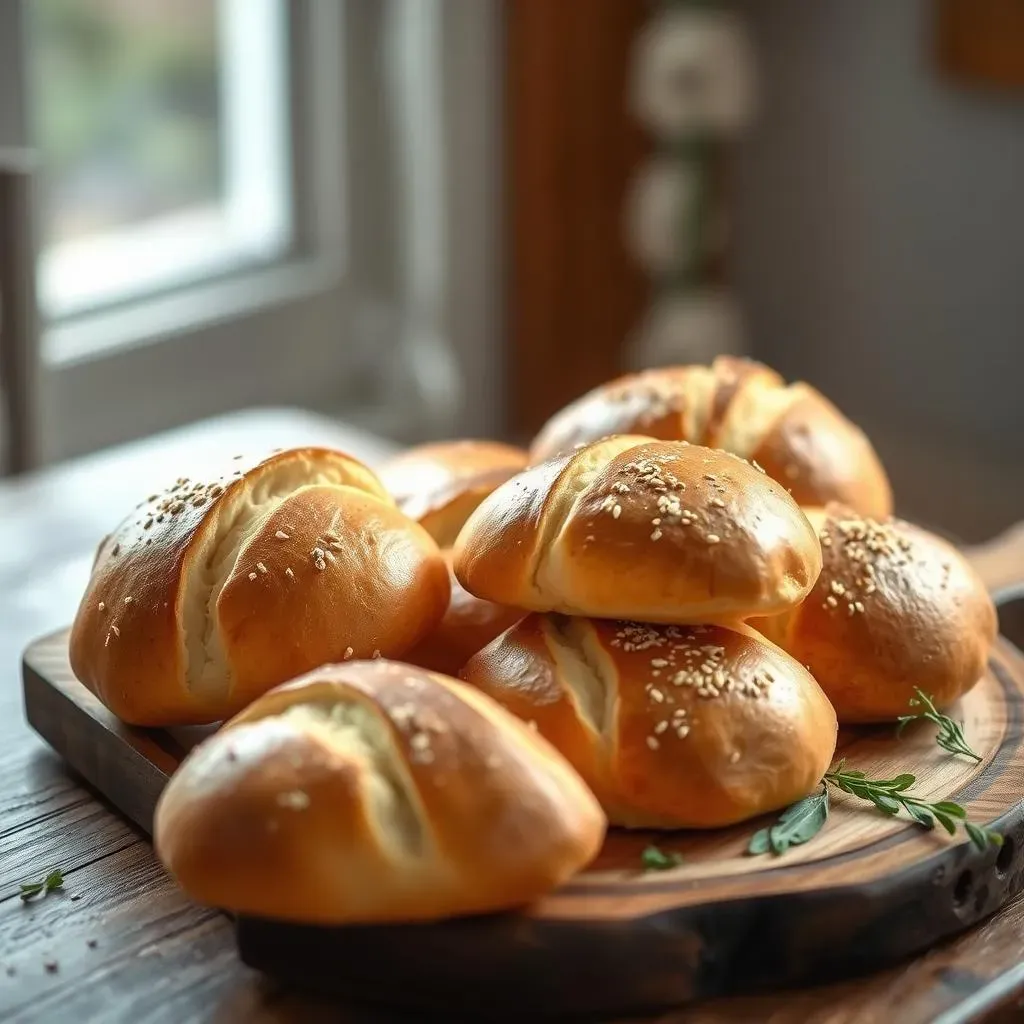
Okay, so you've made the dough, shaped the rolls, and they're looking pretty good. Now, let's talk about some tips and tricks to make your easy french bread rolls even better. First up, if you want that extra crispy crust, try adding a pan of hot water to the bottom of your oven while the rolls are baking. The steam helps create a nice, crusty exterior. Another trick is to brush the rolls with an egg wash before baking. It gives them a beautiful golden color and a subtle sheen. If you're feeling fancy, sprinkle some sesame seeds or herbs on top for extra flavor. Remember, baking is all about experimenting and having fun. Don’t be afraid to try new things and see what works for you. It’s like adding your own secret ingredient to a recipe.
Also, don't be afraid to adjust the baking time slightly depending on your oven. Every oven is a little different, so keep an eye on the rolls. They're done when they are golden brown and sound hollow when you tap the bottom. And here’s a pro tip: let them cool on a wire rack. This helps prevent the bottoms from getting soggy. I know it's hard to resist eating them right away, but trust me, it’s worth it. Think of it like giving your rolls a chance to breathe and fully develop their flavor. These little details can make a big difference in the final product. It's all about the small things, right?
Tip | Why it Works |
|---|---|
Add steam while baking | Crispier crust |
Use egg wash | Golden color and sheen |
Cool on a wire rack | Prevents soggy bottoms |
Serving Suggestions: More Than Just a Roll
So, you’ve baked these amazing easy french bread rolls, what now? Well, they’re not just for eating plain (though they’re pretty amazing that way!). These rolls are incredibly versatile. They’re perfect for sandwiches, subs, or even as a side with your favorite soup or stew. I love using them for mini burgers or sliders. They're also fantastic for dipping in olive oil and herbs. If you’re feeling creative, try stuffing them with cheese and herbs before baking. Or, make garlic bread by slicing them in half, spreading with garlic butter, and toasting them in the oven. The possibilities are endless. Think of them as a blank canvas for your culinary creations. It’s all about using your imagination and having fun in the kitchen.
And here’s a little secret: these rolls freeze beautifully. Once they’ve cooled completely, pop them in a freezer bag and they’ll keep for a couple of months. When you’re ready to use them, just thaw them at room temperature or warm them up in the oven. It's like having a stash of fresh bread at your fingertips. Perfect for those busy weeknights when you don’t have time to bake. So, go ahead and bake a big batch of these rolls. You’ll be glad you did! They’re so versatile and easy to make, you’ll find yourself using them all the time. These easy french bread rolls are more than just a side dish; they're a staple for any meal.
- Sandwiches and subs
- Mini burgers or sliders
- Dipping in olive oil and herbs
- Stuffed with cheese and herbs
- Garlic bread
Troubleshooting Common Issues
Even with an easy recipe, sometimes things don't go exactly as planned. If your rolls are coming out dense, it might be because you didn't let the dough rise enough. Remember that patience we talked about? Or maybe the yeast wasn't fresh, try buying new yeast next time. If your rolls are too flat, it could be that your kitchen is too warm. The warmer the kitchen, the faster the yeast will work, and it might over-proof. Try to find a cooler spot for the dough to rise. And if your rolls are too hard, it might be that you over-baked them. Keep an eye on them while they're in the oven, and take them out when they are golden brown. Baking is a learning process, so don’t get discouraged if your first batch isn’t perfect. It’s all part of the fun. Just keep practicing and you’ll get there. Each time you make these easy french bread rolls, you’ll get a little bit better. And remember, even if they aren’t perfect, they’ll still be delicious! It's all about the journey, not just the destination.