Table of Contents
Ever dreamed of crafting those perfect, crusty French baguettes, but felt intimidated by complicated recipes? Fear not, aspiring bakers! This article is your passport to baguette bliss, offering a foolproof "easy french baguette bread recipe". We’ll demystify the process, breaking it down into manageable steps, even if you've never baked bread before. Forget the fancy equipment and lengthy kneading sessions; we're focusing on a simple, straightforward approach that delivers incredible results. Inside, you'll discover the essential ingredients, a clear step-by-step guide, and expert tips to achieve that signature crispy exterior and delightfully chewy interior. We'll cover everything from selecting the right flour to mastering the crucial scoring technique. Prepare to be amazed at how easy it is to bake restaurant-quality baguettes right in your own kitchen. Let's get started on your journey to delicious, homemade bread!
Mastering the Easy French Baguette Bread Recipe
Mastering the Easy French Baguette Bread Recipe
Hey there, fellow author! So you're diving into the world of easy French baguette recipes? Fantastic! It's a rewarding journey, trust me. The key to mastering this seemingly complex bread lies in understanding a few fundamental principles. First, don't be afraid of the process. Many people are intimidated, thinking it's some kind of mystical French culinary secret. It's not! It's about simple techniques and patience. Think of it like learning to ride a bike – it might feel wobbly at first, but with practice, you'll glide effortlessly. This recipe focuses on simplicity and achieving great results without needing years of experience or fancy equipment. We'll cover everything from ingredient selection to shaping and baking, ensuring you achieve that perfect crusty exterior and soft, airy interior every single time. Let's break down the most crucial elements and dispel some common myths surrounding this delicious bread.
Common Baguette Myth | Reality |
|---|---|
You need special equipment. | A basic mixing bowl, baking sheet, and a sharp knife are all you need! |
It takes days to make. | This recipe can be completed in a few hours with minimal effort. |
Only professional bakers can make good baguettes. | Absolutely not! With the right instructions, anyone can make delicious baguettes. |
One of the most important things to remember is the importance of properly proofing your yeast. This ensures your dough will rise beautifully. Using lukewarm water is key – too hot, and you'll kill the yeast; too cold, and it won't activate properly. Think of the yeast as tiny little creatures that need the perfect environment to thrive! Another common mistake is rushing the process. Let the dough rise properly. This is where the magic happens. The longer the rise, the more flavorful and airy your baguette will be. Don't skip this step! It's essential for a light and fluffy loaf.
- Use lukewarm water (around 105-115°F) to activate the yeast.
- Don't over-knead the dough. A gentle knead is sufficient.
- Allow ample time for the dough to rise. Patience is key!
- Score the dough properly before baking to ensure even expansion.
Essential Ingredients for Your Easy French Baguette Bread Recipe
Essential Ingredients for Your Easy French Baguette Bread Recipe
The Power of Flour: Choosing the Right One
Alright, let's talk flour! This isn't just any flour; we're aiming for baguette perfection. Bread flour is your best bet. It's got a higher protein content than all-purpose flour, which translates to a stronger gluten network. Think of gluten as the scaffolding of your bread – it gives it structure and that satisfying chew. With bread flour, you'll get a better rise and a more substantial crumb. Don't fret if you only have all-purpose; it'll work, but the results might not be quite as impressive. It'll still be delicious, but you might notice a slightly less airy crumb. The protein content is the key player here, so if you're experimenting, look for flour with a higher protein percentage on the label. That's your secret weapon for a truly amazing baguette.
- Bread flour (highest recommended)
- All-purpose flour (will work, but may result in a denser loaf)
- Strong bread flour (if you can find it, this is even better than regular bread flour)
Beyond Flour: The Other Essential Ingredients
Now, let's move on to the other supporting players in our baguette drama. You’ll need water, of course – lukewarm is best to activate the yeast. Too hot, and you’ll kill the little guys; too cold, and they'll snooze through the whole process. Salt is crucial for flavor and controlling the yeast's activity. Don’t skip it! Finally, the yeast itself – the magic ingredient that makes the dough rise. Active dry yeast is readily available and easy to use. Make sure it's fresh; old yeast won't give you the lift you need. A little sugar can help activate the yeast, but it's not strictly necessary in this recipe. The combination of these ingredients, in the right proportions, creates a symphony of flavor and texture. Think of it as a well-orchestrated culinary performance!
Ingredient | Role | Alternatives (if needed) |
|---|---|---|
Water | Activates yeast, hydrates dough | None (unless you have a very unusual water situation) |
Salt | Flavor enhancer, controls yeast | Sea salt, kosher salt (adjust amount based on saltiness) |
Yeast | Leavening agent (makes dough rise) | Instant yeast (adjust amount according to package instructions) |
StepbyStep Guide: Baking Your Easy French Baguette Bread

StepbyStep Guide: Baking Your Easy French Baguette Bread
Mixing and Kneading: The Foundation of a Great Baguette
Okay, let's get our hands dirty! The first step in our easy french baguette bread recipe is combining all the ingredients. In a large bowl, whisk together the flour and salt. Then, add the lukewarm water and the yeast. Mix everything with a wooden spoon or your hands until a shaggy dough forms. Don't worry if it's a little sticky; that's normal! Now comes the kneading. This isn't a marathon; we're aiming for a gentle knead, just enough to develop some gluten. Knead for about 5-7 minutes on a lightly floured surface, until the dough becomes smoother and more elastic. If it feels too sticky, add a little more flour, a tablespoon at a time. The goal is a dough that's soft and pliable, not stiff and dry. Think of it as a gentle massage for your dough – you're helping the gluten strands develop, creating that perfect texture.
Remember, the key here is not to overwork the dough. Overkneading can lead to a tough baguette. A few minutes of gentle kneading is all it takes to develop the necessary gluten structure. After kneading, form the dough into a ball, place it in a lightly oiled bowl, cover it with plastic wrap, and let it rise in a warm place for about an hour, or until it has doubled in size. This is called the bulk fermentation, and it's crucial for developing flavor and texture.
Step | Action | Tip |
|---|---|---|
1 | Combine dry ingredients | Ensure salt is evenly distributed. |
2 | Add wet ingredients | Use lukewarm water (105-115°F). |
3 | Knead gently | Don't overknead! |
4 | Bulk fermentation | Let the dough rise in a warm place. |
Shaping and Scoring: The Art of the Baguette
Once your dough has risen, it's time for the fun part – shaping! Gently punch down the dough to release the air. Divide the dough into 2-3 equal pieces, depending on the size of baguettes you want. Shape each piece into a long, oval shape, about 12-15 inches long. To do this, gently stretch and roll the dough, keeping the tension even. This might take some practice, but don't worry; it gets easier with each baguette you make! Once you've shaped your dough, place them seam-side down on a baking sheet lined with parchment paper. This prevents sticking and ensures even baking.
Now for the crucial scoring! Using a sharp knife or lame (a special bread-scoring tool), make several diagonal slashes across the top of each baguette. These slashes allow the dough to expand evenly during baking, preventing it from bursting and creating that beautiful, characteristic baguette look. Don't be afraid to experiment with different scoring patterns; it’s a great way to personalize your baguettes! After scoring, cover the baguettes loosely with plastic wrap and let them proof for another 30-45 minutes. This final proof allows the dough to relax and develop even more flavor before baking.
- Gently punch down the risen dough.
- Divide the dough into equal pieces.
- Shape each piece into a long oval.
- Score the dough with diagonal slashes.
- Let the shaped baguettes proof for 30-45 minutes.
Baking and Enjoying: The Grand Finale
Preheat your oven to 450°F (232°C) with a baking sheet on the bottom rack. This creates steam, which helps develop a crisp crust. Before placing your baguettes in the oven, pour about a cup of hot water into the baking sheet on the bottom rack. Quickly close the oven door to trap the steam. Bake for 20-25 minutes, or until the baguettes are golden brown and sound hollow when tapped on the bottom. The internal temperature should reach around 200-210°F (93-99°C). If you don't have an instant-read thermometer, you can also test the doneness by tapping the bottom of the baguette. A hollow sound indicates that it's baked through.
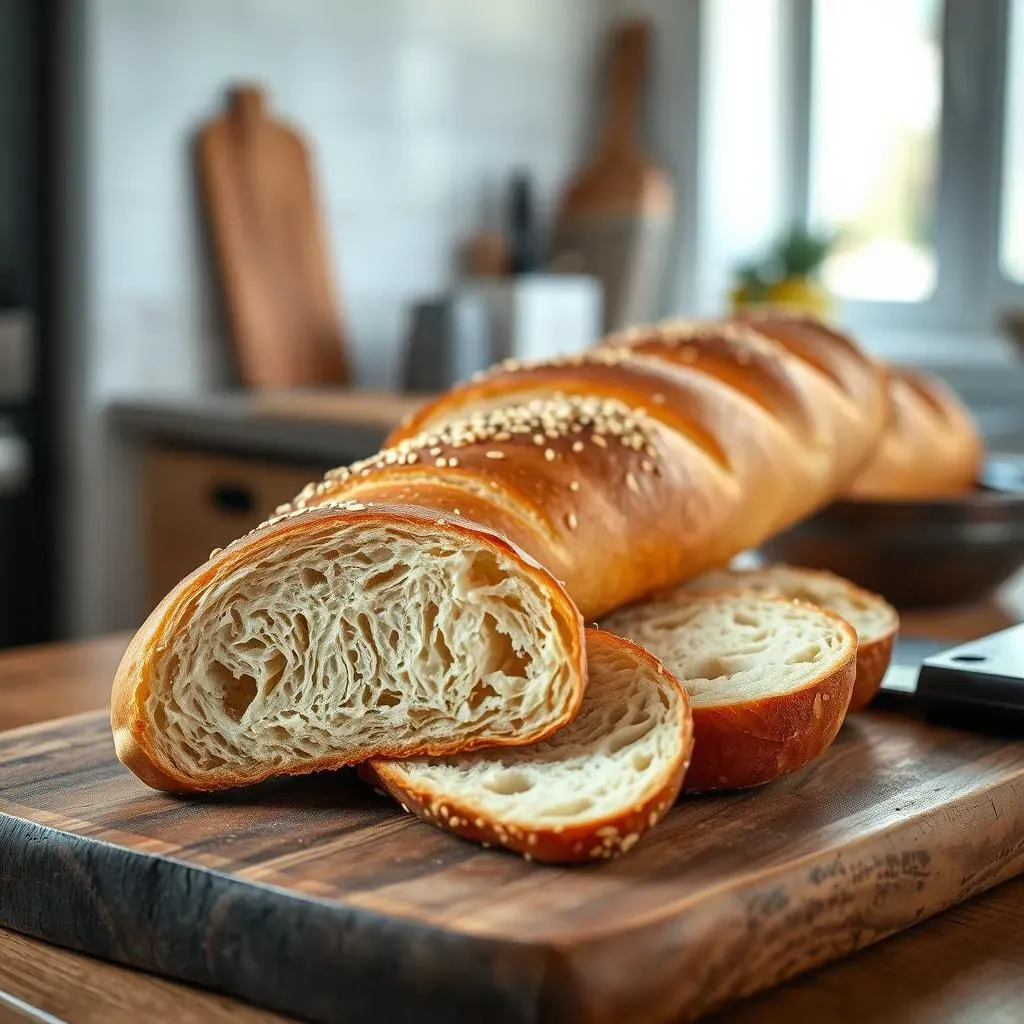
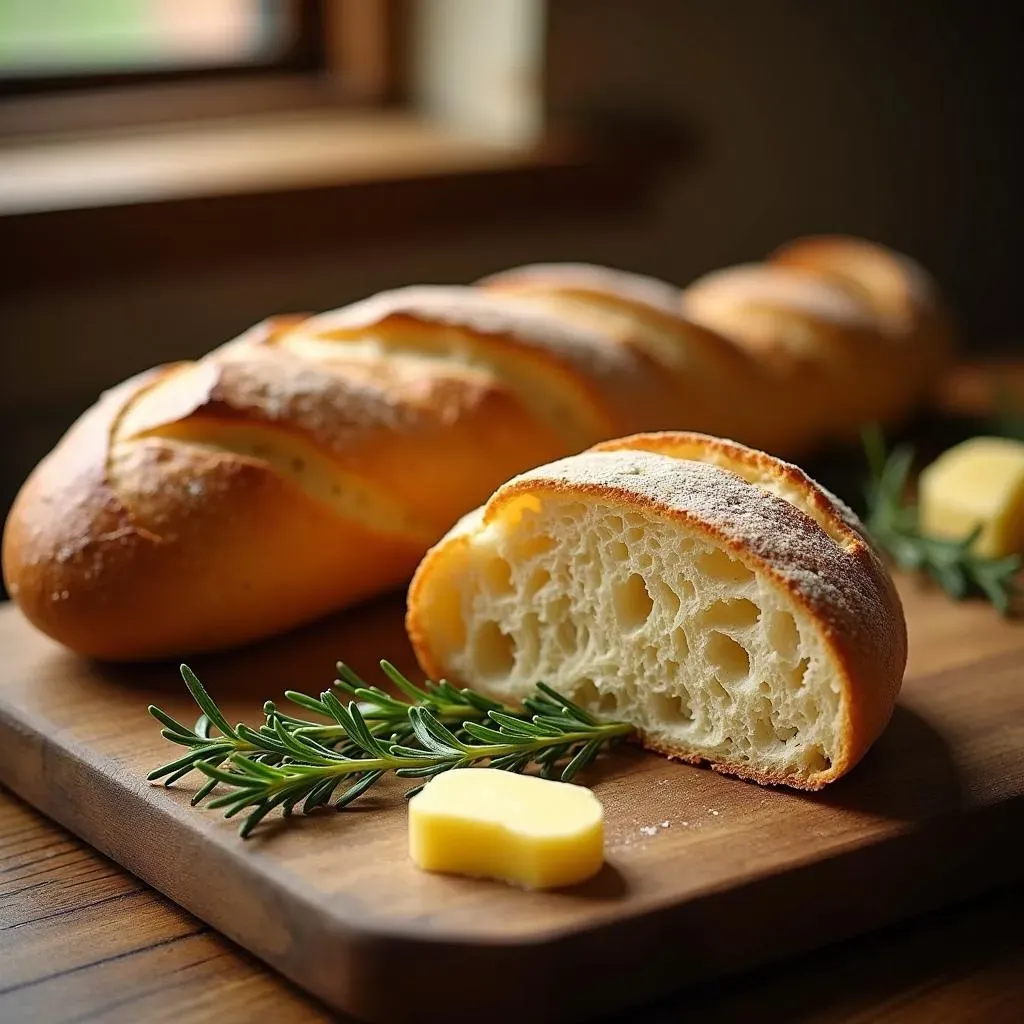
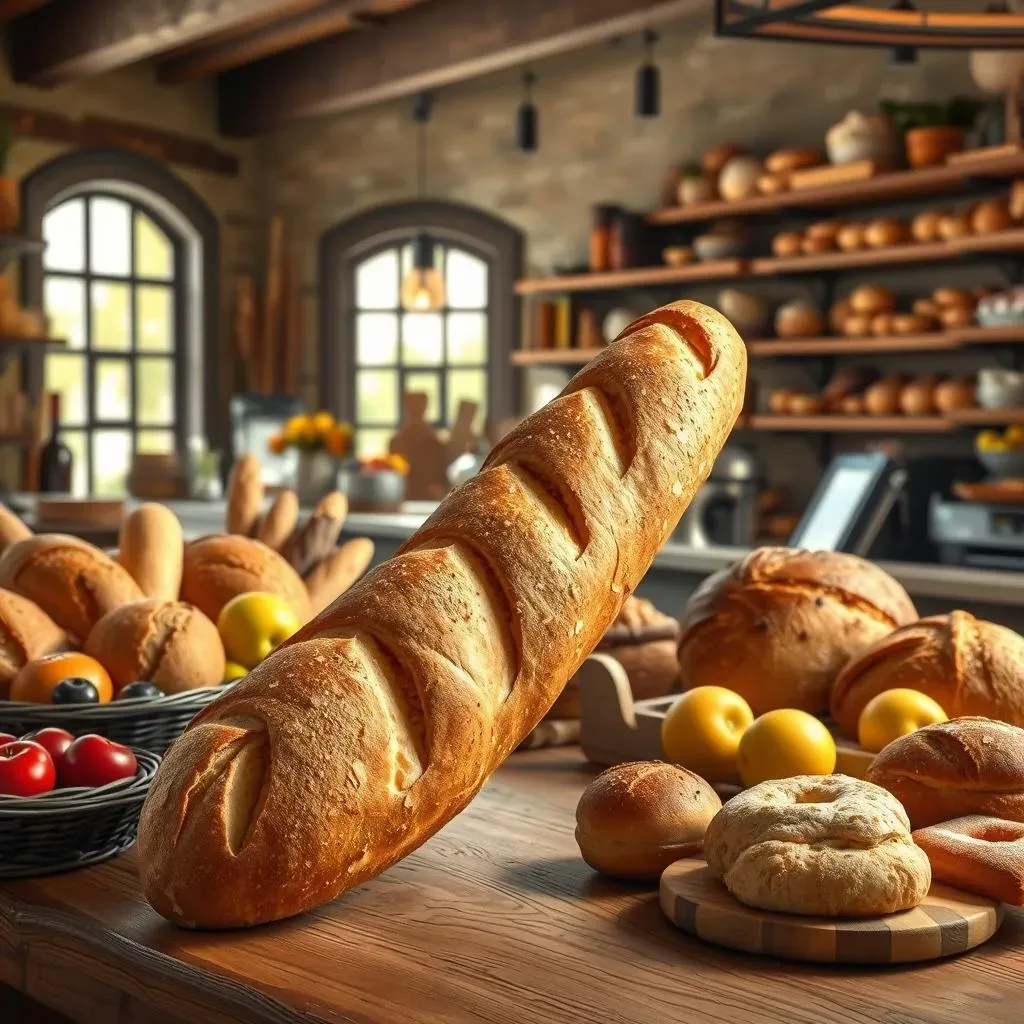
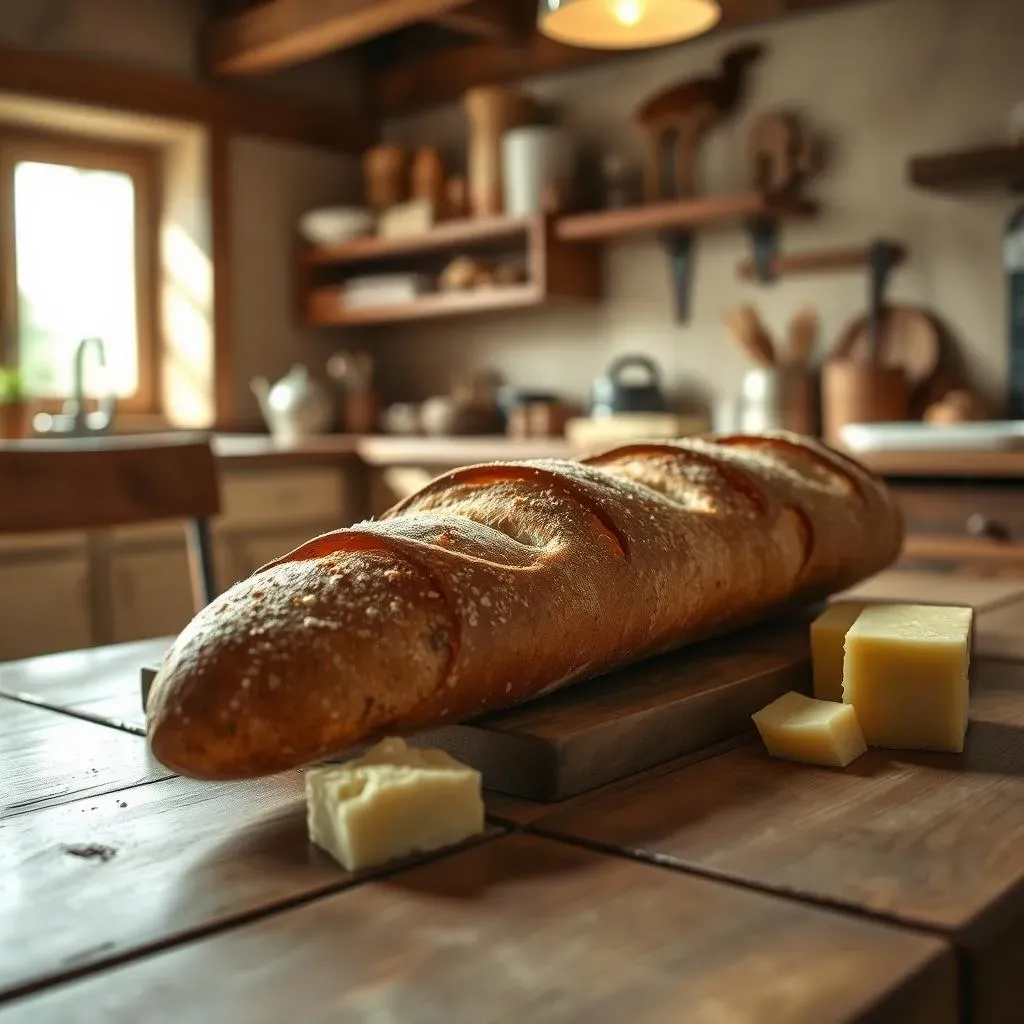
Once baked, remove the baguettes from the oven and let them cool completely on a wire rack before slicing and enjoying. This cooling process allows the crust to crisp up and the inside to become delightfully chewy. And there you have it – your very own homemade French baguettes! Serve them warm with butter, cheese, or your favorite soup or stew. The satisfaction of making these delicious loaves from scratch is unparalleled. So go ahead, impress your friends and family with your newfound baking skills! Remember to practice; the more you bake, the better you'll become.
"The best things in life are homemade." - (A slightly modified proverb)
Tips and Tricks for the Perfect Easy French Baguette Bread Recipe
Tips and Tricks for the Perfect Easy French Baguette Bread Recipe
Troubleshooting: Common Baguette Problems and Solutions
Let's be real, baking isn't always perfect. Sometimes, things go wrong. Your baguette might be flat, the crust too hard, or the inside gummy. Don't despair! These issues are often easily fixed. A flat baguette usually means your dough didn't rise properly, or you didn't score it deeply enough. A hard crust could be from overbaking or not enough steam in the oven. A gummy interior is usually due to underbaking or using too little flour. The key is to understand the cause and adjust accordingly. Remember, baking is a science, but it's also an art. Experiment, learn from your mistakes, and soon, you'll be a baguette master!
One thing that's often overlooked is the importance of oven temperature. Make sure your oven is properly preheated before baking. Use an oven thermometer to ensure accuracy; oven temperatures can vary. Also, don't open the oven door too frequently while baking, as this can cause the baguettes to collapse. Patience is key here, and letting the baguettes bake undisturbed will yield the best results. Finally, don't be afraid to experiment with different flours, hydration levels, and baking times to find what works best for you and your oven.
Problem | Solution |
|---|---|
Flat baguette | Ensure proper proofing, score deeply. |
Hard crust | Reduce baking time, add steam. |
Gummy interior | Bake longer, use less water. |
Advanced Techniques: Taking Your Baguettes to the Next Level
Once you've mastered the basics, you can start experimenting with more advanced techniques. Consider using a couche (a linen cloth) for the final proof. This helps create a beautiful, rustic look and prevents the baguettes from sticking to the baking sheet. Another option is to use a Dutch oven for baking. This traps steam, resulting in an extra-crispy crust and a soft interior. If you're feeling adventurous, try incorporating different herbs or seeds into your dough. Rosemary, thyme, and sesame seeds are all delicious additions. Remember that every oven is different, and you might need to adjust baking times and temperatures to achieve the perfect baguette. Don't be afraid to experiment and find what works best for you.
The beauty of baking is in the experimentation. Try different types of flour, adjust the hydration, play around with the scoring patterns. Each adjustment will subtly change the final product, allowing you to find your perfect baguette. Remember, even the best bakers started somewhere, and every loaf is a learning experience. Don't be discouraged by imperfections; embrace them as opportunities for growth and improvement. The journey of mastering the perfect baguette is a rewarding one, full of delicious discoveries along the way.
- Use a couche for proofing.
- Bake in a Dutch oven.
- Add herbs or seeds to the dough.
- Experiment with different flours and hydration levels.
Storage and Reheating: Keeping Your Baguettes Fresh
So you've baked the most amazing baguettes, and now you want to keep them tasting their best. Proper storage is key! Once cooled, store your baguettes in a paper bag at room temperature for up to 2 days. A bread box also works well, but avoid airtight containers, as they can trap moisture and make the crust soggy. If you need to store them longer, slice them and freeze them. To reheat, simply toast them in a toaster or oven until warm and crispy. For a truly authentic experience, you can even reheat them in a hot oven for a few minutes to restore that amazing crust.
Freezing your baguettes is a great way to preserve their freshness. Once they're completely cooled, wrap them tightly in plastic wrap and then place them in a freezer bag. They'll keep for up to 3 months. When you're ready to enjoy them, thaw them overnight in the refrigerator and then reheat as described above. This method allows you to enjoy freshly baked-tasting baguettes even weeks after you've baked them. With proper storage and reheating techniques, you can enjoy your delicious homemade baguettes for days, or even weeks, to come!
"A loaf of bread is the most fundamental and essential of all foods." - Unknown