Table of Contents
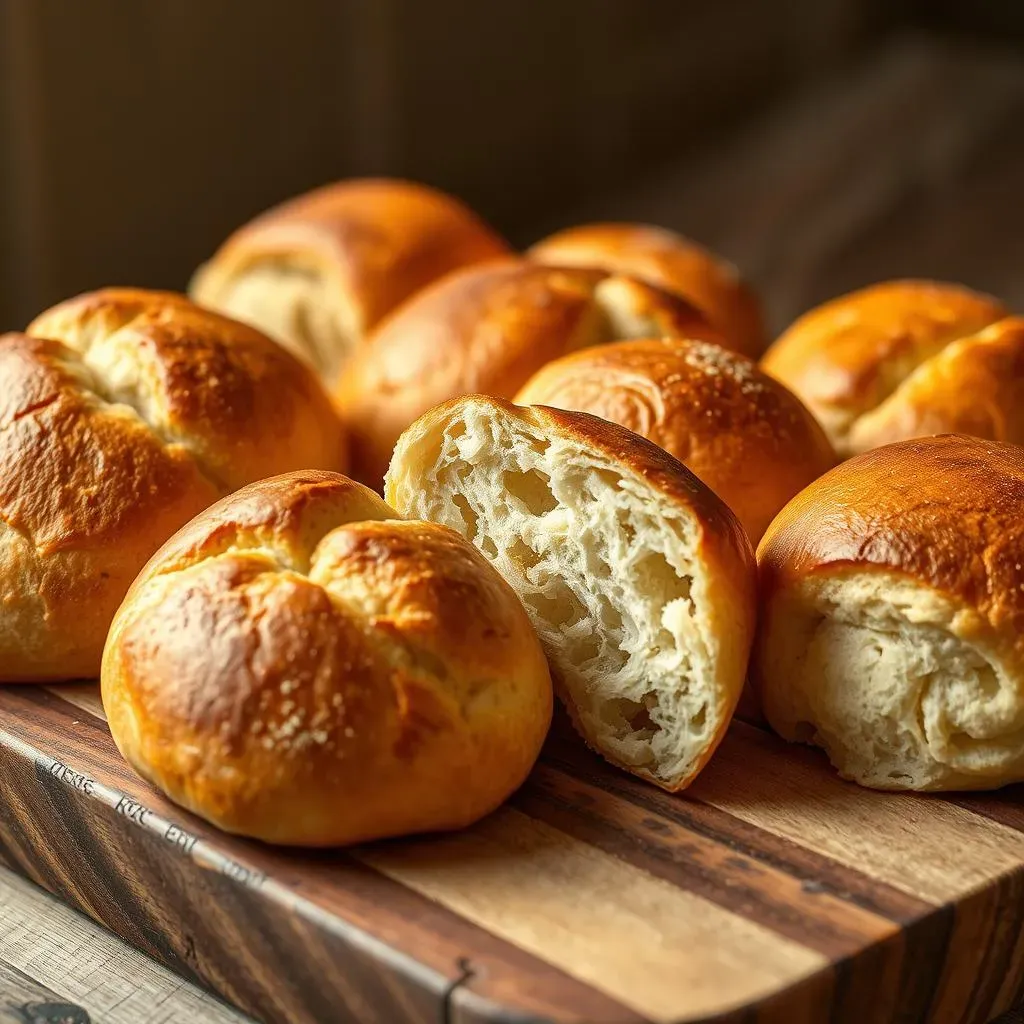
Ever dream of pulling warm, crusty French bread rolls from your own oven? You know, the kind that crackles when you bite into them, with a soft, airy inside that's just begging for butter? Well, you're in luck! This isn't some fancy, complicated bakery secret, it's totally doable at home. I'm going to walk you through how to make amazing crusty french bread rolls, even if you've never baked bread before. Forget those sad, squishy store-bought rolls. We are talking real deal, fresh-from-your-kitchen deliciousness! We will cover everything from what makes the crust so perfectly crunchy to the magic of getting that dough just right. This article will break down the crusty french bread rolls recipe into simple steps, so you'll be baking like a pro in no time. So, grab your apron, let's get started on this adventure that will fill your kitchen with the best smell ever!
The Secret to Crusty French Bread Rolls
The Secret to Crusty French Bread Rolls
The Magic of Steam
Okay, so what's the real deal behind that amazing crust? It's all about steam, my friend. Think about it, a bakery oven is a super steamy place. The steam helps the outside of the dough stay moist longer during the initial baking period. This allows the bread to expand more before the crust sets. When the crust finally does form, it's thin, crisp, and crackly, not hard and thick. It’s like a secret weapon for amazing bread. It's not just about the ingredients, it's how they play together in that hot, steamy environment.
Flour Power
Now, let’s talk flour. You can’t just use any flour and expect a perfect crust. All-purpose flour is fine, but for that extra oomph, bread flour is the way to go. It has more protein, which develops more gluten. Gluten is what gives the dough its structure and that satisfying chew. It's like the scaffolding of your bread, making it sturdy enough to hold that beautiful rise and crust. It's not just about the quantity of flour, it's about choosing the right type for the job. Think of it like using the right tool for building a house; you wouldn't use a hammer to screw in a nail, would you?
Flour Type | Protein Content | Best Use |
|---|---|---|
All-Purpose | Medium | Good for general baking |
Bread Flour | High | Ideal for crusty breads |
The Right Temperature
Finally, the oven temperature is key. You need a hot oven, like really hot. We're talking around 450°F (230°C). This high heat helps the crust form quickly and evenly. It's like giving your bread a quick blast of intense heat, which creates that lovely golden-brown color and that signature crunch. And don't forget to preheat your baking sheet or stone! It's all about creating the right conditions for the magic to happen. It’s like getting the stage perfectly set for your star performer, the dough.
Making Your Dough: Tips for Perfect Texture
Making Your Dough: Tips for Perfect Texture
The Right Hydration
Okay, so you’ve got your flour, now what? Water is the next key player. You want a dough that's wet enough to be sticky, but not so wet that it's a complete mess. This is what we call “hydration.” Too little water and your dough will be dry and tough, resulting in dense rolls. Too much water and it will be a soupy mess that’s impossible to handle. Aim for a dough that’s slightly sticky, it should cling to your hands a bit. It’s about finding that sweet spot where the dough is happy and easy to work with. Think of it like a sponge; it needs to be moist to be pliable, but not so wet that it falls apart.
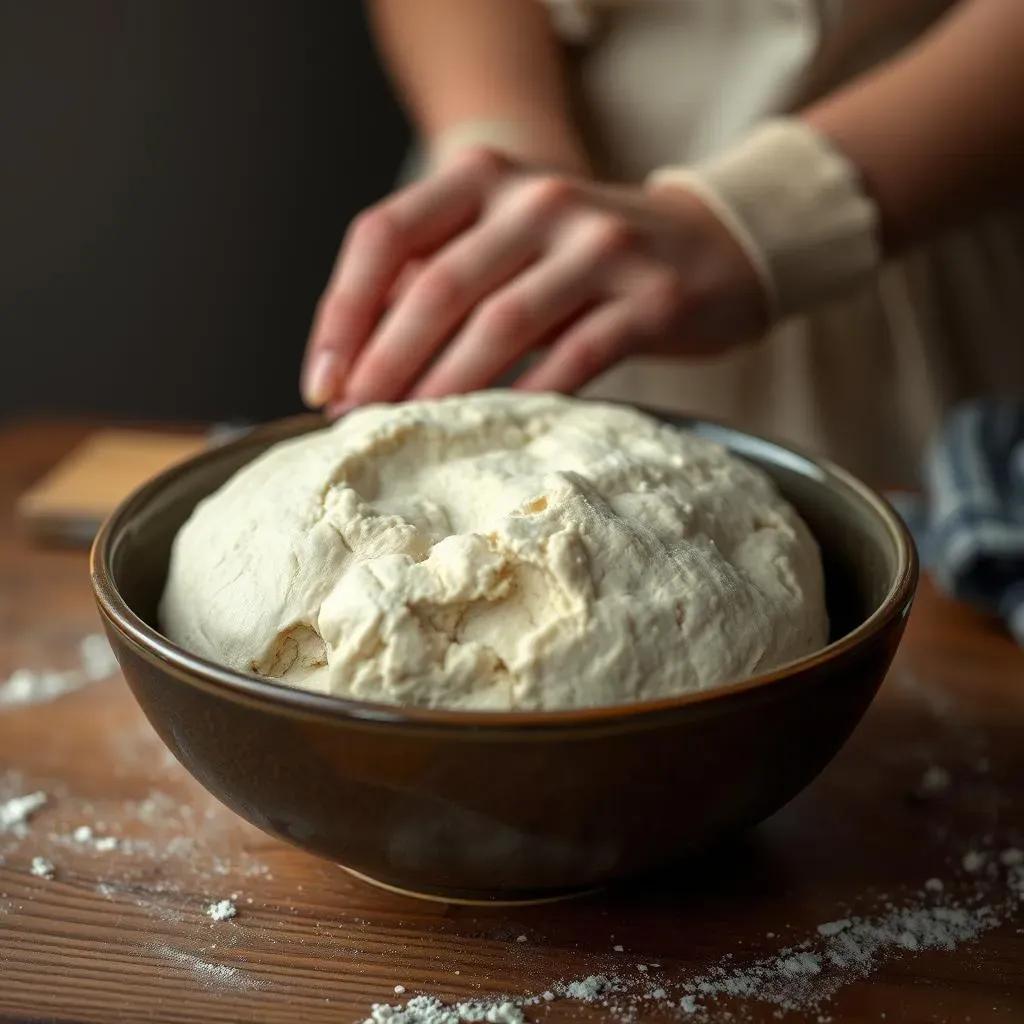
Kneading is Key
Now, let's talk kneading. This is where you develop that gluten we talked about earlier. Don't be scared, it’s not as hard as it sounds. You can knead by hand, which is kind of therapeutic, or use a stand mixer if you have one. The goal is to work the dough until it becomes smooth and elastic. You’ll notice it starts to feel different under your hands, it’ll become less sticky and more like a soft, pliable ball. This process takes time and patience. It’s like giving your dough a good workout, you’re making it strong and ready to rise. Don't rush this step; it's crucial for that perfect texture.
Dough Stage | Description | Texture |
|---|---|---|
Initial Mix | Ingredients just combined | Shaggy, sticky |
Kneaded | Gluten developed | Smooth, elastic |
Over-kneaded | Gluten overdeveloped | Tough, tight |
The First Rise
After kneading, the dough needs to rest and rise. This is where the magic really happens. The yeast gets to work, producing those air bubbles that give your rolls their light and fluffy texture. Place the dough in a lightly oiled bowl, cover it, and let it rise in a warm spot until it has doubled in size. This could take an hour or two, depending on the temperature of your kitchen. It's like letting your dough take a nap. Don’t rush it, patience is key. The dough will be soft, pillowy, and ready for the next step. Think of it like a balloon inflating, you want it to get nice and big before you bake it.
Shaping the Rolls
Once your dough has risen, it’s time to shape the rolls. Gently punch down the dough to release the air. Divide it into equal portions, about 6-8 rolls, depending on how big you want them. Shape each portion into a round or oblong shape. Place the rolls on a baking sheet lined with parchment paper. Now, they’re ready for their second rise! This rise is shorter, about 30-45 minutes. It's like giving them a final boost before they hit the oven. They should look puffy and ready to bake. This step is crucial for making sure the rolls are light and airy.
- Use a bench scraper to divide the dough evenly.
- Shape the dough gently, avoiding over-handling.
- Place rolls on a baking sheet with enough space for expansion.
Baking and Enjoying Your Crusty French Bread Rolls
Baking and Enjoying Your Crusty French Bread Rolls
The Final Bake
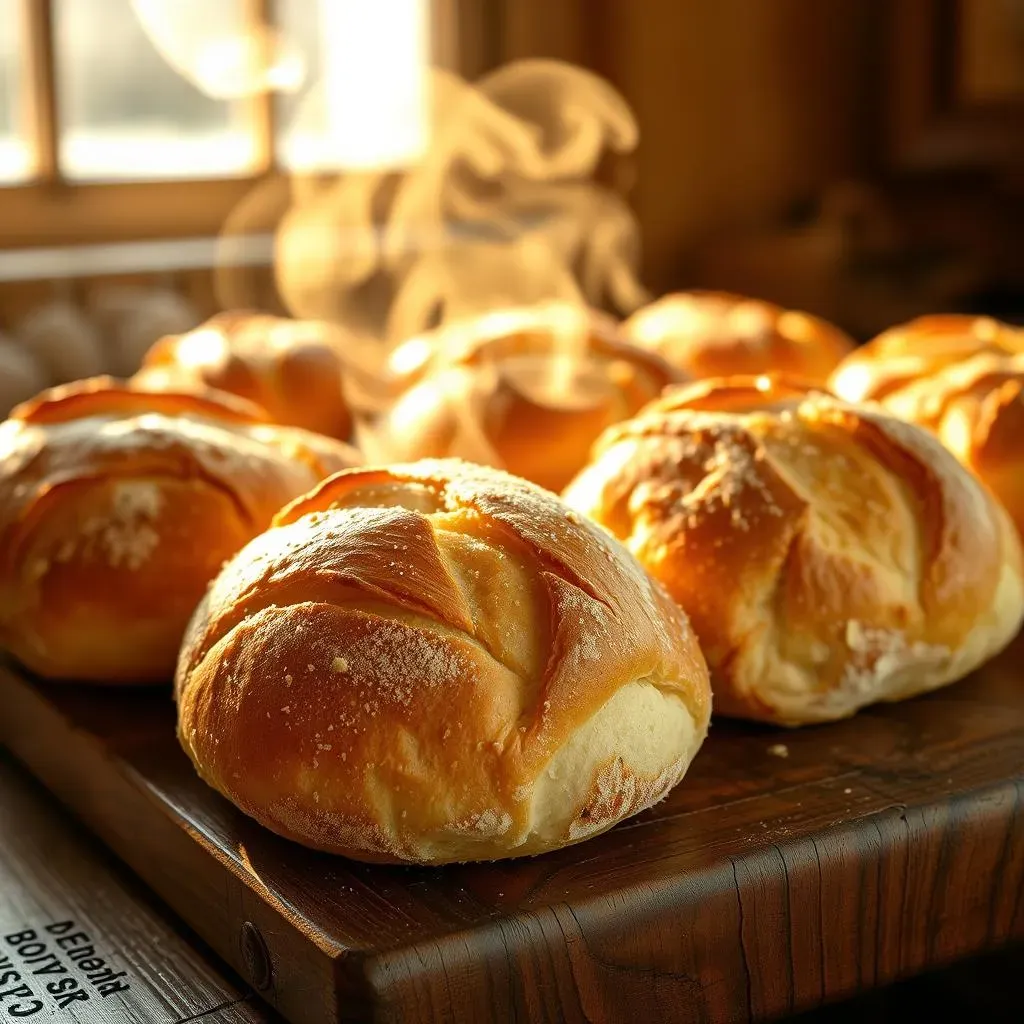
Alright, our rolls are shaped, they've had their second rise, and they're looking pretty darn good. Now it's time for the main event: baking! Remember that super hot oven we talked about? It's go time. Before you slide those rolls in, give them a little slash on top with a sharp knife or a lame. This helps control how they expand in the oven. It’s like giving them a little breathing room, so they don't burst open randomly. Place them in the oven, and if you're feeling fancy, toss a few ice cubes in a hot pan at the bottom of the oven. This creates extra steam, which gives you an even better crust. It’s like giving your rolls a spa treatment before they become the star of the show.
Golden Brown Perfection
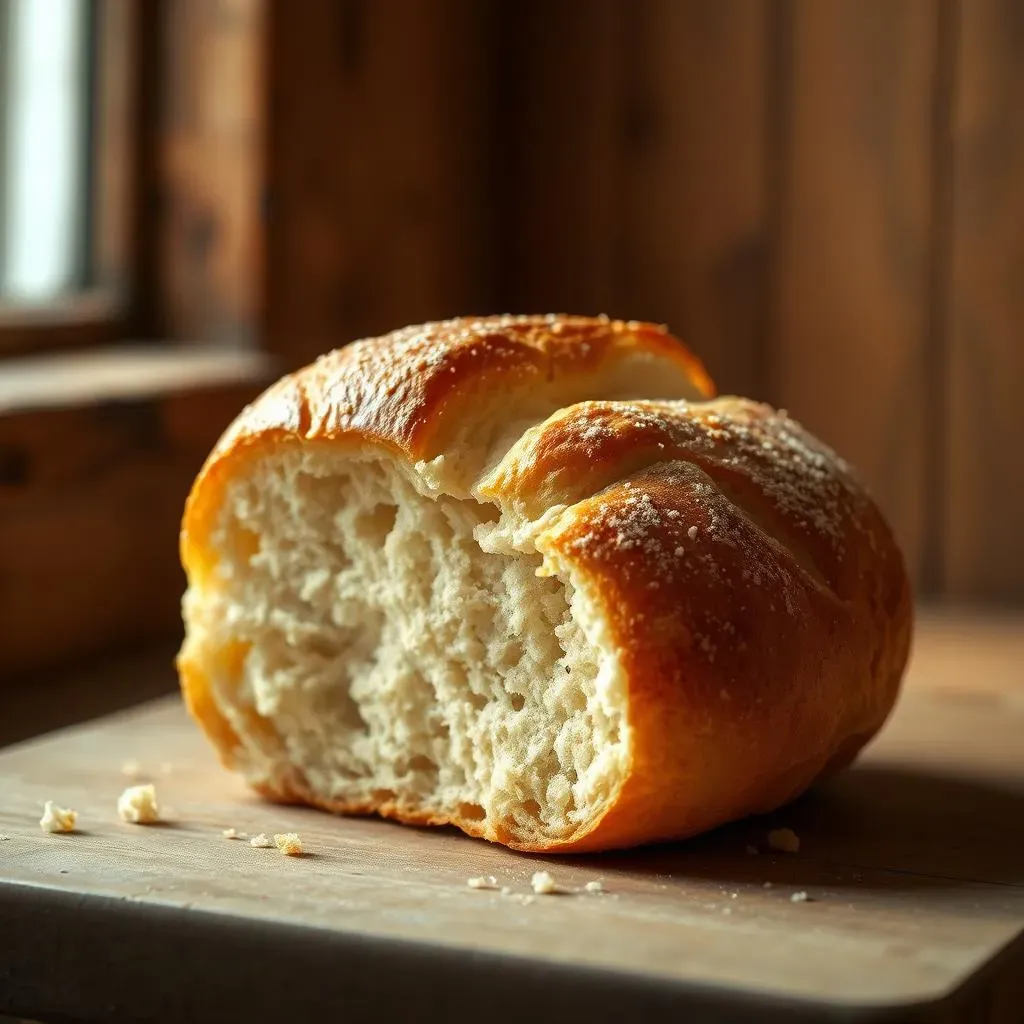
Bake those rolls until they're a deep golden brown and sound hollow when you tap them on the bottom. This usually takes about 20-25 minutes, but keep an eye on them, as all ovens are a little different. The color should be a rich, inviting golden-brown, not pale or burnt. It’s like waiting for the perfect tan; you want it just right, not too light and not too dark. Once they are baked, take them out and let them cool on a wire rack. This is the hardest part, I know, but it’s essential to let them cool for a bit before you dive in. Otherwise, they might be a little gummy inside.
"The smell of fresh bread baking is a universal language." - Unknown
Serving and Savoring
Now for the best part: enjoying your crusty French bread rolls! These are amazing with just butter, but they're also fantastic with soups, salads, or as a side to any meal. You can slice them open and make little sandwiches, or just tear off a piece and dip it in olive oil. It's like having a blank canvas to create your culinary masterpiece. And the best part? They taste even better when you share them with friends and family. There's nothing quite like the joy of homemade bread, especially when it's as good as these. You made this! So go ahead, pat yourself on the back. You're now a master of the crusty French bread roll.
Serving Idea | Description |
|---|---|
Simple Butter | Classic and always delicious |
Soup Side | Perfect for dipping and soaking up flavors |
Sandwiches | Versatile for any filling |
Olive Oil Dip | Simple and flavorful |