Table of Contents
Ever walked past a bakery and been hypnotized by the sight of golden-brown, perfectly crusty french bread rolls? The kind that crackle when you bite into them, revealing a soft, airy interior? I have, and it's what started my obsession with baking these beauties at home. Forget those store-bought imitations, because today, we're diving into the world of homemade crusty french bread rolls. This isn't some complicated, chef-level challenge, I promise. We're going to break down the process step-by-step, from understanding the key ingredients to mastering the techniques that create that irresistible crust. Think of this article as your personal guide, we'll explore the science behind the magic, get our hands doughy with a simple recipe, and I'll share all my best tips and tricks to make sure your rolls turn out fantastic every time. So, if you're ready to fill your kitchen with the amazing smell of baking bread and impress your friends and family with your own crusty french bread rolls, let's get started!
The Magic Behind Crusty French Bread Rolls
The Magic Behind Crusty French Bread Rolls
Okay, so you're curious about what makes those crusty french bread rolls so darn good? It’s not just luck, my friend, it's a bit of science mixed with a whole lot of love. The real secret is in the simple ingredients and how we treat them. We're talking about a dance between flour, water, yeast, and salt – that's it! The magic starts with the yeast, those tiny little guys that eat up sugars and release gas, making the dough rise. Water, of course, is our liquid of life here, hydrating the flour and giving the dough its structure. And then there's the salt, not just for flavor, but also to control the yeast and make sure the dough doesn’t get too wild. It's all about finding the right balance and letting these elements work their magic together.
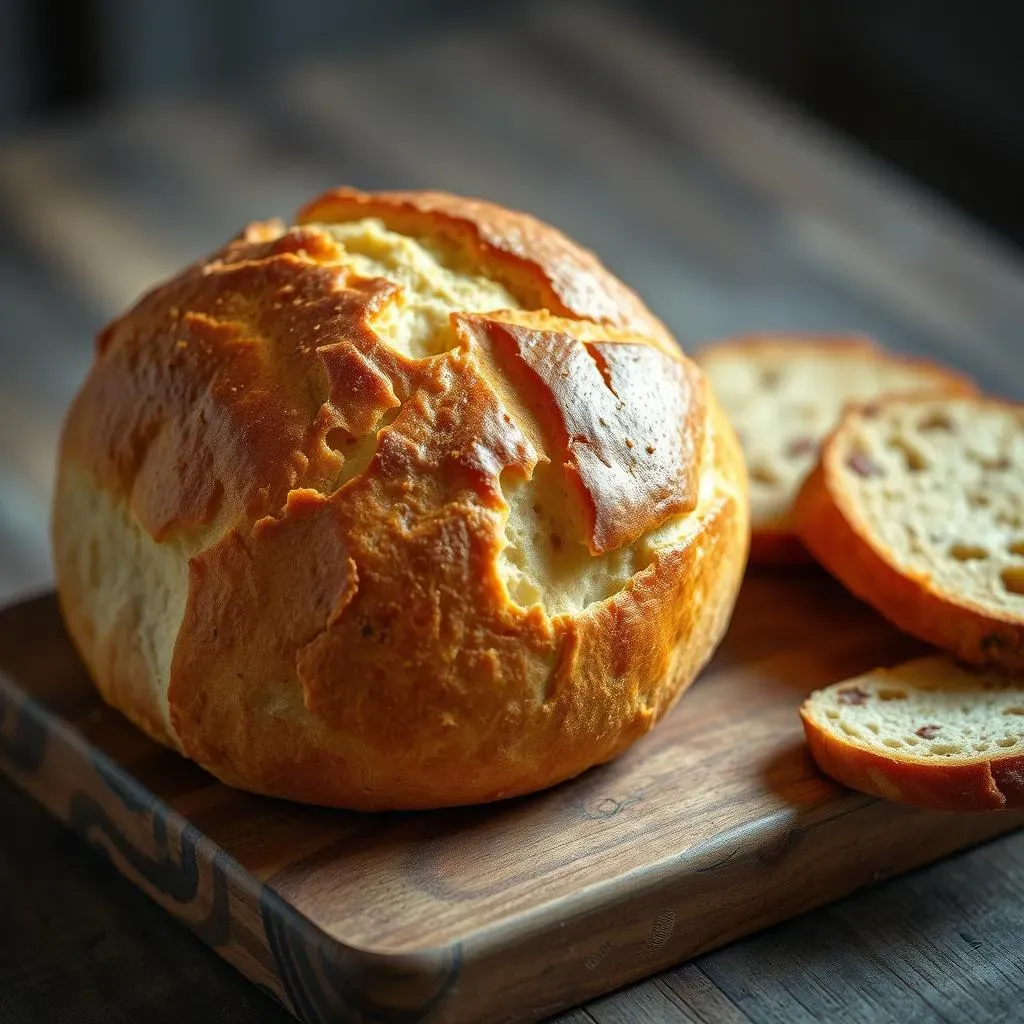
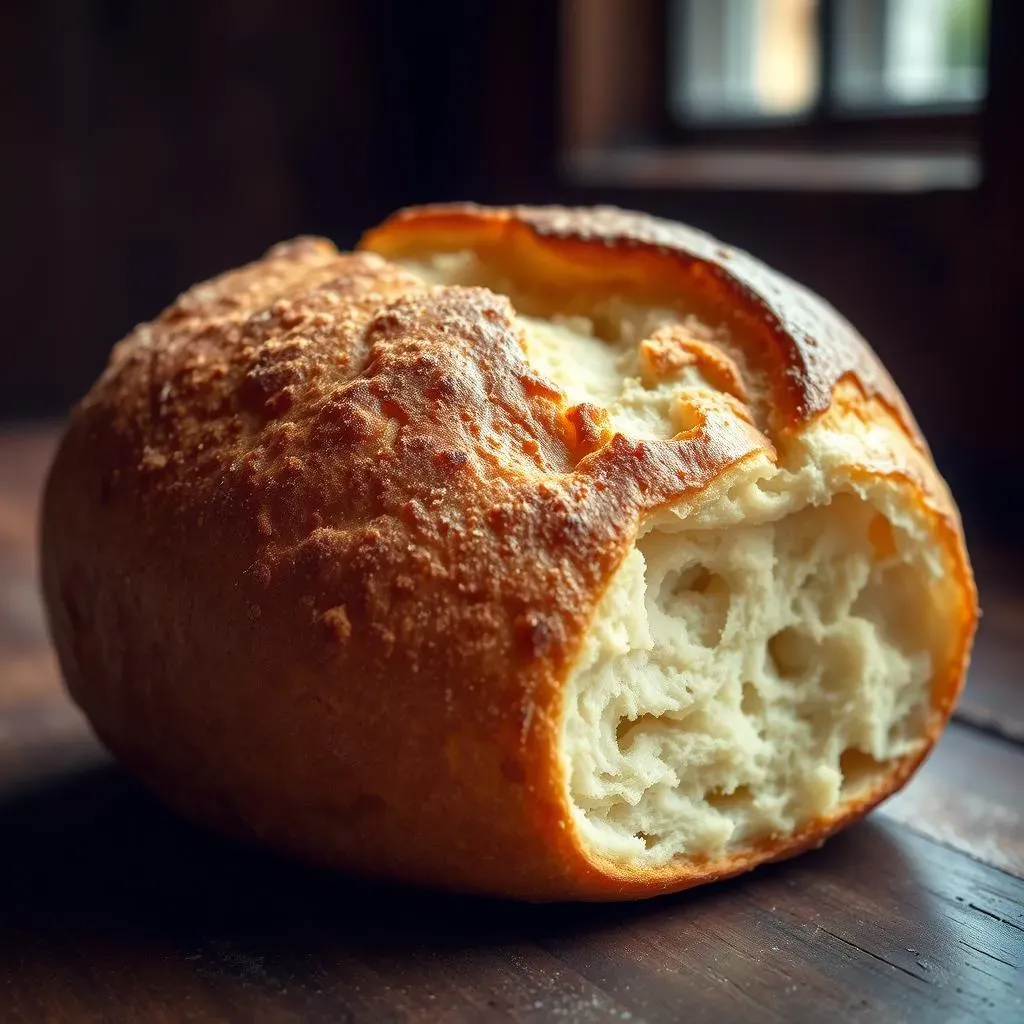
That amazing crust? It's all about the steam! When the dough hits the hot oven, the water on the surface turns into steam, which prevents the crust from setting too quickly. This allows the loaf to expand and create a thin, crispy outer layer, giving you that satisfying *crunch* when you take a bite. The inside stays soft and airy because it's not being dried out by the direct heat. It's like a tiny sauna in there, working hard to create the perfect bread roll. It's a pretty simple idea, but the results are anything but ordinary. It's a process that's been perfected over centuries, with bakers passing down their secrets generation after generation.
Ingredient | Role in the Magic |
|---|---|
Yeast | Creates gas for rise and flavor. |
Water | Hydrates flour, forms structure. |
Salt | Controls yeast, enhances flavor. |
Making Your Own Crusty French Bread Rolls
Making Your Own Crusty French Bread Rolls
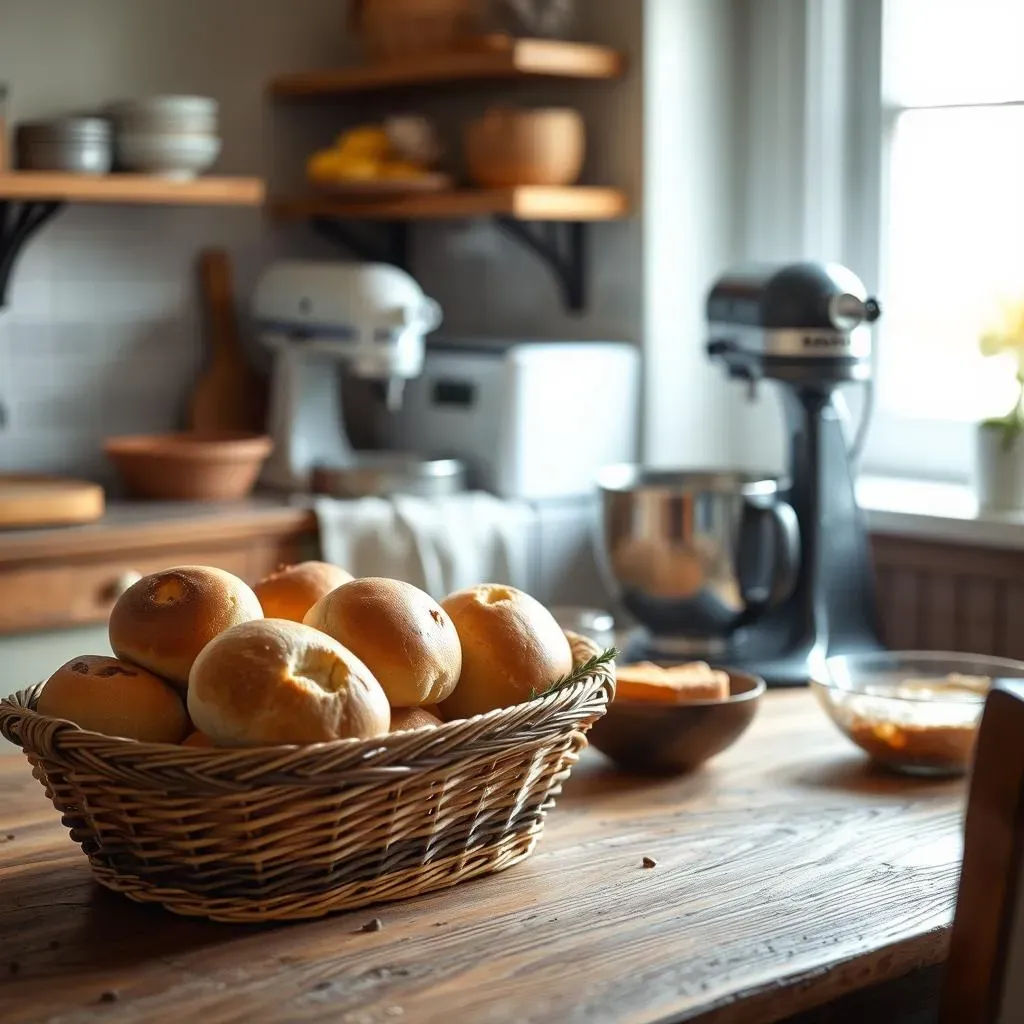
Alright, let’s get to the fun part – making your own crusty french bread rolls! Don't worry, it's not as scary as it might sound. First things first, you’ll need to gather your ingredients: flour, water, yeast, and salt. I like to use all-purpose flour for this, but you can experiment with bread flour if you're feeling fancy. Warm water is key, it needs to be warm enough to wake up the yeast but not so hot that it kills them. Think of it like giving them a nice warm bath, not a scalding shower. Once you have your ingredients ready, it's time to mix them together in a bowl. I like to use a stand mixer, but you can definitely do this by hand. It's a good workout for your arms!
After the dough has come together, you'll need to let it rest. This is where the magic really happens, as the yeast starts its work. It's like letting the dough take a nap before it gets to work. Then, you'll shape the dough into small rolls. Don't worry about them being perfect, rustic rolls are where it's at. Next, we let them rest again, this time for a bit longer. This second rise is important for a light and airy texture. Finally, it's time to bake! I like to throw some ice cubes in the bottom of the hot oven when I put the rolls in. It creates that steam we talked about earlier, giving the rolls that perfect crust. The smell of baking bread will fill your kitchen, and it's one of the best smells in the world, if you ask me.
- Ingredients: Flour, water, yeast, salt.
- Warm Water: Not too hot, just warm enough.
- First Rest: Let the yeast work its magic.
- Second Rest: For a light and airy texture.
- Steam: Ice cubes in the oven for that crust.
Tips for Perfect Crusty French Bread Rolls Every Time
Tips for Perfect Crusty French Bread Rolls Every Time
The Temperature Tango
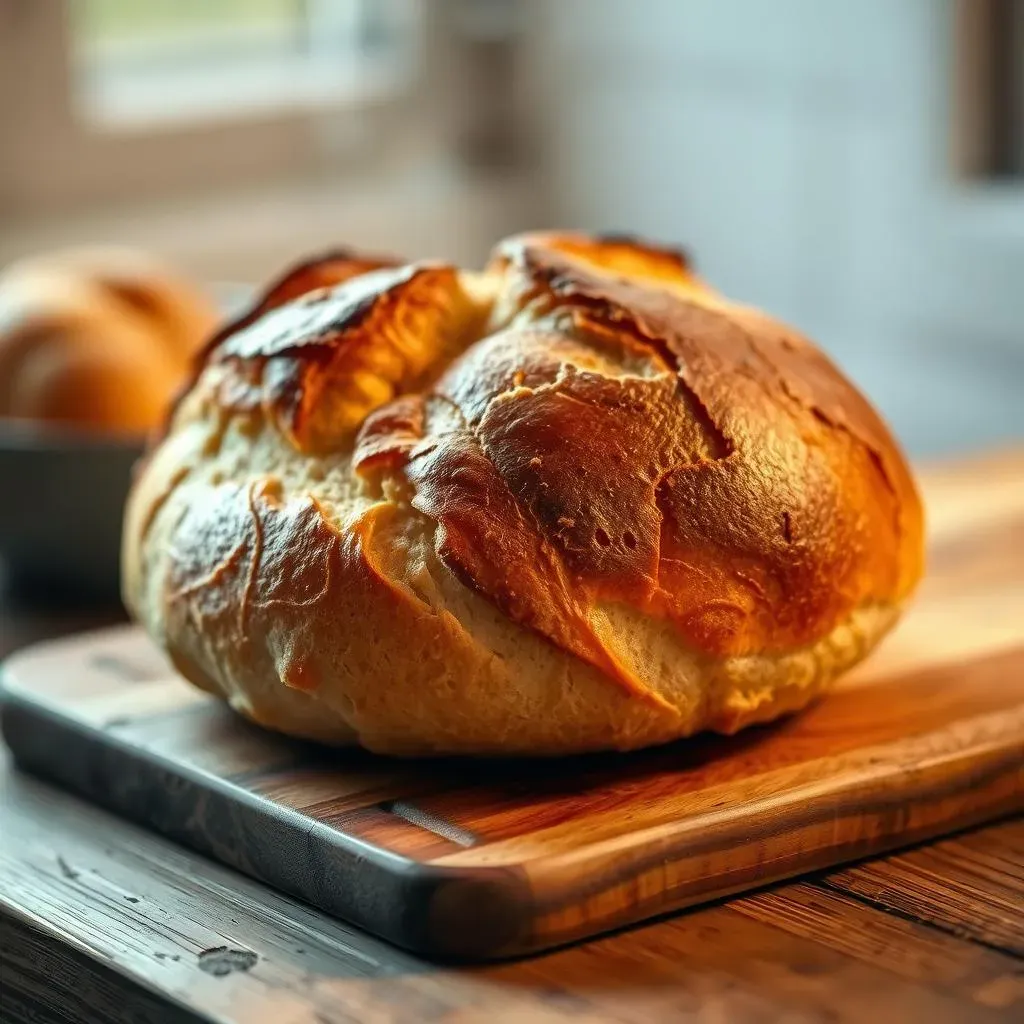
Okay, so you've got the basic recipe down, but you're still not quite getting that bakery-level crust? Let's talk temperature. First, your water needs to be just right, lukewarm is the sweet spot. Too cold, and the yeast will be sluggish; too hot, and you'll kill them off before they can even start. Think of it like Goldilocks, not too hot, not too cold, but just right. The oven temperature is also crucial. You want a hot oven, I'm talking 450-475°F (230-245°C). This high heat is what creates that rapid steam and that perfect crust. Also, make sure your oven is properly preheated. Don't be impatient, let it get to the right temperature before you put the rolls in. It makes a huge difference.
And about that steam, don't skimp on it. If you don't have a fancy steam oven, the ice cube trick works like a charm. Just toss a handful of ice cubes into the bottom of the hot oven right when you put the rolls in. That burst of steam will keep the crust from setting too quickly and allow the rolls to get nice and puffy. If you're feeling extra fancy, you can even spritz the rolls with water a few times during the first few minutes of baking. It's like giving them a spa treatment and the results will be worth the effort. But don't worry if you don't have all the fancy equipment, a hot oven and some ice will do the trick.
Temperature Aspect | Why It Matters |
|---|---|
Water Temperature | Activates yeast properly. |
Oven Temperature | Creates high heat for crust. |
Steam | Prevents crust from setting too fast. |
The Art of the Rest
Patience is key when it comes to making these crusty french bread rolls, and that means letting the dough rest, twice. The first rest, after mixing, is important for the gluten to develop and for the yeast to do its thing. It’s like letting the dough take a breather so it can work its magic. Don't rush this step, it needs time to get nice and puffy. I like to let mine rest for at least an hour, or even longer if I have the time. The second rest, after shaping the rolls, is just as important. This allows the dough to relax and expand a bit, so you get a light and airy texture on the inside. Think of it as the dough's final stretch before the big bake. Don't skip it!
And here’s a little secret: if you're not planning on baking them right away, you can pop them in the fridge after the first rest. The cold slows down the yeast activity, so you can bake them later when you're ready. This also helps to develop more flavor, so it's a win-win. When you take them out of the fridge to bake, you'll need to give them an extra rest at room temperature before they go in the oven. This will help them puff up. It's all about timing and temperature, but the payoff is worth the wait. Trust me, when you pull those perfectly baked rolls out of the oven, the extra rest time will be worth it.
- First Rest: Gluten development and yeast activity.
- Second Rest: Light and airy texture.
- Fridge Rest: Slows yeast, develops flavor.