Table of Contents
Ever wondered if that tangy sourdough starter lurking in your fridge could be the key to unbelievably delicious French bread? The answer is a resounding yes! This article is your ultimate guide to baking the perfect sourdough French bread, answering the burning question: "can you make french bread with sourdough starter?" We'll explore why using a sourdough starter elevates your French bread game, offering a depth of flavor and texture unmatched by traditional yeast. Get ready for a step-by-step journey, guiding you through each stage of the process, from preparing your starter to achieving that signature crispy crust and airy crumb. We'll cover essential techniques, common pitfalls, and creative variations to ensure your baking success. Whether you're a seasoned baker or a curious beginner, prepare to unlock the secrets to crafting artisan-quality sourdough French bread in your own kitchen. By the end, you'll not only know the answer but also possess the confidence and skills to create a loaf you'll be proud to share (or devour entirely by yourself – we won't judge!).
The Allure of Sourdough French Bread: Why Use a Starter?
The Allure of Sourdough French Bread: Why Use a Starter?
The Magic of Sourdough
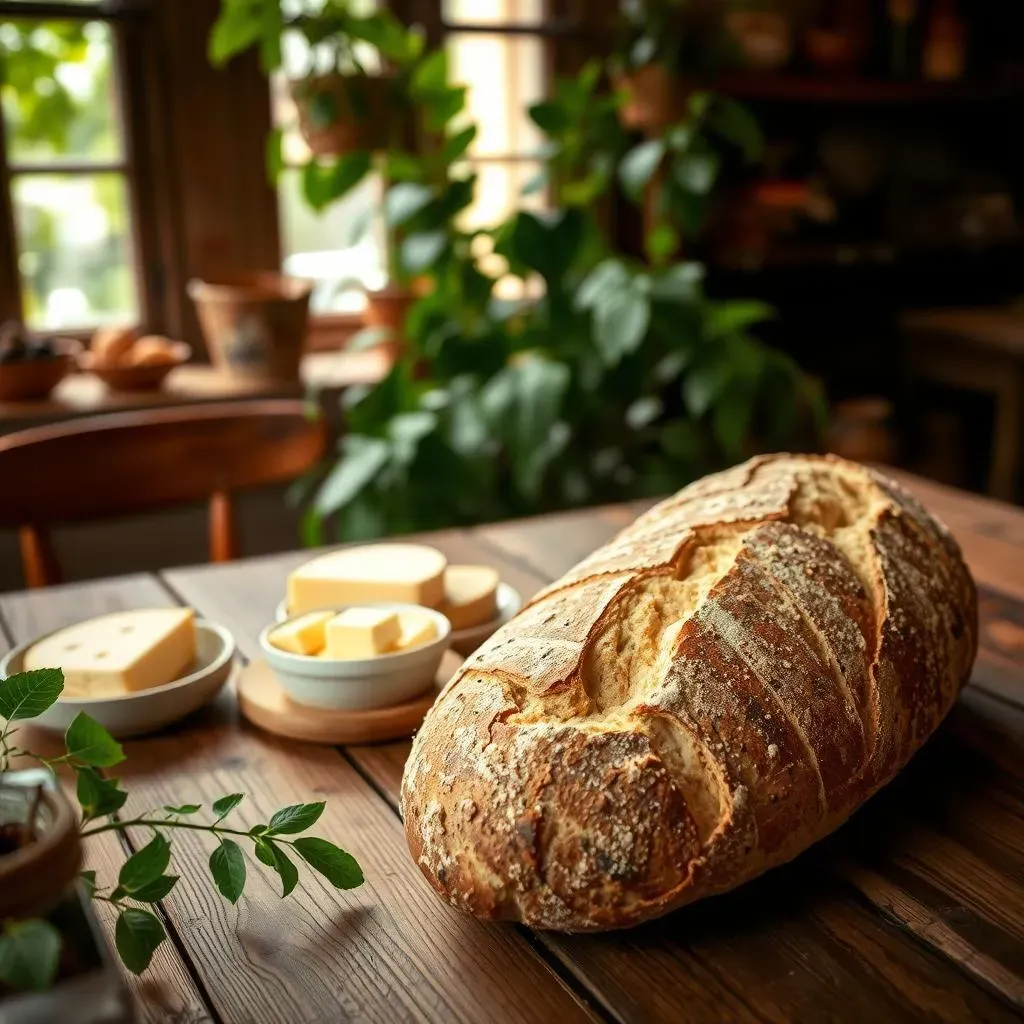
So, you're curious about sourdough French bread? Let's talk about why using a sourdough starter is so darn appealing. It's not just a trendy thing; it's about unlocking a whole new level of flavor and texture. Imagine that amazing tangy, slightly sour taste that only sourdough can deliver. That's the result of wild yeasts and bacteria fermenting the dough, creating complex flavors that simple yeast just can't replicate. It's a taste that's both comforting and sophisticated, making every bite a unique experience.
Think about the texture too. Sourdough bread often has a more open crumb structure, resulting in a lighter, airier loaf. This is partly due to the longer fermentation process, which allows the gluten to develop more fully, resulting in a bread that's both chewy and tender. It's the kind of texture that makes you want to savor each bite, whether you're enjoying it on its own or with your favorite toppings. Want to learn more about the differences between regular and sourdough French bread? Check out our !
Feature | Regular Yeast | Sourdough Starter |
|---|---|---|
Flavor | Simple, yeasty | Complex, tangy, sour |
Texture | Denser, less airy | Open crumb, chewy, tender |
Digestibility | Potentially less digestible | Often more digestible |
Beyond the Taste: Health Benefits and More
But the allure of sourdough goes beyond just taste and texture. Many people find sourdough easier to digest than bread made with commercial yeast. The longer fermentation process breaks down some of the complex carbohydrates, potentially reducing bloating and digestive discomfort. Plus, the fermentation process can also increase the bioavailability of certain nutrients, meaning your body can absorb more of the good stuff. This makes sourdough a healthier option, too!
And let’s not forget the satisfaction of making your own bread from scratch using a sourdough starter. It’s a journey, a process that takes time and patience, but the reward is a truly unique and personal loaf of bread. You're not just baking; you're cultivating a living culture, nurturing it, and watching it transform simple flour and water into something truly special. It's a rewarding process that connects you with the history of baking and the art of food creation. For a simple recipe, try our !
- Improved digestibility
- Increased nutrient absorption
- Unique flavor profile
- Sense of accomplishment
Mastering the Method: A StepbyStep Guide to Sourdough French Bread
Mastering the Method: A StepbyStep Guide to Sourdough French Bread
Mixing the Dough: The Foundation of Flavor
Alright, let's get our hands dirty! The first step in making sourdough French bread is mixing the dough. This isn't just about throwing ingredients together; it's about creating the perfect environment for your sourdough starter to work its magic. Start by activating your starter—make sure it's bubbly and lively! Then, gently combine your starter with lukewarm water. This activates the yeast and bacteria, kicking off the fermentation process. Next, add your flour (bread flour is ideal, but all-purpose will work in a pinch) and salt. Mix everything until you have a shaggy dough. Don't worry about perfection at this stage; we'll knead it later. The key here is to ensure all ingredients are well incorporated. Now, cover your bowl and let the dough rest for 30-60 minutes. This allows the flour to fully hydrate, making the dough easier to work with and improving gluten development. For a super easy recipe to get started, check out our !
After the initial rest, it's time for the kneading. This is where the magic happens. Kneading develops the gluten, giving your bread that wonderful chewy texture. You can knead by hand (it's a great arm workout!) or use a stand mixer with a dough hook. Knead for about 8-10 minutes until the dough is smooth and elastic, passing the windowpane test (you should be able to stretch a small piece of dough thinly without it tearing). If the dough is too sticky, add a tablespoon or two of flour at a time. If it's too dry, add a teaspoon or two of water. Once kneaded, place the dough back in your bowl, cover it, and let it rise (bulk fermentation) for 4-6 hours, or until it's almost doubled in size. This slow rise allows the sourdough flavors to develop fully. For more tips on bulk fermentation, see our .
- Activate your starter
- Combine ingredients
- Initial rest (30-60 mins)
- Knead (8-10 mins)
- Bulk fermentation (4-6 hours)
Shaping and Proofing: The Art of the Loaf
Once your dough has risen, it's time to shape it into beautiful loaves. Gently turn the dough out onto a lightly floured surface. Divide it in half (or thirds, depending on your desired loaf size). Gently shape each portion into a long, oval-shaped baguette. This takes practice, but don't stress; it's more about getting the dough into a roughly oblong shape than achieving perfect symmetry. Place your shaped loaves seam-side down on a parchment-lined baking sheet. This prevents sticking and makes for easy transfer to and from the oven. For some visual inspiration, check out our !
Now comes the proofing stage. This is the final rise, allowing your loaves to fully expand before baking. Cover your baking sheet loosely with plastic wrap or a damp cloth. Let the loaves proof in a warm place for another 1-2 hours, or until they’ve almost doubled in size. During proofing, the dough will continue to ferment, creating complex flavors and a light, airy texture. Once proofed, your loaves will be puffy and almost jiggly to the touch. Before you pop them in the oven, make a few shallow slashes across the tops of the loaves with a sharp knife or lame. This helps control the expansion during baking and creates a beautiful, rustic look. We have a great recipe for that perfect crust in our guide on .
Stage | Description | Time |
|---|---|---|
Shaping | Divide dough, shape into baguettes | 15-20 minutes |
Proofing | Final rise in warm place | 1-2 hours |
Scoring | Slash loaves with sharp knife | 5 minutes |
Baking and Cooling: The Golden Finish
Preheat your oven to 450°F (232°C) with a baking stone or Dutch oven inside for at least 30 minutes. The hot surface helps create a crispy crust. If you don't have a stone or Dutch oven, you can still bake on a baking sheet, but the crust may not be as crisp. Carefully place your loaves into the preheated oven. For extra crispiness, spritz the loaves with water before baking. Then, bake for 25-30 minutes, or until the loaves are golden brown and sound hollow when tapped on the bottom. If the loaves are browning too quickly, reduce the oven temperature slightly. For a detailed guide on baking techniques, take a look at our !
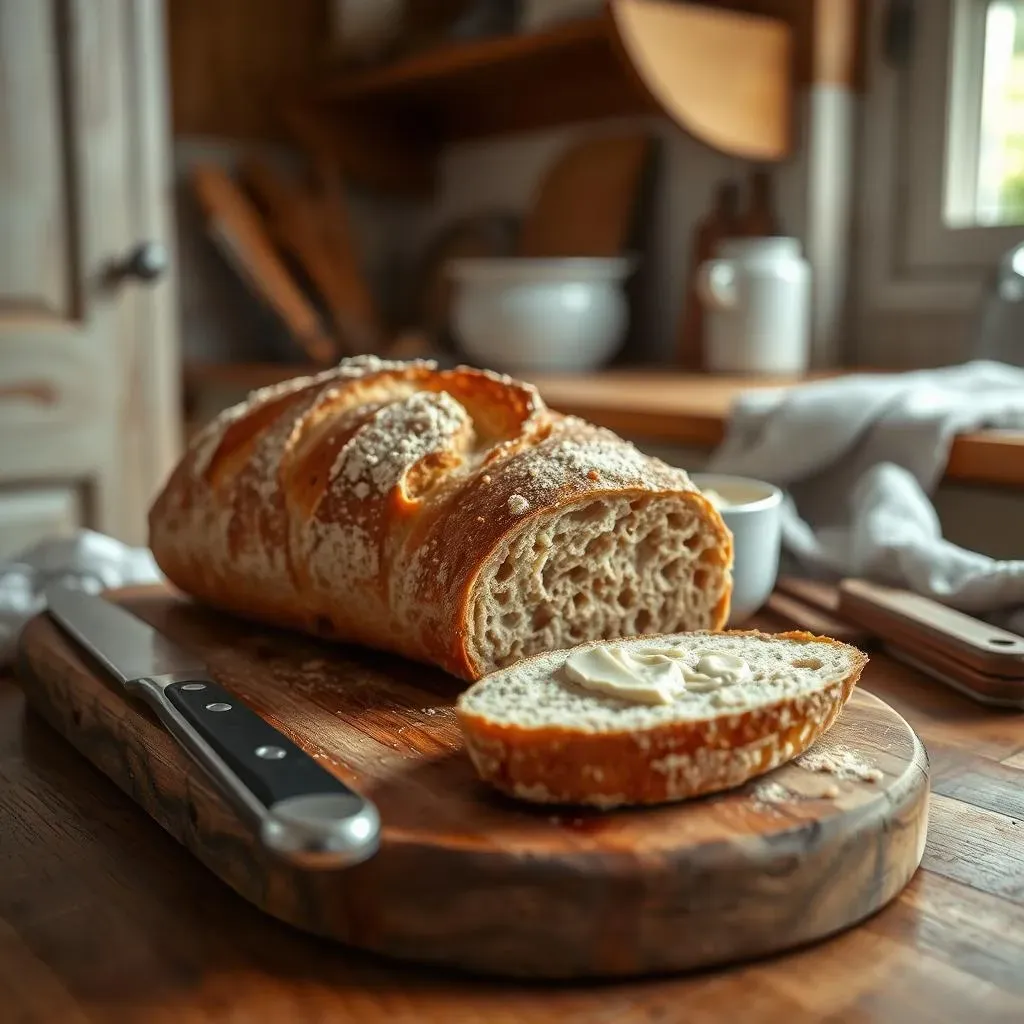
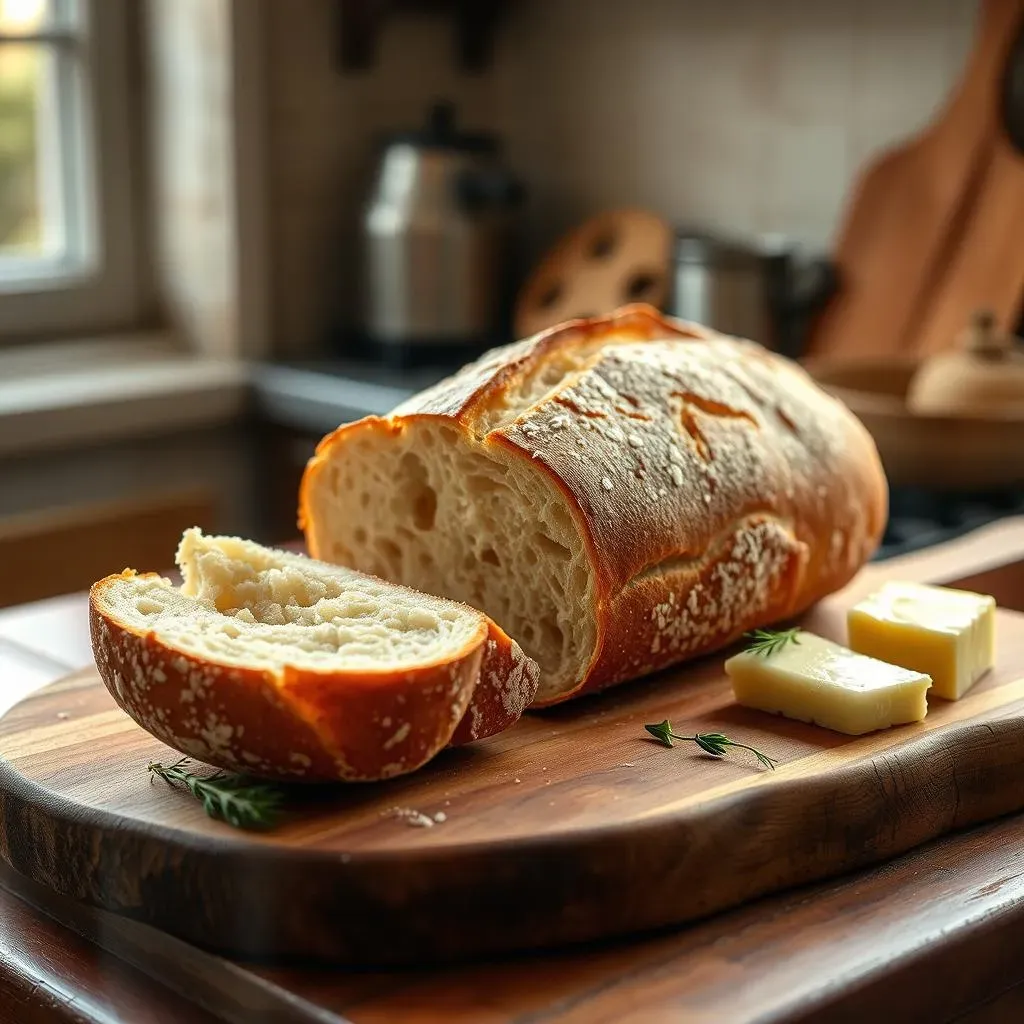
Once baked, carefully remove the loaves from the oven and let them cool completely on a wire rack before slicing. This is crucial for allowing the crumb to set properly and preventing a gummy texture. Resist the urge to slice into them while they're still warm! Let them cool for at least an hour. The wait is worth it; the flavor will deepen as the bread cools. Once cooled, you can enjoy your beautiful, delicious sourdough French bread. Whether you're making sandwiches, dipping it in soup, or simply enjoying it on its own, the reward for your efforts will be a truly exceptional loaf of bread. For a slightly different take, try our !
- Preheat oven to 450°F (232°C)
- Bake for 25-30 minutes
- Cool completely on wire rack
Troubleshooting and Variations: Tips for Perfect Sourdough French Bread Every Time
Troubleshooting and Variations: Tips for Perfect Sourdough French Bread Every Time
My Sourdough Starter Is Weak
Let's face it, sometimes your sourdough starter just doesn't cooperate. It might not be bubbly enough, or it might be too sour. Don't panic! A weak starter can lead to a flat loaf, so ensure your starter is active and bubbly before you begin. Feed it a few hours before mixing the dough to give it a boost. If your starter is still sluggish, try adding a tiny bit of commercial yeast (about 1/4 teaspoon) to help with the rise. Remember, a healthy starter is the foundation of a great loaf. For more tips on keeping your starter happy, take a peek at our sourdough starter guide!
If your bread is too sour, it might be due to an over-active starter or too long of a fermentation time. Try reducing the amount of starter you use next time, or shortening the bulk fermentation. You can always adjust the fermentation time based on your environment. Experiment to find the sweet spot for your kitchen and starter. Remember, practice makes perfect! For more tips on sourdough baking times, check out our ultimate guide!
- Ensure active starter
- Feed starter before baking
- Consider adding a pinch of yeast (optional)
- Adjust starter amount or fermentation time
My Bread Didn't Rise Enough
A flat loaf is a baker's nightmare, but it's often fixable! Insufficient rising can be caused by a few factors: a weak starter (as discussed above), not enough kneading (gluten development is key!), or an incorrect baking temperature. Make sure you've thoroughly kneaded your dough to develop the gluten structure. Under-kneaded dough won't rise as well. If your oven isn't hot enough, the bread won't rise properly. Always preheat thoroughly, especially if using a baking stone. For a super-easy recipe that's hard to mess up, check out our 3-ingredient sourdough bread recipe!
Another reason for a lack of rise could be a temperature issue. A cold environment will slow down the fermentation process. Make sure your kitchen is warm enough (around 70-75°F) during bulk fermentation and proofing. If it's cold, try placing the dough in a slightly warmer spot. Conversely, if your kitchen is too warm, the dough might rise too quickly and collapse. Finding the right temperature balance is key for success. For variations on sourdough, check out our crusty sourdough French bread recipe!
Problem | Possible Cause | Solution |
|---|---|---|
Insufficient rise | Weak starter | Feed starter, add yeast (optional) |
Insufficient rise | Under-kneaded dough | Knead longer |
Insufficient rise | Incorrect temperature | Adjust kitchen temperature |
Experimenting with Flavors and Shapes
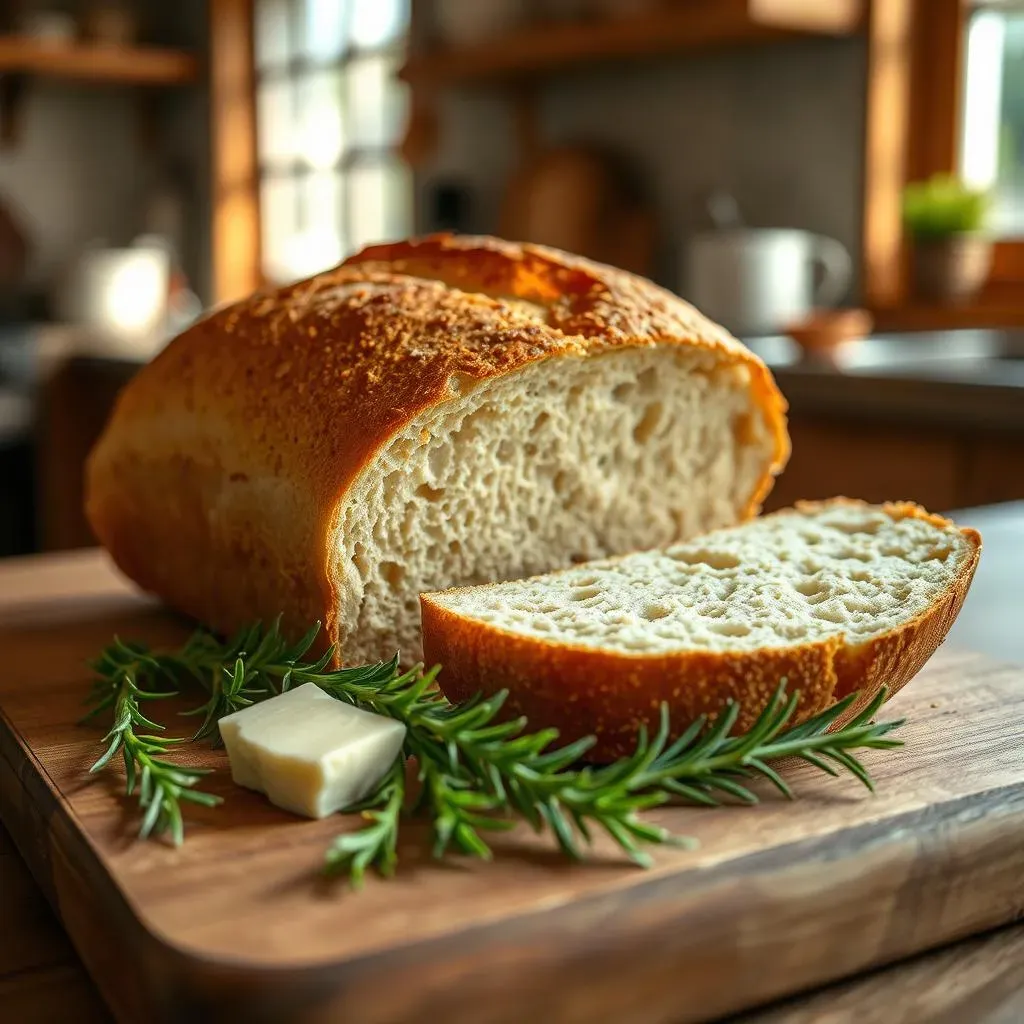
Once you've mastered the basics, don't be afraid to get creative! Sourdough French bread is a blank canvas for culinary exploration. Try adding herbs like rosemary or thyme to the dough for an aromatic twist. Incorporate seeds like sunflower or poppy seeds for added texture and visual appeal. Even dried fruits like cranberries or raisins can add a delightful sweetness and chewiness. For a delicious variation, check out our boudin sourdough French bread!
Beyond flavors, you can also experiment with shaping. While baguettes are classic, you can also shape your dough into round loaves, rolls, or even focaccia. The possibilities are endless! Each shape will present unique challenges and rewards, so embrace the learning process and have fun. Don't be afraid to make mistakes; it's all part of the journey. For another variation, try our crusty sourdough French bread recipe!
- Add herbs (rosemary, thyme)
- Incorporate seeds (sunflower, poppy)
- Include dried fruits (cranberries, raisins)
- Experiment with different shapes (round loaves, rolls)