Table of Contents
Ever dreamed of enjoying the crisp, golden-brown crust and airy interior of a perfect French baguette, fresh from your own kitchen? Forget battling complicated recipes and hours of kneading – this article is your guide to unlocking the secrets of the bread maker french baguette. We’ll take you step-by-step through the process, from choosing the right ingredients to troubleshooting common issues. Get ready to ditch the bakery and embrace the satisfying aroma of homemade bread filling your home. Inside, you'll discover essential techniques to achieve that signature crust, explore exciting flavor variations to personalize your loaves, and learn how to overcome any challenges you might encounter along the way. Whether you're a bread-baking novice or a seasoned pro looking to refine your technique, this guide will empower you to create restaurant-quality bread maker french baguettes with ease. Let's get baking!
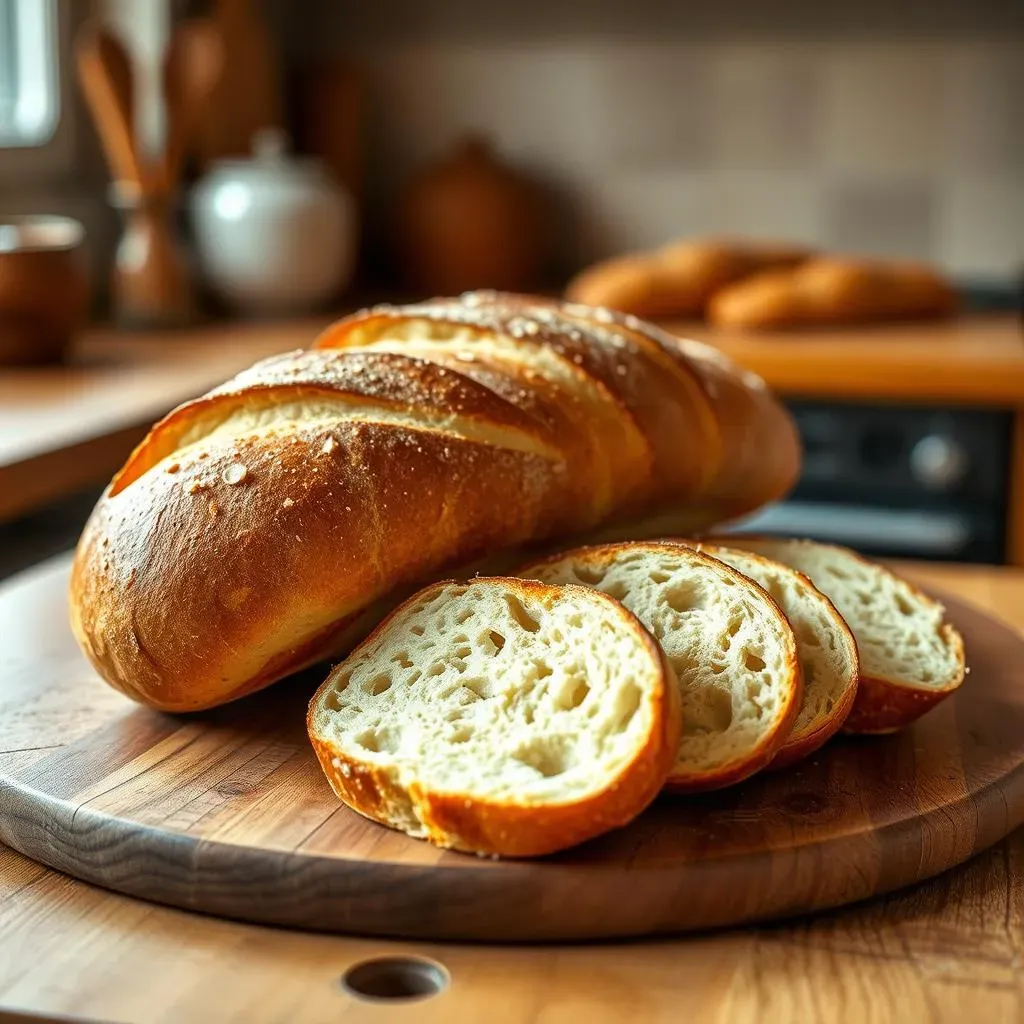
Mastering the Bread Maker French Baguette

Mastering the Bread Maker French Baguette
Understanding Your Bread Maker
First things first: know your machine! Different bread makers have varying capacities and dough cycles. Check your manual; it's your bible for this process. Ignoring the instructions is like trying to bake a cake without an oven – it's not going to end well. Pay close attention to the order in which ingredients are added – some machines are picky! For example, adding the yeast directly onto the salt can kill the yeast before it gets a chance to do its thing. It's a recipe for disaster (and a sad, doughy lump).
Think of your bread maker as a trusty assistant, not a magic box. It does the heavy lifting—kneading the dough—but you’re still the chef. You need to make sure you have the right ingredients and follow the steps correctly. It's a partnership, not a dictatorship!
Bread Maker Type | Considerations |
|---|---|
Small Capacity (1 lb) | May not be suitable for baguettes; dough might be too dense. |
Standard Capacity (1.5 - 2 lb) | Ideal for smaller baguettes; follow the recipe carefully. |
Large Capacity (2+ lb) | Allows for larger baguettes; experiment with dough hydration. |
The Art of Shaping the Dough
Once the bread maker has done its job and you have a lovely, slightly sticky ball of dough, the real artistry begins: shaping. Don't be intimidated! Think of it like sculpting with dough. Gently stretch and fold the dough into a rough rectangle. Then, roll it up tightly from one of the longer sides, like you're rolling a cinnamon roll. Pinch the seam to seal it, and gently taper the ends to achieve that classic baguette shape. If you're feeling adventurous, you can even make smaller baguettes by dividing the dough into smaller portions.
Proper shaping is key to achieving that signature baguette look and texture. The tighter you roll it, the better the oven spring (that beautiful rise in the oven). A loose roll will result in a flatter, less impressive baguette. Don't be afraid to get your hands a little messy – it's all part of the fun!
- Gently degas the dough before shaping to remove air bubbles.
- Use a bench scraper or a sharp knife to score the dough for even baking.
- Allow for a final proof before baking for optimal results.
Essential Tips for Perfect Bread Maker French Baguettes
Essential Tips for Perfect Bread Maker French Baguettes
The Importance of Fresh Ingredients
Let's be honest, using stale flour and ancient yeast is like trying to build a castle out of sand – it's not going to stand the test of time (or a hungry family). Fresh ingredients are paramount for a successful bread maker french baguette. Start with high-quality bread flour; it has a higher protein content, leading to a better gluten development, which means a chewier, more satisfying loaf. Your yeast should be fresh and active – if it's older than a week, toss it and grab a new packet. Likewise, make sure your water is lukewarm, not hot or cold. Too hot, and you'll kill the yeast. Too cold, and it won't activate properly. Room temperature is perfect for most recipes, but always double check your recipe to be sure.
- Use high-quality bread flour for optimal gluten development.
- Ensure your yeast is fresh and active.
- Use lukewarm water (around 105-115°F) to activate the yeast.
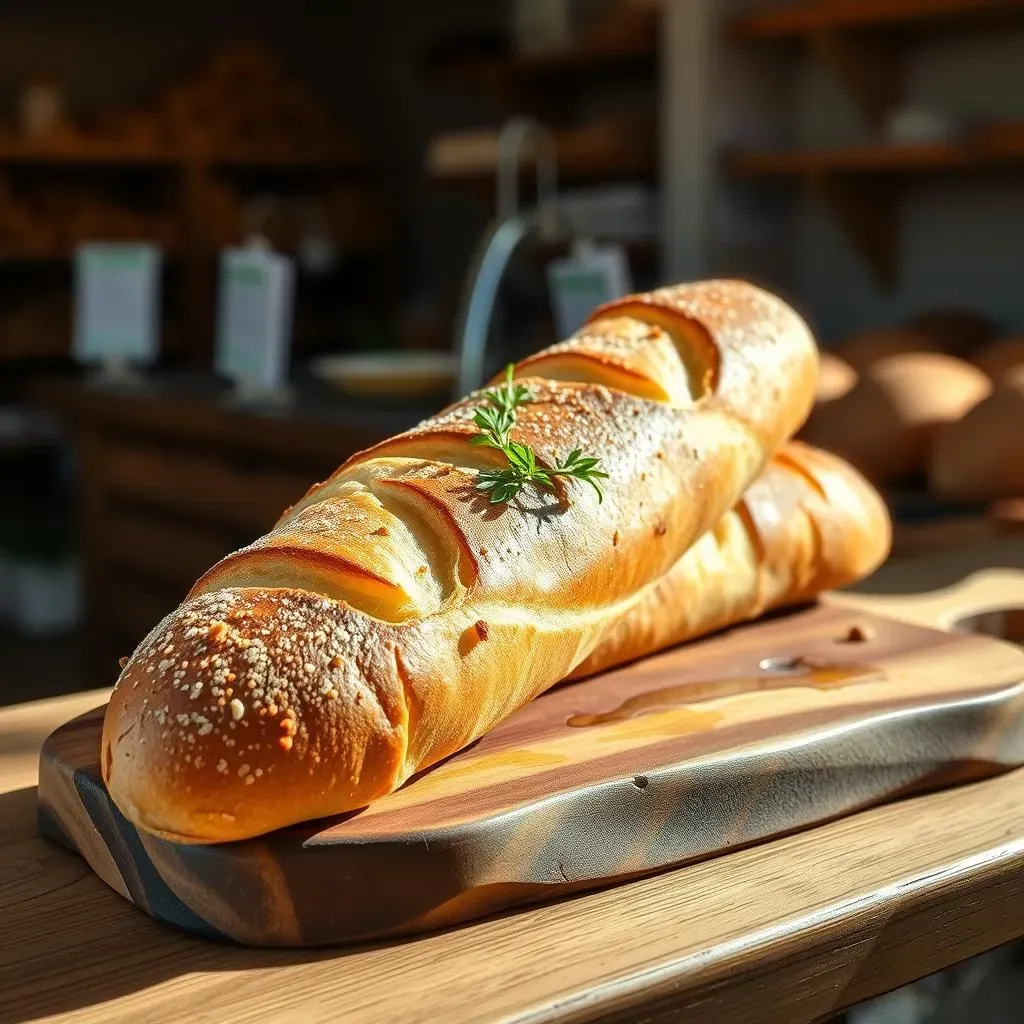
Scoring and Baking for That Perfect Crust
Scoring your baguette – making those elegant slashes on top – isn't just for show. It controls the direction of the oven spring, preventing the dough from bursting unpredictably. Use a sharp, serrated knife or a lame (a special baker's tool) to make shallow, diagonal cuts about ¼ inch deep. Don't go too deep; you don't want to deflate the dough. For a crispier crust, preheat your oven with a baking stone or a pan of water on the bottom rack. The steam created helps to develop a beautifully crisp exterior. Baking time will vary depending on your oven and the size of your baguette; keep an eye on it and use a thermometer to check the internal temperature (it should be around 200-210°F). Once baked, let the baguette cool completely on a wire rack before slicing and serving. This allows the crust to set and the inside to soften.
Scoring Technique | Result |
|---|---|
Shallow, diagonal cuts | Controlled oven spring, attractive appearance |
Deep cuts | May cause uneven baking, collapse of the dough |
No scoring | Unpredictable oven spring, potential for cracking |
Beyond the Basics: Flavor Variations for Your Bread Maker French Baguette
Beyond the Basics: Flavor Variations for Your Bread Maker French Baguette
Beyond the Basics: Flavor Variations for Your Bread Maker French Baguette
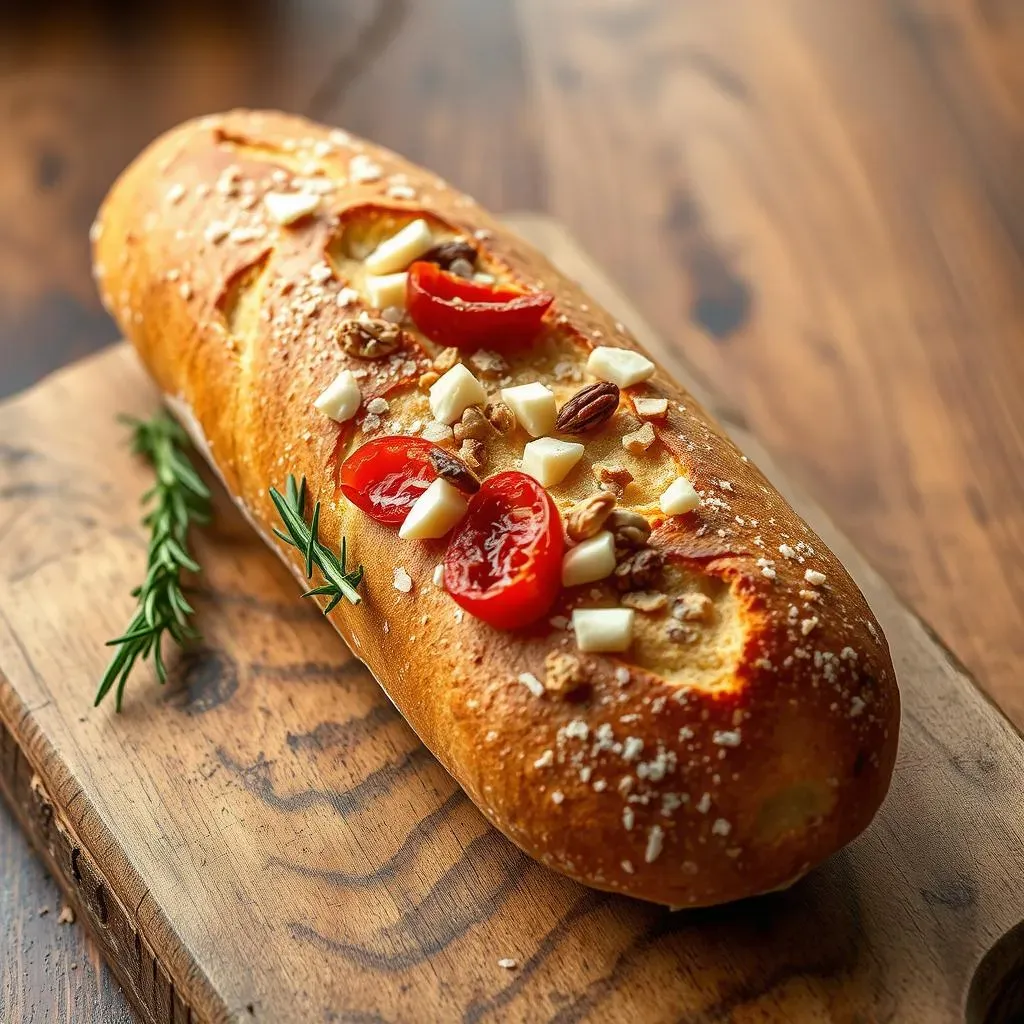
Okay, so you've mastered the basic bread maker french baguette. That's fantastic! But let's be honest, plain bread can get a little boring after a while. This is where the fun begins! Think of your bread maker as a blank canvas, ready for a burst of flavor. We can easily elevate your baguettes from simple to sensational with a few tweaks to the recipe. Adding herbs, cheeses, or even nuts can transform your bread from everyday fare into something truly special. Imagine a rosemary and sea salt baguette, its aroma filling your kitchen, or a sun-dried tomato and mozzarella baguette, perfect for a light lunch. The possibilities are endless!
- Herby Delight: Add a tablespoon of dried rosemary, thyme, or oregano to your dough for a fragrant twist. A sprinkle of coarse sea salt on top before baking complements this perfectly.
- Cheesy Goodness: Incorporate shredded parmesan, cheddar, or mozzarella into the dough for cheesy goodness. A little bit of garlic powder adds another layer of flavor.
- Nutty Indulgence: For a crunchy addition, add chopped walnuts, pecans, or even sunflower seeds to the dough. These add texture and a nutty flavor that pairs well with sweeter breads.
Remember, when experimenting with additions, start small. You don't want to overwhelm the flavor of the bread itself. Too much of a good thing can quickly become a bad thing! Also, keep in mind that adding ingredients might change the dough's hydration. You might need to adjust the amount of water slightly to get the right consistency. A slightly wetter dough is usually preferable when adding ingredients like nuts or cheese, as it will help them distribute more evenly through the dough. Don’t be afraid to get creative and experiment! The most rewarding part of baking is the process of discovery and the pride you feel when you create something delicious and unique.
Addition | Amount (per loaf) | Notes |
|---|---|---|
Dried Herbs | 1-2 tablespoons | Add with other dry ingredients. |
Shredded Cheese | 1/2 - 1 cup | May require slight increase in water. |
Chopped Nuts | 1/2 - 1 cup | May require slight increase in water. |
Troubleshooting Common Bread Maker French Baguette Problems

Troubleshooting Common Bread Maker French Baguette Problems
Dough Too Sticky
A common issue is dough that's too sticky. This usually happens due to incorrect water measurements or using flour with lower protein content. Don't panic! You can usually salvage it by adding a tablespoon or two of flour at a time, kneading it in by hand until it reaches the right consistency. It should be slightly tacky but not overly sticky; it should be able to form a ball without sticking excessively to your hands or the surface.
Remember, the dough's consistency is crucial. Too much water, and you'll end up with a gummy, unworkable mess. Too little water, and the dough will be dry and crumbly. The goal is that perfect balance – a slightly tacky, elastic dough that holds its shape.
- Add flour 1 tablespoon at a time until the dough is less sticky.
- Knead thoroughly to incorporate the added flour.
- Check your recipe and ensure you have the correct flour type and water measurement.
Uneven Baking or Soggy Bottom
If your baguette comes out unevenly baked or with a soggy bottom, there are a few things you can try. First, ensure your oven is preheated properly and that you're using a baking stone or a pan of water on the bottom rack to create steam. This helps to develop a crisp crust and prevents a soggy bottom. Also, check to make sure your baguette isn't overcrowded in the oven; this can prevent even heat circulation and lead to uneven baking. Ensure enough space between your baguettes.
Another common culprit is insufficient baking time. Use an oven thermometer to ensure your oven is at the correct temperature and bake until the internal temperature reaches 200-210°F. Overcrowding the oven can lead to uneven baking and a soggy bottom. If you're still having trouble, try rotating the baking sheet halfway through the baking process to ensure even heat distribution. Patience and attention to detail are key to baking success!
Problem | Possible Cause | Solution |
|---|---|---|
Uneven Baking | Oven temperature inconsistencies, overcrowding | Use an oven thermometer, ensure adequate spacing |
Soggy Bottom | Insufficient oven steam, underbaking | Use a baking stone or pan of water, bake to correct internal temperature |