Table of Contents
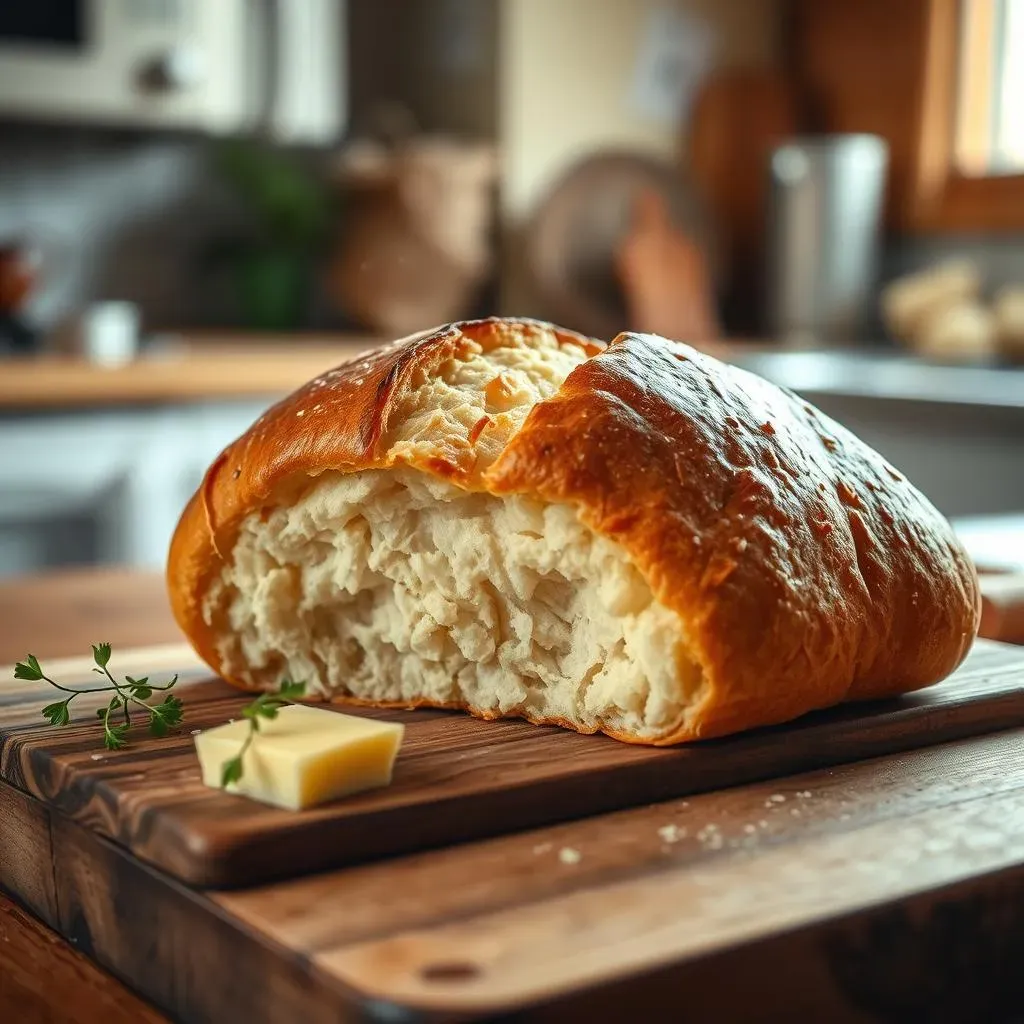
Ever dream of biting into a perfectly crusty French roll, the kind that makes a satisfying crackle when you tear it open? I have, and that's why I started experimenting with my bread machine. Forget complicated recipes and hours of kneading; we're making amazing bread machine french rolls right here, right now. This isn't just about throwing ingredients into a machine; it's about understanding a few key steps to get that bakery-quality result at home. In this article, I'll walk you through why using a bread machine is a total game-changer for French rolls, the simple steps to follow for a guaranteed success, and even some tips on how to fix common issues and make these rolls the stars of your next meal. We'll cover everything from the right kind of flour to how to shape your dough, plus some serving ideas to make your homemade bread machine french rolls unforgettable. Get ready to impress yourself and your family with this super simple recipe.
Why Bake Bread Machine French Rolls?
Why Bake Bread Machine French Rolls?
The Allure of Homemade
Let's be real, store-bought rolls just don't cut it sometimes. They're often too soft, too bland, or loaded with stuff you can't even pronounce. Making your own bread machine french rolls is about taking control of what you eat, and the taste? It's a million times better. There's something truly satisfying about pulling a tray of golden, crusty rolls from your oven, knowing you made them with your own two hands (well, mostly your bread machine's hands). It's like a little bit of magic in your kitchen.
Plus, the smell! Oh, the smell of baking bread. It's like a warm hug for your home. Seriously, ditch those sad, plastic-wrapped rolls and join the homemade revolution. Your taste buds and your nose will thank you.
Effortless Baking with Your Bread Machine
Okay, I get it. Baking bread can sound intimidating, like some kind of ancient, complicated ritual. But here's the secret: your bread machine is your best friend. It takes care of the most tedious part – the kneading – which means you get to skip straight to the fun part – shaping and baking. With a bread machine french rolls recipe, you basically dump the ingredients in, press a button, and then go about your day. It's almost too easy! This is a great way to have fresh bread at home without having to spend a lot of time in the kitchen. It’s like having your own personal bakery, but without the early mornings.
Think of it: while your machine is doing its thing, you can be catching up on your favorite show, reading a book, or even, dare I say, doing some chores. When that dough is ready, it’s just a few more minutes to shape, rise, and bake the rolls. It's a simple process that delivers incredible results every single time.
Benefit | Description |
|---|---|
Taste | Homemade flavor is superior to store-bought. |
Control | You control the ingredients, no mystery additives. |
Ease | Bread machine takes care of the kneading process. |
Aroma | The smell of baking bread creates a cozy home. |
Versatility in Every Bite
These bread machine french rolls aren't just for dinner. They're incredibly versatile. Imagine using them for breakfast sandwiches with crispy bacon and a fried egg. Or how about as the base for a delicious mini pizza? You can even slice them up and make garlic bread. The possibilities are endless. They're the perfect blank canvas for all your culinary creations. Plus, they freeze well, so you can bake a big batch and have fresh rolls whenever you want. No more emergency trips to the grocery store when you need a quick and tasty side for your meal.
Whether you’re planning a fancy dinner party or just a cozy night in, freshly baked rolls from your bread machine are always a good idea. They're the perfect sidekick to any meal and they're guaranteed to be a hit with everyone at the table. So, are you ready to get baking?
Easy Steps for Perfect Bread Machine French Rolls
Easy Steps for Perfect Bread Machine French Rolls
Gather Your Simple Ingredients
Alright, let's get down to business. You won't believe how few ingredients you need for these amazing bread machine french rolls. We're talking the basics: bread flour (that's the key for that chewy texture), water (filtered is best, because tap water can sometimes mess with the yeast), a little salt for flavor, a pinch of sugar to feed the yeast, and of course, yeast (instant or bread machine yeast works perfectly). That’s it. No fancy stuff, no weird additives. It's all about keeping it simple and letting the bread machine do its thing. It’s almost like a chemistry experiment, but way more delicious.
Now, don't just throw everything in willy-nilly. It's best to measure your ingredients accurately, especially the flour. If you have a kitchen scale, great! If not, use measuring cups and spoons, but be sure to level them off. This ensures you have the correct proportions. Trust me, precise measurements make a big difference in the final outcome. Once you've got everything ready, it's time to load up the bread machine. You’re one step closer to heavenly rolls.
Ingredient | Purpose |
|---|---|
Bread Flour | Gives the rolls their chewy texture. |
Filtered Water | Hydrates the dough, tap water can affect yeast. |
Salt | Adds flavor and controls the yeast. |
Sugar | Feeds the yeast. |
Yeast | Makes the dough rise, instant or bread machine yeast. |
The Bread Machine Magic
Now for the easiest part: just add the ingredients to your bread machine's pan, following the manufacturer's instructions. Usually, it’s liquids first, then the dry ingredients, with the yeast on top, away from the wet stuff. Set the machine to the dough cycle and press start. That's it. Seriously. Now, you can walk away and let the machine work its magic. This is the beauty of using a bread machine for bread machine french rolls, no kneading required! While it's doing its thing, you can take a break, prep your dinner, or even start thinking about what you’re going to slather on those rolls when they're ready.
Once the dough cycle is complete, your dough will be ready to go. It should look smooth and puffy. If it looks a little sticky, that's okay, we’ll fix that in the next step. This process takes about 1.5 to 2 hours, depending on your machine. It may seem like a long time, but the result is worth the wait. This is where all the hard work is done for you. It’s pure, unadulterated, bread-making wizardry, and you barely lifted a finger. Remember, patience is key in baking.
Shaping and Rising
Alright, the dough is ready. Now, lightly flour a clean surface and gently remove the dough from the bread machine. It might be a bit sticky, so don’t be afraid to use a bit of extra flour. The goal here is to not overwork the dough, but to make it manageable. Divide the dough into 12 equal pieces. You can use a bench scraper or a knife for this. Then, gently form each piece into a ball. It doesn't have to be perfect, just try to make them as round as possible. This is where you get to have a little fun. Think of it like playing with play-doh, but the result is edible.
Place the dough balls on a baking sheet lined with parchment paper. This will prevent sticking and makes cleanup a breeze. Cover the rolls with a clean kitchen towel and let them rise in a warm, draft-free place for about 30 to 40 minutes. You’ll notice they get a bit puffy. This rising time is crucial for that light and airy texture. It’s like the dough is taking a little nap before its big debut in the oven. Remember, a good rise is the key to a good roll.
- Use a bench scraper for easy dough division.
- Don't overwork the dough when shaping.
- Parchment paper prevents sticking.
Baking to Golden Perfection
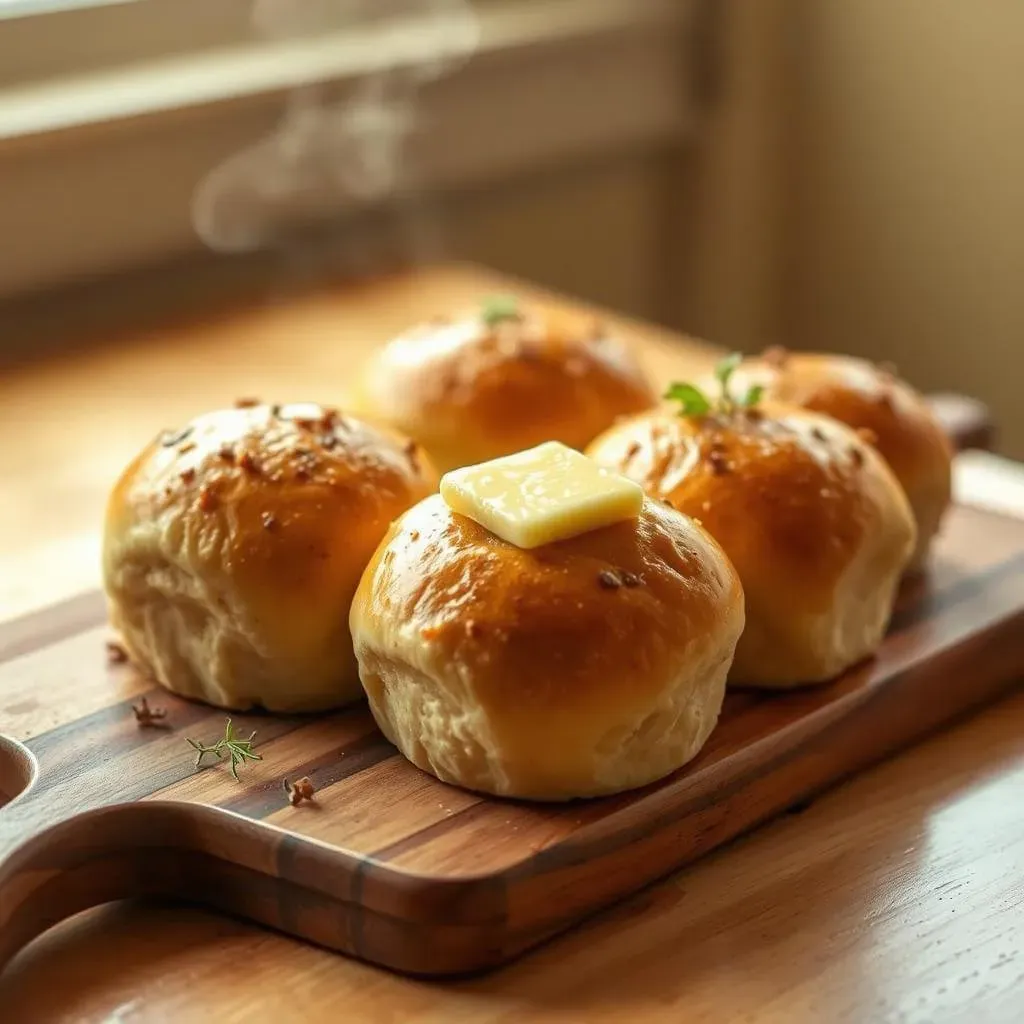
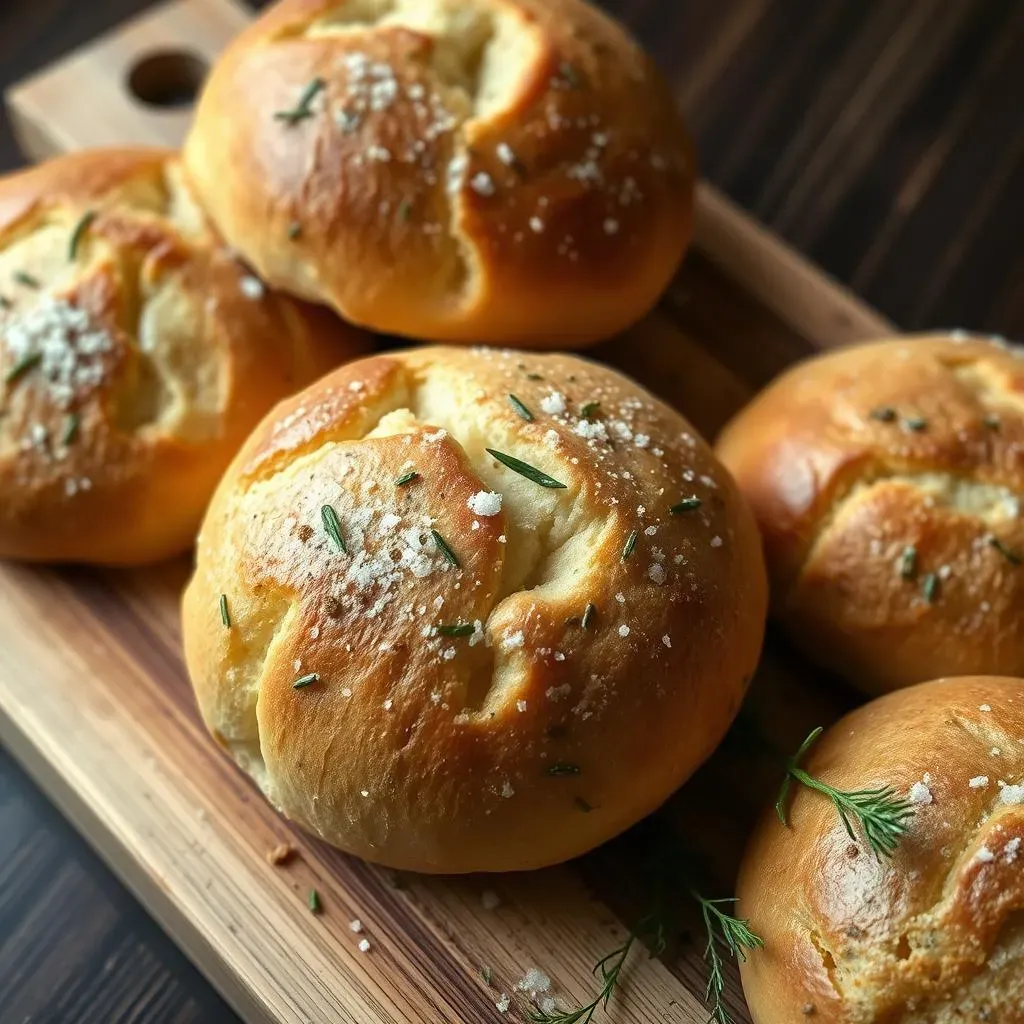
Now, preheat your oven to 400°F (200°C). Once the rolls have risen, it's time for the grand finale. Pop the baking sheet into the oven and bake for about 20 minutes, or until they are golden brown and crusty. Keep an eye on them, because oven temperatures can vary. You’ll know they’re ready when they sound hollow when tapped on the bottom. The aroma at this stage is simply intoxicating. It’s like the whole house is filled with the smell of a bakery.
When they’re done, take them out of the oven and let them cool on a wire rack. It’s very hard to resist eating them straight away, but give them 10 or 15 minutes to cool a little. This will allow the crust to set properly and the inside to become perfectly chewy. And there you have it: beautiful, homemade bread machine french rolls, ready to be devoured. Pat yourself on the back, because you just created something amazing.
Troubleshooting & Serving Your Bread Machine French Rolls

Troubleshooting & Serving Your Bread Machine French Rolls
Sticky Dough Dilemmas
Okay, so sometimes things don't go exactly as planned. If your dough is super sticky and hard to handle, don't panic! It's a common issue. This usually means there's too much water in the dough. The fix is simple, just add a tablespoon of flour at a time, kneading it in gently until the dough becomes more manageable. Remember, the goal is to have dough that's soft and pliable, not a sticky mess. Also, humidity can play a role, so on damp days, you might need a little extra flour. It's all about adjusting to your environment and the ingredients you're working with. It's like a little science experiment, but with delicious results. Don't be afraid to tweak things until you get it just right.
Another thing to consider is that different brands of flour can absorb liquid differently. So, if you've changed your brand, it could be the reason for the stickiness. A good trick is to start with a little less water than the recipe calls for and then add more if needed. It's always easier to add more liquid than to take it away. It's all about observation and learning from your dough each time you bake. Baking is a journey, not a destination. And these little hiccups are all part of the process.
Problem | Possible Cause | Solution |
|---|---|---|
Sticky Dough | Too much water, high humidity, different flour. | Add flour one tablespoon at a time. |
Dense Rolls | Not enough rise, old yeast. | Ensure yeast is fresh, allow sufficient rise time. |
Flat Rolls | Too much yeast, dough overproofed. | Use correct amount of yeast, avoid overproofing. |
Dense and Flat Rolls
Now, what if your rolls come out dense and heavy instead of light and airy? This is usually a sign that the dough didn’t rise enough. There could be a few reasons for this. Your yeast might be old, or you might have not given the dough enough time to rise. Make sure your yeast is fresh and active. You can test it by mixing a little bit of yeast with warm water and sugar. If it gets foamy after a few minutes, it's good to go. Also, make sure you let the dough rise in a warm place, free from drafts. Sometimes, I even put the bowl in my oven with just the light on, to create a warm environment. It's like giving the yeast a little spa day.
On the other hand, if your rolls are flat and sad, it might be the opposite problem. The dough might have over-proofed, meaning it rose too much. This happens when you leave it to rise for too long. Keep an eye on your dough, and when it looks puffy, but not overly large, it’s time to bake. It’s all about finding the sweet spot. Think of it like Goldilocks and the three bears, you don’t want it too little or too much, but just right. Baking is an art and a science combined.
Serving Suggestions
Okay, your bread machine french rolls are out of the oven, smelling heavenly, and ready to be devoured. Now what? Well, the possibilities are endless. These rolls are fantastic on their own with a bit of butter or olive oil. They're also perfect for sandwiches, whether you're making a simple ham and cheese or something more elaborate. I love using them for mini pizzas or garlic bread. They're also the perfect accompaniment to any soup or stew. It’s amazing how something so simple can be so versatile. They are like the chameleon of the bread world, fitting in everywhere.
Don't be afraid to experiment with different toppings and fillings. Get creative and have fun with it. You can even slice them and make little toasts or bruschetta. The sky's the limit. And if you have any leftovers (which is rare in my house), you can freeze them and enjoy them later. Just wrap them tightly in plastic wrap and then in a freezer bag. When you are ready to use them, just thaw and reheat. They will taste almost as fresh as the day you baked them. These bread machine french rolls are more than just bread, they’re a blank canvas for your culinary creativity. So, what are you waiting for? Go and create something amazing!
“The smell of good bread baking is domestic poetry.” - Julia Child