
Table of Contents
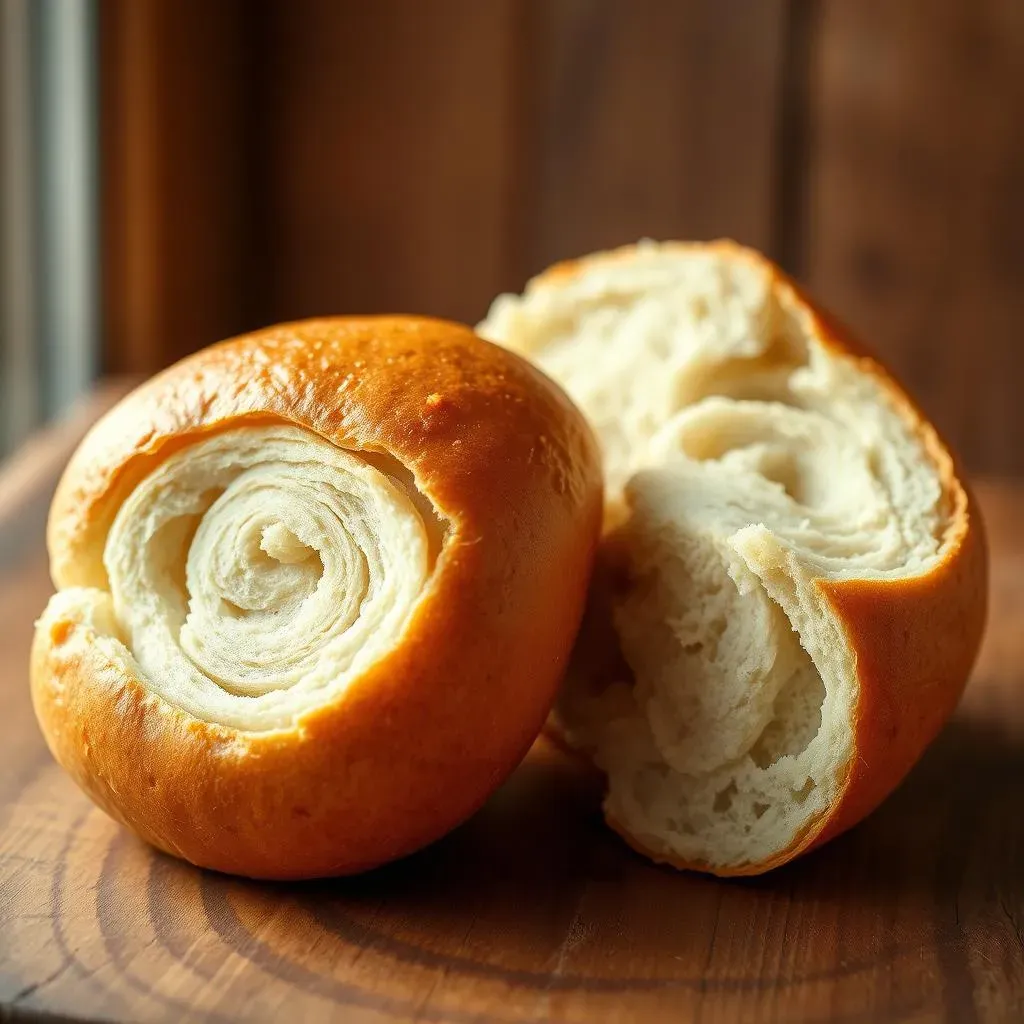
Ever dream of that perfect, crusty on the outside, soft on the inside, bread french roll? You know, the kind that makes your sandwich sing or soaks up every last bit of sauce on your plate? Forget those sad, store-bought imitations. We're diving headfirst into the world of homemade bread french roll, and trust me, it’s easier than you think. This isn't about complex techniques or fancy equipment, it's about simple steps that lead to seriously delicious results. We'll start by understanding the magic behind a great dough, then we’ll get hands-on with shaping those rolls like a pro, and finally, we'll talk about how to bake them to golden-brown perfection. I’ll also share my tips on how to keep them fresh – if they even last that long! So, if you are ready to ditch the store-bought stuff, grab your apron, and let’s make some unforgettable bread french rolls together.
The Secret to a Great Bread French Roll Dough
The Secret to a Great Bread French Roll Dough
Okay, so you wanna nail that perfect bread french roll, huh? It all starts with the dough, my friend. Think of it like the foundation of a skyscraper. If it's weak, the whole thing crumbles. We're not aiming for a crumbly mess, we want a dough that's smooth, elastic, and ready to rise like it’s got somewhere important to be. The key is in the ingredients and how you treat them. It's not just about throwing flour and water together; it's about understanding how they interact. The flour gives the structure, the water hydrates it, the yeast makes it rise and the salt controls the yeast activity and gives it flavor. It's a beautiful dance of chemistry, really!
Ingredient | Why it Matters |
|---|---|
Flour (Bread Flour is Best) | Provides the structure of the roll. Bread flour has higher protein content, which creates more gluten. |
Water (Lukewarm) | Hydrates the flour and activates the yeast. Lukewarm water helps the yeast to work its magic. |
Yeast | The magic ingredient that makes the dough rise. |
Salt | Controls the yeast and adds flavor. |
Shaping Your Bread French Roll: Techniques and Tips
Shaping Your Bread French Roll: Techniques and Tips
The Gentle Touch: Pre-Shaping
Alright, the dough is ready, it's puffy, and it’s begging to be turned into beautiful bread french rolls. But hold your horses, we're not going straight to the final shape. First, we need to be gentle, this dough has feelings! Think of it as a pre-game warm-up. We need to lightly deflate the dough, and divide it into equal portions. This helps to get rid of some of the big air bubbles that will make for an uneven roll. Then, form each portion into a loose round. It's not about perfection here, just a gentle nudge into shape. This rest period allows the gluten to relax, making the final shaping much easier and giving your rolls a better texture.
The Art of the Roll
Now for the fun part: shaping. This is where your bread french roll starts to look like, well, a bread french roll! There are a couple of ways to do this. You can gently flatten each round with your hand, then roll it up tightly like a little sleeping bag. Or you can use your hands to gently lengthen and shape the dough into an oblong shape. The key is to maintain a consistent tension on the surface of the dough. You don't want it too tight that it tears, or too loose that it loses its shape. It’s all about finding that sweet spot, and it comes with practice. Don’t be afraid to experiment and find what feels best for you.
Here's a pro-tip: If the dough is sticking to your work surface, use a tiny bit of flour, just a sprinkle, not a snowstorm.
Shaping Technique | Description | Tips |
|---|---|---|
Rolling Method | Flatten dough, then roll tightly. | Keep tension consistent, avoid tearing. |
Hand Shaping | Gently lengthen into oblong shape. | Use light pressure, maintain shape. |
Final Touches and Proofing
Once your bread french rolls are shaped, it's time for their final rise, aka proofing. Place them on a baking sheet lined with parchment paper, making sure they have enough space to expand. Cover them loosely with plastic wrap or a clean kitchen towel and let them rest in a warm spot. It's like sending them to a spa for a little relaxation before their big bake. They should puff up nicely during this time. This proofing stage is crucial for a light, airy texture. If you rush it, you'll end up with dense, sad rolls. So, be patient, give them the time they need, and you will be rewarded with beautiful bread french rolls.
Baking Your Bread French Roll to Golden Perfection
Baking Your Bread French Roll to Golden Perfection
Preheating and Prep
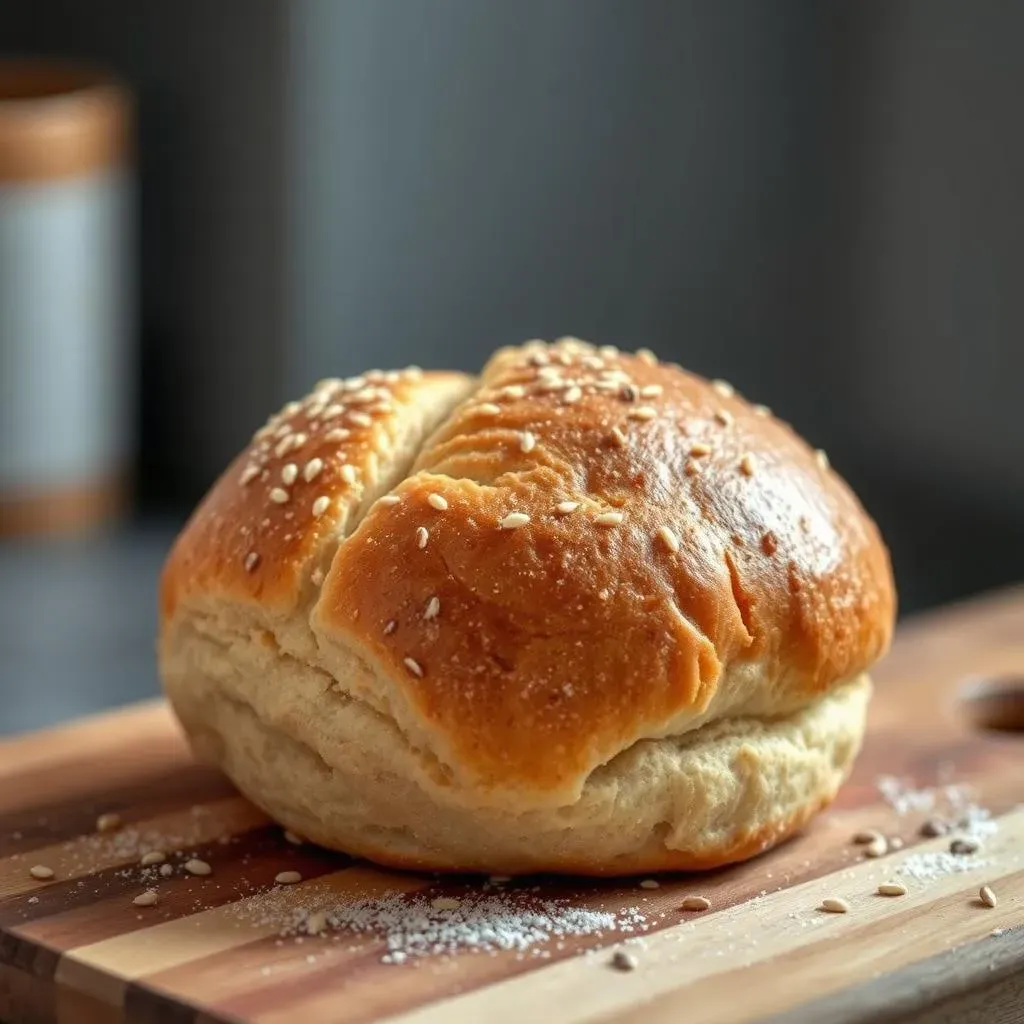
Alright, your bread french rolls are proofed and puffy, now it's time for the main event: baking! First, you need a hot oven, like a really hot oven. We're talking preheated to around 400°F (200°C). This high heat is key for that beautiful crust we all crave. While the oven is heating up, get your rolls ready. If you want that classic, shiny crust, brush them with a little egg wash, or even just some water. This gives them that extra bit of golden-brown goodness. And if you're feeling fancy, you can sprinkle them with some coarse salt or sesame seeds. It's all about adding those little touches that make your bread french roll uniquely yours.
Don't forget to score the tops of your rolls with a sharp knife or a lame. This helps control where the bread expands while baking, preventing any unexpected splits. A simple slash down the center is all you need. Think of it like giving your rolls a little runway to rise and shine. It’s a small detail, but it makes a big difference in the final look and texture. Now, it’s showtime!
The Baking Process
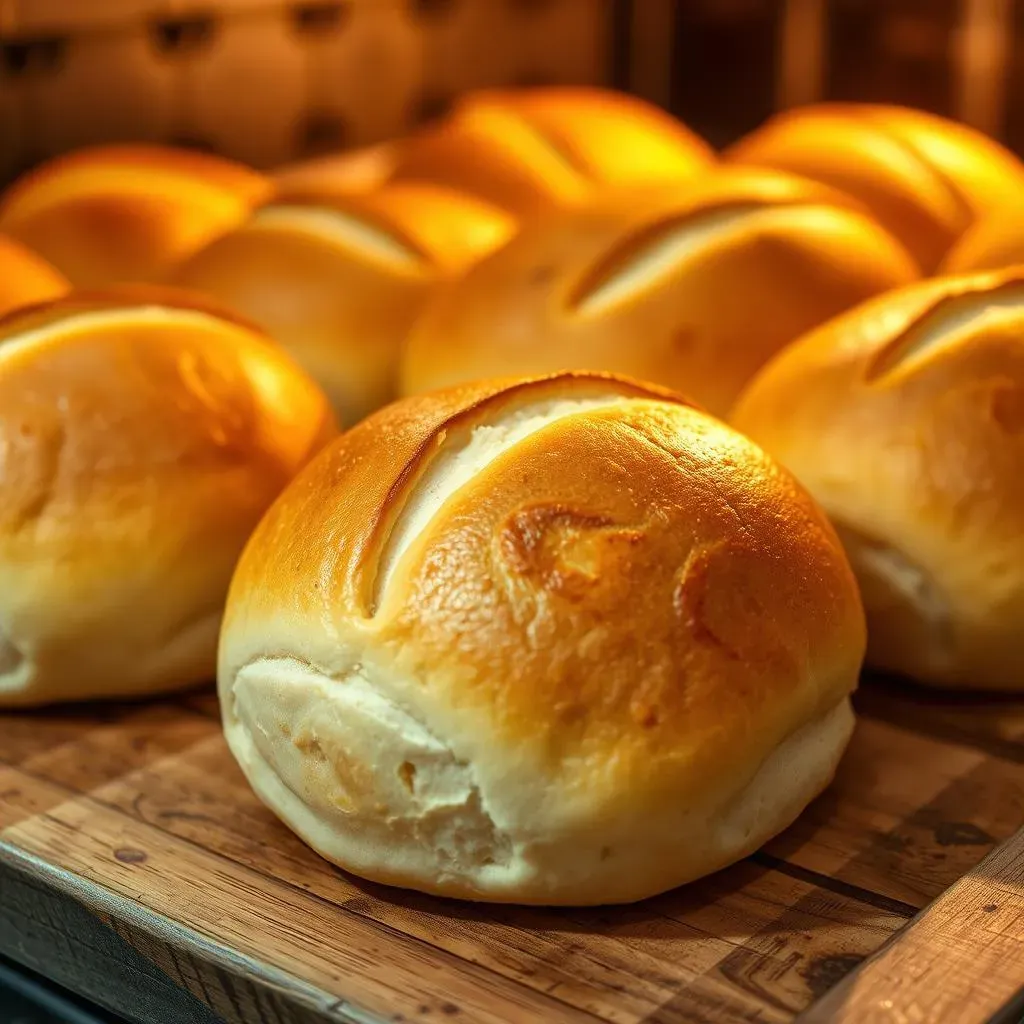
Carefully place your prepared bread french rolls into the preheated oven. The initial blast of heat will cause them to puff up even more, so be ready for some oven magic. Bake them for about 20-25 minutes, or until they are a deep, golden brown and sound hollow when you tap the bottom. The baking time can vary slightly depending on your oven, so keep an eye on them. If they start to get too dark too quickly, you can lower the oven temperature by 25 degrees or cover them loosely with foil.
Once they’re done, take them out of the oven and let them cool on a wire rack. This is crucial to prevent them from getting soggy on the bottom. It's so tempting to slice into them right away, but resist the urge! The cooling period allows the inside to finish cooking and the crust to set properly. Plus, the aroma will fill your kitchen, making the wait all the more worthwhile. Trust me, a little patience goes a long way when it comes to baking perfect bread french rolls.
Baking Step | Action | Why It Matters |
|---|---|---|
Preheat Oven | 400°F (200°C) | Ensures a crusty exterior and proper rise. |
Egg Wash/Water | Brush on rolls before baking | Adds shine and color to the crust. |
Score the Rolls | Make a slash on the top of each roll | Controls the expansion during baking. |
Baking Time | 20-25 minutes | Until golden brown and hollow sounding. |
Cooling on Rack | Transfer to a wire rack | Prevents soggy bottoms. |
Serving and Storing Your Homemade French Bread Rolls
Serving and Storing Your Homemade French Bread Rolls
Serving Suggestions
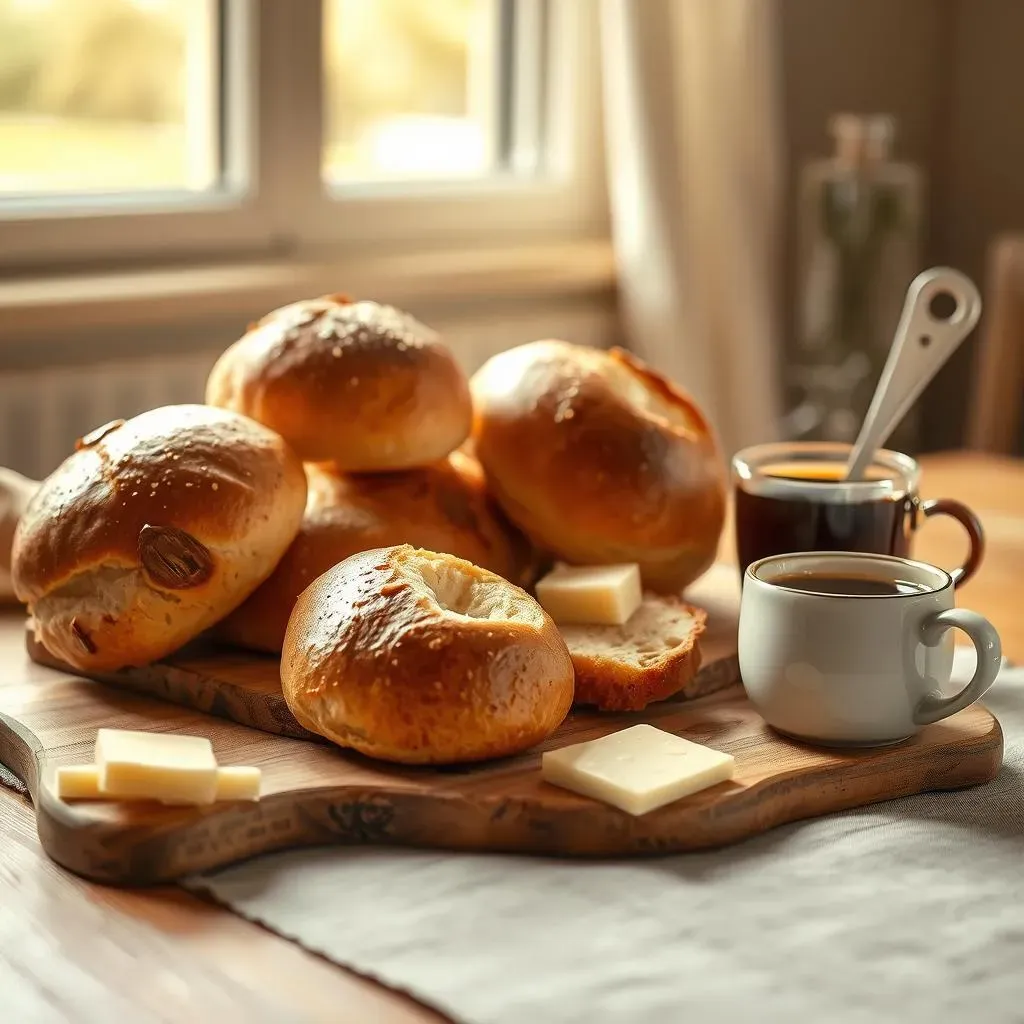
Alright, you've baked these beautiful bread french rolls, and they’re cooling on the rack, the aroma is driving you crazy. Now, how do you serve them? Well, the possibilities are endless! These rolls are fantastic fresh out of the oven, with a simple pat of butter. They're the perfect sidekick to a hearty soup or a big salad. Or, you can slice them open and create the ultimate sandwich or sub. Think juicy roast beef, melted cheese, and all your favorite fixings. The crusty exterior and soft interior make them ideal for soaking up all the delicious flavors. Don't be shy; get creative! You can even use them for mini pizzas or garlic bread. These rolls are your blank canvas, ready for whatever culinary adventure you dream up.
I remember one time, I made a big batch of these for a family gathering, and they were gone in minutes. Everyone was raving about how good they were, and honestly, that's the best compliment a baker can get. So, don't be afraid to share your creations with others, they'll appreciate the effort and the taste!
Storing Your Rolls
Okay, let's say you somehow managed to not eat all your bread french rolls at once. How do you keep them fresh? Well, the best way to store them is to let them cool completely, then place them in an airtight container or a zip-top bag. At room temperature, they'll stay fresh for a day or two. But if you want to keep them longer, freezing is your best bet. Once they're completely cool, wrap them individually in plastic wrap, then place them in a freezer bag. They can stay frozen for up to a month. When you're ready to enjoy them, just thaw them at room temperature, and pop them in the oven for a few minutes to crisp them up again. They'll taste almost as good as the day they were baked.
I've even heard of people using a bread box, but honestly, I'm a big fan of the freezer. It's like hitting the pause button on freshness. And if you are like me, and you always bake a little more than you can eat at once, you will be happy to know that you can always have fresh rolls at your disposal.
Serving Idea | Description |
|---|---|
Simple Butter | Fresh out of the oven with a pat of butter. |
Side Dish | Pair with soups or salads. |
Sandwiches & Subs | Use as a base for delicious fillings. |
Mini Pizzas | Top with sauce, cheese, and toppings. |
Garlic Bread | Brush with garlic butter and bake. |
Storage Method | How To | Shelf Life |
|---|---|---|
Room Temperature | Airtight container or bag | 1-2 days |
Freezer | Wrapped individually, freezer bag | Up to 1 month |