
Table of Contents
Are you ready to bake the best sourdough French bread of your life? This isn't just another recipe; it's a journey into the heart of artisanal bread making. We'll guide you through every step, from understanding the essential ingredients that make this recipe truly special to mastering the techniques that produce that perfect crispy crust and airy interior. Forget dry, dense loaves! This guide will help you unlock the secrets to baking the best sourdough French bread recipe, transforming your kitchen into a bakery. We'll cover everything from choosing the right flour and maintaining a lively sourdough starter to troubleshooting common problems like sticky dough and uneven baking. Along the way, we'll share insider tips and tricks, ensuring you achieve consistently delicious results. Get ready to impress your friends and family with your newfound bread-baking prowess and the satisfying aroma of freshly baked sourdough filling your home. Let’s embark on this delicious adventure together and discover the magic behind the best sourdough french bread recipe!
Mastering the Best Sourdough French Bread Recipe: A StepbyStep Guide

Mastering the Best Sourdough French Bread Recipe: A StepbyStep Guide
The All-Important Sourdough Starter
Let's start with the heart of any great sourdough: your starter. A healthy, active starter is key to achieving a magnificent rise and that signature tangy flavor. Make sure your starter is bubbly and at its peak before you begin. Feeding it properly is crucial; a neglected starter will lead to a flat, disappointing loaf. Think of your starter as a tiny, living organism; it needs care and attention to thrive. This is where the magic begins! A good starter is the foundation of the best sourdough French bread. For more information on how to care for your starter, check out our guide to .
Remember, patience is a virtue when it comes to sourdough. Don't rush the process. Allow ample time for fermentation and proofing; rushing will only result in a less flavorful, less impressive loaf. Observe your starter's activity; it will tell you when it's ready. Trust your instincts, and don't be afraid to adjust timings based on your kitchen's temperature and your starter's personality. The key is to create a harmonious relationship with your starter—a partnership built on mutual respect and understanding.
Starter Activity | What it Means | Next Steps |
|---|---|---|
Bubbly and doubled in size | Ready to bake! | Proceed with the recipe |
Slightly bubbly, slow rise | Needs more time or feeding | Feed and wait longer |
Inactive, no bubbles | Unhealthy or dead | Discard and start a new one |
Mixing and Kneading: The Art of Gluten Development
Once your starter is ready, it's time to mix your dough. This isn't just about combining ingredients; it's about developing the gluten network that gives your bread its structure and that delightful chewiness. The right technique is essential. Gentle but thorough mixing is key. Overmixing can lead to a tough loaf, while undermixing will result in a crumbly one. Find a happy medium, and don't be afraid to get your hands dirty! Remember, the more you knead, the more developed your gluten network will become. This results in a superior texture. Check out this article on for more information.
The kneading process is a physical workout for your dough. It's a dance between strength and gentleness. You're strengthening the gluten strands, creating a matrix that traps air bubbles during the rise. These air bubbles contribute to the airy texture of your final loaf. The kneading process, though seemingly simple, is a subtle art, requiring a feel for the dough's consistency and responsiveness. It is a meditative process, one that connects you with the ancient art of bread making.
- Use a stand mixer with a dough hook for easier kneading.
- Knead by hand for a more hands-on approach.
- The dough should be slightly sticky, but not overly wet.
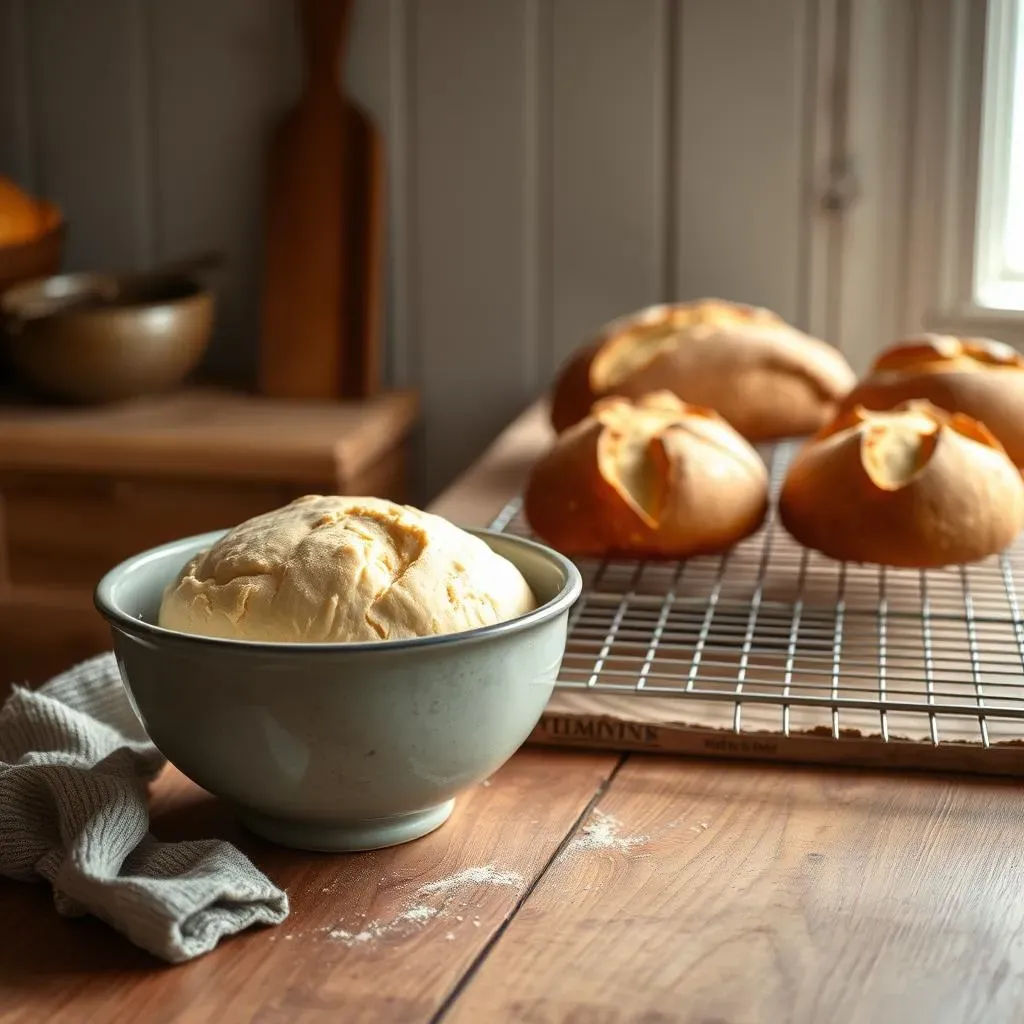
Bulk Fermentation and Shaping: Patience and Precision
Bulk fermentation is where the magic truly happens. During this stage, the yeast in your starter works its wonders, transforming the dough into a light and airy masterpiece. The timeframe for bulk fermentation will vary depending on your environment (temperature and humidity). Patience is key here. Don't rush the process! A properly fermented dough will have a pleasant aroma and a noticeably increased volume. Over-fermentation will result in a sour and potentially flat loaf, while under-fermentation will lead to a dense texture. The perfect bulk fermentation is the sweet spot between these two extremes.
Once the bulk fermentation is complete, it's time for shaping. This requires a delicate touch. You want to gently stretch and fold the dough, creating tension that will help it retain its form during the final rise. There are various shaping techniques, from simple rolls to more intricate folds. Practice makes perfect here! The goal is a well-shaped loaf that will bake evenly, resulting in a beautiful, golden-brown crust and a uniformly airy interior. For more shaping techniques, refer to our article on .
Essential Ingredients for the Best Sourdough French Bread Recipe
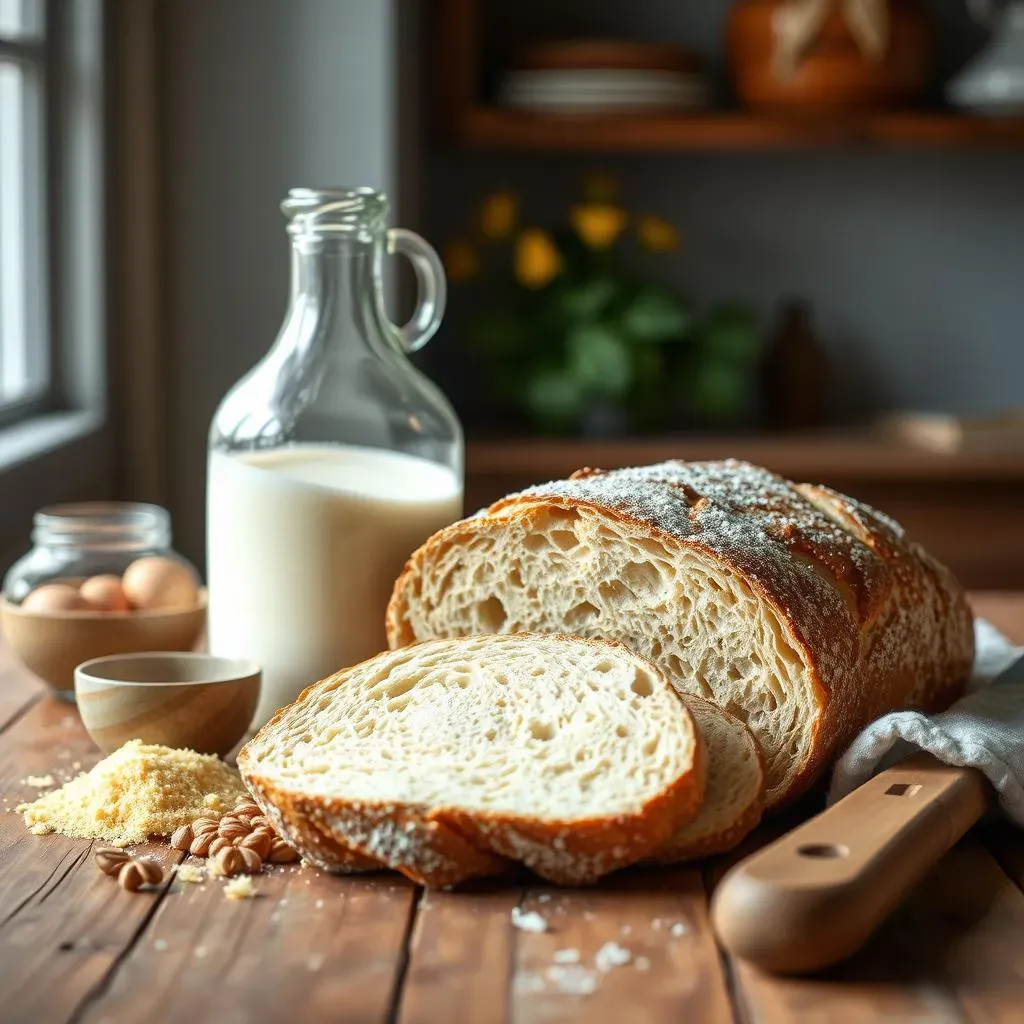
Essential Ingredients for the Best Sourdough French Bread Recipe
The Flour Power
Let's talk flour, the backbone of any great bread. For the best sourdough French bread, you'll want to reach for bread flour. Its higher protein content is crucial for gluten development, giving your loaf that signature chewy texture and airy crumb. Don't be tempted by all-purpose flour; it simply won't deliver the same results. Bread flour is your secret weapon for achieving that perfect, bakery-style texture. For a deeper dive into flour types and their impact on bread baking, check out our detailed guide on .
Beyond bread flour, the quality of your water matters too. Use filtered or spring water, avoiding chlorinated tap water that can affect the yeast's activity and impart an undesirable taste. The water's temperature also plays a role; lukewarm water is ideal for activating the yeast and promoting fermentation. Think of it as a gentle bath for your sourdough starter. The right water is just as important as the right flour. For more tips on water quality and its impact on sourdough, see our guide to .
- Bread flour: High protein content for gluten development
- Filtered or spring water: Avoid chlorinated tap water
- Lukewarm water: Ideal temperature for yeast activation
Beyond Flour: Salt, Water, and More
While flour is the star, other ingredients play supporting roles. Salt, for instance, is essential for flavor and controlling yeast activity. It adds depth to the taste, preventing the bread from being overly sour. Don't skimp on the salt; it's a critical component of the overall flavor profile. For more insights on the role of salt in baking, consult our post on .
Finally, a touch of sugar or honey can boost the yeast's activity and contribute to a richer crust color. While not strictly necessary, a small amount can enhance the final product. Think of it as a subtle flavor enhancer. For more advanced techniques, we suggest exploring .
Ingredient | Role | Importance |
|---|---|---|
Salt | Flavor, yeast control | Essential |
Sugar/Honey | Yeast activity, crust color | Optional, but recommended |
Water | Hydration, yeast activation | Crucial |
Troubleshooting Common Problems in Your Best Sourdough French Bread Recipe
Troubleshooting Common Problems in Your Best Sourdough French Bread Recipe
The Case of the Soggy Bottom
A soggy bottom is a baker's nightmare! This often happens due to insufficient oven spring or inadequate heat distribution. Make sure your oven is preheated to the correct temperature and that you're using a baking stone or a Dutch oven to create a nice, even bake. Proper scoring also helps with oven spring. If you’re still facing this problem, consider adjusting your baking time or adding a little more steam to the oven. For more tips on achieving a perfect crust, check out our guide to .
Another culprit could be an over-hydrated dough. While a wetter dough is generally desirable for sourdough, too much moisture can lead to a steamy bottom that fails to crisp up. Next time, try slightly reducing the water amount and observe the dough's consistency. If you're using a recipe from another source, always double check the measurements. For recipes that focus on moisture control, see our guide on .
- Preheat oven thoroughly
- Use a baking stone or Dutch oven
- Properly score the dough
The Mystery of the Flat Loaf
A flat loaf is a sad loaf! This usually points to issues with fermentation. If your starter wasn't active enough or your dough didn't rise sufficiently, the final product will lack volume. Make sure your starter is bubbly and at its peak before you begin. Proper feeding and a warm environment are key. For more information on starter management, check out our article on .
Another possibility is over-kneading. While kneading is essential for gluten development, excessive kneading can actually inhibit the rise. The dough will become too tight and won't be able to trap enough air bubbles. Next time, try a gentler approach and pay close attention to the dough's texture. For more detailed instructions on kneading, see our step-by-step guide on .
Problem | Possible Cause | Solution |
|---|---|---|
Flat loaf | Inactive starter, under-fermentation | Ensure starter activity, check temperature |
Flat loaf | Over-kneading | Knead gently, check dough elasticity |
The Crumb Conundrum: Texture Troubles
The crumb—the inside texture of your bread—should be airy and open, not dense and gummy. A dense crumb often signifies under-fermentation or insufficient gluten development. Make sure you're allowing enough time for both bulk and final proofing. Check the temperature of your environment; a cooler kitchen will slow down fermentation. For a deeper understanding of fermentation, check out our complete guide on .
Conversely, a gummy crumb can indicate over-hydration or the use of unsuitable flour. Ensure you’re using bread flour, which has a higher protein content crucial for gluten development. If you’re using a different flour, you may need to adjust the hydration levels. For more guidance on flour selection, see our detailed guide on .
Tips and Tricks for Baking the Best Sourdough French Bread Recipe
Tips and Tricks for Baking the Best Sourdough French Bread Recipe
Mastering the Oven Spring
Let's talk about oven spring, that magical moment when your loaf dramatically expands in the oven. Several factors influence this crucial stage. First, ensure your dough is properly fermented. Under-fermented dough won't have enough gas to create a good oven spring, resulting in a flat loaf. Over-fermented dough, on the other hand, might collapse in the oven. Finding that perfect balance is key. For more on fermentation, check out our guide to .
Secondly, consider your baking environment. A hot oven is crucial for a strong oven spring. Preheat thoroughly to the recommended temperature, and use a baking stone or Dutch oven to retain heat and create steam, which helps the crust form properly and the dough rise. A good oven spring is the result of a harmonious blend of fermentation and baking technique. For tips on enhancing oven spring, explore our article on .
- Proper fermentation: Neither under- nor over-fermented
- Hot oven: Preheat thoroughly and use a baking stone or Dutch oven
- Steam: Creates a humid environment for optimal rise
Scoring for Success
Scoring your dough before baking isn't just for aesthetics; it's a crucial step that controls the direction of the oven spring. Proper scoring allows the dough to expand evenly, preventing cracks and tears. The depth and angle of your scores significantly influence the final appearance of your loaf. Experiment with different scoring patterns to find what works best for you. For a deeper understanding of scoring techniques, consult our article on .
A sharp lame or razor blade is essential for clean, precise scores. Avoid using a dull knife; it will tear the dough, causing uneven expansion and potentially affecting the final texture. Practice your scoring technique on a smaller piece of dough before tackling your main loaf. A well-executed score is a mark of a skilled baker. This is where you can truly showcase your artistry. For inspiration, check out our gallery of .
Scoring Technique | Result | Tips |
|---|---|---|
Shallow scores | Gentle expansion | Good for beginners |
Deep scores | Dramatic expansion | Requires practice |
The Art of the Bake
The baking process itself is a delicate balance of heat and time. Monitor your loaf closely, paying attention to its color and internal temperature. A properly baked sourdough French bread will have a deep golden-brown crust and a tender crumb. An internal temperature of around 200-210°F (93-99°C) generally indicates doneness. However, always trust your senses; a hollow sound when tapped on the bottom is another sign of readiness. For more on baking temperatures, refer to our comprehensive guide on .
Once baked, allow your loaf to cool completely on a wire rack before slicing. This prevents the steam from making the crumb soggy. Patience is key here; slicing a warm loaf will result in a less appealing texture. Enjoy the aroma of freshly baked bread while you wait! A perfectly cooled loaf is a reward for your patience and skill. For tips on cooling and storing your bread, visit our post on .