Table of Contents
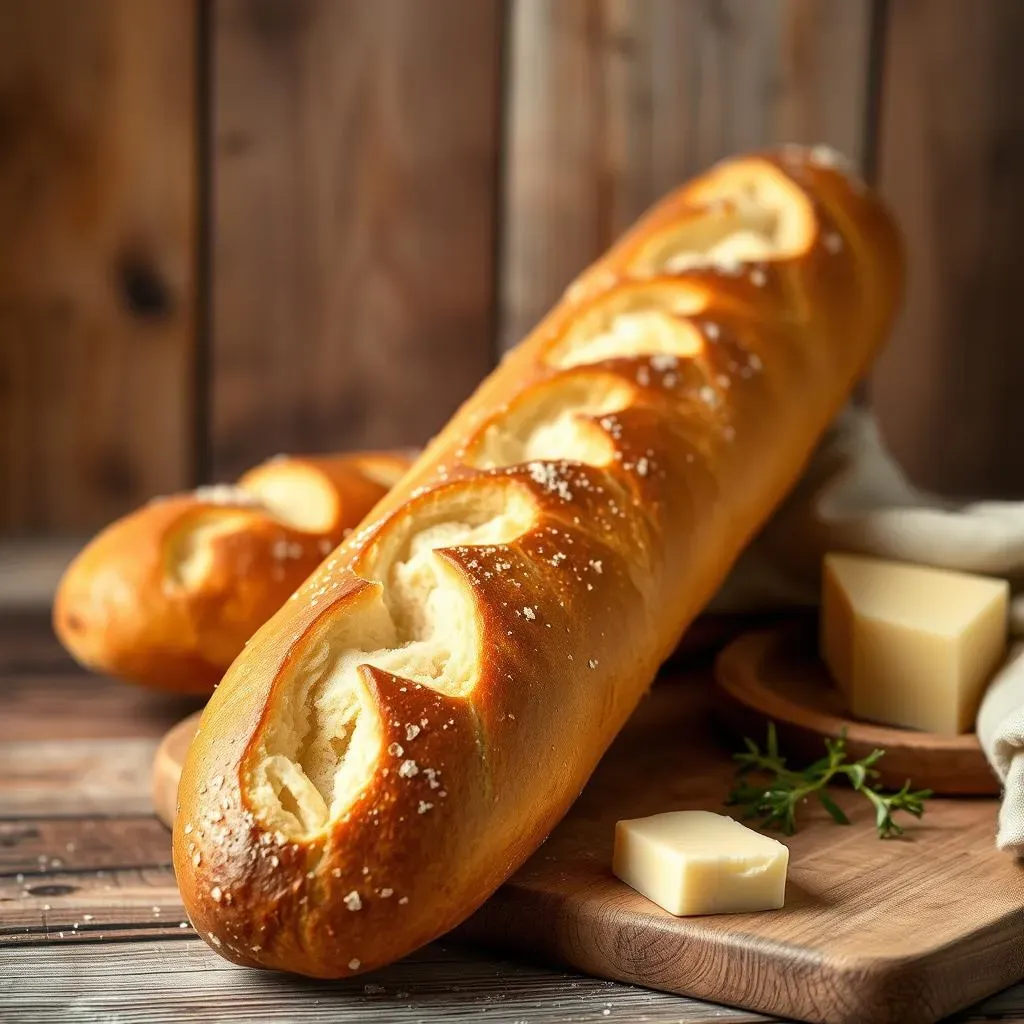
Ever dreamt of biting into a crusty, golden-brown baguette, its airy interior yielding to a delightful chew? That perfect French baguette, the epitome of bread-baking artistry, is closer than you think! This article unveils the secrets to crafting the best French baguette bread recipe right in your own kitchen. Forget those disappointing store-bought loaves; we're embarking on a journey to create authentic, delicious baguettes that will leave you breathless. We'll explore the essential ingredients, guiding you through each step of the process, from mixing the dough to achieving that signature crispy crust. We'll even tackle common challenges, equipping you with the knowledge to troubleshoot any baking mishaps. Prepare to master the nuances of fermentation, shaping, and oven techniques, transforming simple ingredients into a culinary masterpiece. Get ready to impress your friends and family with your newfound bread-baking prowess, using this definitive guide to the best French baguette bread recipe. Let's begin!
Essential Ingredients for the Best French Baguette Bread Recipe
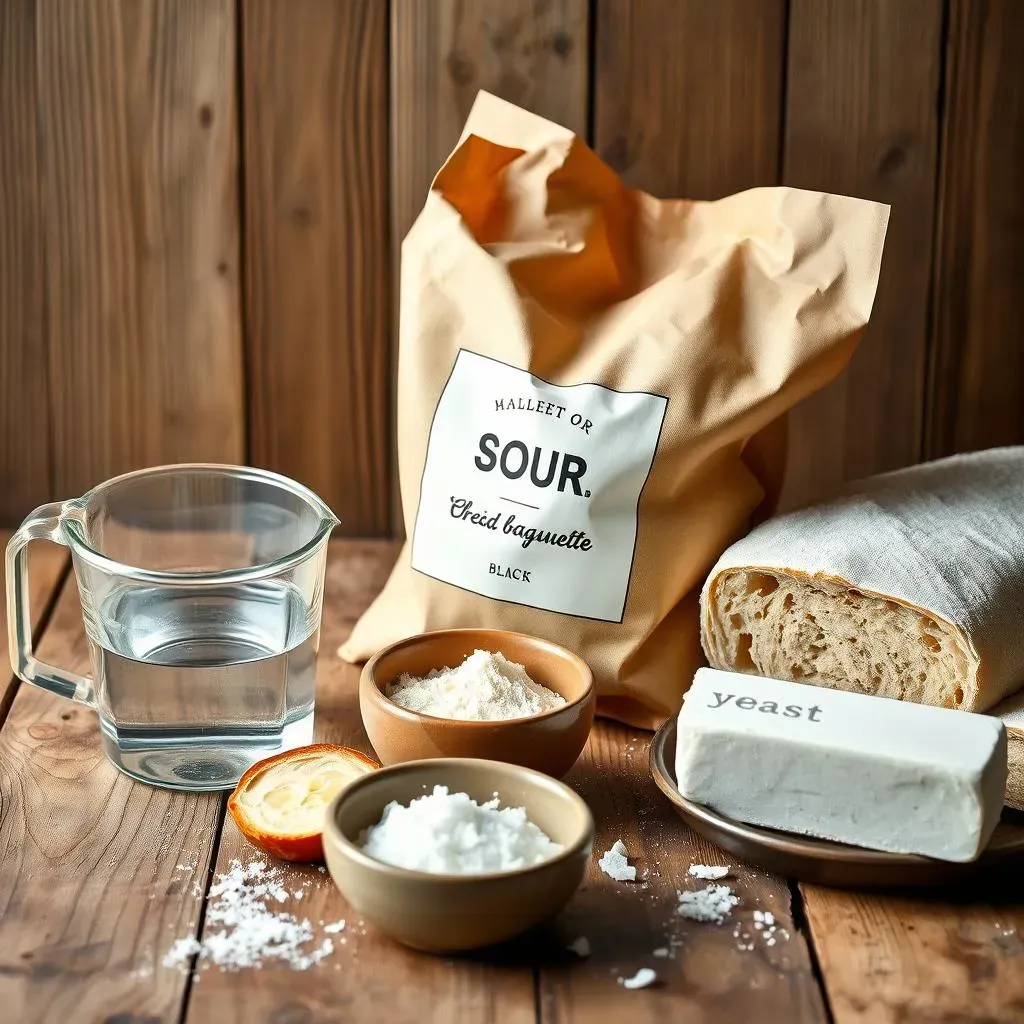
Essential Ingredients for the Best French Baguette Bread Recipe
The Power of Flour
Let's start with the star of the show: flour! For the best French baguette, you need a strong bread flour, boasting a high protein content (around 12-14%). This protein, specifically gluten, is crucial for developing the structure and elasticity of your dough. Think of gluten as the tiny scaffolding that gives your baguette its signature airy crumb and crisp crust. Without enough protein, your baguette will be flat and dense – nobody wants that! Look for flour labeled "bread flour" or "strong flour" at your local grocery store or specialty baking supply shop. Don't be afraid to experiment with different brands to find your favorite.
The type of flour you use significantly impacts the final product. A lower protein flour will result in a denser, less chewy baguette, while a higher protein flour will produce a lighter, airier loaf. It's all about finding the right balance for your taste and baking style. Remember, even slight variations in flour can affect your results, so consistency is key. Once you find a flour you love, stick with it!
Flour Type | Protein Content (%) | Baguette Result |
|---|---|---|
All-Purpose Flour | 8-11 | Denser, less chewy |
Bread Flour | 12-14 | Lighter, airier, chewier |
High-Gluten Flour | 14+ | Very strong, ideal for large loaves |
Water, Yeast, and Salt: The Unsung Heroes
While flour is the backbone, water, yeast, and salt are the unsung heroes of a great baguette. Water activates the yeast, allowing it to ferment and produce those delicious carbon dioxide bubbles that give the baguette its lightness. Use lukewarm water – too hot, and you'll kill the yeast; too cold, and the fermentation will be sluggish. The amount of water also impacts the dough's hydration, influencing the final texture. A higher hydration dough will be stickier and more difficult to handle but will result in a more open crumb.
Yeast is the leavening agent, responsible for the rise. Active dry yeast or instant yeast both work well. Salt is essential for flavor and also controls the yeast's activity, preventing it from going overboard. Don't skimp on the salt; it's crucial for both taste and texture. A pinch of honey or sugar can provide extra food for the yeast, leading to a faster and more robust fermentation. However, it's not essential.
- Use lukewarm water (around 105-115°F).
- Choose active dry or instant yeast.
- Don't be shy with the salt – it enhances flavor and controls fermentation.
- A touch of honey or sugar can boost yeast activity (optional).
Mastering the Art of French Baguette Dough: From Mixing to Shaping
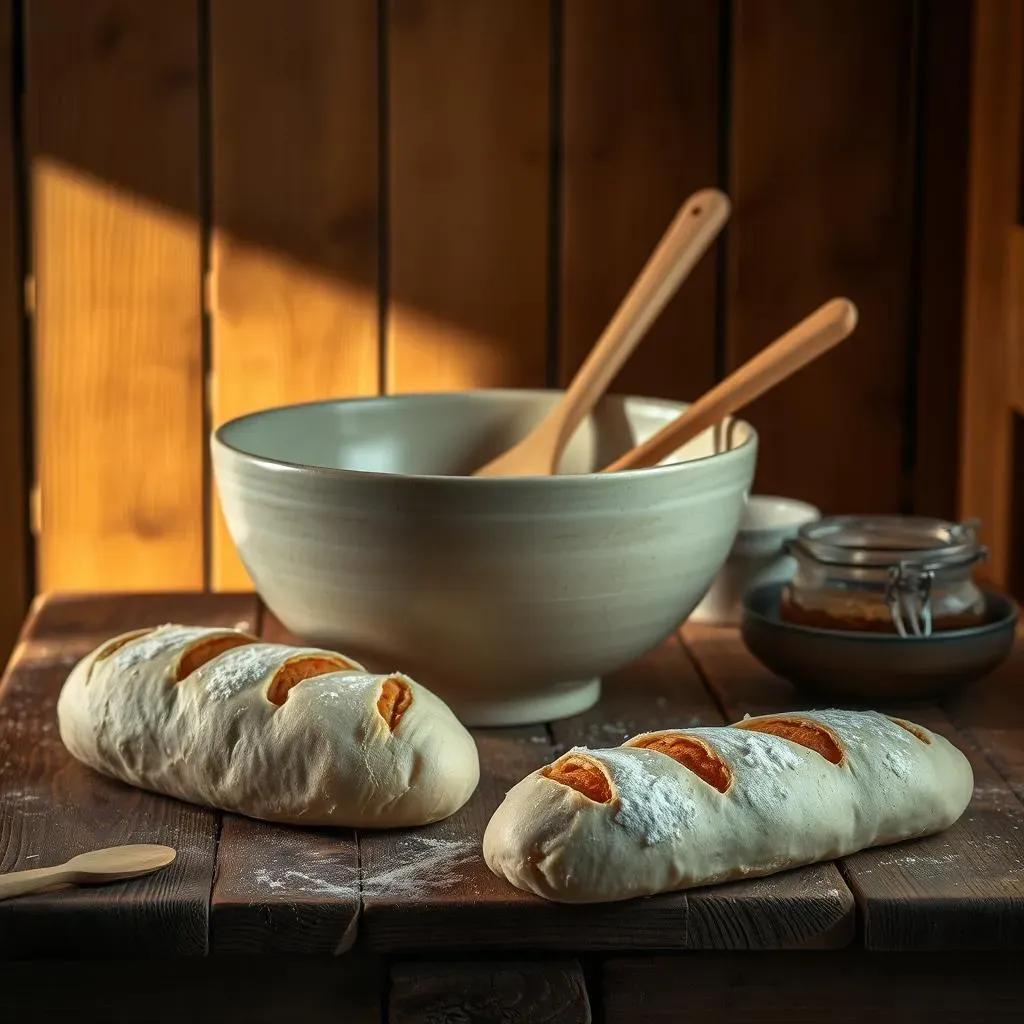
Mastering the Art of French Baguette Dough: From Mixing to Shaping
The Art of the Mix: Getting Started
Alright, let's get our hands dirty! Mixing the dough is more of a delicate dance than a wrestling match. You want to avoid over-mixing, which can lead to a tough baguette. Start by combining your flour, yeast, and salt in a large bowl. Then, gradually add your lukewarm water, mixing with your hands or a stand mixer fitted with a dough hook. The goal is to bring the ingredients together into a shaggy, somewhat sticky mass. Don't worry if it seems a bit messy; that's perfectly normal. The key is to avoid kneading the dough at this stage; we're just aiming for a cohesive mixture.
Once everything is combined, cover the bowl and let it rest for about 30 minutes. This allows the flour to fully hydrate, making the dough easier to work with later. Think of it as giving the flour time to relax and get acquainted with the water and yeast. This initial resting period is crucial for developing the gluten structure and ultimately creating a lighter, more airy baguette. After the rest, you'll notice the dough is already looking a little more relaxed and less shaggy. It's ready for the next step!
- Combine dry ingredients first.
- Gradually add water, mixing until a shaggy mass forms.
- Avoid kneading; just mix until combined.
- Let the dough rest for 30 minutes before proceeding.
Stretch and Folds: Building Strength and Structure
Now comes the fun part – stretch and folds! This technique gently strengthens the gluten network without overworking the dough. It's a bit like giving your dough a gentle massage. To perform a stretch and fold, gently grab one edge of the dough, stretch it upwards, and then fold it over onto the opposite side. Rotate the bowl 90 degrees and repeat this process for all four sides. Do this every 30 minutes for the next couple of hours. You'll notice the dough becoming smoother and more elastic with each stretch and fold.
The stretch and fold technique is a gentler approach compared to traditional kneading. It's less intensive but equally effective in developing the gluten structure. The gentle stretching and folding strengthens the gluten strands, giving the dough the elasticity needed for oven spring (that beautiful rise in the oven). Remember, patience is key here. Don't rush the process; take your time and feel the dough as you work. It's a meditative process, really. Enjoy the experience!
Step | Description | Purpose |
|---|---|---|
Stretch | Gently pull one edge of the dough upwards. | Strengthens gluten strands. |
Fold | Fold the stretched dough over onto the opposite side. | Develops elasticity. |
Rotate | Turn the bowl 90 degrees and repeat. | Ensures even gluten development. |
Baking the Perfect French Baguette: Oven Techniques and Tips
Baking the Perfect French Baguette: Oven Techniques and Tips
Preheating and Steaming: Setting the Stage for Success
Okay, so your dough is ready, looking all plump and gorgeous. Now, the oven needs some serious attention. Preheating is crucial; you want a screaming hot oven, ideally around 450°F (232°C), or even hotter if your oven allows. A hot oven is essential for that signature crispy crust. We're not just baking bread; we're creating a culinary masterpiece here! Before sliding your baguettes in, toss a few ice cubes into a baking sheet on the bottom rack. This creates steam, which is your secret weapon for achieving a beautiful, crackly crust. The steam helps to create a perfect oven spring and prevents the crust from drying out too quickly.
Think of the steam as a protective shield for your baguette, allowing the inside to cook evenly without the outside burning. Without steam, you'll risk a dry, hard crust. So, get that oven nice and hot, and have those ice cubes ready! You might even consider using a baking stone. A baking stone absorbs and retains heat incredibly well, leading to a more even bake and a crispier crust. However, if you don’t have one, don’t worry! A regular baking sheet works just fine.
Oven Temperature | Steam Method | Result |
|---|---|---|
450°F (232°C) or higher | Ice cubes in a baking sheet | Crisp crust, even baking |
Lower Temperature | No steam | Dry crust, uneven baking |
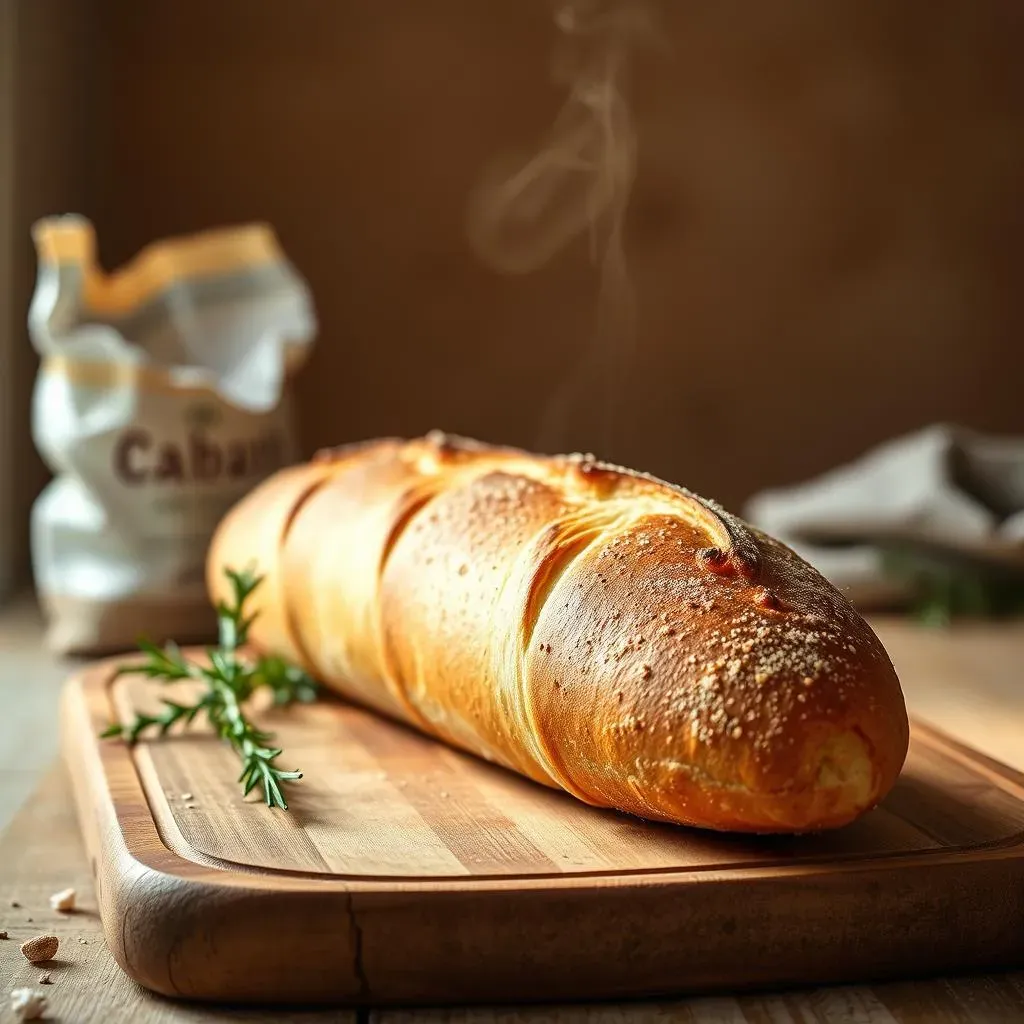
Baking and Cooling: The Final Flourishes
Gently slide your beautifully scored baguettes onto a baking sheet or pizza peel and into that fiery oven. Bake for about 20-25 minutes, keeping a close eye on them. You're looking for a deep golden-brown crust and a hollow sound when you tap the bottom. After the initial high-heat baking, you might want to reduce the oven temperature slightly to prevent burning while ensuring the inside is fully cooked. Every oven is different, so keep an eye on things and adjust accordingly. Remember, we’re aiming for a balance—a stunningly crisp exterior and a perfectly soft interior. It's a delicate act of culinary alchemy, my friend!
Once your baguettes are golden brown and sound hollow when tapped, carefully remove them from the oven. Let them cool completely on a wire rack before slicing and serving. Resist the urge to cut into them while they're still warm; they'll be too soft and might crumble. Patience, young Padawan! Let those beauties cool completely. The cooling process allows the crust to fully set, resulting in that perfect crispness. Once cooled, you can finally savor the fruits of your labor. Enjoy your freshly baked, unbelievably delicious French baguettes!
- Bake at 450°F (232°C) for 20-25 minutes.
- Watch carefully and adjust baking time as needed.
- Cool completely on a wire rack before slicing.
- Resist the urge to eat them warm!
The Best French Baguette Bread Recipe: Variations and Troubleshooting

The Best French Baguette Bread Recipe: Variations and Troubleshooting
Flavor Adventures: Beyond the Basics
Once you've mastered the basic recipe, it's time to get creative! Experiment with different flours—try adding a touch of whole wheat flour for a nuttier flavor or rye flour for a tangier kick. Incorporate herbs like rosemary or thyme into the dough for an aromatic twist. A sprinkle of seeds, such as sesame or poppy seeds, adds a delightful textural element and visual appeal. Don't be afraid to play with flavors; this is your chance to personalize your baguettes and create signature loaves that reflect your unique culinary style. The possibilities are endless—think about adding some finely grated cheese into the dough, or even some finely chopped sun-dried tomatoes!
Consider experimenting with different types of yeast as well. Some bakers swear by sourdough starters for a more complex flavor profile. Others prefer the convenience of instant yeast. The choice is yours, and the results will vary depending on the yeast you choose. Remember to adjust the recipe accordingly, as sourdough starters often require longer fermentation times. And keep in mind that using different types of yeast can change the flavor and texture of the final product. So, be prepared to adjust the recipe as needed to achieve your desired results.
Addition | Flavor Profile | Textural Impact |
|---|---|---|
Whole Wheat Flour | Nutty | Denser crumb |
Rosemary | Earthy, aromatic | Slight increase in chewiness |
Sesame Seeds | Slightly nutty | Adds texture and visual appeal |
Troubleshooting Common Baguette Blunders
Even experienced bakers encounter setbacks. A flat baguette? A dense crumb? A pale crust? Don't despair! These issues often stem from simple mistakes. A flat baguette might indicate insufficient yeast, inadequate fermentation, or insufficient oven spring. A dense crumb could mean over-mixing or under-proofing. A pale crust often results from insufficient oven temperature or lack of steam. By understanding the causes, you can easily adjust your technique. If your baguette is flat, try increasing the yeast or fermentation time. If the crumb is too dense, try mixing less or proofing for longer. If your crust is pale, crank up the oven temperature and use more steam.
Remember that baking is a science, but it's also an art. Experimentation is key to finding what works best for you and your oven. Keep detailed notes of your ingredients, methods, and results. This will help you identify patterns and refine your technique over time. Don't be discouraged by initial failures; every baker has been there. Embrace the learning process, and celebrate your successes. The more you bake, the better you'll become. And remember, even the best bakers sometimes make mistakes—it's part of the journey. The important thing is to learn from those mistakes and keep improving your craft.
- Flat Baguette: Insufficient yeast, fermentation, or oven spring.
- Dense Crumb: Over-mixing or under-proofing.
- Pale Crust: Insufficient oven temperature or steam.
Shaping and Scoring: The Finishing Touches
The final steps before baking are crucial for achieving that classic baguette shape and creating those beautiful slashes. Proper shaping ensures even baking and helps the baguette rise properly in the oven. Gently form the dough into a long cylinder, ensuring a consistent thickness. The scoring, done with a sharp knife or lame, is not just for aesthetics; it controls the direction of the rise and helps create that signature crackly crust. Practice makes perfect; don't be afraid to experiment with different scoring patterns. Aim for consistent, relatively shallow cuts that allow the dough to expand evenly during baking. A poorly shaped and scored baguette will not only look less appealing, but it might also bake unevenly.
The scoring technique is a crucial step that should not be overlooked. It's the final touch that will determine the final look of your baguette. The slashes allow the dough to expand evenly during baking, resulting in that characteristic ear-like shape and beautiful cracks. And remember, a sharp knife or lame is essential for clean, precise cuts. A dull blade will tear the dough, resulting in uneven baking and an unattractive crust. Practice your scoring technique on a separate piece of dough first to get a feel for the pressure and depth needed. Once you’ve mastered the technique, you’ll be able to create beautiful, perfectly scored baguettes every time.
"The perfect baguette is a balance of art and science. It's about understanding the dough, the oven, and the subtle interplay of ingredients and techniques. It's a journey of discovery, and the reward is a loaf of bread that's as beautiful as it is delicious." - Anonymous Baker