Table of Contents
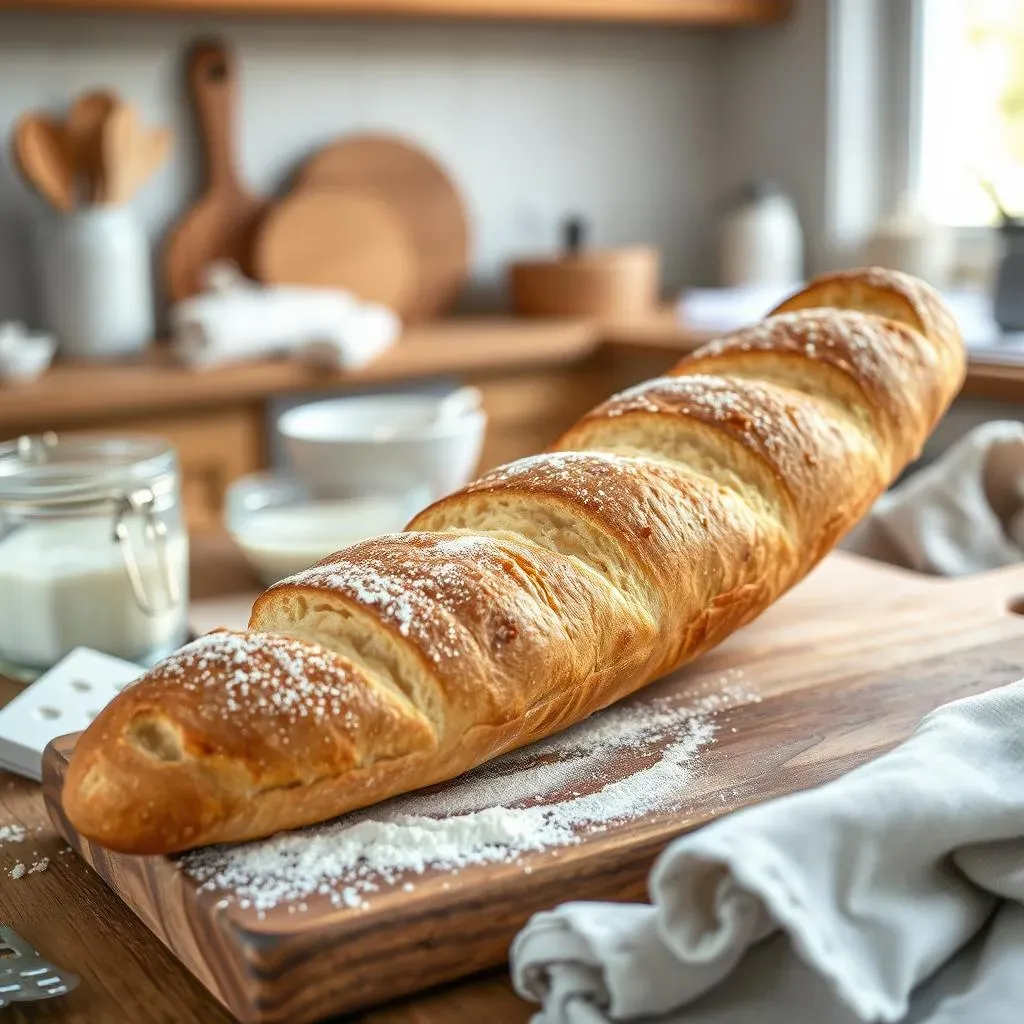
Ever dreamt of biting into a crusty, golden-brown baguette, its airy interior yielding to a delightful chew? Baking French bread baguettes might seem intimidating, a skill reserved for Parisian patisseries. But I'm here to tell you it's more achievable than you think! This article is your passport to that delicious world. We'll demystify the process, guiding you through each step, from selecting the right ingredients to achieving that perfect oven spring. Forget complicated techniques and confusing jargon; we'll focus on practical, easy-to-follow instructions. Whether you're a complete beginner or a seasoned baker looking to perfect your technique, you'll find valuable insights and tips here. Get ready to transform simple flour, water, yeast, and salt into the iconic symbol of French baking: the perfect baguette. We'll explore traditional methods, discuss crucial techniques like dough handling and shaping, and offer troubleshooting advice for common baking challenges. By the end, you'll not only understand the *why* behind each step but also have the confidence to bake your own magnificent baguettes, impressing friends and family with your newfound skills. Let's embark on this delicious journey together!
Essential Ingredients and Traditional Techniques
Essential Ingredients and Traditional Techniques
The Foundation: Flour, Water, Yeast, and Salt
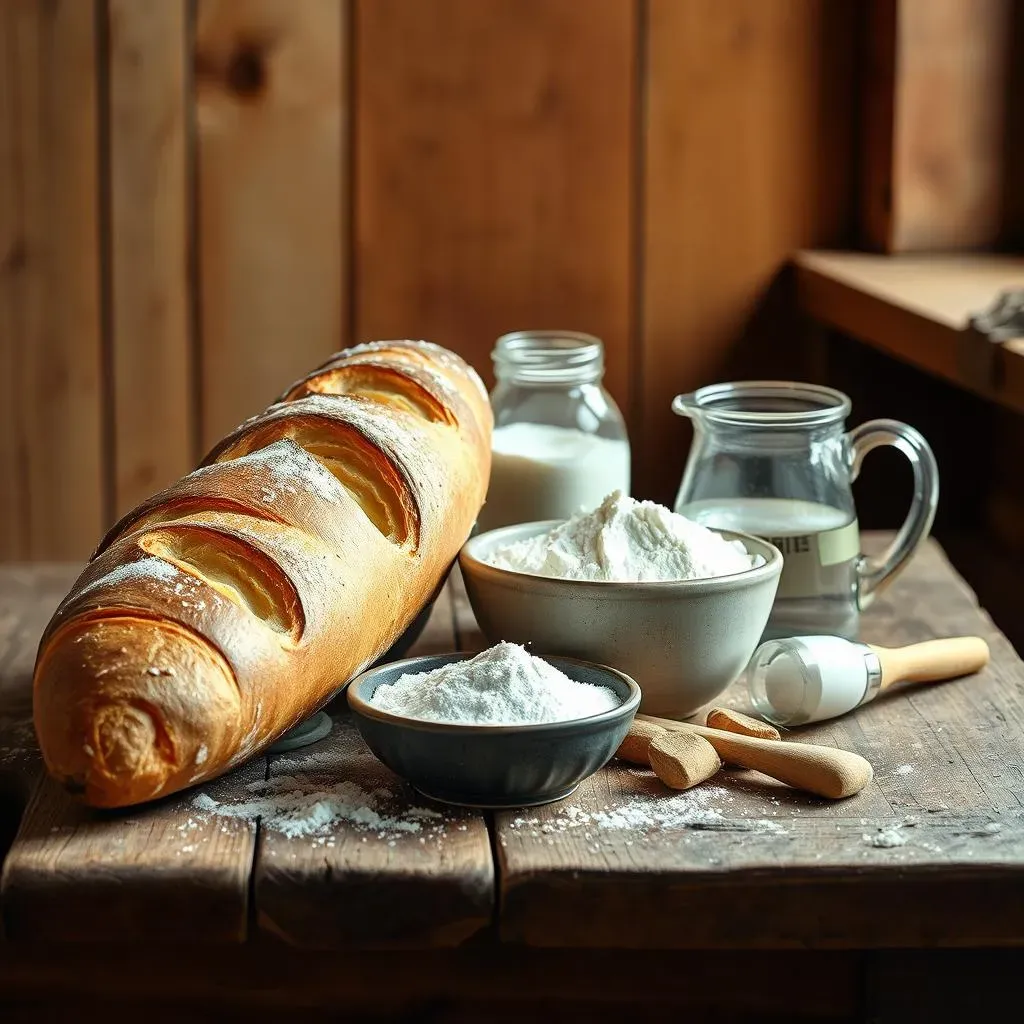
At its heart, a classic baguette relies on just four simple ingredients: flour, water, yeast, and salt. The quality of your flour significantly impacts the final product. A strong bread flour, high in protein, is crucial for developing the gluten network responsible for that characteristic chewy texture. Don't skimp on the water either; its role in hydration is key to achieving the right dough consistency. For yeast, opt for instant yeast for ease of use; it blends directly into the flour. Finally, salt doesn't just add flavor; it controls yeast activity and strengthens the dough's structure. These seemingly basic ingredients, when combined correctly, create magic. A traditional recipe often highlights the importance of these basic ingredients.
Think of it like building a house; you need a strong foundation. The flour is your bricks, providing structure. Water is the mortar, binding everything together. Yeast is the energy, making the dough rise. Salt is the seasoning, adding depth and complexity. Getting the right balance is key to achieving the perfect baguette. For more detailed information on ingredient selection, check out our guide on what defines a true baguette.
Ingredient | Role | Tips |
|---|---|---|
Flour | Structure, chewiness | Use strong bread flour |
Water | Hydration, gluten development | Use filtered water for best results |
Yeast | Fermentation, rise | Use fresh or instant yeast |
Salt | Flavor, dough strength | Don't be afraid to use enough salt |
Traditional Methods: A Journey Through Time
The art of baguette baking isn't just about ingredients; it's deeply rooted in tradition. Traditional methods often involve long fermentation times, allowing the yeast to slowly break down the starches and sugars in the flour, resulting in a more complex flavor profile and improved texture. Techniques like "stretch and folds" – gently stretching and folding the dough – help to develop gluten strength without overworking the dough. This helps create a strong, elastic dough that can hold its shape during baking. This careful manipulation of the dough is what separates a good baguette from a great one. Learn more about this in our guide to traditional baguette recipes.
Imagine the bakers of old, their hands kneading the dough with generations of knowledge passed down through their touch. They understood the importance of patience and precision. The long fermentation, the careful shaping, the precise scoring – each step contributed to the final masterpiece. While modern conveniences allow for faster baking, the essence of traditional methods remains a crucial element in achieving authentic flavor and texture. Want to delve deeper into the history? Check out our post on the history of the baguette.
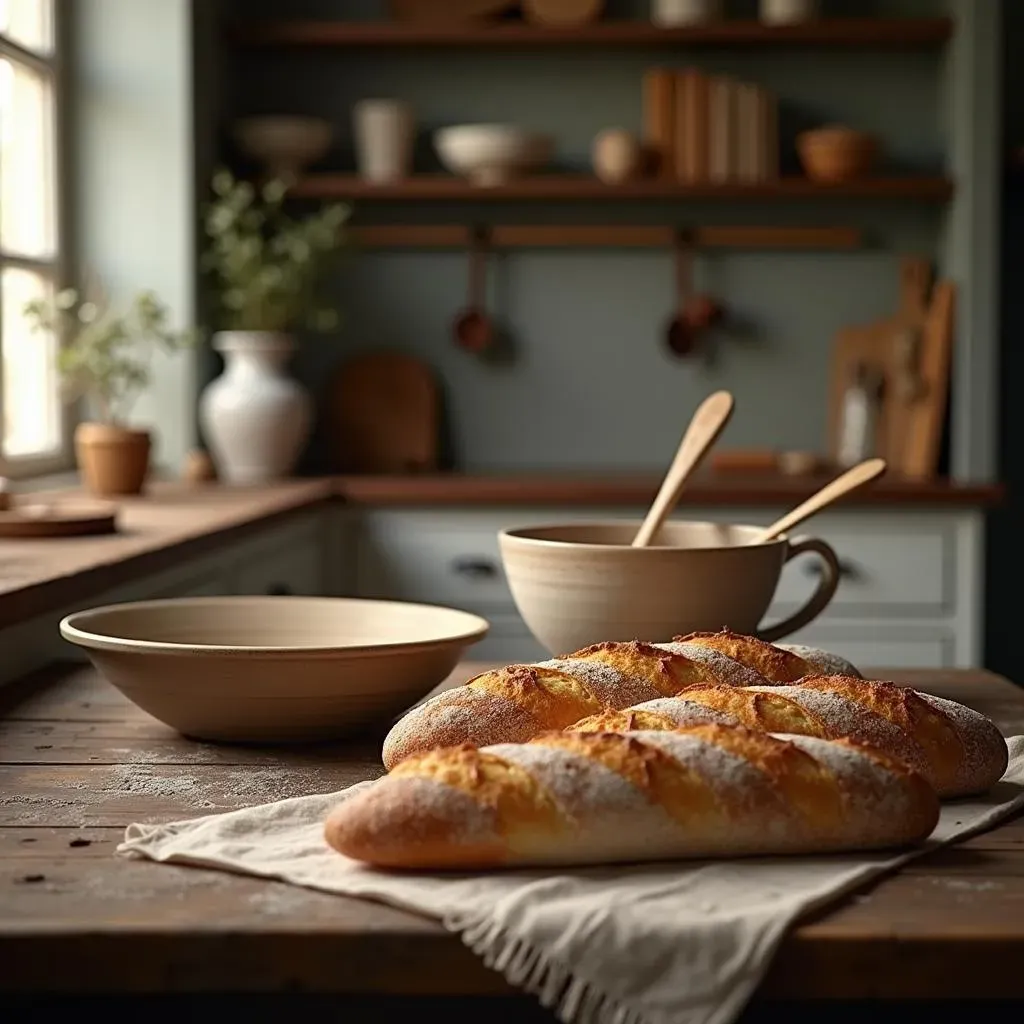
Equipment Essentials: Tools of the Trade
While the ingredients are crucial, the right tools can significantly elevate your baguette game. A baking stone, for instance, provides the intense heat needed for a crispy crust. A lame, a razor-sharp tool used for scoring the dough, allows for controlled expansion during baking, leading to a beautiful pattern. A couche, a linen cloth used for proofing, provides a gentle support for the dough while it rises. And finally, a good quality pizza peel makes transferring the delicate loaves into the hot oven a breeze. These tools aren't strictly necessary, but they can make a noticeable difference in the final result. You can find more information about these tools and others in our guide to baguette pans and other equipment.
Think of these tools as an extension of the baker's skill. A sharp lame allows for precise scoring, ensuring even expansion. The baking stone provides consistent, high heat. The couche prevents the dough from sticking and provides a supportive environment for proofing. The pizza peel allows for easy transfer, preventing damage to the delicate loaves. Investing in these tools is an investment in quality and consistency. Find the best recipes using a bread maker for baguettes.
- Baking Stone
- Lame
- Couche
- Pizza Peel
Mastering the Art of Dough Handling and Baking
Mastering the Art of Dough Handling and Baking
Kneading and Shaping: The Art of the Fold
Once your dough is mixed, the real artistry begins. Kneading develops gluten, creating that signature chewy texture. But be careful! Over-kneading leads to tough bread. The goal is to develop gluten without making the dough too tight. Think of it as a delicate dance—gentle but firm. After the initial knead, the "stretch and fold" technique is your best friend. This involves gently stretching a portion of the dough and folding it over itself, rotating the bowl and repeating. This strengthens the gluten network without overworking the dough. For more detailed instructions on kneading and shaping, check out our step-by-step guide.
Shaping baguettes is another crucial step. It's all about creating a smooth, elongated loaf with a consistent tension. Start by gently shaping the dough into a rough rectangle. Then, carefully roll it up tightly, tucking the edges underneath. Finally, gently stretch the loaf to its desired length. This seemingly simple step requires practice, but the results are well worth the effort. A properly shaped baguette will bake evenly and beautifully. For tips and tricks, check out our guide on basic baguette recipes.
- Gentle kneading
- Stretch and fold technique
- Careful shaping for even baking
Baking and Oven Spring: The Final Flourish
The oven is where the magic truly happens. A hot oven is essential for creating a crispy crust and a light, airy interior. Preheating your oven with a baking stone is highly recommended. The stone retains heat and provides a consistent baking environment. Before baking, score your baguettes with a lame. This creates controlled expansion during baking, preventing the loaf from bursting unpredictably. This scoring also creates that signature aesthetic appeal of a perfectly baked baguette. For more information on oven temperatures and baking times, see our guide on achieving the perfect bake.
The "oven spring," that dramatic rise the baguette undergoes in the oven, is a testament to the proper fermentation and shaping. A good oven spring results in a light, airy crumb. Steam is also your secret weapon. Adding steam to the oven during the initial baking phase creates a crispier crust. You can achieve this by placing a pan of water in the bottom of the oven or using a steam injection system. The combination of high heat, steam, and precise scoring leads to that perfect crust-to-crumb ratio that defines a truly exceptional baguette. For tips and tricks on maximizing oven spring, check out our comprehensive guide to ultimate baguette recipes.
Step | Action | Importance |
|---|---|---|
Preheating | Preheat oven with baking stone | Ensures even baking and crispy crust |
Scoring | Score dough with a lame | Controls expansion, creates aesthetic appeal |
Steaming | Add steam to oven | Creates crispier crust |
Tips, Tricks, and Troubleshooting for Perfect Baguettes

Tips, Tricks, and Troubleshooting for Perfect Baguettes
Mastering the Perfect Crust
Achieving that signature crispy, golden-brown crust is the holy grail of baguette baking. Oven temperature is key; a screaming hot oven (around 450°F or 230°C) is crucial for that initial burst of heat that creates the crust. Don't open the oven door during the first 15-20 minutes of baking; this will let the steam escape and prevent proper crust formation. Think of it like a pressure cooker – you need to build and maintain the pressure for optimal results. For more on achieving the perfect crust, check out our article on baking the perfect baguette.
Another trick is to create steam in your oven. This can be done by placing a pan of hot water on the bottom rack of the oven during baking. The steam helps to create a crispier, more flavorful crust. Experiment with different methods of steam injection to find what works best for your oven. Also, consider the type of flour you use; a higher protein flour will generally result in a chewier crumb and a crispier crust. Learn more about flour choices in our guide to understanding baguette ingredients.
- Maintain high oven temperature
- Avoid opening the oven door early
- Use steam to enhance crust formation
Troubleshooting Common Baguette Problems
Even experienced bakers encounter challenges. A common problem is a soggy bottom. This often indicates insufficient oven heat or too much moisture in the dough. If your baguettes are collapsing, it might mean your dough isn't strong enough, due to insufficient kneading or fermentation. Remember that proper kneading and fermentation are vital for a strong gluten structure, which prevents collapse. Check out our guide to troubleshooting common issues.
If your baguettes are too pale, it might mean your oven isn’t hot enough, or you need to increase baking time. If they're too dark, reduce the temperature or baking time. Uneven browning often suggests uneven heat distribution in your oven. Experiment with oven placement to find the optimal spot. Sometimes, simple adjustments can make all the difference. Remember, practice makes perfect! For more in-depth troubleshooting, check out our guide to advanced baking techniques.
Problem | Possible Cause | Solution |
|---|---|---|
Soggy bottom | Insufficient oven heat, excess moisture | Increase oven temperature, adjust dough hydration |
Collapsing loaves | Weak gluten development | Increase kneading time, adjust fermentation |
Uneven browning | Uneven oven heat | Adjust oven rack position |