Table of Contents
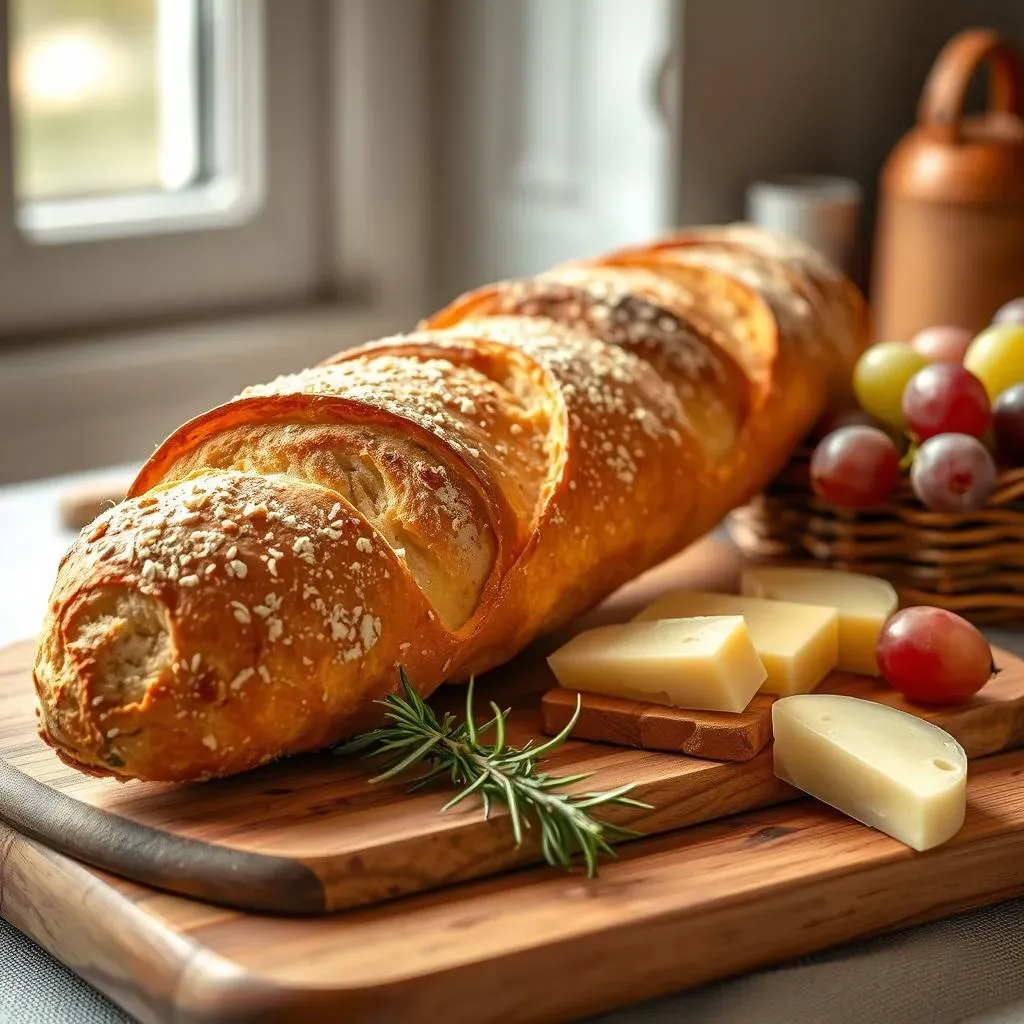
The aroma of freshly baked bread, especially a perfectly crisp French baguette, is undeniably magical. There's something deeply satisfying about creating something so delicious from simple ingredients. This article is your passport to that satisfaction, a comprehensive guide to baking french baguette bread. We'll journey through each step, from gathering the essential ingredients and tools to mastering the art of shaping, proofing, and baking. You'll discover the secrets to achieving that signature crackly crust and airy interior, transforming humble flour, water, yeast, and salt into a culinary masterpiece. Whether you're a seasoned baker or a complete novice, this guide is designed to empower you with the knowledge and confidence to bake your own authentic French baguettes. Get ready to impress your friends and family (and yourself!) with the delightful results. Let's embark on this delicious adventure together! Prepare to be amazed at how simple yet rewarding baking french baguette bread can be.
Essential Ingredients and Equipment
Essential Ingredients and Equipment
The Flour Power
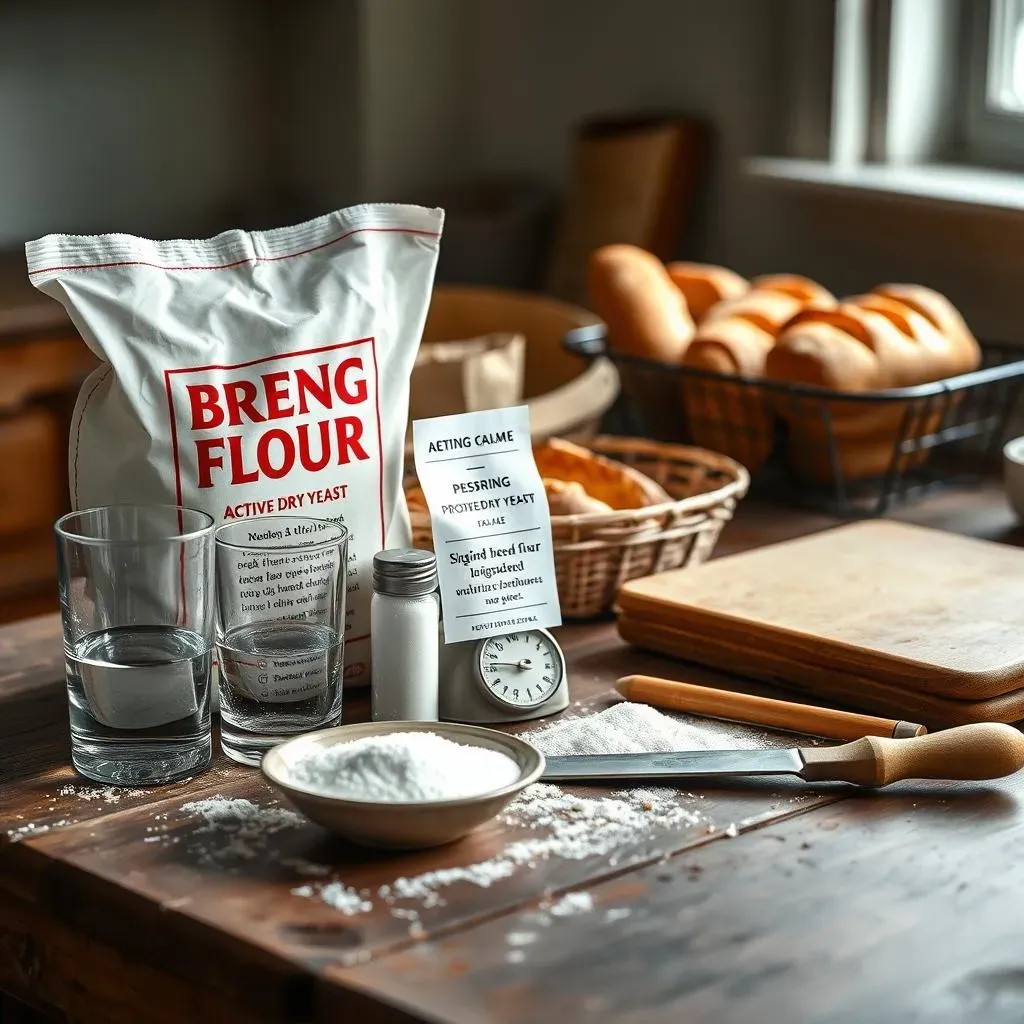
Let's start with the star of the show: flour! You'll need strong bread flour, with a high protein content (around 12-14%). This protein is crucial for developing gluten, the stretchy network that gives baguettes their characteristic texture. Don't skimp on the quality here; a good flour makes all the difference. Think of it like this: the flour is the foundation of your baguette, so you want the best foundation possible. Using a lower protein flour will result in a weaker, less airy loaf. For a quick and easy recipe, check out our quick French baguette recipe.
Beyond flour, you'll need water, yeast (active dry or instant), and salt. These are your basic building blocks. The water activates the yeast, which then helps the gluten develop. The salt controls the yeast activity and adds flavor. Sounds simple, right? It is! But the precision of these ingredients is key. We'll get into more detail about measurements later. For a more in-depth look at ingredients, check out our recipe for French baguette bread.
- Strong Bread Flour (high protein)
- Water (room temperature)
- Active Dry or Instant Yeast
- Salt
Gathering Your Tools
Now, let's talk tools. You don't need a fancy bakery to make amazing baguettes. However, a few key tools will definitely make the process smoother (and your baguettes prettier!). A kitchen scale is essential for accurate measurements. Baking is a science, and precise measurements are key to success. Don't rely on cups and spoons; a scale ensures consistency. A good quality lame (a razor-sharp blade for scoring) is also a must-have. The scoring creates those beautiful patterns on the crust and allows the baguette to expand properly during baking.
Beyond that, you'll need mixing bowls, a proofing basket (banneton), parchment paper, and a baking sheet or baking stone (a baking stone is recommended for a crispier crust). If you're using a bread machine, you might find our guide on French baguettes in a bread machine helpful. While a baking stone isn't strictly necessary, it significantly improves the crust. Finally, a thermometer will help ensure your oven reaches the right temperature. Think of these tools as your trusty sidekicks in the baguette-baking adventure! For a comprehensive guide on equipment, see our article on the ultimate baguette pan guide.
Tool | Importance |
|---|---|
Kitchen Scale | Precise measurements |
Lame | Scoring the dough |
Proofing Basket (Banneton) | Shaping and proofing |
Baking Stone (Recommended) | Crispier crust |
Mastering the Dough: Mixing, Shaping, and Proofing
Mastering the Dough: Mixing, Shaping, and Proofing
The Art of Mixing
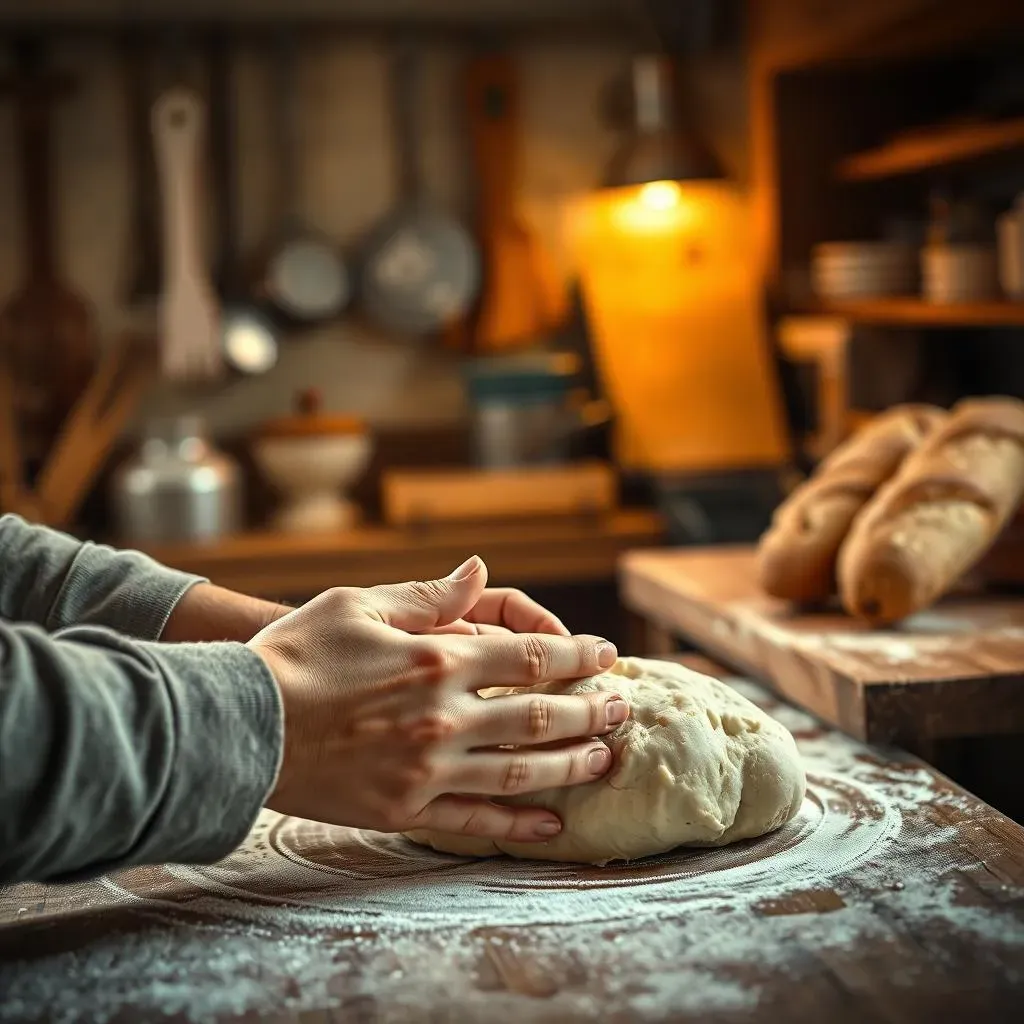
Mixing the dough is more than just throwing ingredients together; it's about creating the perfect balance of hydration and gluten development. Aim for a smooth, slightly tacky dough. Overmixing can lead to a tough baguette, while undermixing results in a weak, shapeless loaf. Think of it like kneading bread dough; you want to develop the gluten strands, but not overwork them. A stand mixer with a dough hook can be a great help, but you can also mix by hand. Just be prepared for a bit of a workout! For a super easy recipe, try our easy French baguette recipe.
Once mixed, the dough needs time to rest. This is where the magic happens. The gluten relaxes, and the flavors meld. This resting period, often referred to as bulk fermentation, typically lasts several hours. During this time, you'll perform a series of “stretch and folds,” gently stretching and folding the dough over itself to build strength and structure without overworking it. This is a bit like giving your dough a gentle massage. These folds are crucial for developing a strong, elastic dough that will hold its shape during baking. For more details on the process, check out our guide on how to bake French baguettes.
- Mix until smooth and slightly tacky
- Bulk fermentation: several hours
- Perform stretch and folds during bulk fermentation
Shaping Your Baguettes
Shaping baguettes is an art form, but don't worry, it's a skill you can master with practice. The goal is to create a long, elegant loaf with a smooth surface. Start by gently dividing the dough into equal pieces. Then, shape each piece into a rough rectangle, and carefully stretch and fold the dough into a tight oval. Finally, gently roll the oval into a long baguette shape. It's like sculpting with dough! Practice makes perfect here; don’t get discouraged if your first few attempts aren't picture-perfect.
Once shaped, the baguettes need to proof. This is their final rest before baking. Place the shaped baguettes in a banneton or on a lightly floured surface, seam-side up, and cover them with a damp cloth or plastic wrap. Allow them to proof in a cool place for several hours, or even overnight. During proofing, the yeast will continue to work, giving the baguettes their final rise and enhancing their flavor. The longer proofing time contributes to that classic tangy flavor of a good baguette. If you're looking for a recipe that uses a bread machine, you'll find our French baguette recipe for a bread machine helpful.
Step | Description |
|---|---|
Divide | Divide dough into equal pieces |
Shape | Form into rectangles, then ovals, then baguettes |
Proof | Final rise in banneton, seam-side up |
The Proof is in the Pudding (or the Baguette)
The proofing stage is crucial. It’s during this time that the dough achieves its final rise and develops that characteristic airy texture. You’ll notice the baguettes have increased in size and feel lighter to the touch. The surface might appear slightly puffy and soft. This is a good sign! Underproofed baguettes will be dense and lack that signature airy crumb, while overproofed baguettes might collapse during baking. It's all about finding that sweet spot.
Knowing when your baguettes are perfectly proofed takes a bit of practice and experience. It’s a combination of visual cues (size and puffiness) and a gentle poke test. Gently poke the surface; if it springs back slowly, it's ready. If it springs back quickly, it needs more time. If it leaves a deep indentation, it might be overproofed. Don't be afraid to experiment and learn from your experiences. Each batch will teach you something new. For more tips and tricks, you might want to check out our article on making crusty French baguettes.
The Art of Baking: Oven Techniques for a Perfect Crust
The Art of Baking: Oven Techniques for a Perfect Crust
Preheating and Steam: The Key to Oven Spring
Baking baguettes is all about creating the perfect environment for that glorious crust. We need intense heat and steam. Preheat your oven to its absolute highest temperature – ideally, around 450°F (232°C) or even higher if your oven allows it. A hot oven is crucial for creating oven spring, that initial rapid rise that gives baguettes their characteristic shape and airy interior. This is where a baking stone really shines – it absorbs and radiates heat, creating a more even bake. For more on baking stones, see our guide on baguette pans.
Steam is your secret weapon for a crackly crust. Before you put the baguettes in, create a burst of steam in the oven. You can do this by tossing a few ice cubes into a baking sheet on the bottom of the oven, or by using a steam injection system if your oven has one. This steam creates a moist environment in the early stages of baking, allowing the crust to develop properly without drying out. The steam helps the crust develop a beautiful golden-brown color and a satisfying crunch. For a quicker recipe, check out our quick baguette recipe.
- Preheat oven to 450°F (232°C) or higher
- Use a baking stone for best results
- Create steam in the oven before baking
Baking and Rotation: Achieving Even Browning
Once the baguettes are in, resist the urge to open the oven door! Opening the door too early will cause a drastic temperature drop, hindering oven spring and potentially resulting in uneven baking. Bake for about 20-25 minutes, rotating the baguettes halfway through to ensure even browning. You'll know they're done when they're a deep golden brown, and when you tap the bottom, they sound hollow. This hollow sound indicates that the inside is fully cooked.
Keep a close eye on your baguettes during the last few minutes of baking. If they're browning too quickly, reduce the oven temperature slightly. If they need more browning, leave them in for a little longer. Every oven is different, so experience is your best teacher! Don't be afraid to experiment and adjust baking times based on your oven's quirks. For more detailed instruction, try our guide on baking French baguettes.
Time | Action |
|---|---|
0-10 minutes | Maintain high heat and steam |
10-20 minutes | Rotate baguettes, monitor browning |
20-25 minutes | Check for doneness (hollow sound when tapped) |
Cooling and Enjoying: The Final Touch
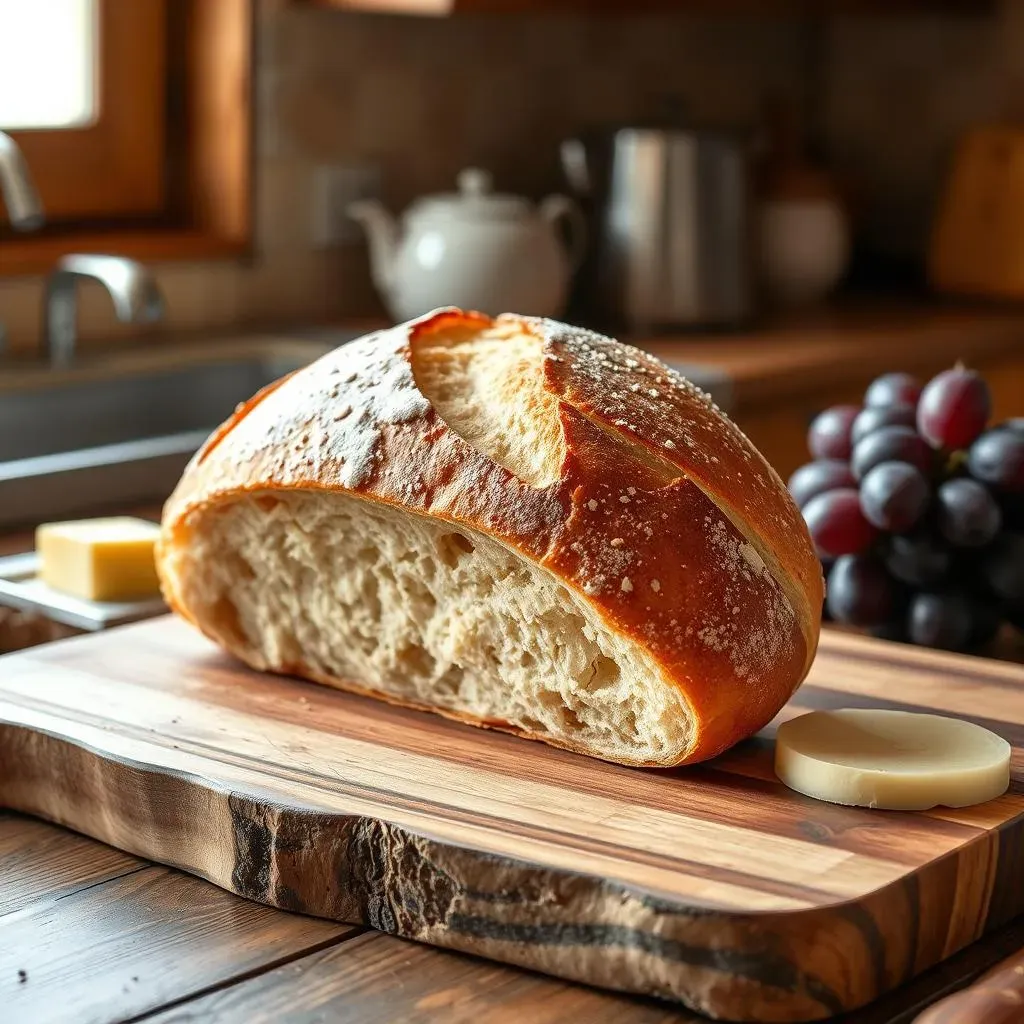
Once baked, immediately remove the baguettes from the oven and transfer them to a wire rack to cool completely. This allows air to circulate around them, preventing them from becoming soggy. Never, ever, put your hot baguettes in a plastic bag or container. Resist the temptation to slice into them while they're still warm; let them cool completely to enjoy that perfect crust-to-crumb ratio. The cooling process allows the crumb to set and the crust to crisp further.
And there you have it – your homemade French baguettes! The reward for your effort is a crusty, airy loaf that’s bursting with flavor. Now, go forth and enjoy the fruits of your labor! Whether you serve them with butter, cheese, or as part of a delicious sandwich, your homemade baguettes will be a true testament to your baking prowess. For more inspiration on what to do with your freshly baked baguettes, you may want to look at our French toast recipe.
Tips, Tricks, and Troubleshooting for Baking Success
Tips, Tricks, and Troubleshooting for Baking Success
Tips, Tricks, and Troubleshooting for Baking Success
So, you've tackled the basics of baking french baguette bread. Fantastic! Now let's dive into some pro tips and tricks to elevate your game. First, don't underestimate the power of a good thermometer. Accurate oven temperature is crucial for consistent results. A slight fluctuation can make a big difference. Second, practice makes perfect when it comes to shaping. Don't get discouraged if your first few attempts aren't picture-perfect; keep practicing, and you'll improve with every loaf. Third, experiment with different flours and hydration levels. Each flour will behave slightly differently, and adjusting the water content can significantly impact the final texture. For an easy recipe, try our easy French baguette recipe.
Troubleshooting is part of the baking journey. If your baguettes are too dense, you might have underproofed the dough or not developed enough gluten. If they're too flat, your oven temperature might have been too low, or you might have overproofed the dough. If the crust is too pale, you may need to increase your oven temperature or baking time. If it's too dark, reduce the temperature or watch them closely. For detailed troubleshooting tips, check out our complete guide on how to bake French baguettes.
- Use an oven thermometer for accurate temperature
- Practice shaping for improved results
- Experiment with flour and hydration levels
Remember, every oven is unique, so pay attention to your own oven's quirks. Keep a baking log noting your results, any adjustments you make, and what worked well (or didn’t!). This will help you become a more confident baker over time. Also, don't be afraid to ask for help! Join online baking communities; there's a wealth of knowledge and support available from fellow bread enthusiasts. It's also great to have someone else to share your baking successes (and failures!) with. A little friendly competition can be motivating, too! Are you ready for a challenge? Try our crusty French baguette recipe for a fun project.
Finally, remember that baking is a journey, not a race. Embrace the learning process, and don't be discouraged by setbacks. Each loaf, regardless of the outcome, is a step towards mastering the art of baking French baguettes. And remember, even the most experienced bakers have their off days. The most important thing is to enjoy the process and take pride in your creations. For more tips on making perfect baguettes, you might find our homemade French baguette recipe helpful.
Problem | Possible Cause | Solution |
|---|---|---|
Dense Baguette | Underproofed dough, insufficient gluten development | Proof longer, use higher protein flour, knead more |
Flat Baguette | Low oven temperature, overproofed dough | Increase oven temperature, proof less, use less yeast |
Pale Crust | Low oven temperature, insufficient baking time | Increase oven temperature, bake longer |