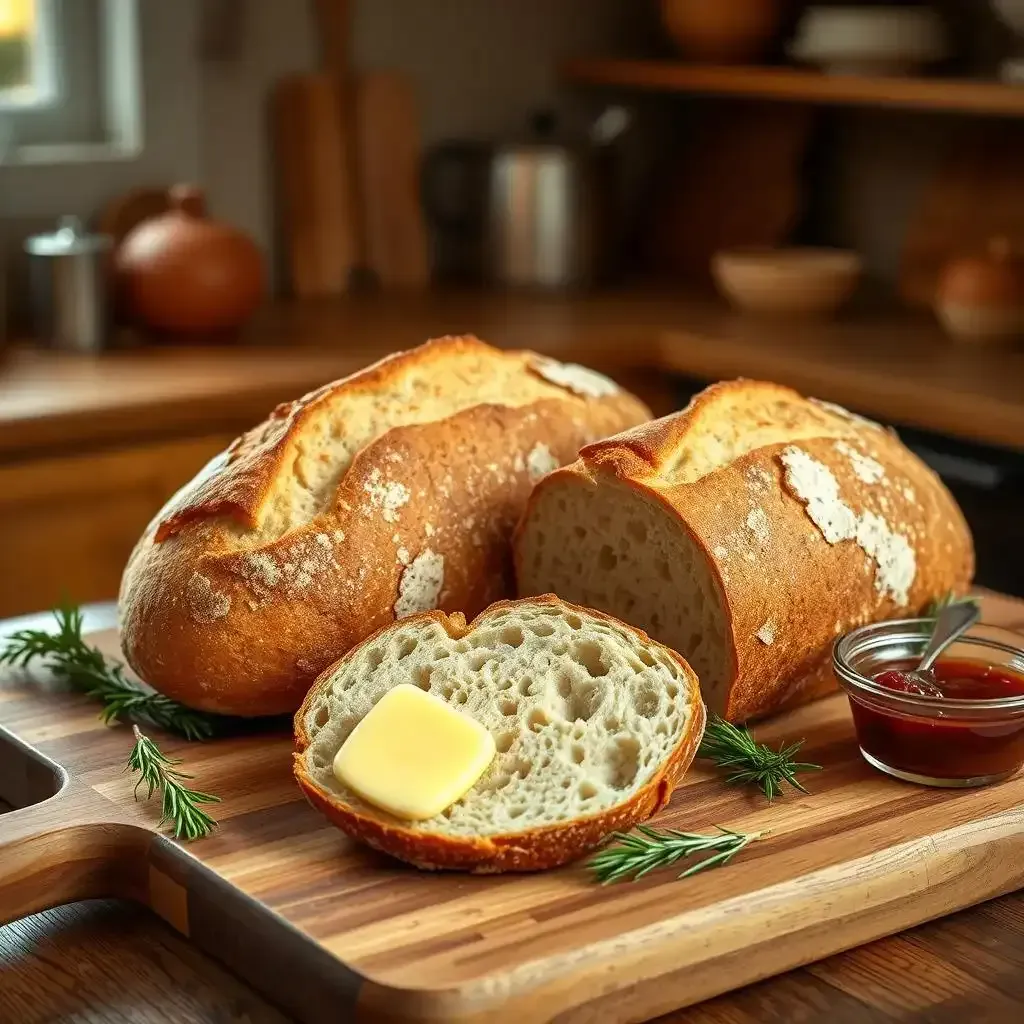
Ready to enhance your baking game? This comprehensive guide will walk you through a foolproof 2 loaf sourdough bread recipe, perfect for sharing (or keeping all to yourself!). We'll cover everything from starter preparation to achieving that perfect crust and airy crumb. Forget those complicated, confusing recipes; we've streamlined the process to make it accessible for even beginner bakers. Whether you're a seasoned sourdough pro or just starting your baking progression, this 2 loaf sourdough bread recipe from frenchbread.homes will equip you with the knowledge and confidence to bake delicious, artisanal loaves every time. Get ready to impress your friends and family (or just yourself!) with the irresistible aroma and taste of homemade sourdough. Let's get baking!
Aspect | Details |
|---|---|
Recipe Yield | 2 loaves |
Difficulty | Intermediate |
Prep Time | 30 minutes (plus bulk fermentation time) |
Proofing Time | 4-6 hours |
Baking Time | 45-55 minutes |
Key Ingredients | Sourdough starter, bread flour, water, salt |
Special Equipment | Two 9x5 inch loaf pans |
Website | frenchbread.homes |
Mastering the 2 Loaf Sourdough Bread Recipe: A Step-by-Step Guide
Getting Started: The Starter and the Mix
Okay, let's bake some bread! First, you'll need a happy, bubbly sourdough starter. Think of your starter as the superhero of this recipe – it’s the magic ingredient that gives sourdough its tangy flavor and unique texture. Mine’s named Bob, and he’s always ready for action (as long as he's fed regularly!). You’ll need about 200 grams of active starter – that means it’s doubled in size after feeding and is full of delightful air bubbles. If your starter’s looking a little sluggish, don't worry; a little extra feeding might be all it needs! Once Bob is ready, we mix it with 600 grams of bread flour, 400 grams of water, and 20 grams of salt. I like to use a stand mixer for this part; it’s less messy and a whole lot quicker. The dough should be sticky, kind of like a well-loved teddy bear after a trip to the beach.
Ingredient | Amount | Notes |
|---|---|---|
Active Sourdough Starter | 200g | Fed and bubbly! |
Bread Flour | 600g | High protein flour is best |
Water | 400g | Room temperature is ideal |
Salt | 20g | Don't skip this; it's crucial for flavor and structure |
Bulk Fermentation and Shaping: The Patience Game
After mixing, it’s time for bulk fermentation – this is where the magic really happens. Think of it like this: the dough is having a slumber party, a long, slow rise where the yeast gets to work, creating those lovely air pockets that make sourdough so delightful. Cover the bowl and let it rise in a warm spot for 4-6 hours, or until it’s almost doubled in size. You’ll know it's ready when it’s puffy and jiggly, like a happy jelly. Once it's done, gently divide the dough in half. Shaping is a bit like playing with Play-Doh. It takes some practice, but it's worth it! Form each half into a neat loaf, tucking the edges underneath. Place them in two well-greased 9x5 inch loaf pans. This is where the second rise (aka proof) comes in. Cover the pans and let them proof for another 4-6 hours, or until they’ve almost reached the top of the pans.
- Remember to keep an eye on your dough during both rises. If it rises too quickly, it could be too warm. If it rises too slowly, it might be too cold.
- Don't be afraid to get your hands dirty! Working with the dough is part of the fun.
- Be patient! Sourdough baking takes time, but the results are well worth the wait.
Tips and Tricks for Perfect 2 Loaf Sourdough Bread
Tips And Tricks For Perfect 2 Loaf Sourdough Bread
Okay, so you've mixed your dough, and it's happily bubbling away. Now, let's talk about getting those perfect loaves. Think of it like this: you're sculpting a masterpiece, not just throwing dough into a pan. First, the temperature is key. A warm spot is your friend – think around 75-80°F (24-27°C). Too cold, and your dough will sleep in; too hot, and it’ll sprint to the finish line, all messy and uneven. You want a slow, steady rise, like a tortoise winning the race. Also, keep an eye on your dough. If it's looking too flat, give it a gentle nudge – a little encouragement goes a long way. And don't forget to score your loaves before baking! This helps the bread rise evenly and creates a beautiful, rustic look. It’s like giving your bread a little haircut – it’s all about presentation!
- Use a thermometer to check the temperature of your proofing location.
- Gently stretch and fold the dough during bulk fermentation to develop gluten strength.
- A sharp knife or lame is best for scoring.
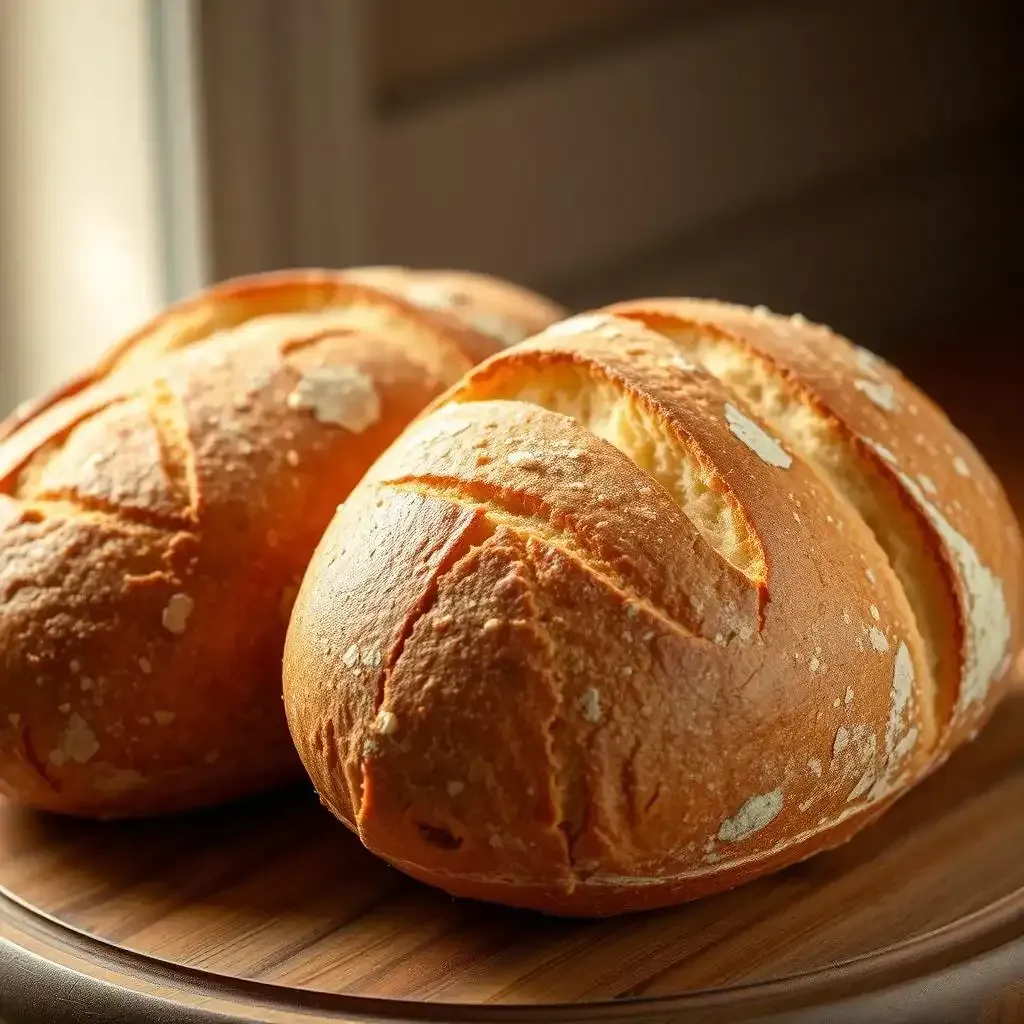
Next up: baking! I prefer a Dutch oven; it creates a lovely crust, like a protective armor for your bread. If you don’t have one, a regular oven works too, but you might need to cover the loaves with foil to stop them from browning too quickly. The baking time is around 45-55 minutes, but keep an eye on them – every oven is a little different. You’ll know they’re done when they sound hollow when tapped on the bottom, like a magical drum. Let them cool completely on a wire rack before slicing – this prevents a gummy texture. Patience, young padawan, patience! Resist the urge to slice into those warm, fragrant loaves too soon; it’s a test of willpower, I tell you!
Baking Method | Pros | Cons |
|---|---|---|
Dutch Oven | Crisp crust, even baking | Requires a Dutch oven |
Regular Oven | Easy access | May require foil to prevent over-browning |
Variations on the 2 Loaf Sourdough Bread Recipe
Variations On The 2 Loaf Sourdough Bread Recipe
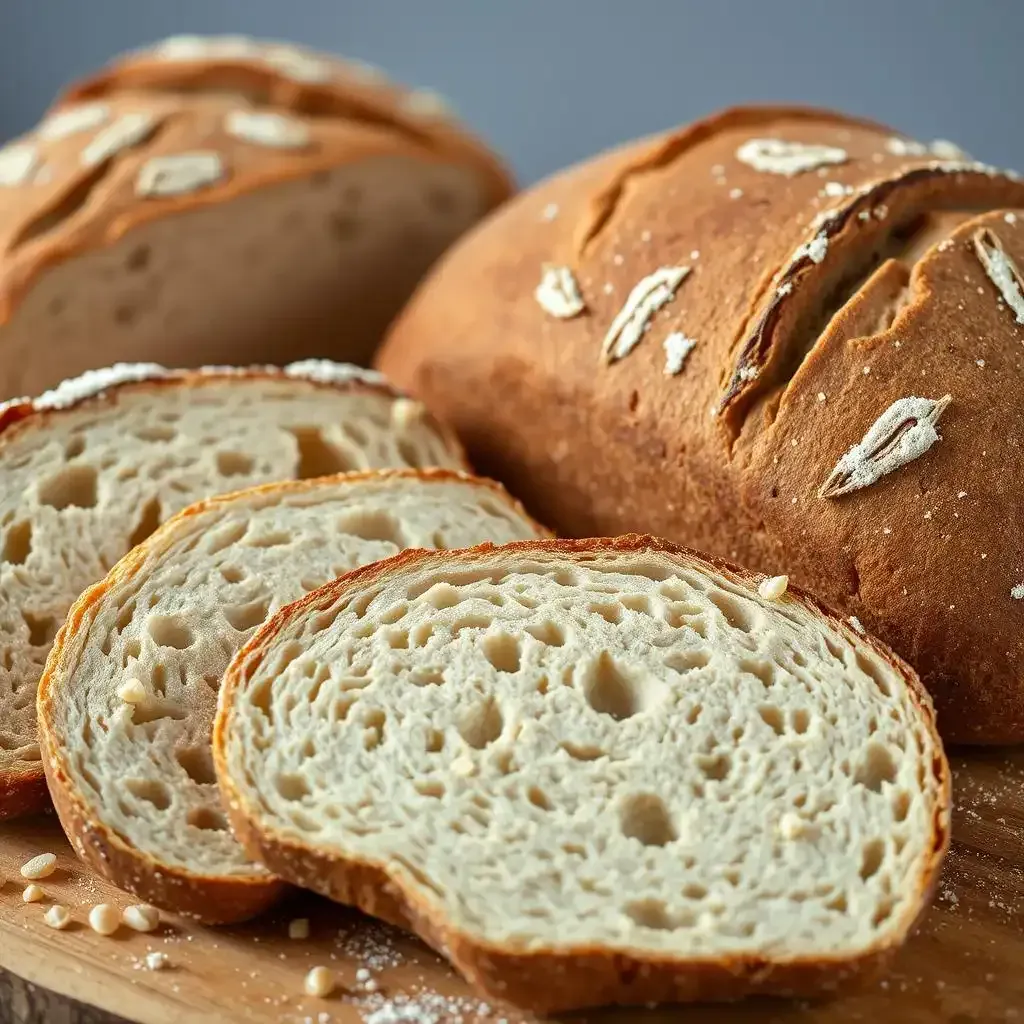
So, you've mastered the basic two-loaf sourdough recipe – fantastic! Now, let's get creative. Think of this recipe as a blank canvas; you can add your own unique flourishes. One of my favorite tweaks is experimenting with different flours. Instead of using all bread flour, try incorporating some whole wheat flour for a nuttier flavor and a slightly denser crumb. Or, go wild with rye flour for a more intense tang. It's like adding secret spices to your favorite stew – each one brings its own unique flavor profile.
- Whole wheat flour: Adds nutty flavor and more fiber.
- Rye flour: Intensifies the sourdough tang.
- Spelt flour: Creates a slightly sweeter loaf.
Another fun thing to play around with is the hydration level. This refers to the ratio of water to flour. A higher hydration dough will be wetter and stickier, resulting in a more open crumb structure. A lower hydration dough will be firmer and easier to handle. Don't be afraid to experiment! It's all about finding what works best for you and your kitchen environment. Remember, even small adjustments can make a big difference in the final product. Think of it as fine-tuning a musical instrument – each small adjustment brings you closer to perfection.
Hydration Level | Dough Consistency | Crumb Structure |
|---|---|---|
High (75-80%) | Very sticky | Open and airy |
Medium (70-75%) | Sticky but manageable | Evenly textured |
Low (65-70%) | Firm and easy to handle | Denser |
Finally, don't be shy about adding things to your dough! Imagine it like adding toppings to your favorite pizza. Sun-dried tomatoes, olives, or even herbs can raise your sourdough to new heights. My personal favorite is adding a handful of toasted walnuts to the dough during the final mixing. It adds a delightful crunch and a subtle nutty flavor that complements the tangy sourdough beautifully. The possibilities are truly endless! So, experiment, have fun, and find your own signature sourdough blend.
Remember, baking is all about having fun and experimenting. Don't be afraid to make mistakes – they're learning opportunities disguised as slightly less-than-perfect loaves. The more you bake, the better you'll become at understanding the nuances of sourdough. So, grab your apron, gather your ingredients, and let's bake some amazing bread!
Final Thought
Baking two loaves of sourdough bread might seem daunting, but with this detailed recipe and a little practice, you'll be creating beautiful, delicious loaves in no time. Remember, patience and consistency are key. Experiment with different flours, hydration levels, and baking times to find your perfect sourdough recipe. Happy baking!