Ever dreamed of baking crusty, airy French bread with a tangy sourdough kick? At frenchbread.homes, we believe everyone can achieve bakery-quality results at home. This article is your comprehensive guide to making amazing French bread using a sourdough starter. We'll walk you through each step, from preparing your starter to achieving that perfect golden-brown crust. We'll also cover common problems and how to solve them, ensuring your sourdough French bread trip is a delicious success. Get ready to impress your friends and family with your newfound baking skills! Let's start on this exciting experience together, transforming simple ingredients into a culinary masterpiece.
Step | Action | Tip |
|---|---|---|
1 | Prepare your sourdough starter | Ensure your starter is active and bubbly. |
2 | Mix the dough | Use a stand mixer or mix by hand until well combined. |
3 | Bulk fermentation | Allow the dough to rise in a warm place. |
4 | Shape the loaves | Gently shape the dough into desired shapes. |
5 | Proofing | Allow the shaped loaves to rise again. |
6 | Baking | Bake at high heat for a crispy crust and airy crumb. |
7 | Cooling | Let the bread cool completely before slicing. |
Mastering French Bread Using Sourdough Starter: A Step-by-Step Guide
Mastering French Bread Using Sourdough Starter A Step By Step Guide
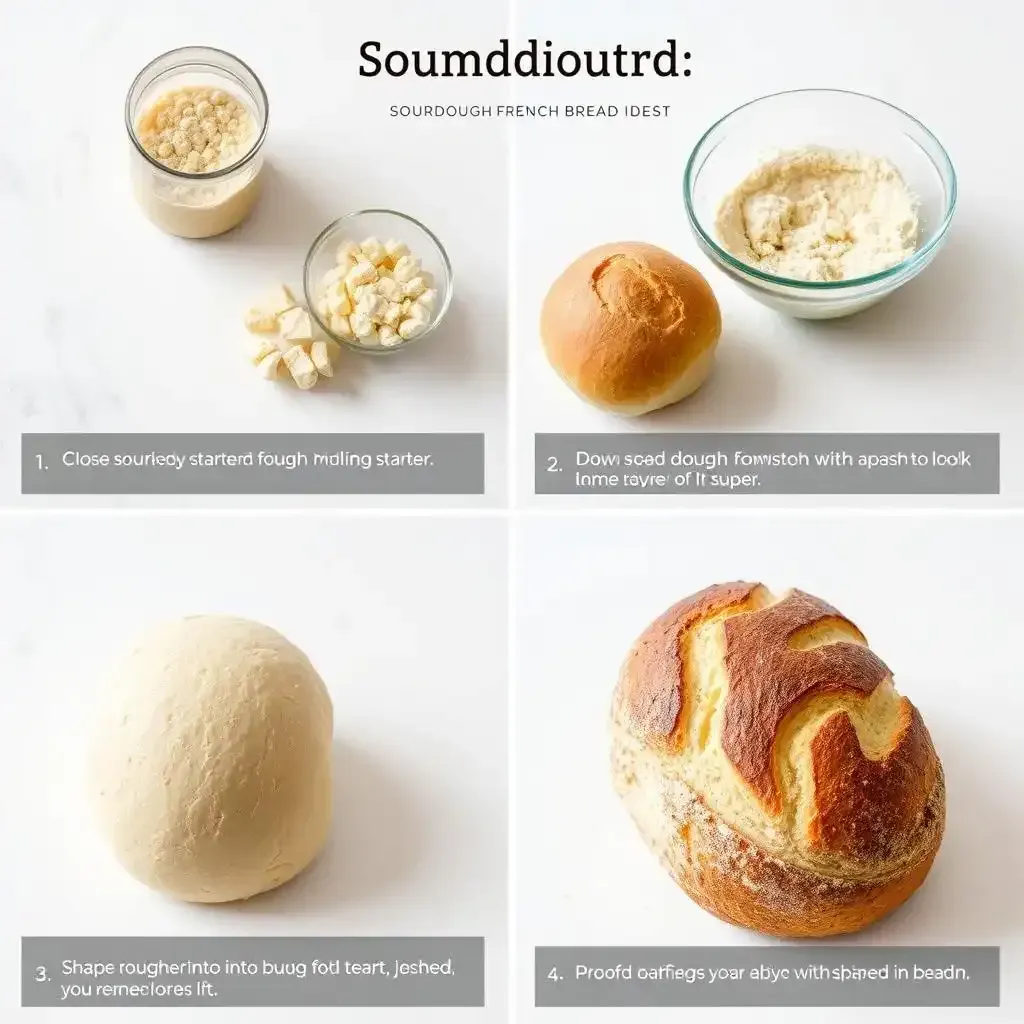
Okay, let's get baking! Making sourdough French bread might sound fancy, but it's really just a series of steps, kinda like following a recipe for building a really awesome LEGO castle. First, you gotta wake up your sourdough starter. Think of your starter as a tiny, hungry sourdough creature that needs to be fed regularly to stay alive and happy. You feed it flour and water, and it happily eats, producing bubbles – its way of saying "thanks for the food!". If it's not bubbly and active, don't even think about starting, it's like trying to build a castle with broken bricks. You'll need a nice, active starter for the best results. It’s like having the best LEGO bricks for your castle.
Step | Action | Important Note |
|---|---|---|
1 | Feed your starter | Make sure it's bubbly and doubled in size before you start. |
2 | Mix the dough | Don't overmix; you want a slightly sticky dough. |
Next, you mix the dough. This is where things get a little messy, but trust me, it's worth it! You combine your happy starter with flour, water, and a pinch of salt. It's like mixing the cement for your LEGO castle’s foundation. I usually do this in a big bowl, but a stand mixer can be a lifesaver if you're not into the hand-mixing workout. Don't worry if it's a little sticky – that's a sign of a happy dough. After mixing, you let your dough rest and rise – its bulk fermentation. Think of it as your LEGO castle foundation settling before you start building the walls. This process is important because it allows the yeast to work their magic, making your bread fluffy and delicious. The longer it sits, the more flavor develops. It’s like letting the cement properly set.
- Let the dough rise in a warm place for several hours.
- Punch down the dough gently to release the air.
- Shape the dough into loaves.
Then comes shaping the dough. This part's fun! You get to gently stretch and fold the dough into beautiful loaves, like sculpting the walls of your LEGO castle. It takes a bit of practice, but don't be afraid to experiment. Even if your loaves look a little wonky, they'll still taste amazing. The key is to be gentle; you don't want to deflate all that lovely air you've worked so hard to create! After shaping, the loaves need a bit more rest – the proofing stage. It’s like letting your LEGO castle walls dry before adding the roof.
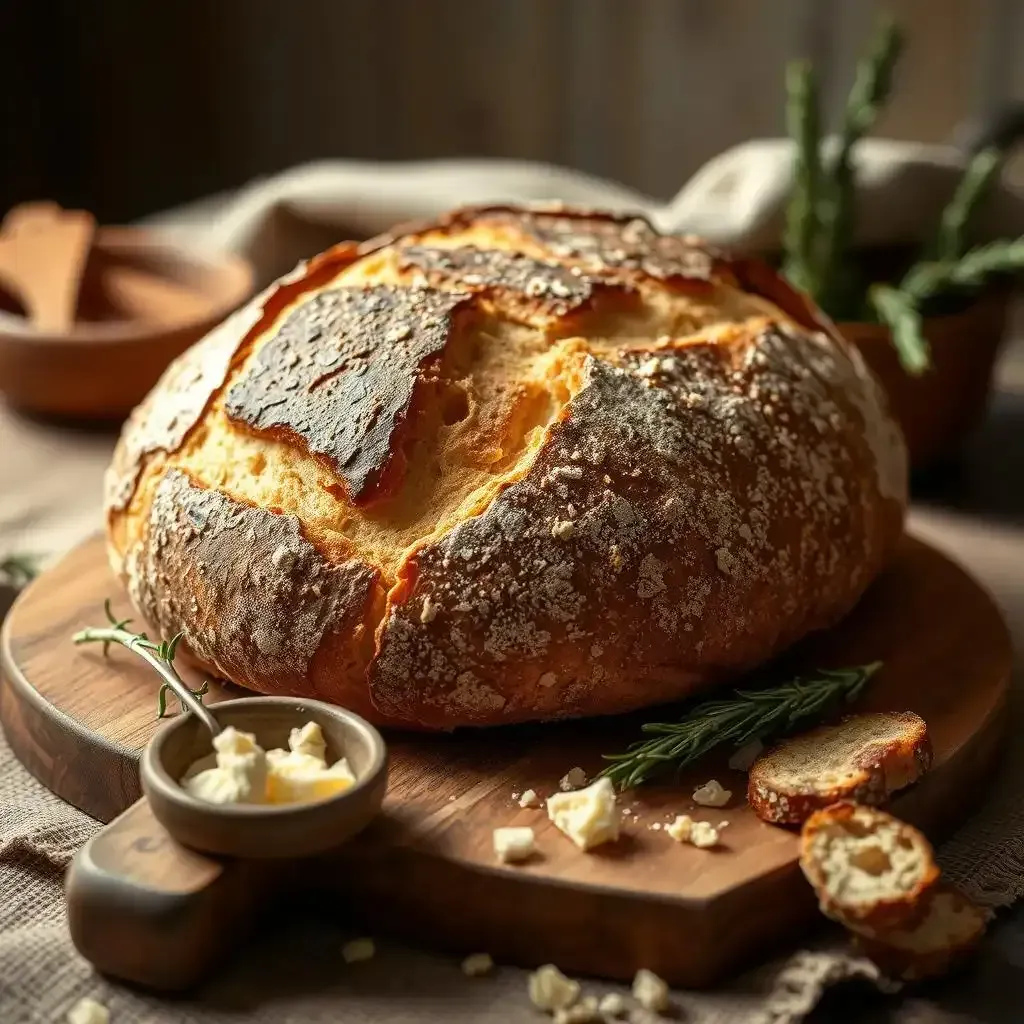
Finally, it's baking time! This is the most exciting part, watching your creations transform into golden-brown, crusty masterpieces in the oven. The heat helps create that wonderful crust, while the inside stays soft and airy. It's like seeing your LEGO castle come to life with all the detail. Remember to check your loaves regularly to make sure they don't burn, and let them cool completely before slicing. Trust me, the wait is worth it. You've worked hard to create this masterpiece. Once it’s cooled, you get to enjoy the fruit of your labor, a beautiful, delicious loaf of sourdough French bread.
Tips and Tricks for the Perfect Sourdough French Bread
Mastering the Mix: Flour Ability and Hydration
So, you've got your bubbly starter, ready to rock and roll. Now, the flour! I've found that a mix of bread flour (for strength) and a little whole wheat (for flavor) works like a charm. It's like building a LEGO castle with strong bricks and some fancy decorative ones. The hydration – that's the amount of water – is super important. Too little, and your dough will be dry and crumbly (like a poorly built LEGO castle!). Too much, and it'll be a sticky mess (like trying to build a castle with super glue). Aim for a dough that’s slightly sticky but still manageable. Think of it as the perfect consistency of Play-Doh – you can shape it, but it's not falling apart.
Flour Type | Percentage | Effect |
|---|---|---|
Bread Flour | 70% | Strength and structure |
Whole Wheat Flour | 10% | Flavor and color |
Water | 60-65% | Hydration level |
Bulk Fermentation: The Patient Baker's Reward
Bulk fermentation is where the magic happens. It's the slow rise of the dough, where those friendly yeast get to work, producing delicious gases that make your bread airy and light. Think of it like letting your LEGO castle slowly dry and become more solid before you add the details. The length of this rise depends on the temperature of your kitchen – a warmer kitchen means a faster rise. I usually aim for about 4-6 hours, but sometimes it takes a little longer, especially if it's a colder day. Don't rush it! It's like waiting for the cement to fully set. A slow rise gives you a more flavorful and complex bread.
- Keep your dough in a warm place, away from drafts.
- Cover the bowl loosely with plastic wrap, but don't seal it tightly.
- Check on your dough regularly to see how it's progressing.
The Final Rise: Proofing for Perfection
After the bulk fermentation, you’ll shape your dough into loaves and let them rise again – this is called proofing. It's like giving your LEGO castle a final polish before presenting it. This final rise allows the bread to develop its final texture and flavor. During proofing, the dough will become less sticky. You can put your shaped loaves in a banneton (a special basket for proofing) or simply on a floured surface. I like using a banneton; it gives the bread a nice, rustic look. Again, be patient. Let the loaves rise until they're almost doubled in size. Once they're ready, it's time to bake! Remember, patience is key. A perfectly proofed loaf is the key to a perfectly baked loaf.
Troubleshooting Common Issues in Sourdough French Bread Baking

Troubleshooting Common Issues In Sourdough French Bread Baking
The Case of the Flat Loaf: Why Didn't My Bread Rise?
Okay, so you followed all the steps, fed your starter like a champ, and yet your beautiful loaf came out flatter than a pancake. Don't despair! This happens to the best of us. The most common culprit is an inactive starter. Remember, your starter is the engine of your bread. If it's not bubbly and full of life, it can't do its job properly. Think of it like a car with a dead battery – it's not going anywhere! Make sure your starter is nice and active before you even think about mixing the dough. Another possibility is that your dough didn't get enough time to rise. Sourdough needs time to develop its flavor and texture. It's a slow and steady process, not a race! Be patient and let your dough rise for the recommended time, or even a little longer if needed. Sometimes, the temperature in your kitchen can affect the rise. A cold kitchen can slow things down, while a super warm one can make your dough rise too quickly and collapse. Find a happy medium!
Problem | Possible Cause | Solution |
|---|---|---|
Flat loaf | Inactive starter | Feed your starter until it's bubbly and doubled in size. |
Flat loaf | Insufficient rise time | Allow more time for bulk fermentation and proofing. |
Flat loaf | Incorrect temperature | Maintain a consistent, warm temperature during rising. |
The Crusty Conundrum: Too Dark, Too Pale, Too…Something
Ah, the crust! It's the glorious, golden-brown crown of your sourdough French bread. But sometimes, things don't go as planned. Maybe your bread is too dark, almost burnt. This could be due to baking it at too high a temperature or for too long. Remember, ovens can vary, so keep an eye on your bread and adjust the baking time accordingly. Or, perhaps your crust is too pale, a bit sad and lacking that satisfying crunch. This might be because your oven wasn't hot enough or you baked it for too short a time. Always preheat your oven thoroughly before you start baking! Another factor is the type of oven you're using. Some ovens bake hotter than others. Experiment to find the best baking time and temperature for your specific oven.
- Too dark crust: Lower the oven temperature or reduce baking time.
- Too pale crust: Increase the oven temperature or extend baking time.
- Uneven crust: Rotate the loaf halfway through baking.
"The perfect crust is a balance of color, texture, and aroma" - A wise baker once told me.
Final Thought
Baking sourdough French bread is a rewarding experience. It takes practice, but the taste and satisfaction are well worth the effort. Remember, consistency is key; keep practicing, experiment with different flours and techniques, and you’ll soon be crafting perfect loaves every time. Happy baking!