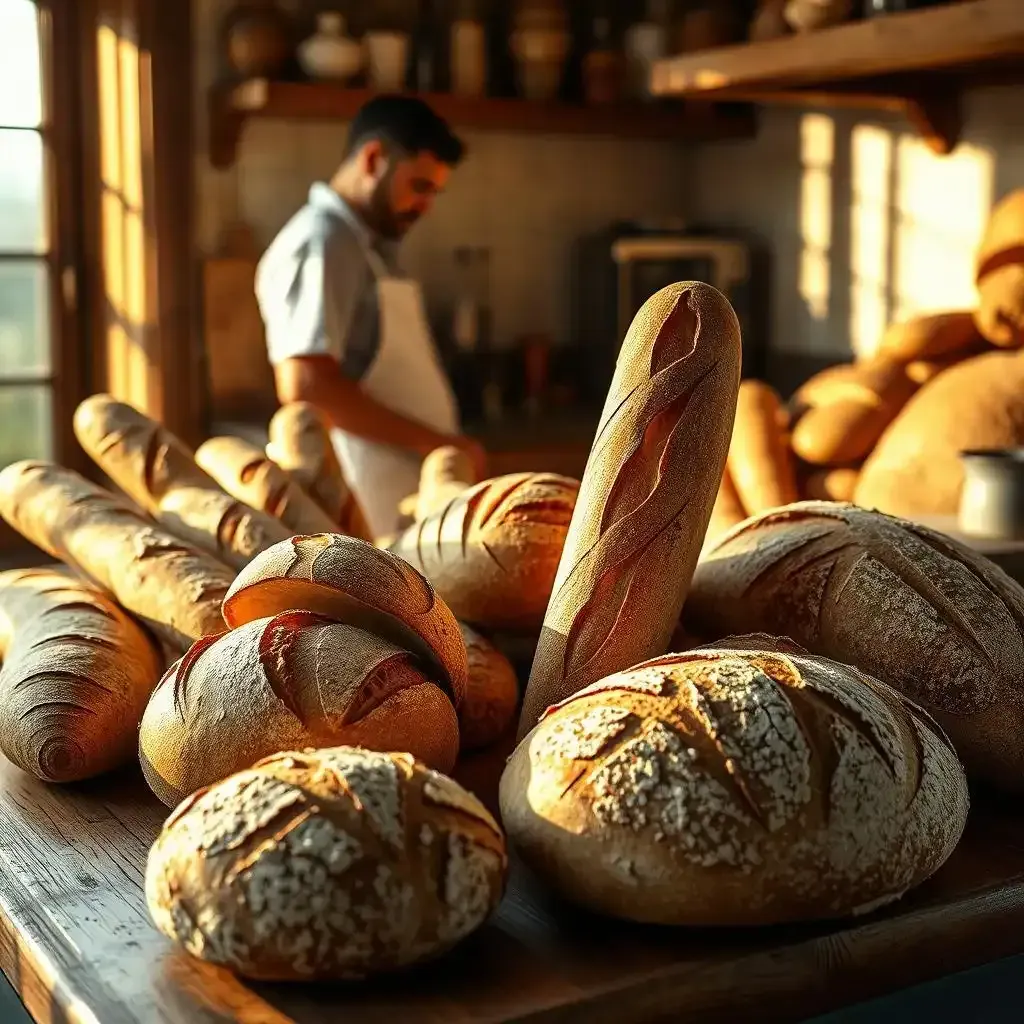
Ready to bake the most amazing sourdough French bread? Forget those bland, supermarket loaves. We're diving into the world of homemade sourdough French bread, a culinary exploration that combines the tangy delight of sourdough starter with the satisfying crunch of a perfectly crisp crust. At frenchbread.homes, we believe everyone can master this art, regardless of their baking experience. This article will walk you through every step, from understanding the science behind the sourdough starter to mastering the art of shaping your loaf and troubleshooting common problems. Get ready to impress your friends and family with your newly acquired sourdough French bread skills. Let's get started!
Aspect | Details |
|---|---|
Starter | Active, well-fed sourdough starter is crucial. |
Flour | High-protein flour (bread flour) yields the best results. |
Hydration | Proper hydration is key to achieving the right texture. |
Kneading | Gentle kneading develops gluten without overworking the dough. |
Bulk Fermentation | Allow ample time for bulk fermentation for optimal flavor and rise. |
Shaping | Proper shaping creates a beautiful loaf and even baking. |
Proofing | Careful proofing ensures a light and airy interior. |
Baking | High heat is necessary for a crispy crust and tender crumb. |
Troubleshooting | Address issues like over-fermentation or under-proofing. |
Variations | Experiment with different flours, additions, and shaping techniques. |
Understanding Sourdough French Bread: A Baker's Guide
The Magic of the Starter
Let's talk sourdough starter – it's the heart and soul of our french bread sourdough. Think of it as a tiny, bubbly ecosystem of wild yeasts and bacteria. It's alive! You feed it flour and water, and it happily churns out delicious acids that give our bread that signature tangy flavor. I've had starters that were truly temperamental, some days super active, other days...not so much. It's a bit like having a pet, really. It needs consistent care and attention. You'll need to feed it regularly, keeping it happy and active. A sluggish starter will make for a sad loaf. It's all about consistency, my friend. It's a relationship that takes time to cultivate. And when you get it right, the results are amazing!
Day | Feeding | Activity |
|---|---|---|
Day 1 | 1 tbsp starter + 2 tbsp flour + 2 tbsp water | Slight increase in volume |
Day 2 | Same as Day 1 | Noticeable rise and bubbles |
Day 3 | Same as Day 1 | Doubled in size, bubbly and active |
Mixing and Kneading: The Art of the Dough
Once your starter is singing, you're ready for the main event – mixing the dough. It's kind of like making playdough, but with way more science involved! You'll combine your active starter with flour, water, and a pinch of salt. The water amount is crucial – too little, and you'll have a dry, crumbly mess. Too much, and your dough will be sticky and impossible to handle. This is where you need to carefully follow your recipe, paying attention to the amounts of flour and water. After mixing, the kneading process is vital to develop gluten. Gluten is a protein structure that gives your bread its elasticity and chewiness. If you don't knead enough, you'll end up with a dense, gummy loaf. So, get those hands working! Think of it as a little workout for your arms; you need to develop the gluten structure to make a light and airy loaf. It's a bit like making pizza dough, but slightly more delicate. If you're using a stand mixer, you can let the machine do the kneading for you, but you'll still need to check that the dough is developing properly. A good knead is a happy knead.
- Measure ingredients accurately.
- Mix gently at first, then knead vigorously.
- The dough should be smooth and elastic.
The First Rise: Patience is a Virtue
After you've kneaded your dough to perfection, it's time for the first rise, also known as bulk fermentation. This is where the magic really happens. Think of it as a nap for your dough. It's a crucial step that allows the yeast to do its thing, producing carbon dioxide that creates those lovely air pockets in your bread. The length of time it takes varies depending on the temperature of your kitchen, the activity of your starter, and other factors. You'll know it's ready when the dough has almost doubled in size and is puffy and bubbly. It's a bit like watching a balloon inflate slowly, but with far more delicious implications! You'll need to be patient here; rushing this process will result in a dense loaf. This is the time for a good book, a cup of tea, and maybe a little bit of patience.
Mastering the Sourdough French Bread Recipe: Techniques and Tips
Mastering The Sourdough French Bread Recipe Techniques And Tips
Alright, so you've got your bubbly starter, you've mixed your dough, and it's had its first nap (bulk fermentation, remember?). Now comes the fun part – shaping and baking your french bread sourdough! Think of shaping like sculpting with dough; it's surprisingly satisfying. You're aiming for a nice, elongated oval, not a perfect anything. A little wonky is charming, I promise. Gently stretch and fold the dough, being careful not to deflate all those precious air bubbles your little yeast friends worked so hard to create. Imagine it as a delicate dance, not a wrestling match. You want a smooth surface, but don't stress about perfection. It's mostly about getting it into a loaf shape. This is definitely the creative part of the process, so have fun with it!
Step | Description | Tip |
|---|---|---|
1. Gently Shape | Form the dough into an oval shape. | Don't overwork it! |
2. Rest | Let the dough rest seam-side up for 30-60 minutes. | This allows the dough to relax. |
3. Score | Make several slashes (scores) on the top of the dough. | This helps control the rise during baking. |
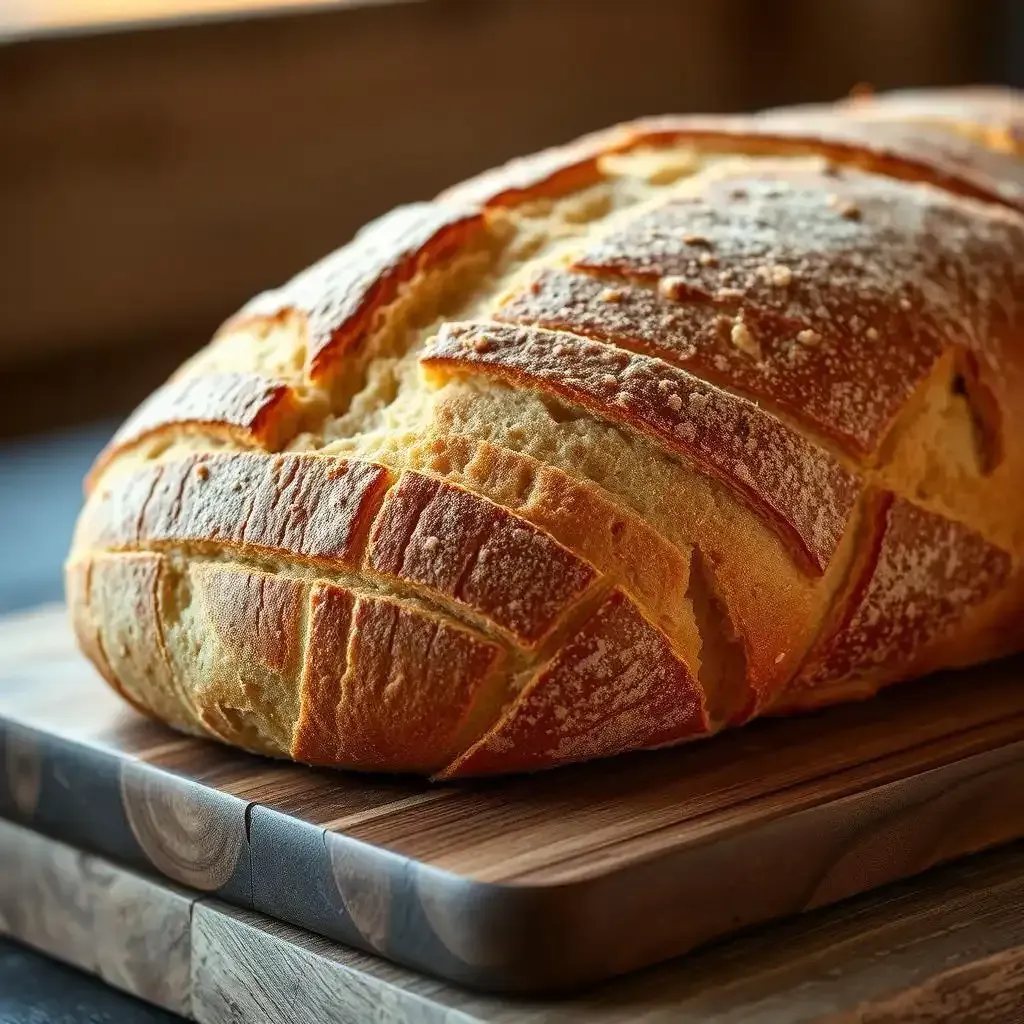
Next up: The baking! Preheat your oven to a scorching 450°F (232°C). Seriously, hot is good. You want that beautiful crust. If you're fancy, you can use a Dutch oven, but a regular baking sheet works just fine. I've even baked it on a pizza stone! The key is getting that intense heat, and some steam to start with. You can add a pan of hot water to the bottom of your oven to boost the steam, which helps create a lovely, chewy interior. It's like creating a little personal sauna for your bread! Once your bread is in, don't peek! Resist the urge! Peeking lets the heat escape, and that's a recipe for a sad, flat loaf. After 20-25 minutes, check for doneness. It should sound hollow when tapped. If not, give it a few more minutes. Once it's done, let it cool completely on a wire rack before slicing. Patience, young padawan. Warm bread is tempting, but a fully cooled loaf tastes way better. Trust me on this one!
- Use a sharp knife or lame for scoring.
- Don't open the oven door until the bread is almost done.
- Let the bread cool completely before slicing.
Troubleshooting and Variations in Sourdough French Bread Baking

Troubleshooting And Variations In Sourdough French Bread Baking
When Things Go Wrong (and How to Fix Them!)
Let's be honest, sourdough baking isn't always a walk in the park. Sometimes, despite your best efforts, your loaf might not turn out exactly as planned. Maybe it's too dense, maybe it collapsed, or perhaps it's just…sad. Don't despair! I've been there, many times. One time, I forgot to score my loaf properly, and it exploded like a tiny bread volcano in my oven. It was a disaster, but also pretty funny. The most common issues are usually related to the starter (it's got a mind of its own!), the hydration of your dough, or the baking process itself. If your bread is too dense, you might not have kneaded enough, or your starter wasn't active enough. If it collapsed, you probably over-proofed it. If it's got a pale crust, your oven wasn't hot enough. Remember, practice makes perfect! Don't be afraid to experiment and learn from your mistakes.
Problem | Possible Cause | Solution |
|---|---|---|
Dense Loaf | Insufficient kneading, inactive starter | Knead longer, use a more active starter |
Collapsed Loaf | Over-proofing, weak gluten development | Proof for less time, knead more thoroughly |
Pale Crust | Oven temperature too low | Preheat oven to a higher temperature |
Playing with Flavors and Shapes
Once you've mastered the basic sourdough French bread recipe, the world is your oyster (or should I say, your bread bowl?). Experiment with different flours! Rye adds a nutty flavor, whole wheat adds a heartier texture, and even adding a bit of spelt can change things significantly. You can also get creative with additions. Sun-dried tomatoes, herbs, olives, even cheese—the possibilities are endless. I once added some caramelized onions to my sourdough, and it was a game-changer. It was so tasty, it was gone in a flash! Remember, though, that adding things will change the hydration, so you might need to adjust your recipe accordingly. And, of course, don't forget about shaping! Try making a baguette, a round boule, or even some adorable little rolls. The possibilities are endless.
- Experiment with different types of flour.
- Add herbs, spices, nuts, or dried fruits.
- Try different shaping techniques (baguettes, boules, etc.).
Beyond the Basics: Advanced Techniques
Ready for a challenge? Once you're comfortable with the basics, you can explore more advanced techniques. Consider using a banneton (a special proofing basket) to help shape your loaf and give it that beautiful, rustic look. You could also try creating steam in your oven during baking – this will help develop a crispier crust. Learning to judge the doneness of your bread by tapping it (it should sound hollow) takes time and practice, but it's a valuable skill. There are tons of resources available online and in books – don't be afraid to examine in (I said it!). And remember, even experienced bakers mess up sometimes! It's part of the learning process. The most important thing is to have fun! Baking should be enjoyable, not stressful. So relax, experiment, and enjoy the delicious results.
“The best bread is the bread you bake yourself.” – Unknown baker (probably)
Final Thought
Baking sourdough French bread is a trip, not a race. Embrace the process, experiment with different techniques, and most importantly, have fun! Each loaf you bake will be a testament to your skills and a delicious reward for your efforts. So, gather your ingredients, preheat your oven, and get ready to create your own masterpiece. Happy baking!