
Ever dreamed of baking crusty, flavourful French bread at home? It's easier than you think, especially with the magic of a sourdough starter! At frenchbread.homes, we're passionate about helping you open up the secrets of this ancient baking technique. This article will guide you through everything you need to know about using your french bread sourdough starter, from understanding the different types of starters to utilizing even your discarded starter. We'll explore the art of feeding and maintaining a healthy starter, and most importantly, we'll share delicious and easy-to-follow recipes for creating authentic French bread. Get ready to transform your baking game with the tangy goodness of sourdough!
Topic | Key Points |
|---|---|
Types of Starters | Active, Unfed, Discard |
Starter Care | Feeding schedule (4-12 hours before baking), maintaining activity |
Recipe Variations | Using active starter, unfed starter, or discard |
Equipment Needs | No special equipment needed (e.g., baguette pan) |
Flavor & Texture | Unique tangy flavor, crusty texture |
French Bread Sourdough Starter: The Basics
What's a Sourdough Starter, Anyway?
Imagine a tiny, bubbly ecosystem living in a jar. That's your sourdough starter! It's a mixture of flour and water, where wild yeasts and bacteria – naturally found in the air and flour – happily munch and multiply. These little guys produce acids, which give sourdough bread its unique tangy flavor and help make it extra chewy and delicious. Think of it as a tiny, super-powered bakery living inside your kitchen! It’s like having your own personal bread-making buddy, except this buddy needs feeding (more on that later).
Ingredient | Purpose |
|---|---|
Flour (usually bread flour or all-purpose) | Food for the yeasts and bacteria |
Water | Provides moisture for the starter's growth |
Creating Your Starter: A Tiny Ecosystem in a Jar
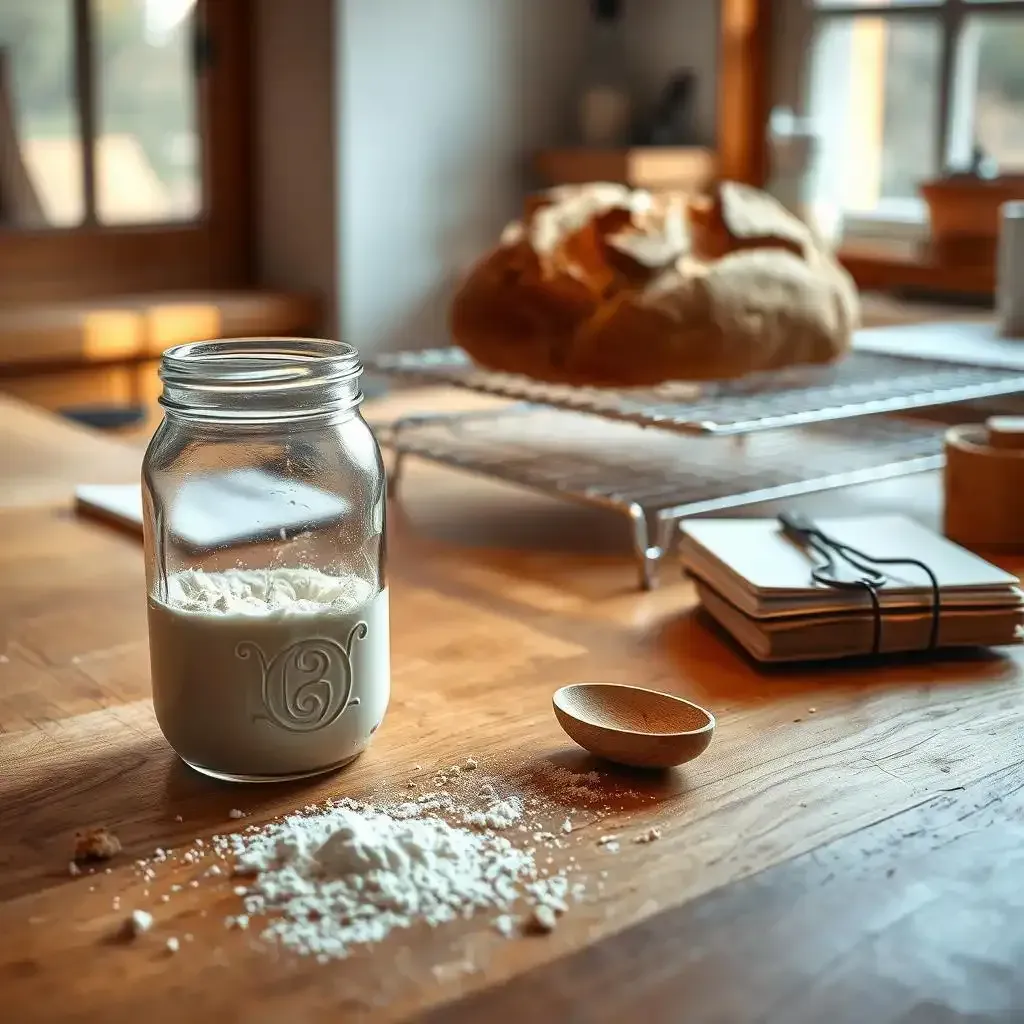
Making a sourdough starter is surprisingly easy. You just mix flour and water, let it sit, and wait for the magic to happen! It's like watching a tiny science experiment come to life. There are tons of recipes online. Don't stress about getting it perfect on your first try. It takes time for that ecosystem to develop, so patience is key. You’ll know your starter is active when it starts to bubble and rise – it’s a sign that those little bakers are hard at work. I found that using a glass jar makes it easy to see the progress and it’s super easy to clean. The whole process is a little bit like creating your own miniature, bubbly world.
- Mix equal parts flour and water (around 50 grams of each is a good starting point).
- Keep it in a warm place (around 70-75°F or 21-24°C).
- Stir daily and wait for the bubbles!
Maintaining Your Starter: Feeding the Little Bakers
Once your starter is lively, you'll need to feed it regularly. Think of it as giving your little bread-making friends their daily rations. Feeding involves discarding a portion of the starter and then adding fresh flour and water. This keeps the starter healthy and prevents it from becoming too sour or inactive. It's like a daily routine that ensures your starter thrives. Some people feed their starters daily, others do it less frequently. Experiment and find what works best for you and your schedule. A happy starter means happy bread!
“The best sourdough starter is the one you love feeding.” - A wise baker (probably)
Mastering Your French Bread Sourdough Starter: Feeding and Care
Mastering Your French Bread Sourdough Starter Feeding And Care
The Rhythm of Feeding: A Dance with Your Starter
So, you've got a bubbly, active starter – congrats! Now comes the fun part (and yes, there's a *little* bit of work involved). Think of feeding your starter as a daily chat with your tiny bread-making buddy. You're providing it with the nutrients it needs to stay happy and healthy. It's not difficult; it's more like a routine. I usually feed mine in the evenings, after dinner. It's become a little ritual for me, kind of like brushing my teeth – just something I do without thinking too much.
The process is pretty straightforward. You'll typically discard about half of your starter (don't worry, we'll talk about what to do with that later!). Then, you'll add fresh flour and water in equal parts to the remaining starter. I usually use about 50 grams of each, but you can adjust it depending on how much starter you want. Gently mix everything together until it's a smooth, somewhat sticky paste. It's not an exact science, you'll get the hang of it in no time. I often find myself just eyeballing it now.
Step | Action | Tip |
|---|---|---|
1 | Discard half of the starter | Save the discard for yummy recipes! |
2 | Add equal parts fresh flour and water | Use lukewarm water; too hot will kill the good bacteria. |
3 | Mix gently until smooth | Don't overmix; you don't want to tire out your little bread-making friends! |
Signs of a Happy (and Active!) Starter
How do you know if your starter is happy? Well, it's pretty obvious! A healthy starter will be bubbly and rise significantly after feeding. Imagine it's a little party in your jar – all that bubbling is the sign of tiny yeasts and bacteria having a blast! If you see lots of bubbles, your starter is thriving. If it doesn't rise much or seems sluggish, don't panic! This is often a sign that it needs more feeding or a slightly warmer environment. Remember, these are living organisms, and they have their moods, just like us. Don't get discouraged if it takes some time to get it just right.
Sometimes, my starter gets a little too enthusiastic and doubles in size in just a few hours. That’s awesome! Other times, it’s a bit more laid back. The key is to observe your starter and learn its rhythm. It's like getting to know a new friend – it takes time, but the rewards are well worth it. You'll start to notice patterns and understand what your starter needs. This whole process is a progression of discovery, a partnership between you and your little bubbly ecosystem. Think of it like learning to play an instrument; it takes practice but becomes second nature.
- Lots of bubbles = happy starter
- Significant rise after feeding = a thriving colony
- A slightly sour smell = perfect! (Don't worry, it's good!)
Troubleshooting Your Starter: When Things Go Wrong (and How to Fix Them)
Sometimes, even with the best of intentions, things don't go perfectly with your starter. Maybe it's not rising as much as it used to, or it smells a bit off. Don't despair! This happens to everyone. I’ve had my fair share of starter mishaps, and I’m sure you’ll experience some too. Think of it as a learning curve! If your starter is sluggish, try feeding it more often. If it smells really bad (like, seriously bad, not just slightly sour), you might need to start over. A bad-smelling starter usually means that something else has taken over the ecosystem.
Don't be afraid to experiment! Try different types of flour, different water temperatures, and different feeding schedules. The beauty of sourdough is that there's no one "right" way to do it. Find what works best for you and your starter. It’s a personal progression, and your starter will become as unique as you are. It’s a bit like gardening – you need to find out what your “plant” needs. Remember, even professional bakers have issues sometimes. It's all part of the fun (and the learning process!).
“Patience is a virtue, especially when dealing with sourdough.” - Another wise baker (probably)
French Bread Recipes Using Your Sourdough Starter: From Discard to Delight
The Magic of Sourdough Discard: No Waste, Just Taste!
Okay, so you're diligently feeding your sourdough starter. That means you're regularly discarding a portion – but don't toss it! It's not garbage; it's pure gold, well, almost. Think of it as a secret ingredient that adds depth and complexity to your baking. Sourdough discard is like a hidden treasure in your baking arsenal. It's full of flavor and adds a unique texture to your baked goods. I've used it in everything from pancakes to muffins, and even pizza dough. You can add it to almost any recipe that calls for flour. It works great in quick breads, muffins, and even cookies. It just takes a little experimentation to find what works best. What I've learned is that a little bit of discard goes a long way! It’s like a secret weapon that elevates your baking to a whole new level. It’s less work, more flavor!
- Pancakes: Add discard to your regular pancake recipe for a tangy twist.
- Muffins: Incorporate discard into your favorite muffin recipe for extra moisture and flavor.
- Pizza Dough: Use discard to add a subtle sourdough flavor to your pizza crust.
French Bread with a Tang: Recipes That Shine
Now for the main event: French bread! Using your sourdough starter (or even discard!) transforms this classic bread into something truly special. The tangy flavor adds a unique depth that you won't find in regular French bread. It's like adding a secret ingredient that elevates the entire experience. I've tried several recipes over the years, and my favorite uses a combination of active starter and a little bit of whole wheat flour. It adds a nutty flavor and a slightly chewier texture. The process isn’t difficult, but it does require some patience. The results, though, are worth every minute of the wait. The crust is wonderfully crisp, the inside is soft and airy, and the whole thing is just bursting with that signature sourdough tang. It’s like a little taste of heaven. Don’t be afraid to experiment. Different flours, different hydration levels – it’s all part of the fun of baking! This isn’t just baking bread; it’s an art form. It's a progression of discovery and experimentation. The more you bake, the better you'll get at it. And remember, even if your first few loaves aren't perfect, that's okay! It's all part of the process. The beauty of baking is that you can always learn and improve. I love it when I can taste the difference between a loaf I baked a year ago and one I bake today. It’s like seeing my own progress in every bite.
Recipe Ingredient | Notes |
|---|---|
Active Sourdough Starter | Use a well-fed starter for the best results. |
Bread Flour | Provides structure and chewiness to the bread. |
Water | Adjust the amount for desired dough consistency. |
Salt | Enhances the flavor and helps control fermentation. |
Final Thought
Baking French bread with a sourdough starter is a rewarding process. Experiment with different recipes, learn from your successes (and even your mishaps!), and enjoy the delicious results of your efforts. Remember, patience and a little practice are your best ingredients. Happy baking!