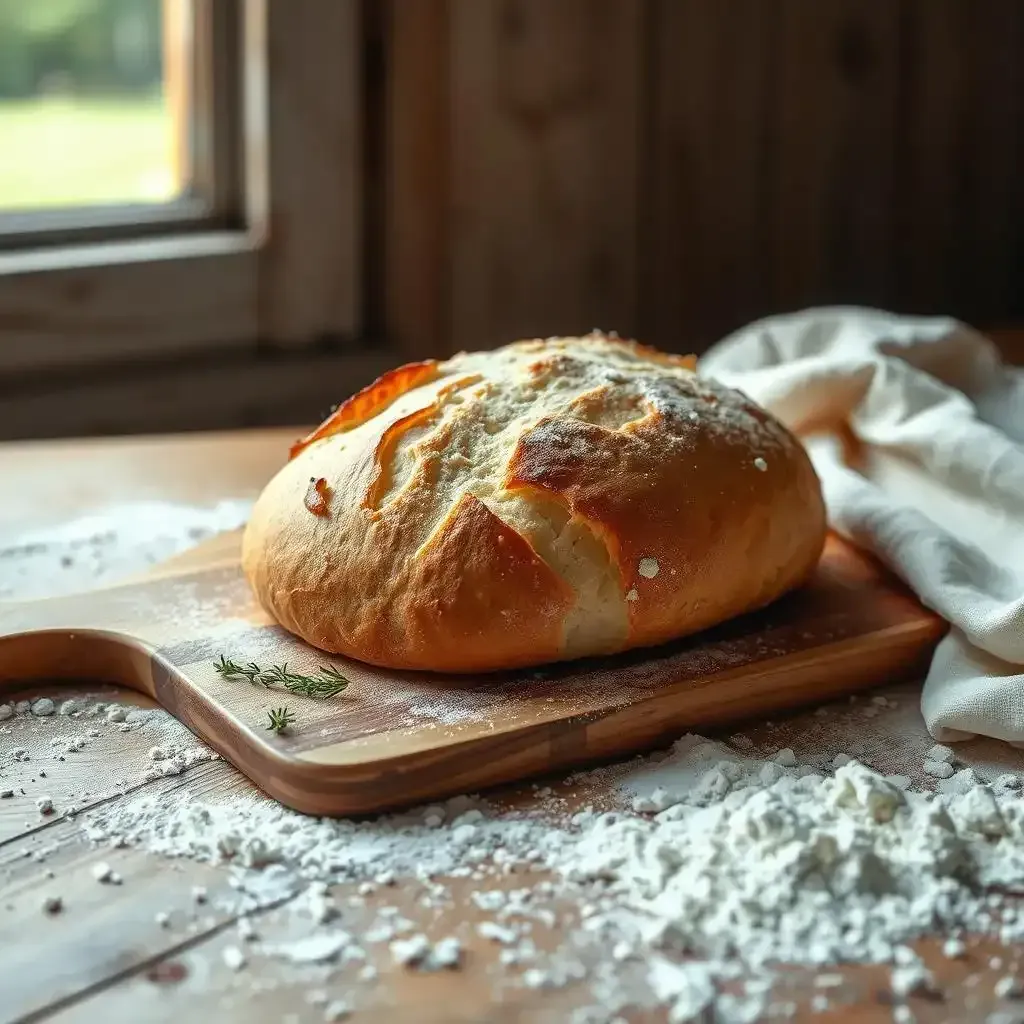
Ever dreamed of making crusty, airy French bread at home? It might sound intimidating, but with a little patience and the magic of a sourdough starter, it's entirely achievable. This comprehensive guide will walk you through each step of creating delicious sourdough French bread, from preparing your starter to achieving that perfect golden-brown crust. We'll explore the nuances of this classic bread, providing tips and tricks to ensure success, no matter your baking experience. Whether you're a seasoned baker or a curious beginner, get ready to launch on a flavorful trip with our easy-to-follow french bread recipe with sourdough starter, available exclusively on frenchbread.homes. We'll simplify the process, making it fun and accessible for everyone. Let's get started!
Step | Description | Tips |
|---|---|---|
Starter Preparation | Feed and maintain your sourdough starter until active and bubbly. | Maintain consistent temperature and feeding schedule. |
Dough Mixing | Combine flour, water, starter, and salt; mix until well combined. | Use a stand mixer or mix by hand, ensuring proper hydration. |
Bulk Fermentation | Allow the dough to rise in a warm place until doubled in size. | Perform stretch and folds to develop gluten strength. |
Shaping | Shape the dough into a baguette or boule. | Gentle handling is crucial to avoid deflating the dough. |
Proofing | Allow the shaped dough to rise in a banneton or on a floured surface. | Proofing time depends on temperature and starter activity. |
Baking | Bake in a preheated oven with steam for a crispy crust. | Use a Dutch oven or baking stone for optimal results. |
Cooling | Cool the bread completely on a wire rack before slicing. | Patience is key for a good crumb structure. |
Mastering the Art of French Bread with Sourdough Starter

Mastering The Art Of French Bread With Sourdough Starter
The Wonderful World of Sourdough Starters
Okay, so you've got this tiny, bubbly thing – your sourdough starter. It's like a tiny, magical pet that needs feeding (with flour and water, not pizza!). Think of it as a living, breathing ingredient. It's the key to that amazing tangy flavor that makes sourdough bread so special. Seriously, don't underestimate the ability of a happy starter! A grumpy, neglected starter will make for grumpy bread. Trust me on this one. I've had starters that were less than thrilled with my schedule. It's a bit like having a demanding goldfish, but way more delicious.
Day | Feeding | Observation |
|---|---|---|
1 | 1 tbsp starter + 2 tbsp water + 2 tbsp flour | Slight increase in volume, few bubbles |
2 | Same as above | More bubbles, increased volume |
3 | Same as above | Doubled in size, bubbly and active |
Kneading Your Way to Perfection
Now, let's talk about kneading. I know what you're thinking: "Kneading sounds boring." It's not. Imagine you're giving the dough a really good hug. A long, slow, satisfying hug. This develops the gluten, which gives your bread that wonderful chewiness. If you don't knead enough, you get a sad, gummy loaf. Too much kneading, and you’ll get a tough, hard-to-chew bread. It's a delicate balance, like finding just the right amount of sprinkles on your ice cream. You want just enough to be happy, not so much that it's overwhelming. Aim for a dough that's stretchy and slightly resistant.
- Use a stand mixer for easy kneading.
- Knead by hand for a more intimate experience.
- Don't be afraid to get messy!
The Rise and Shine of Your Bread
Finally, the proofing stage. This is where your dough gets to relax and grow. It's like sending it to a spa. It's important to keep your dough in a warm place. Think of it as a little bread vacation. This allows the yeast to work its magic. You'll see your dough expanding, almost like it's breathing. This slow rise is essential for that light, airy texture. A warm, draft-free spot is ideal; a warm oven (turned off!) works wonders. The final rise, before baking, is like the final flourish before the grand reveal. You'll know it's ready when it's puffy and almost doubled in size. Baking your bread is the final step in a beautiful process, like the final note in a symphony.
"The best bread is made with love and patience." - My Grandma (she was a baking genius).
A StepbyStep Guide to Sourdough French Bread
Mixing the Dough: A Baker's Ballet
Okay, let's get our hands dirty! First, you'll need your bubbly sourdough starter – the star of the show. Imagine it's a tiny, magical leprechaun, working hard to give your bread that amazing tang. Combine it with flour and water – think of this as a magical potion. It's a little like making mud pies, but way more sophisticated. Add some salt – it's the secret ingredient that brings everything together. Now, the fun part: mixing it all up! I usually use my stand mixer, because I’m lazy, but you can totally do this by hand. It’s like giving the dough a really, really good massage – a long, slow, satisfying hug for your future bread. This develops the gluten, which is what gives your bread that wonderful chewiness. Don't be afraid to get messy; it’s part of the charm! Remember, a happy baker makes happy bread.
- Measure ingredients carefully – baking is a science!
- Mix until a shaggy dough forms – don’t overmix!
- Let the dough rest for 30 minutes – it needs a little break.
The Rise and Fall (and Rise Again!): Bulk Fermentation and Shaping
After your initial mix, the dough needs some time to relax and rise. This is called bulk fermentation, and it's where the magic really happens. Imagine your dough is a sleeping giant, slowly waking up and getting stronger. During this time, you'll perform "stretch and folds," which are like little exercises for your dough – it helps develop the gluten even more. It’s a bit like playing with Play-Doh, but way more delicious. Once the dough is almost doubled in size, it's time for shaping. This is where you transform your blob of dough into a beautiful baguette or a plump boule. It’s a bit like sculpting with bread – and it's oddly satisfying. Be gentle; don't squish all the air out! Then, your dough needs another rest, called proofing. It's like giving your dough a nice, long nap to help it rise even more.
Stage | Time | What to look for |
|---|---|---|
Bulk Fermentation | 2-4 hours | Dough doubles in size, bubbly texture |
Shaping | 15-20 minutes | Smooth, taut surface |
Proofing | 2-4 hours | Dough almost doubles in size |
Tips and Tricks for Perfect Sourdough French Bread
Tips And Tricks For Perfect Sourdough French Bread
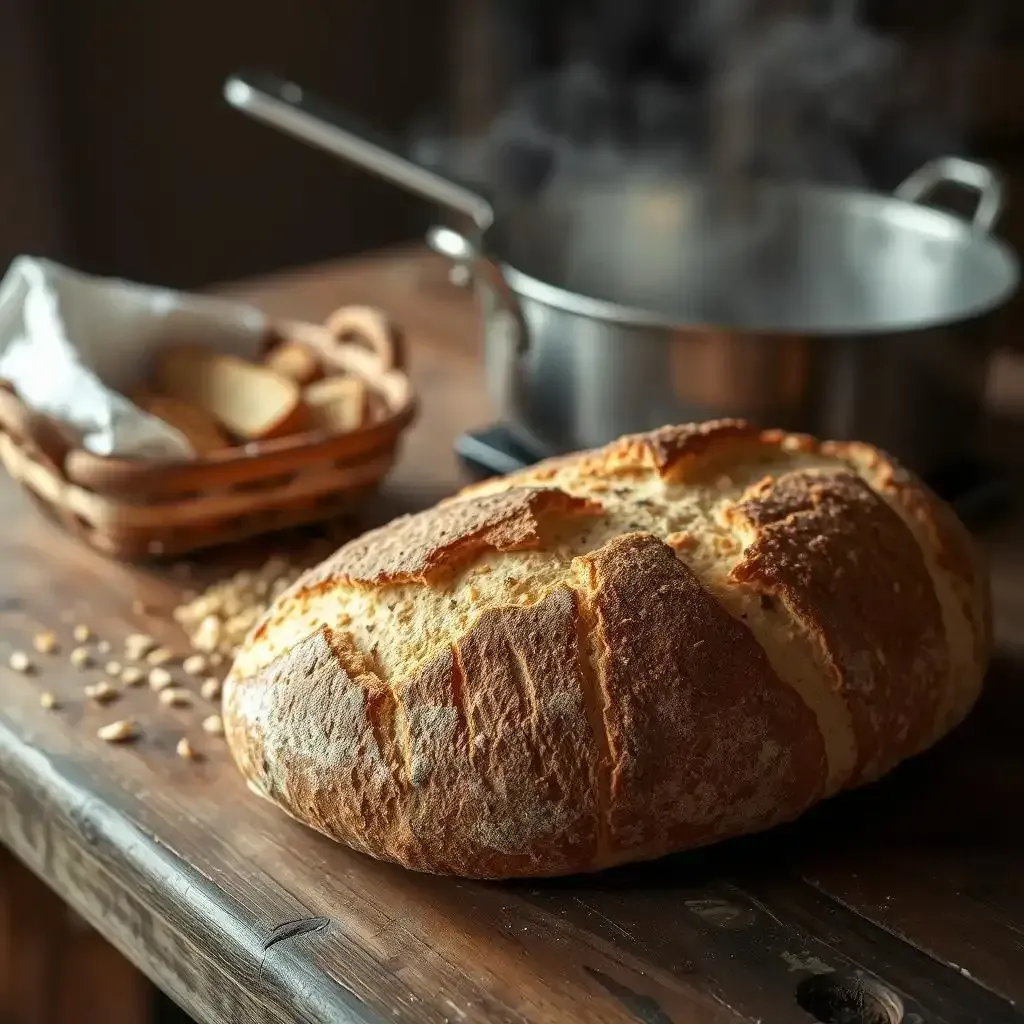
So, you've followed the recipe, and you're ready to bake. But wait! There are a few sneaky tricks that can take your bread from "pretty good" to "OMG, this is amazing!" First, steam is your best friend. Think of it as a magical force field protecting your crust from cracking. I like to put a pan of boiling water in the bottom of the oven for the first 15 minutes. This creates a humid environment, leading to that beautiful, crisp crust we all crave. It’s like giving your bread a spa day. Don’t skip it; your bread will thank you. It’s the difference between a slightly sad, slightly pale loaf and a masterpiece.
- Use a Dutch oven – it traps the steam for extra crispiness.
- Score your dough – this controls where the bread expands.
- Don't open the oven door too early – it'll shock your bread.
Another thing: oven temperature is crucial. I know, I know, you're probably thinking, "It's just an oven, what could go wrong?" But trust me, even a slight temperature variation can make a difference. Get yourself an oven thermometer – it’s like having a tiny, accurate temperature-telling bodyguard for your bread. A good thermometer is your best friend when baking. Use it to ensure that your oven reaches the desired temperature. A proper temperature ensures even baking and a great crust.
Problem | Solution |
|---|---|
Pale crust | Increase oven temperature or add steam |
Soggy crumb | Reduce baking time or decrease hydration |
Cracked crust | Add steam or score the dough more deeply |
Lastly, don’t be afraid to experiment! Baking is a science, but it's also an art. Each batch is a little different, and that's okay. Your starter's mood can change, the flour can be a bit different, the weather can impact things. Consider your starter's personality. Is it a slow and steady riser, or a fast and furious one? Adjust your baking time accordingly. Remember that first time I tried to make sourdough? Total disaster! But I kept trying, tweaked the recipe, and now I can make amazing bread that even my super-critical grandma approves of. So embrace the imperfections, celebrate the learnings, and most importantly, have fun!
"The only way to make great bread is to keep baking." - A wise baker (probably me, after many attempts)
Final Thought
Baking sourdough French bread is a rewarding experience that connects you to age-old baking traditions. While it may seem daunting at first, the process is surprisingly straightforward. With practice and attention to detail, you'll soon be crafting loaves that rival your favorite bakery. Remember, the key is patience and a bit of experimentation. Don't be afraid to adjust the recipe to your preferences and your starter's personality. Happy baking!