Want to bake bread that tastes like a little slice of heaven? Then you need to try making French bread from a sourdough starter! It's a progression, sure, but the reward is unbelievably delicious bread, bursting with complex flavors you just can't get from regular yeast. This isn't your grandma's bread recipe (unless your grandma was a baking wizard!). We'll walk you through each step, from feeding your bubbly sourdough starter to achieving that perfect crispy crust and airy crumb. Get ready to impress your friends and family – and yourself – with the amazing French bread you'll be creating. Learn all the secrets at frenchbread.homes and become a sourdough superstar!
Step | Action | Tip |
|---|---|---|
1 | Prepare your sourdough starter | Feed your starter regularly for optimal activity. |
2 | Mix the dough | Use a stand mixer or mix by hand until well combined. |
3 | Bulk fermentation | Let the dough rise in a warm place until doubled in size. |
4 | Shape the loaves | Gently shape the dough into elongated loaves. |
5 | Proofing | Allow the loaves to proof in a banneton or bowl, seam-side up. |
6 | Baking | Bake in a preheated oven with steam for a crispy crust. |
7 | Cooling | Let the bread cool completely before slicing and serving. |
The Magic of Sourdough: Baking Amazing French Bread from Starter
The Wonderful World of Sourdough Starters
Let me tell you, folks, sourdough starters are like magical little creatures! They're basically a colony of wild yeasts and bacteria, living happily in a mixture of flour and water. Think of it as a tiny, bubbly ecosystem in a jar, patiently waiting to transform your flour into something truly delicious. I've had my starter, which I've affectionately named "Bob," for over a year now, and it's become a real member of the family. He's a bit temperamental sometimes – needing regular feedings and a cozy spot to live – but the effort is worth it, I promise!
Day | Starter Activity | Notes |
|---|---|---|
Day 1 | Mix flour and water | Keep it in a warm place |
Day 2-7 | Feed daily, observe bubbles | Discard some starter before feeding. |
Day 7+ | Active, ready to bake! | Store in the fridge between uses. |
From Starter to Dough: The Art of Mixing
Once your starter is happily bubbling away – a sign it's alive and ready to go – it's time to make the dough. This is where the real fun begins. I usually imagine the process as a kind of magical alchemy, where flour, water, starter, and a bit of salt transform into something far greater than the sum of its parts. It's a bit like a science experiment, but way more delicious. You need to mix everything thoroughly, kneading the dough until it's smooth and elastic. Don't be afraid to get your hands dirty; it's all part of the process! I often listen to my favorite podcasts while kneading – it makes the time fly by.
- All-purpose flour
- Water (lukewarm)
- Active sourdough starter
- Salt
The Patience Game: Letting the Dough Rise
After you've mixed your dough, you've got to let it rest. This is the "bulk fermentation" stage, and it's crucial for developing flavor and texture. It takes time; think of it as a marathon, not a sprint. You'll notice the dough slowly rising, almost like it's taking a deep breath before its big moment in the oven. This is where the magic of the sourdough starter truly shines. The wild yeasts and bacteria are hard at work, creating those complex flavors that make sourdough French bread so unique. I like to cover my dough with a damp cloth to keep it moist and warm. A warm spot in the kitchen is best. And be patient, it's worth the wait!
"The best things in life are worth waiting for." - Unknown
French Bread from Sourdough Starter: A StepbyStep Guide
French Bread From Sourdough Starter A Stepbystep Guide
Mixing the Dough: A Baker's Alchemy
Okay, so you've got your happy, bubbly sourdough starter. It's time to get your hands dirty! I usually start by gently mixing the flour and water, creating a shaggy mess that looks like something a monster might have thrown together. Then, I add my starter – it's like adding the secret ingredient to a magical potion. Finally, I sprinkle in the salt – just a pinch to tame the wild yeasts. Now comes the kneading. Think of it like giving the dough a good hug – a long, firm hug that stretches and strengthens it. It's a surprisingly satisfying process. I like to do it on a lightly floured surface, and after a good 10 minutes of kneading, you'll see the dough become smooth and elastic – like a well-toned muscle. Don't rush it; take your time!
Ingredient | Amount | Notes |
|---|---|---|
Bread Flour | 500g | Use high-protein flour for best results |
Water | 300g | Lukewarm water is ideal |
Sourdough Starter | 200g (active) | Make sure your starter is bubbly! |
Salt | 10g | Don't skimp on the salt; it's crucial for flavor. |
Bulk Fermentation: The Waiting Game (But a Delicious One!)
After all that kneading, the dough needs some serious downtime. I usually put it in a lightly oiled bowl, cover it with plastic wrap, and let it hang out in a warm place for about 4-6 hours. During this time, the magic happens. The yeast and bacteria in the starter feast on the sugars in the flour, producing carbon dioxide – those little bubbles that make the bread airy and light. You'll see the dough slowly grow, almost like a tiny, delicious planet expanding. I check on my dough every hour or so. It's like watching a fascinating science experiment unfold. The most satisfying part is seeing the dough more than double in size. It's a testament to the capability of patience (and a good sourdough starter!).
- Find a warm spot – near a sunny window or on top of the refrigerator.
- Cover the bowl to keep the dough moist.
- Be patient! The longer it rises, the more flavor it develops.
Shaping and Baking: The Grand Finale
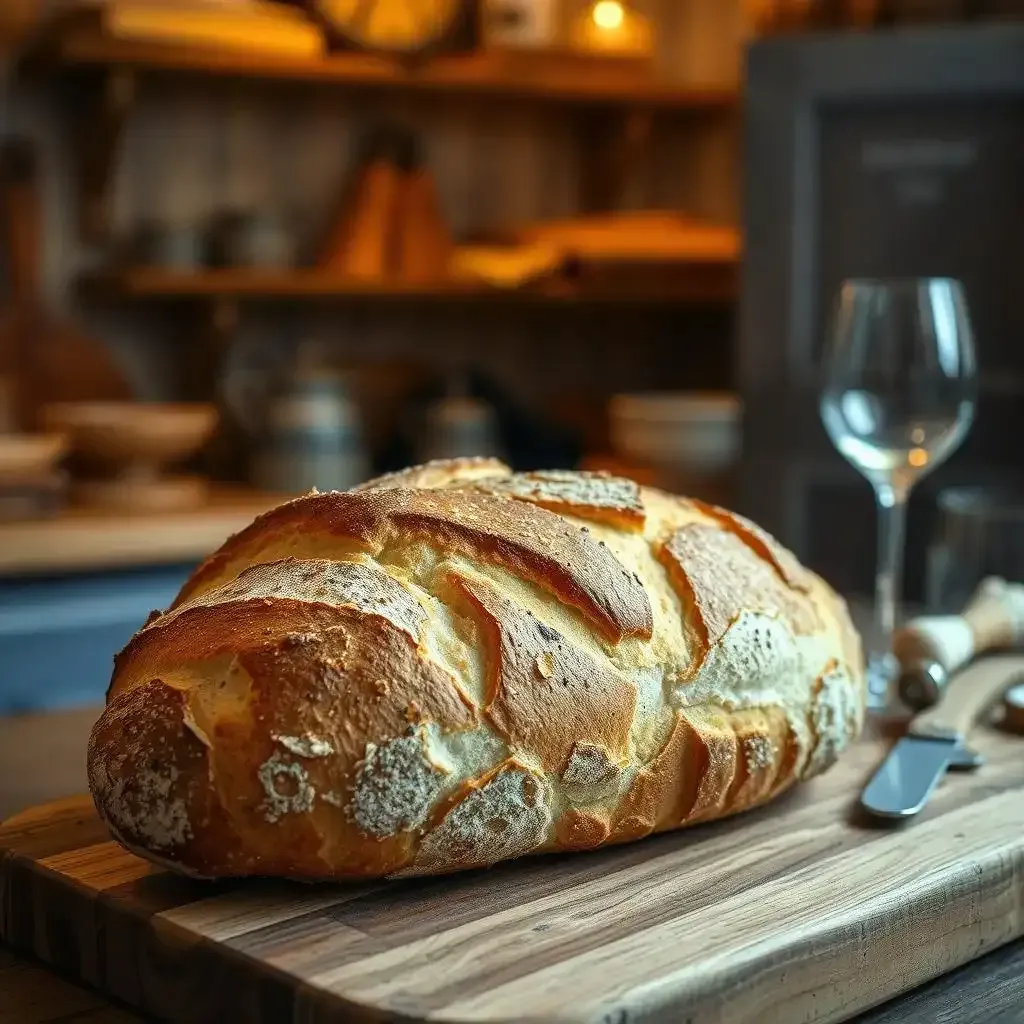
This is where things get exciting! Once the dough has risen nicely, it's time to shape it. I gently stretch and fold the dough into an oblong loaf – it's like sculpting with bread. Then, I let it rest for another hour or two, allowing the gluten to relax. Finally, the moment of truth: the oven. I preheat it to a scorching 450°F (232°C) – it's like preparing for a bread-baking battle! Once the oven is ready, I carefully transfer the loaf to a baking sheet and bake it for about 30-40 minutes. The aroma that fills your kitchen is incredible – it's like a symphony of yeasty, bready goodness. And the result? A crusty, golden-brown loaf of sourdough French bread, perfect for dipping in olive oil or enjoying with your favorite soup.
"Patience is a virtue, especially when baking bread." - Me, probably.
Tips and Tricks for Perfect Sourdough French Bread
Tips And Tricks For Perfect Sourdough French Bread
Mastering the Sourdough Starter: It's Alive!
Okay, so you've got your sourdough starter – that magical, bubbly concoction of flour and water. But just having a starter isn't enough; you've gotta keep it happy! Think of it like a pet hamster – you wouldn't just leave it in a dark cupboard and expect it to thrive, would you? Nope! You need to feed it regularly, usually every day or so. I mix a spoonful of flour and water, add it to the starter, and then let it sit in a warm place. After a few hours, you’ll see bubbles – those are the happy little yeast and bacteria partying! If your starter looks sad and inactive, don't panic! Sometimes it needs a little extra love (or maybe a change of scenery). Just keep feeding it, and it'll come back to life. I've had my starter, Bob, for over a year, and he's taught me patience (and the importance of regular feedings!).
- Feed your starter regularly with flour and water.
- Keep it in a warm place (70-75°F is ideal).
- Discard some starter before feeding to prevent it from getting too big.
- If your starter is inactive, try a "refresh" – feed it generously and let it sit.
Baking Day Bliss: Oven Spring and Beyond
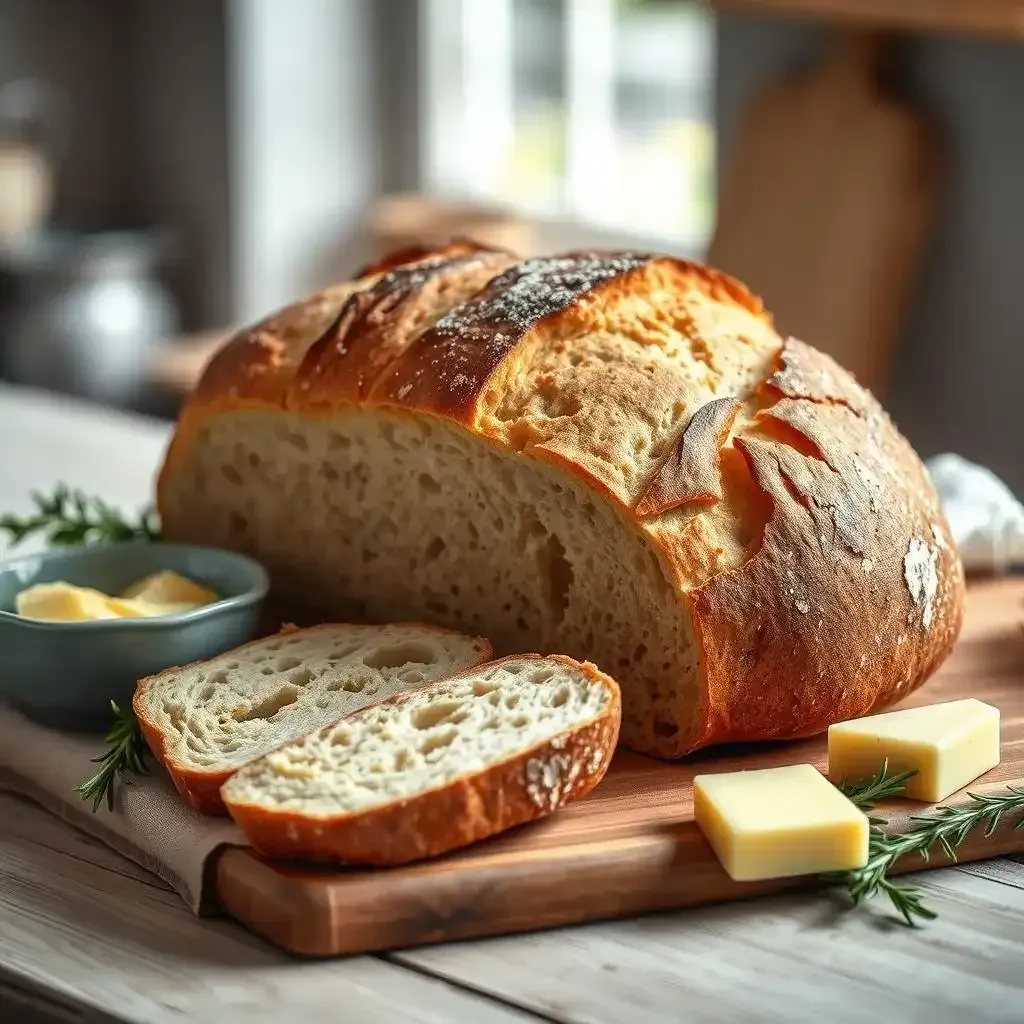
You've mixed the dough, let it rise, and now it's time for the big event: baking! I love this part – it's like watching a tiny bread miracle unfold. Before you put your loaf into the oven, you might notice it's a bit flat. Don't worry; that's normal. But once it hits the hot oven, it'll magically rise again – this is called "oven spring." It's like watching a sleeping giant wake up and stretch. To help get a fantastic oven spring, I often use a Dutch oven. It traps steam, creating a wonderfully crisp crust and a soft, airy inside. If you don't have a Dutch oven, no worries! You can still get great results by baking the bread in a regular oven with a pan of water underneath to create steam. Just remember to score the top of your loaf before baking – this helps control the expansion and creates those beautiful patterns. I usually use a sharp knife or a lame (a special bread-scoring tool). It’s like giving your loaf a stylish haircut before it goes to the oven party. Remember, baking is an exploration! Each loaf will be slightly different, and that's part of the fun.
Tip | Description |
|---|---|
Use a Dutch oven | Traps steam, creates a crisp crust. |
Score the loaf | Controls expansion, creates patterns. |
Bake with steam | Improves crust and texture. |
Cool completely | Allows the bread to set properly. |
Final Thought
Baking French bread from a sourdough starter is a rewarding experience. It might seem daunting at first, but with a little patience and practice, you’ll be crafting delicious loaves that rival any bakery. Remember, the trip is as important as the destination. Embrace the process, enjoy the smells, and savor the taste of your homemade sourdough French bread. Happy baking!