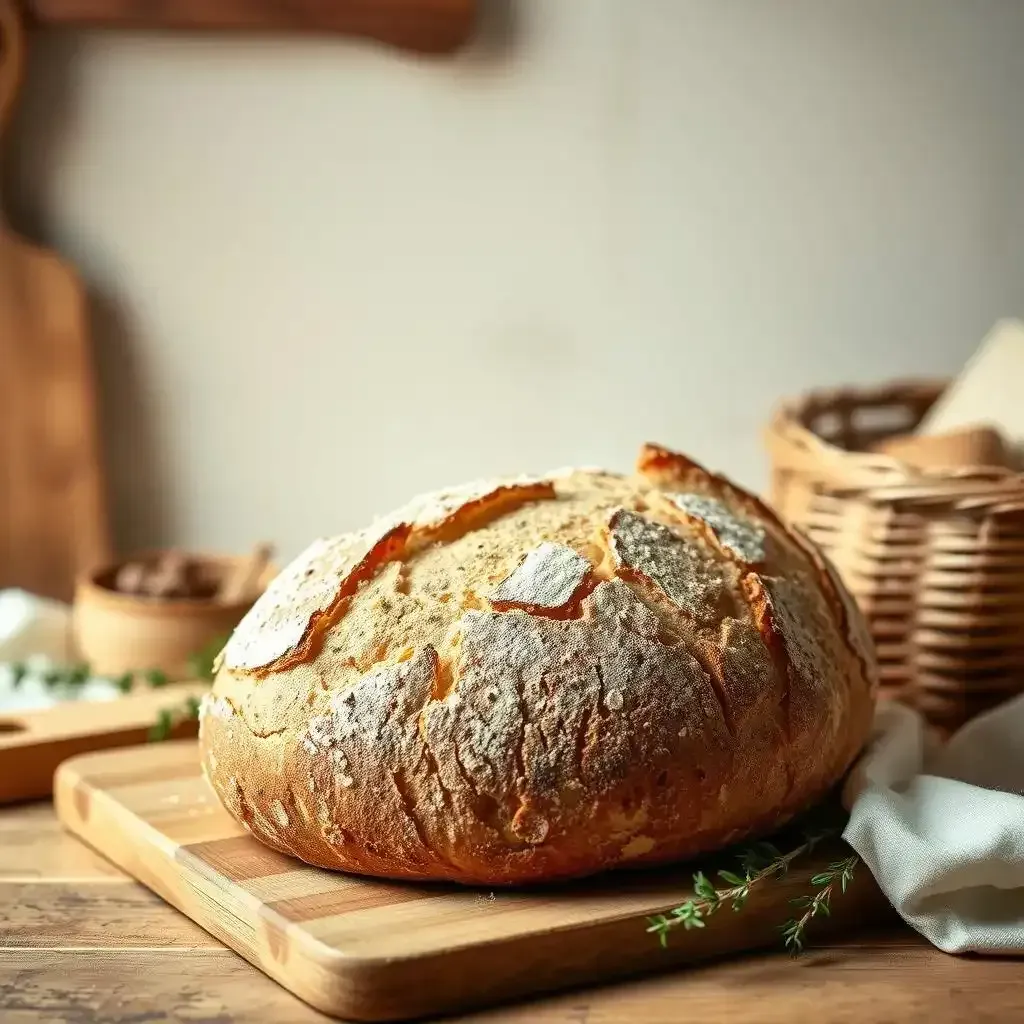
Ready to bake the most amazing crusty sourdough French bread you've ever tasted? Forget those disappointing loaves from the supermarket – today, we're diving headfirst into the art of crafting a truly exceptional crusty sourdough French bread, right in your own kitchen. At frenchbread.homes, we believe that everyone can bake delicious bread, and this crusty sourdough french bread recipe is proof. We'll guide you through each step, from creating a bubbly, active sourdough starter to achieving that perfect crackly crust and airy crumb. This isn't just a recipe; it's a process into the wonderful world of sourdough baking. Get ready to impress yourself and your friends with a loaf that's bursting with flavor and texture. So, gather your ingredients, preheat your oven, and let's get baking! This crusty sourdough French bread recipe is your ticket to bread-making mastery.
Aspect | Details |
|---|---|
Starter | Active, bubbly sourdough starter is crucial. |
Flour | High-protein flour is recommended for structure. |
Water | Hydration level significantly impacts texture. |
Mixing | Gentle folding develops gluten strength. |
Bulk Fermentation | Time and temperature affect rise and flavor. |
Shaping | Proper shaping ensures even baking. |
Proofing | Final rise before baking is essential. |
Baking | High heat creates a crisp crust. |
Cooling | Cooling completely enhances flavor. |
Mastering the Crusty Sourdough French Bread Recipe: A StepbyStep Guide
Mastering The Crusty Sourdough French Bread Recipe A Stepbystep Guide
Getting Started: The Sourdough Starter
Okay, let's talk sourdough starter. It's like having a tiny, bubbly pet that needs feeding. Don't worry, it's not as demanding as a real pet! You'll need a healthy, active starter – that means it's bubbly and has doubled in size after feeding. Think of it as your bread's secret weapon – it adds that incredible tangy flavor that sets sourdough apart. If your starter isn't behaving, don't panic! Sometimes it needs a little extra time to get going, or maybe a slightly warmer spot to hang out. It's a bit like a moody teenager, sometimes it needs its own space to recharge. I've had starters that acted like they were on strike. But with a little patience, and some gentle coaxing, it will come around. I promise!
Day | Starter Activity | Notes |
|---|---|---|
Day 1 | Feed starter (flour and water). | Observe for bubbles. |
Day 2 | Feed again. Look for more bubbles and rise. | If sluggish, try a warmer spot. |
Day 3 | Check for doubled size and activity. | Ready to use if bubbly and active. |
Mixing and Fermentation: The Dance of Flour and Water
This is where the magic happens! Mixing the dough is like a gentle dance between flour and water, creating a beautiful, stretchy network called gluten. Gluten is the superhero of bread, giving it strength and structure. Imagine it as the invisible scaffolding holding up your loaf – without it, you'll have a flat pancake instead of a magnificent, towering crusty sourdough. I remember my first attempt, the dough was so sticky, it felt like wrestling an octopus! But don't worry, with practice, you'll get the hang of it. I usually do a few gentle folds to get that nice, stretchy dough. You might want to try doing some stretches yourself – it's a great way to get in touch with your inner baker! The bulk fermentation is like a nap for the dough. It lets the yeast and bacteria work their magic, creating bubbles and flavor. It’s crucial, kind of like how a good night’s sleep helps you learn something new.
- Measure ingredients precisely.
- Mix gently at first, then gradually increase kneading.
- Let the dough rest and rise in a warm place.
Shaping and Baking: The Final Flourishes
Shaping your dough is like sculpting a masterpiece. It’s an art form, really. You're carefully crafting the loaf into its final form, getting it ready for its moment in the spotlight (the oven!). Don't be afraid to get your hands dirty. This is a hands-on process, and it's surprisingly satisfying. Think of it as giving your bread a final hug before it goes into the oven. The baking process is the grand finale, where the magic of heat transforms your dough into a magnificent crusty sourdough French bread. The oven is the stage, and your bread is the star. The steam creates that beautiful, crackly crust, while the heat bakes the inside to perfection. It's a transformation, a culinary alchemy if you will. I remember my first loaf – it was a little lopsided, but it tasted amazing! And that's what really matters.
“The best bread is made with love, and a little bit of flour.” – Unknown Baker
Tips and Tricks for the Perfect Crusty Sourdough French Bread Recipe
Mastering the Dough: The Art of the Fold
Okay, so you've got your bubbly starter, your flour, and your water – now what? It’s time for the “gentle dance” I mentioned earlier. Mixing and kneading your sourdough isn't about brute force; it's about developing that all-important gluten. Think of gluten as tiny, elastic strings that hold the bread together. The more you gently stretch and fold the dough, the stronger these strings become, the better your rise! I like to do a series of “stretch and folds,” gently pulling a section of dough, stretching it, and then folding it over itself. It’s like giving your dough a little workout! I usually do this a few times over a couple of hours. This process helps create that airy, light crumb we all crave. Don't be afraid to get your hands a little messy; it's part of the fun! After a few folds, you’ll notice your dough is noticeably stronger and less sticky. It's like magic, but it's actually science!
Folding Technique | Description | Benefits |
|---|---|---|
Stretch and Fold | Gently stretch a portion of the dough, then fold it over. | Develops gluten strength, improves elasticity. |
Coil Fold | Lift and stretch dough, then coil it over onto itself. | Creates a tighter structure, good for shaping. |
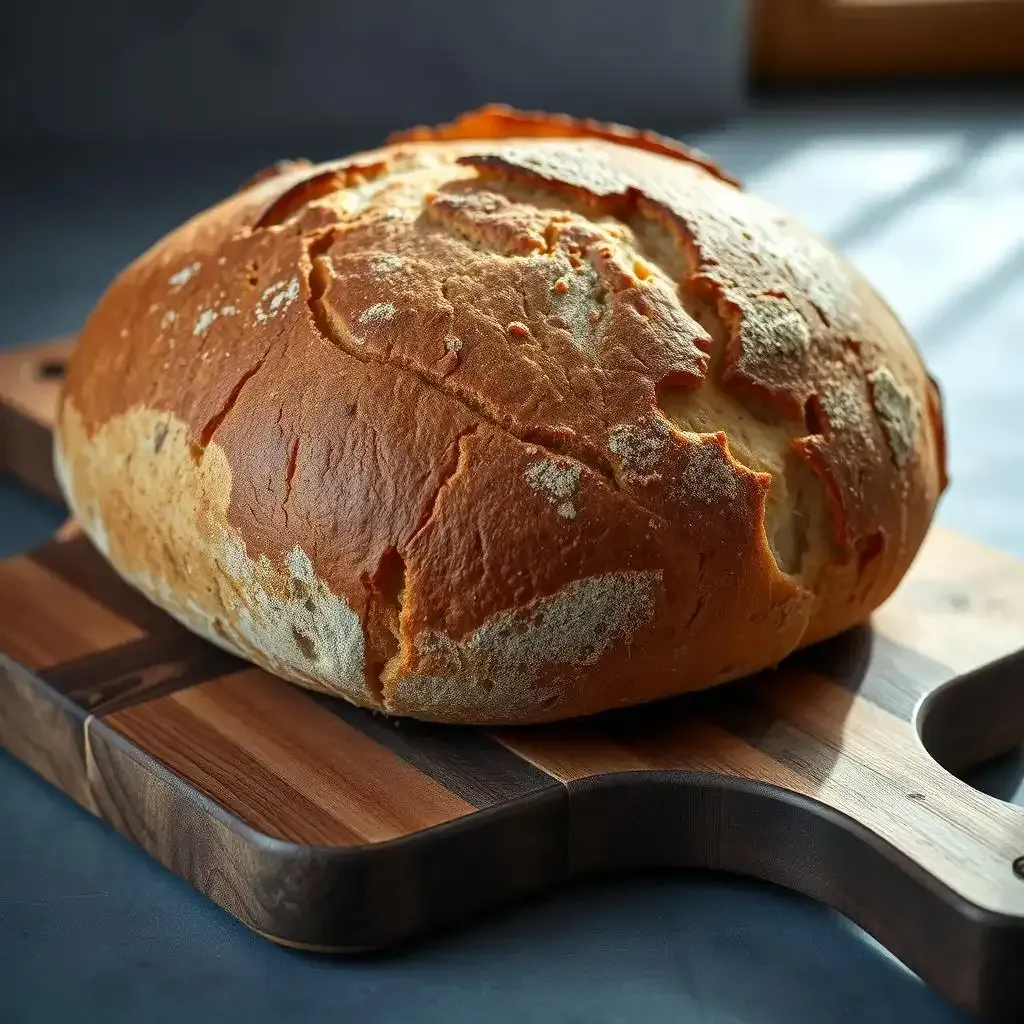
Baking for Perfection: Oven Spring and Crust
Now comes the exciting part – baking! Preheating your oven to a high temperature is crucial for that amazing crust. Think of it as giving your bread a super-hot welcome. I like to use a Dutch oven; it traps the steam, creating a beautiful, crackly crust. If you don't have a Dutch oven, don't worry! A baking stone works great too. The steam is your secret weapon for a truly crusty loaf. Before you put your loaf in, make sure you score the top – this allows the bread to expand properly during baking. Think of the score marks as little escape hatches for the bread. The steam will also create that beautiful oven spring – that dramatic rise your bread takes as it bakes. It's like watching a balloon inflate, but way more delicious! Remember, baking time depends on your oven, so keep an eye on your bread. A good crust should be golden brown and sound hollow when tapped. Once it's done, let it cool completely before slicing. This allows the crumb to set and the flavors to fully develop. Patience, young baker, patience!
- Preheat your oven to a very high temperature (450°F or higher).
- Use a Dutch oven or baking stone for optimal crust.
- Score the dough before baking to control expansion.
- Allow bread to cool completely before slicing.
Variations on the Crusty Sourdough French Bread Recipe: Exploring Flavor and Texture
Variations On The Crusty Sourdough French Bread Recipe Exploring Flavor And Texture
Adding Herbs and Spices: A Symphony of Flavors
So, you've mastered the basic crusty sourdough French bread recipe? Fantastic! Now let's get creative. Think of your basic recipe as a blank canvas—ready for a splash of color, a dash of spice, a whole lotta flavor! Adding herbs and spices is like composing a symphony of tastes. Rosemary and thyme are classic choices, lending a wonderfully earthy aroma and a hint of woodsy bitterness that perfectly complements the tang of the sourdough. Imagine the smell wafting through your kitchen – pure heaven! A pinch of black pepper adds a little kick, while a sprinkle of flaky sea salt enhances the crust's crunch. Don't be afraid to experiment; the possibilities are endless! I once added some finely chopped sun-dried tomatoes and oregano to my dough; the result was a loaf that tasted like a summer vacation in Italy. Seriously, it was that good.
Herb/Spice | Flavor Profile | Suggested Amount |
|---|---|---|
Rosemary | Earthy, slightly piney | 1-2 tablespoons chopped |
Thyme | Earthy, slightly lemony | 1-2 tablespoons chopped |
Black Pepper | Spicy, pungent | 1/2 - 1 teaspoon |
Sea Salt | Savory, enhances crust | 1-2 tablespoons |
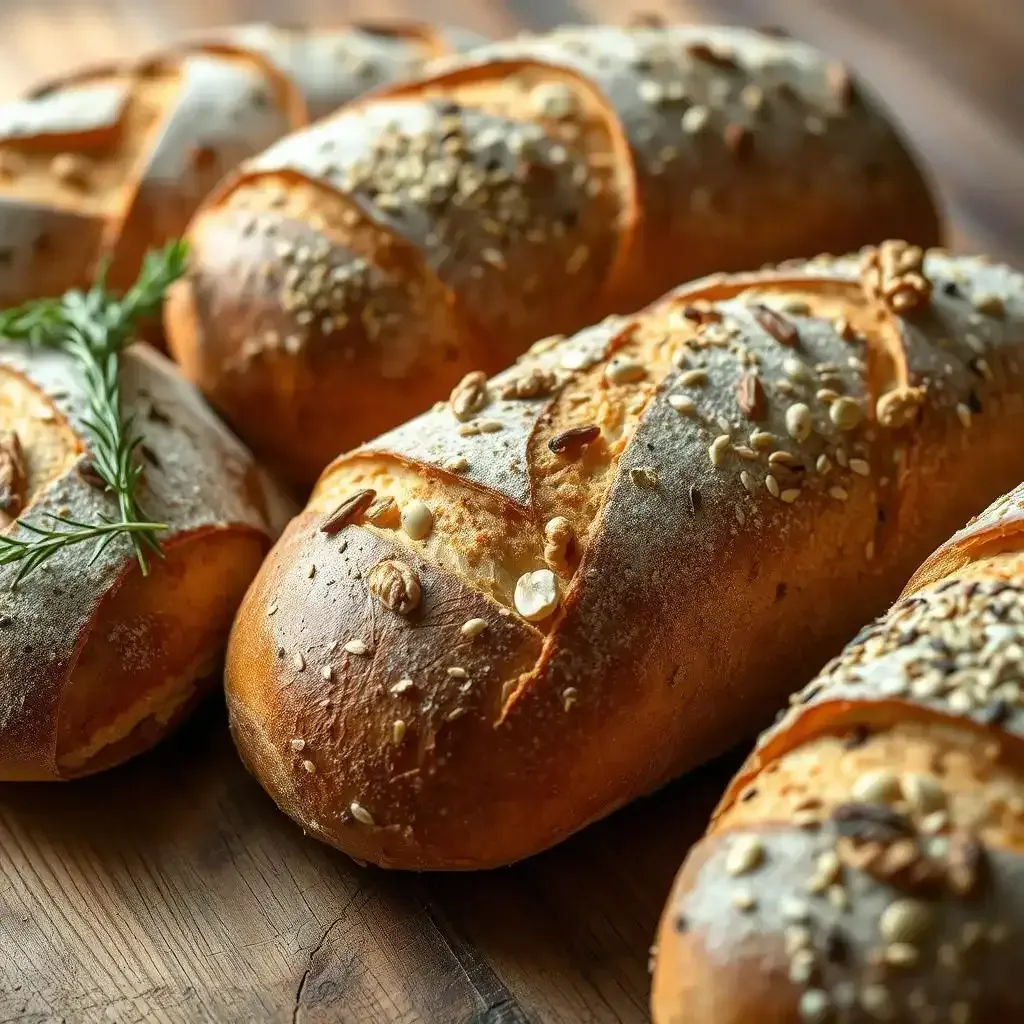
Incorporating Seeds and Nuts: Adding Crunch and Texture
Want to take your crusty sourdough French bread to the next level? Let's talk texture! Adding seeds and nuts is like adding a secret ingredient that elevates your loaf from "good" to "amazing." The crunch of sunflower seeds, the nutty flavor of walnuts, the earthy bite of pumpkin seeds – these additions create a delightful textural contrast to the soft, airy crumb. Think of it as a multi-sensory experience, a feast for both your taste buds and your eyes! I love adding a mix of sesame seeds, poppy seeds, and flax seeds for a beautiful and nutritious loaf. The seeds add a subtle nutty flavor and a pleasing crunch to every bite. But don't stop there! You can even add chopped nuts, like pecans or almonds, for a more substantial texture and richness. The possibilities are as endless as your imagination! I once added some chopped pistachios to my dough. The result was a loaf that was both beautiful and delicious.
- Sunflower Seeds
- Pumpkin Seeds
- Sesame Seeds
- Poppy Seeds
- Walnuts
- Pecans
- Almonds
- Flax Seeds
Final Thought
Baking a perfect crusty sourdough French bread is a rewarding experience. It takes patience and practice, but the results are undeniably worth the effort. Remember, the key is understanding your sourdough starter, mastering the techniques, and not being afraid to experiment. Now go forth and bake! And don't forget to share your delicious creations with us at frenchbread.homes!