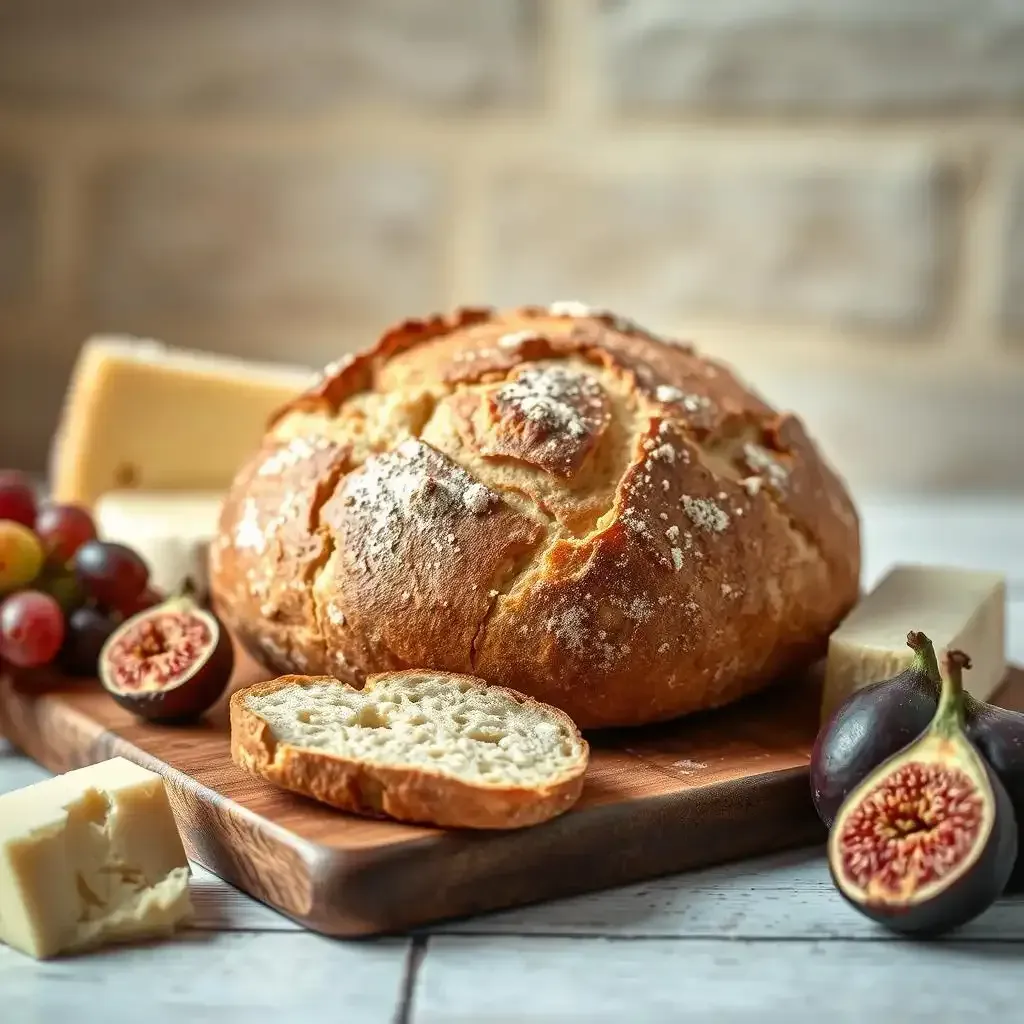
Ever dreamt of biting into a crusty sourdough french bread, that perfect crackle announcing a fluffy, tangy interior? It's more achievable than you think! At frenchbread.homes, we’re passionate about helping you bake bread that's not just edible, but truly exceptional. This article dives into the art of creating that magnificent crusty sourdough French bread, revealing the secrets professional bakers use to achieve that golden-brown perfection. We'll cover everything from oven temperature and steaming techniques to recipe choices and essential baking know-how. Prepare to transform your baking game and impress everyone with your newfound crusty sourdough French bread expertise!
Aspect | Tip for Crusty Sourdough French Bread |
|---|---|
Oven Temperature | Bake at a high temperature (around 400°F or 200°C). |
Steam | Use steam baking (ice cubes in the oven) for a crispier crust. Remove steam for the last 10 minutes for extra crunch. |
Recipe | Choose a recipe designed for a light crumb and well-browned crust. Avoid slicing the top before baking. |
Baking Time | Bake for approximately 45 minutes, or until the crust is a medium dark brown. |
The Secrets to a Perfect Crusty Sourdough French Bread
The Secrets To A Perfect Crusty Sourdough French Bread
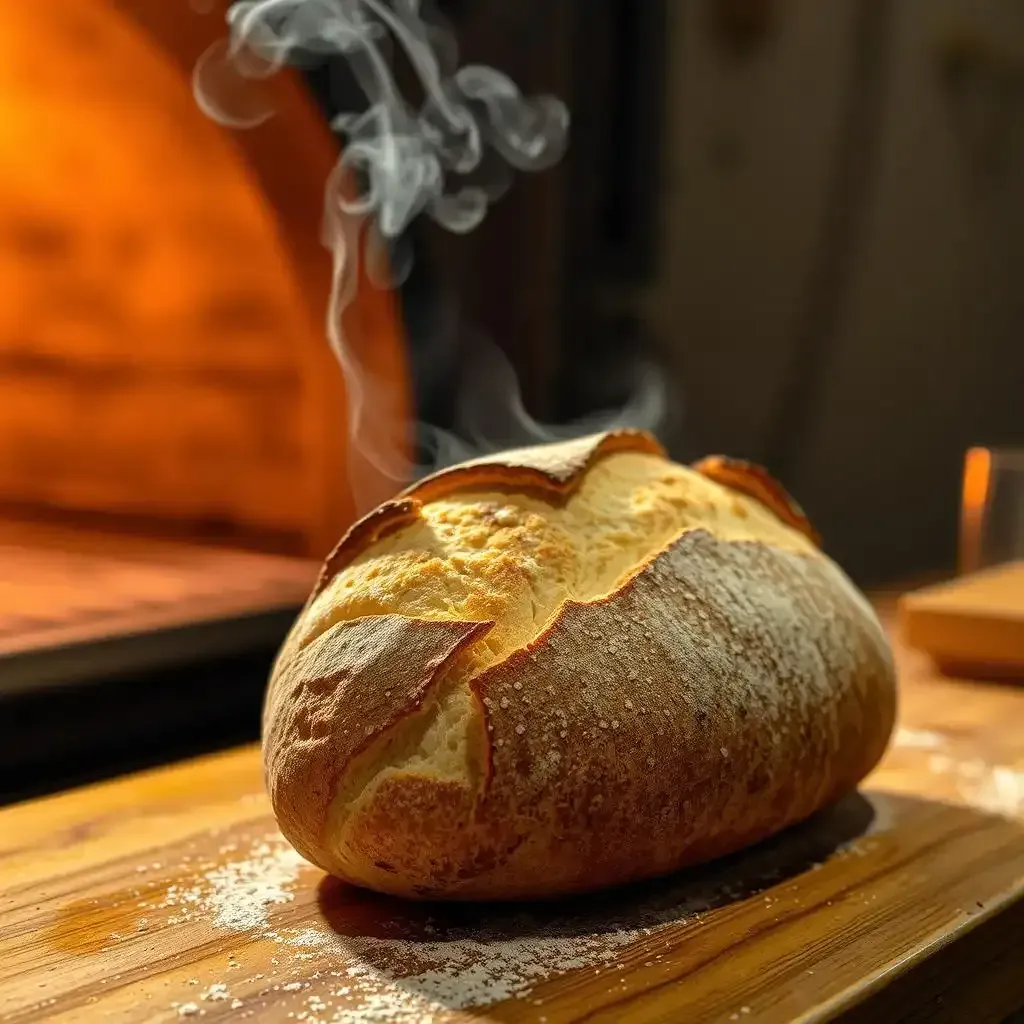
The Strength of the Oven: Temperature and Timing
Let's talk oven temperature. Think of your oven as a giant, hot hug for your bread. You wouldn't give a friend a lukewarm hug, would you? No way! You need a good, solid embrace of heat to get that amazing crust. Aim for a high temperature, around 400°F (200°C). It's like a blast furnace for your dough, creating that gorgeous, crackly exterior. Don't be afraid of the heat; it's your friend in this experience. I once tried baking at a lower temperature, and the result was, well, sad. My bread looked like a deflated balloon. A high temperature creates steam, which helps the bread rise beautifully. Timing is also key. It's not a one-size-fits-all thing; it depends on your oven and the size of your loaf. But generally, 45 minutes is a great starting point. Keep an eye on your bread; it should be a lovely, medium-dark brown when it's ready.
Baking Temperature (°F) | Baking Temperature (°C) | Approximate Baking Time (minutes) |
|---|---|---|
400 | 200 | 45 |
425 | 220 | 40-45 |
450 | 230 | 35-40 |
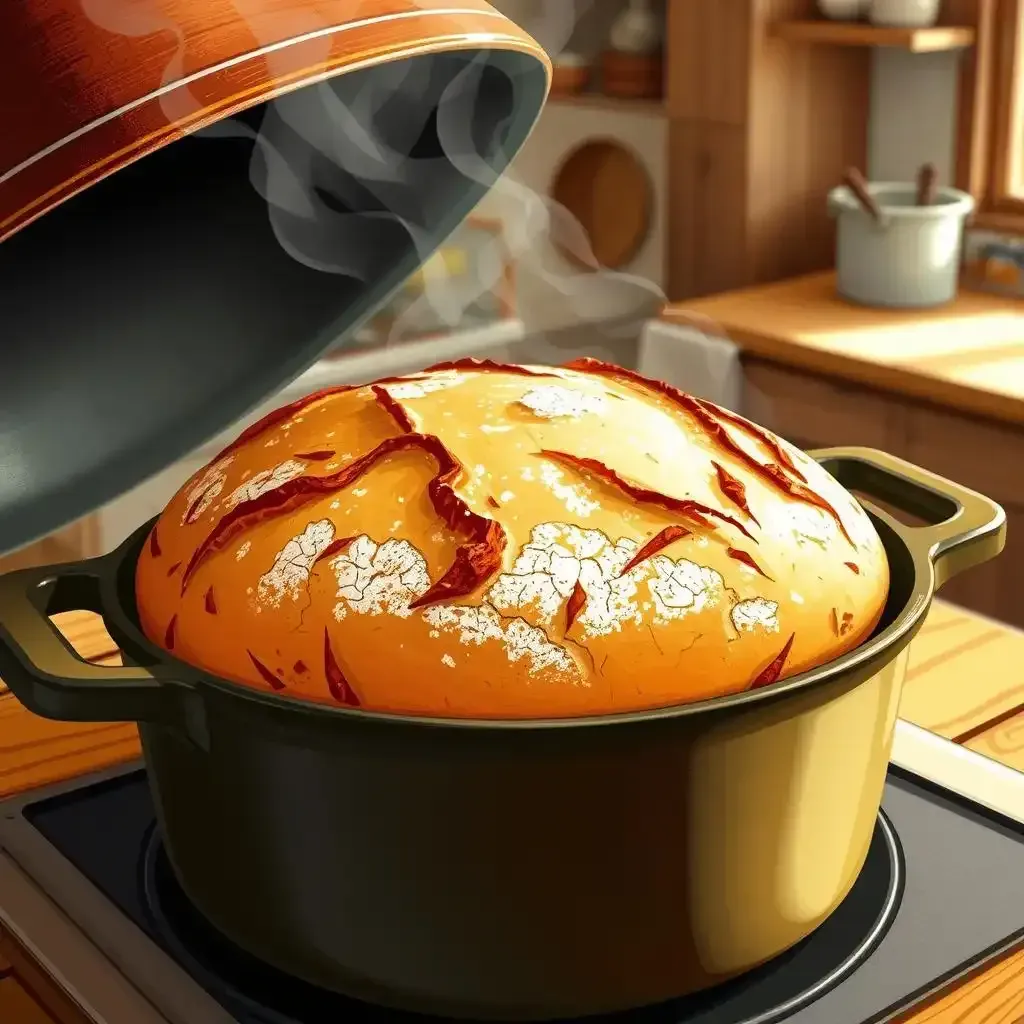
Steam: The Secret Weapon for a Crackling Crust
Now, here's where things get interesting. Steam is your secret weapon. Think of it as a magical force field that protects your bread's tender interior while simultaneously making the crust super crispy. You can add steam in a couple of ways. One way is to throw a few ice cubes into your hot oven right after you put in your bread – it's like a mini-steam room for your loaf! The steam creates a wonderful environment for the crust to develop its beautiful texture. Another way is to use a steam baking technique; I like to put a pan of water on the bottom rack of the oven. This creates a consistently moist environment, perfect for that golden-brown, crunchy crust. The last 10 minutes of baking, though? Let the steam escape! This allows the crust to get extra crunchy. It’s the perfect final flourish to your baking masterpiece. Don't skip this step; it makes all the difference!
- Use ice cubes for a quick steam boost.
- Try a pan of water on the bottom oven rack for consistent steam.
- Release the steam during the last 10 minutes for extra crispiness.
Mastering the Sourdough Crust: Temperature, Steam, and Timing
Mastering The Sourdough Crust Temperature Steam And Timing
The Oven's Embrace: Temperature is Key
Let's talk oven temperature. Think of your oven as a giant, super-hot hug for your bread. A lukewarm hug? Nope, not for this bread! You need serious heat for that amazing crust – we're talking a high temperature, around 400°F (200°C). It's like a pizza oven for your dough, creating that gorgeous, crackly outside. Don't be scared! I once baked at a lower temp, and my bread looked like a sad, deflated balloon. A high temperature also helps create steam, which makes your bread rise beautifully. The baking time? That depends on your oven and the size of your loaf. But 45 minutes is a good starting point. Keep an eye on it; it should be a lovely, medium-dark brown when it's done.
Baking Temperature (°F) | Baking Temperature (°C) | Approximate Baking Time (minutes) |
|---|---|---|
400 | 200 | 45 |
425 | 220 | 40-45 |
450 | 230 | 35-40 |
Steam Ability: Unleashing the Crispy Crust
Here's where it gets fun! Steam is your secret weapon. It's like a magic force field, protecting your bread's soft inside while making the crust super crispy. You can add steam a few ways. One? Toss a few ice cubes into your hot oven right after you put in your bread – boom! Instant mini steam room! The steam helps the crust develop its amazing texture. Another method is to use a pan of water on the bottom rack. This creates a consistently moist environment, perfect for that golden-brown crunch. But here's a pro tip: During the last 10 minutes of baking, let the steam escape! This lets the crust get extra crunchy – the perfect final touch! Don't skip this; it seriously makes a difference!
- Ice cubes: Quick steam boost.
- Pan of water: Consistent steam.
- Release steam (last 10 mins): Extra crispiness!
Achieving that GoldenBrown Crust: Recipe and Baking Techniques
Okay, so we've got the oven dialed in, the steam situation sorted – now let's talk about the recipe itself. Think of your recipe as the foundation of your crusty sourdough masterpiece. You wouldn't build a castle on shaky ground, right? You need a solid recipe that's designed to produce that light, airy crumb inside, encased in a gloriously browned crust. I've experimented with tons of recipes, and trust me, not all are created equal. Some recipes are just...meh. They produce bland, disappointing loaves. I'm talking about recipes that specifically focus on creating that beautiful crust. I've found that recipes with a higher hydration (more water) often lead to a thinner, crispier crust. It's a bit of a balancing act; you want a crust that’s crunchy but not rock-hard, and an inside that's soft and chewy, not gummy or dry. Finding the perfect balance is part of the fun!
- Use a recipe that's specifically designed for a crusty loaf.
- Don't be afraid to experiment with hydration levels (the amount of water in your dough).
- Look for recipes that emphasize a long fermentation time – this develops flavor and texture.
Another thing: resist the urge to slice the top of your bread before you bake it! I know it's tempting, but it'll let all the precious air out, resulting in a flat, sad loaf. It's like letting the air out of a balloon before your birthday party – a total disaster! Let your bread rise beautifully in its entirety. Before baking, I like to score the top – it’s a fancy way of saying you make little cuts on the surface. This helps the bread rise evenly and gives it a more aesthetically pleasing look. I've found that a sharp knife or a lame (a special bread-scoring tool) works best. You want the cuts to be deep enough to allow for expansion, but not so deep that you cut all the way through the dough. It’s all about control.
Recipe Element | Impact on Crust |
|---|---|
Hydration Level | Higher hydration often leads to a crispier crust |
Flour Type | Bread flour typically yields a stronger crust than all-purpose flour. |
Fermentation Time | Longer fermentation often results in deeper flavors and a more developed crust. |
Lastly, remember that your oven is unique. Every oven has its own quirks and hot spots. You might need to rotate your bread during baking to ensure even browning. And don’t be afraid to experiment! Baking is a progression of discovery. Keep notes on your results – what worked, what didn't – and adjust your technique accordingly. It’s all about finding what works best for your oven and your style. I've had plenty of baking fails, but that's part of the process. Each failure teaches me something new, bringing me closer to that perfect crusty sourdough French bread. And that, my friend, is incredibly satisfying.
“The secret to a good crust is patience and attention to detail.” – A wise baker (probably)
Final Thought
Baking a crusty sourdough French bread is a process, not a race. Experiment, have fun, and don't be afraid to tweak techniques until you find what works best for you and your oven. With practice and patience, you'll master the art of the perfect crust, and the aroma of freshly baked bread will become a regular delight in your home. Happy baking!