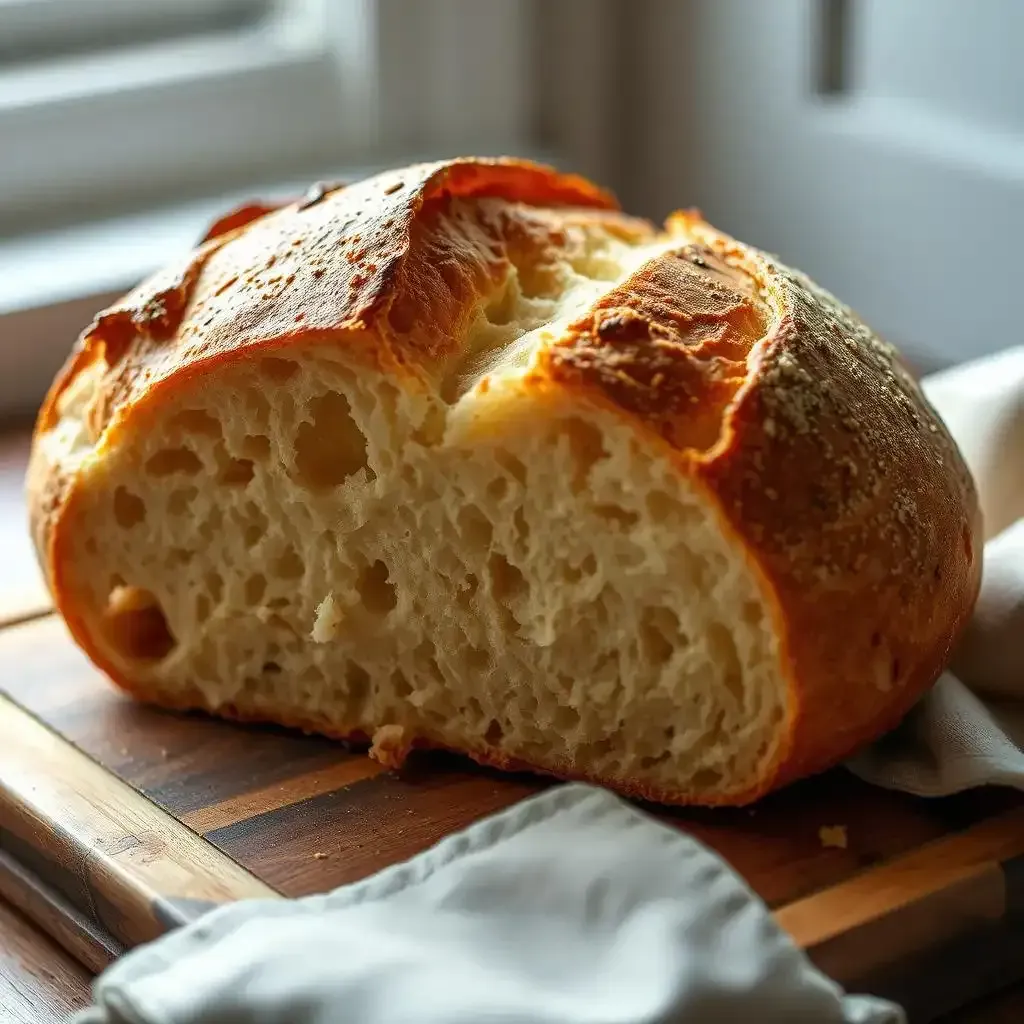
Tired of waiting days for your sourdough bread to rise? Craving that tangy, crusty goodness but short on time? Then get ready to revolutionize your baking routine with our incredible 6 hour sourdough bread recipe! Forget the long waits and complicated techniques. This recipe, perfected for the modern baker, will teach you how to achieve a perfectly risen, flavorful loaf in a fraction of the usual time. At frenchbread.homes, we believe everyone deserves delicious, homemade bread, and this recipe makes it achievable even on the busiest of days. Prepare to be amazed as we unveil the secrets to a fast, delicious, and utterly satisfying sourdough experience. This 6 Hour Sourdough Bread Recipe is your shortcut to baking bliss.
Step | Action | Time | Notes |
|---|---|---|---|
1 | Feed starter, mix dough | 15 mins | Ensure starter is active |
2 | Knead dough | 10 mins | Until smooth and elastic |
3 | First Rise (Bulk Fermentation) | 45-60 mins | Warm place |
4 | Shape dough | 10 mins | Gentle handling |
5 | Second Rise (Proofing) | 1-2 hours | Warm place |
6 | Score dough | 2 mins | Sharp knife or lame |
7 | Bake | 40-45 mins | Dutch oven recommended |
Mastering the 6 Hour Sourdough Bread Recipe: A Speedy Approach
Okay, so you want a *fast* sourdough? I get it. Who has time to wait days for bread? This 6-hour recipe is my secret weapon – it's like sourdough magic, but without the waiting game. It’s all about a little bit of science and a whole lotta love (for bread, obviously). Think of it as a sourdough sprint, not a marathon. We're going to turbocharge the usual process, using a strong starter and a slightly warmer environment to get that rise happening super-speedy. It's a bit like training for a race; you wouldn't run a marathon on day one, right? Similarly, you need a well-fed, active starter. It’s the key to this whole operation.
Ingredient | Amount | Notes |
|---|---|---|
Warm Water (around 80°F) | 330g | Not too hot, not too cold! |
Active Sourdough Starter | 150g | Doubled in size after feeding |
Bread Flour | 500g | High protein content is crucial |
Salt | 10g | Enhances flavor and texture |
The key to this speed-baking is your starter. Seriously, don't skip feeding it at least 4-6 hours before you start the dough. Think of your starter as a tiny, hungry athlete—it needs fuel to perform! A weak starter is like a tired runner; it won't get you to the finish line (aka, a delicious loaf) quickly. And remember, a properly fed starter is bubbly and more than doubled in size. It’s a visual cue that everything's working perfectly. If it isn't bubbly, give it another feeding and some extra time to get its energy up.
- Use a kitchen scale for precise measurements – it makes a big difference!
- Don't be afraid to get your hands dirty! Kneading is a workout for the dough (and maybe you).
- A warm spot for rising is essential. Think a sunny windowsill or a proofing box.
Essential Ingredients and Tools for Your 6 Hour Sourdough Bread Recipe
Let's talk about the essentials. You'll need a few key ingredients and tools to make this 6-hour sourdough bread recipe a success. It’s not rocket science, but having the right equipment makes a huge difference. It's like building a house; you wouldn't start without a hammer, would you? We'll cover the tools that make the process easier, and the ingredients that make the bread taste amazing.
Beyond the basic ingredients (flour, water, salt, and starter), you'll need a good Dutch oven. A Dutch oven provides the perfect environment for baking sourdough, creating steam and a lovely crust. If you don't have one, a baking stone in a regular oven works almost as well. But trust me, the Dutch oven is like the superhero of sourdough baking. It's essential for a great crust. Also, a good sharp knife or lame is essential for scoring the dough; this allows for even expansion and a beautiful pattern on the finished loaf. Don't underestimate the strength of a good knife!
Tool | Importance | Alternative |
|---|---|---|
Kitchen Scale | Accurate measurements | Measuring cups (less precise) |
Dutch Oven | Even baking, steam creation | Baking stone and covered baking sheet |
Lame or Sharp Knife | Scoring the dough | Sharp serrated knife |
Mixing Bowl | Dough mixing and rising | Large, clean container |
Troubleshooting and Tips for Perfect 6 Hour Sourdough Bread
Even with a speedy recipe, things can go wrong. Sourdough can be a little temperamental, but don't worry; I've got you covered. It's like riding a bike; you might fall a few times, but you'll eventually get the hang of it. It’s important to understand why things might not go to plan and how to fix them. Let's look at some common issues and how to solve them. Remember, baking is a progression, not a destination, so don't stress if something doesn't go perfectly.
One common problem is a dough that's too sticky. If your dough is a total mess and refuses to behave, add a tablespoon or two of flour at a time until it becomes manageable. It's better to add a little at a time than to add too much and end up with a dry, tough loaf. Think of it like adding water to a cake batter; you wouldn't dump in a whole cup at once, would you? Another issue is an uneven rise. This often happens due to inconsistent temperature or a weak starter. Make sure your proofing area is consistently warm, and as we discussed, a strong starter is key!
Essential Ingredients and Tools for Your 6 Hour Sourdough Bread Recipe
The Capability of the Starter: Your Tiny Bread-Making Superhero
Let's be honest, your starter is the real MVP here. It's the heart and soul of your sourdough, the tiny engine that drives the whole operation. I've seen some pretty sad-looking starters, all weak and droopy, but a *good* starter is bubbly and active, like a little party happening in a jar. It's doubled (or even tripled!) in size after feeding, showing it's ready to work its magic. Think of it as your sourdough's secret weapon – a well-fed starter is the key to a speedy and delicious loaf. Mine's named Bob, and he's always up for a challenge (well, he doesn't *talk*, but you get the idea).
Starter Status | What it Means | Action |
|---|---|---|
Bubbly and doubled | Ready to go! | Proceed with the recipe! |
Slightly bubbly, not doubled | Needs more time | Feed it again and let it rest for another hour or two. |
Flat and inactive | Uh oh! | Start a fresh starter; this one's seen better days. |
Gathering Your Arsenal: The Essential Tools
Now, let's talk tools. You don't need a fancy bakery to make amazing sourdough. But having the right equipment is like having the right tools for building a Lego castle – it makes the job way easier and more fun. For this 6-hour recipe, you'll need a few key players: a kitchen scale (for precise measurements – trust me, it makes a difference!), a good Dutch oven (it creates the perfect baking environment, like a cozy little oven for your bread), and a sharp knife or lame (for scoring – this helps the bread rise evenly and beautifully). I even named my lame "The Bread Whisperer". Sounds fancy, right? It's just a razor blade taped to a handle.
- Kitchen Scale: For accurate measurements. Forget guesswork!
- Dutch Oven: Creates steam, resulting in a perfect crust.
- Lame or Sharp Knife: For scoring the dough. Think of it as giving your bread a little haircut.
- Mixing Bowl: For mixing and rising. It's the bread's comfy bed.
Beyond the Basics: Optional but Awesome
While those are the essentials, a few extra tools can enhance your sourdough game. A proofing basket, for example, helps shape your loaf beautifully, giving it that classic sourdough look. Think of it as a bread-shaped mold. And a pastry brush can be useful for applying a wash to your loaf before baking, adding extra shine and flavor. I personally love using an egg wash; it gives the bread a beautiful golden-brown color. Lastly, a good oven thermometer ensures your oven is at the correct temperature, preventing any baking mishaps. A thermometer is your oven's trusty sidekick, making sure the temperature is just right.
Troubleshooting and Tips for Perfect 6 Hour Sourdough Bread
Troubleshooting And Tips For Perfect 6 Hour Sourdough Bread
When Your Dough is a Sticky Situation
Okay, so your dough is behaving like a super-glued octopus – I've been there! Don't panic. It's not the end of the world (or your bread-baking dreams). A sticky dough usually means it needs a little more flour. Think of it like this: your dough is thirsty, and it needs a little more flour to quench that thirst. Don't just dump a bunch of flour in; that'll make it dry and tough, like a hockey puck. Instead, add a tablespoon or two at a time, mixing gently until it's less sticky but still feels soft and pliable. It's a delicate balance, like a tightrope walk – but with less chance of falling to your death (hopefully!). Keep mixing and adding flour until it's just right. You'll know it when you feel it – it'll feel less sticky and more like a well-hydrated dough.
Problem | Solution |
|---|---|
Sticky Dough | Add flour, 1 tablespoon at a time, until manageable |
Dry Dough | Add a teaspoon of water at a time, mixing well. |
Uneven Rise | Check temperature consistency; ensure starter is active. |
Conquering the Uneven Rise
An uneven rise is like a wonky tower – it's not pretty, and it might not stand the test of time (aka, baking). This usually happens because of inconsistent temperature during the rise. Think of your dough like a delicate flower – it needs a consistently warm and cozy environment to bloom beautifully. A draft or a fluctuating oven temperature can cause uneven rising. Make sure your proofing area (where your dough rises) is consistently warm and draft-free. A proofing box or a warm corner of your kitchen, away from drafts, often works wonders. Also, remember that super-important, active starter we talked about earlier? A weak or underfed starter is like a tired athlete – it just won't perform as well. So, make sure your starter is bubbly and has more than doubled in size before you even think about mixing the dough. It's the foundation of your success; a strong starter is your secret weapon.
- Maintain a consistent warm temperature (70-75°F) for optimal rise.
- Avoid drafts or temperature fluctuations during proofing.
- Ensure your starter is active and bubbly before starting.
Final Thought
Baking a perfect 6-hour sourdough loaf might seem like a challenge, but with the right technique and a little patience, you can consistently achieve delicious results. Remember, practice makes perfect, so don't be discouraged if your first attempt isn't flawless. Keep experimenting, adjust the recipe to your preferences, and soon you'll be enjoying warm, crusty sourdough bread whenever the craving strikes. Happy baking!