Ready to improve your baking game? This comprehensive guide dives deep into the world of sourdough, specifically focusing on how to flawlessly create not one, but *two* magnificent loaves of this tangy, artisanal bread. Forget those single-loaf recipes that leave you wanting more; we're doubling the deliciousness here at frenchbread.homes! We'll cover everything from starter preparation to baking techniques and storage solutions, ensuring you achieve that perfect crust and airy crumb every single time. Whether you're a sourdough novice or a seasoned baker looking to perfect your technique, this 2 loaf sourdough recipe guide will be your new bible. So, gather your ingredients, preheat your oven, and let's start on this delicious progression together. Get ready to experience the joy of baking – twice over! This 2 loaf sourdough recipe is your key to success.
Topic | Key Points |
|---|---|
Starter Preparation | Maintain a healthy starter, feed regularly, ensure proper hydration. |
Dough Mixing | Follow recipe instructions carefully; use a stand mixer or hand mix thoroughly. |
Bulk Fermentation | Monitor dough rise; perform stretch and folds for optimal gluten development. |
Shaping | Proper shaping ensures even baking and attractive loaves. |
Proofing | Proof in bannetons or bowls; ensure proper temperature and humidity. |
Baking | Preheat oven thoroughly; use Dutch oven or baking stone for best results. |
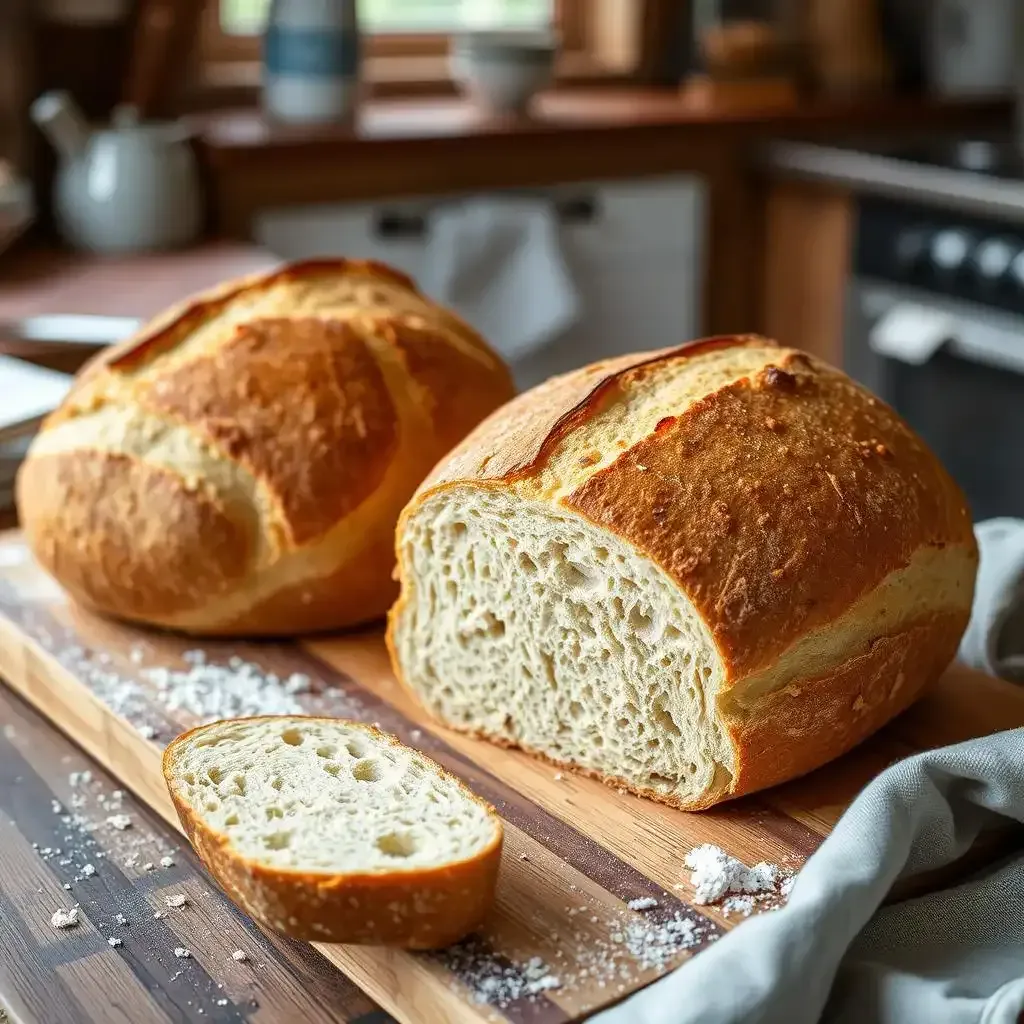
Cooling | Cool completely on wire rack to prevent sogginess. |
Storage | Store in airtight container at room temperature (up to 3 days) or freeze for longer storage. |
Mastering the Art of the 2 Loaf Sourdough Recipe
Mastering The Art Of The 2 Loaf Sourdough Recipe
Okay, so you wanna bake two amazing sourdough loaves? Think of it like this: you're not just baking bread, you're crafting a culinary masterpiece, a delicious double-whammy of tangy goodness! It's all about understanding the rhythm of the dough, respecting its needs, and embracing the slightly unpredictable nature of sourdough. I've been baking for years, and even I still learn something new every time. It’s a process, not a race, and the rewards are totally worth it. The smell alone is enough to make your neighbours jealous!
Stage | Key Actions | Tips from My Kitchen |
|---|---|---|
Starter Prep | Feed your starter, check its activity (it should double in size!), and discard excess. | Don't be afraid to experiment with different feeding schedules – find what works best for your starter and your life. |
Mixing the Dough | Mix all ingredients thoroughly – use a stand mixer if you're feeling fancy or your arms are tired. | The key is to build gluten. That's the protein network that gives your bread its structure. Think of it as a tiny trampoline for your sourdough! |
Autolyse is your friend, trust me. It's that step where you let the flour and water hang out before adding other ingredients. It helps the flour fully hydrate, resulting in a much better texture. Imagine it as a pre-party for your flour – it gets to relax and mingle before the main event! Next, the bulk fermentation is where the magic happens. During this time, you'll perform stretch and folds. This is like a gentle massage for your dough. It strengthens the gluten and helps to develop that beautiful open crumb. It's a bit like working out your dough muscles! It can seem tedious, but it's so important to the final product. You’ll know it’s ready when it has almost doubled in size.
- Remember to keep a close eye on your dough during bulk fermentation! Over-fermentation results in a flat, sad loaf.
- Proper hydration is key. Too much water means a sticky mess; too little means a tough loaf.
- Use a good quality flour. The protein content matters – look for a high protein bread flour.
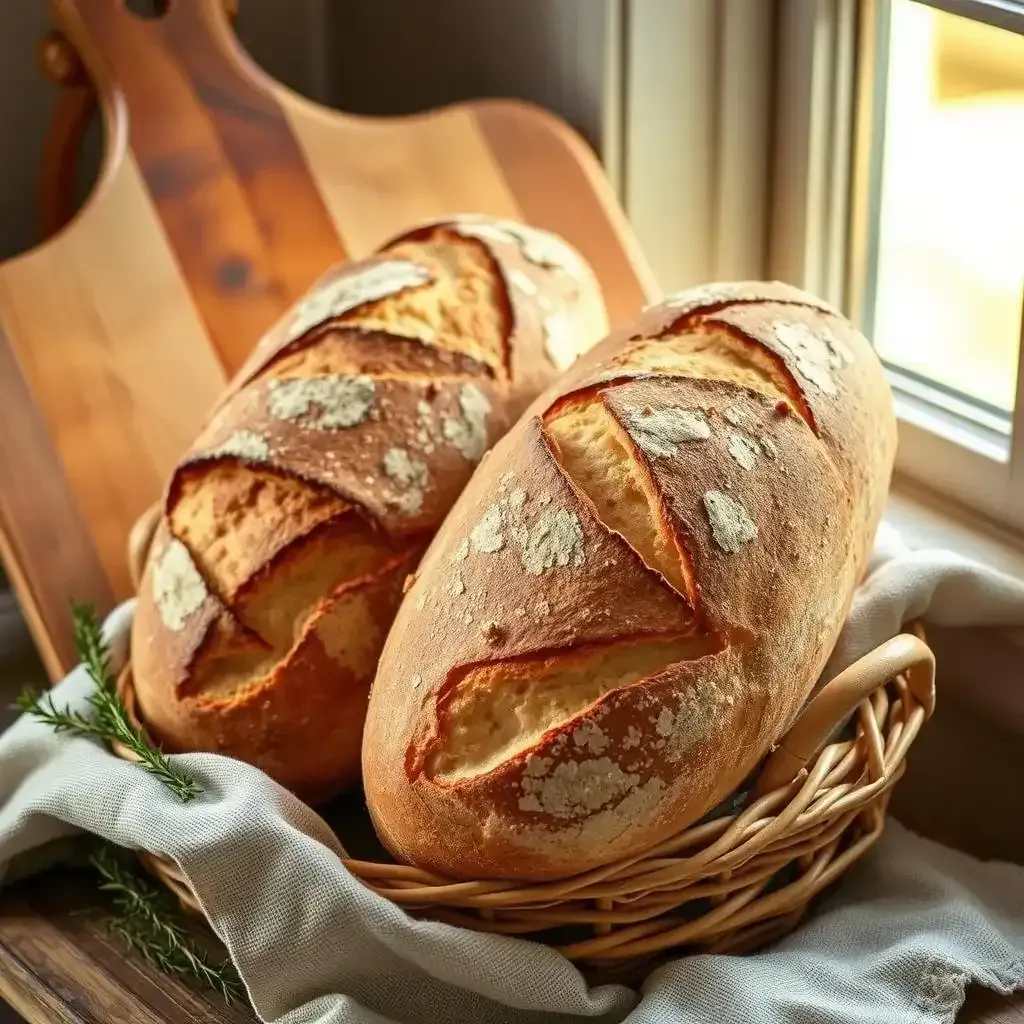
Shaping your dough is like sculpting a masterpiece. It's an art form! There are different techniques, but the goal is to create a tight, round loaf. Think of it as wrapping your dough in a warm hug. This ensures even baking and a beautiful crust. Then comes the proofing stage; this is where your loaves spend time in their bannetons (or bowls lined with a floured cloth). Think of this as a nap for your dough – crucial for a good rise. It's like sending them off to a spa day! This stage is where your loaves gain their final volume and flavor. You’ll notice them getting puffed up and bouncy.
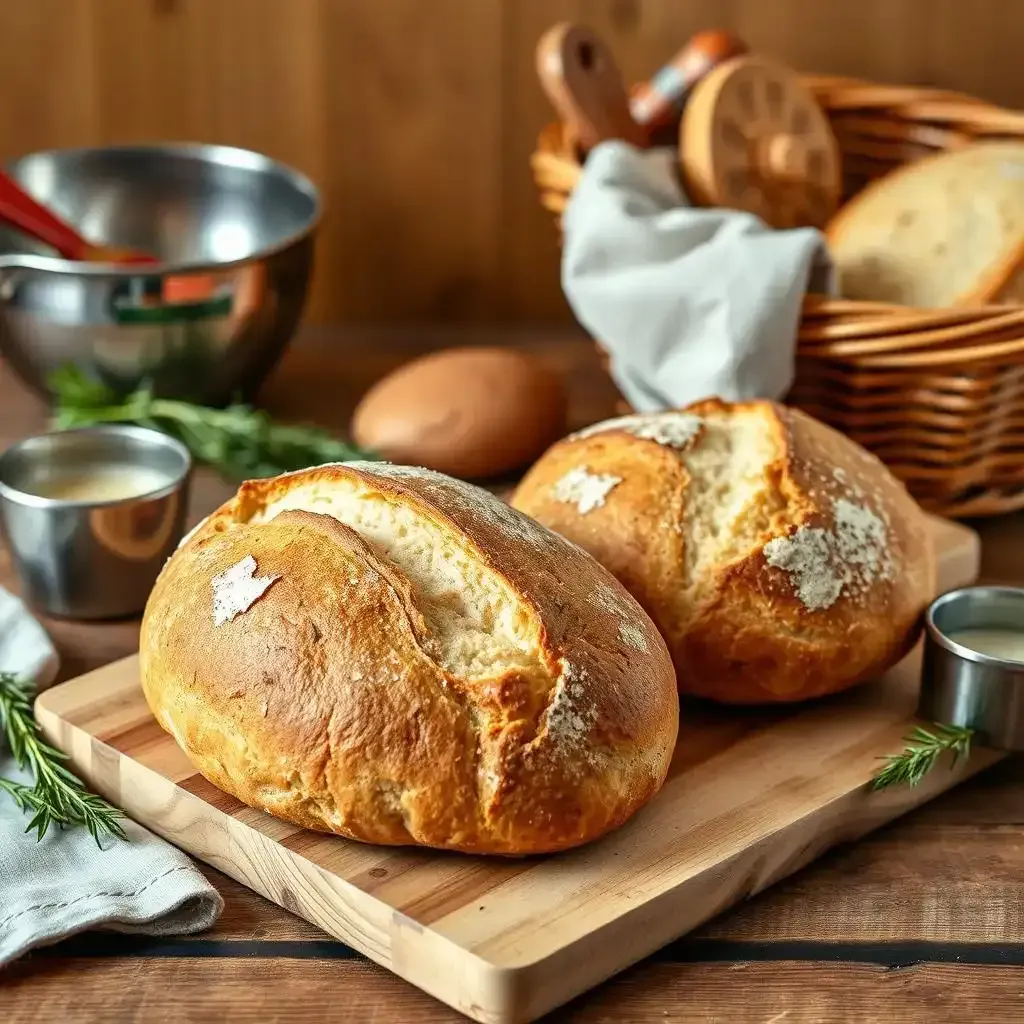
Finally, it's baking time! Preheat your oven to a very high temperature (seriously, as high as it'll go!). Use a Dutch oven – it creates that perfect steamy environment for a crispy crust and a soft interior. Think of the Dutch oven as a tiny sauna for your bread. Baking time depends on the size of your loaves and your oven, but it’s usually around 45-60 minutes. You'll know they're done when they're golden brown and sound hollow when you tap the bottom. Let them cool completely on a wire rack before slicing into them. Resist the urge to cut into them while they are still hot! The steam inside will create a soggy mess. Patience, young padawan!
Essential Tips for a Perfect 2 Loaf Sourdough Bake
Alright, friend, let's talk about getting those two perfect sourdough loaves. It's not rocket science, but it does involve some serious dough-handling skills (and a pinch of patience). Think of baking sourdough as a conversation with your ingredients – you gotta listen to what they're telling you. Don't rush the process, and you’ll be rewarded with amazing results.
- Temperature Control: Sourdough is super sensitive to temperature. Too hot, and your dough will over-proof; too cold, and it'll take forever to rise. Think of your kitchen like Goldilocks’ porridge – you want it just right!
- Hydration is Key: The amount of water you use is crucial. Too much, and you'll have a sticky mess; too little, and your bread will be dry and dense. Aim for the "windowpane" test – stretch a small piece of dough; if it stretches thinly without tearing, you're good to go.
- Bulk Fermentation: This is where the magic happens. Your dough needs time to develop flavour and structure. Don't skimp on this step. Imagine it as a spa day for your dough – it needs time to relax and develop!
One thing I always emphasize is the importance of those stretch and folds. This isn't just some whimsical baking ritual; it's a crucial step in strengthening the dough's gluten network. Think of it as building tiny muscles in your bread. These muscles are what give your sourdough its beautiful, airy crumb. Without them, you'll end up with a dense, sad loaf. Trust me, your taste buds will thank you for the extra effort.
Problem | Solution |
|---|---|
Dough is too sticky | Add a little more flour, a tablespoon at a time. |
Dough is too dry | Add a little water, a teaspoon at a time. |
Dough isn't rising | Check your starter's activity and the temperature of your kitchen. |
Shaping your loaves is like sculpting – it's an art, my friend! A nicely shaped loaf bakes evenly and looks gorgeous. Don't worry if your first attempts aren't perfect; practice makes perfect. Think of it as a form of dough yoga – it’s all about finding the right balance and tension. And remember, proofing is just as important as shaping. It's the final rest before baking, allowing for that last bit of rise and flavour development. It's like giving your dough a final capability nap before the big show!
Finally, baking! This part's exciting, but remember to keep a close eye on your loaves. Don't open the oven door too often, or you'll lose precious heat and steam. And remember, those gorgeous golden-brown crusts are a sign of baking perfection. Once they’re baked, let them cool completely before slicing. This allows the crumb to set, preventing a soggy mess. Resist the urge to investigate in while they’re hot – patience, young baker!
Beyond the Bake: Storing and Enjoying Your 2 Loaf Sourdough Creation
Beyond The Bake Storing And Enjoying Your 2 Loaf Sourdough Creation
The Art of Proper Storage
So, you've baked two glorious sourdough loaves. Congratulations, you baking superstar! Now, the crucial bit: keeping them fresh and delicious. Think of your bread like a delicate flower – it needs careful handling to stay at its best. Improper storage is a recipe for disaster; you'll end up with rock-hard bread faster than you can say "sourdough starter." The best way to store your loaves is in an airtight container at room temperature. This keeps the crust from drying out too much and prevents it from getting stale. You can keep it this way for about three days. After that, it's freezer time!
Storage Method | Duration | Notes |
|---|---|---|
Airtight Container at Room Temperature | 2-3 days | Best for maintaining freshness and texture. |
Freezer | Up to 3 months | Wrap tightly in plastic wrap and then foil to prevent freezer burn. |
Freezing for Future Feasts
Freezing your sourdough is a lifesaver! It's like having a little piece of baking heaven on standby. To freeze your loaves properly, wrap them tightly in plastic wrap, then again in foil. This double-wrapping prevents that dreaded freezer burn, which can make your bread taste dry and unpleasant. Once frozen, your loaves can happily reside in your freezer for up to three months. When you're ready for a slice, simply thaw it at room temperature or gently reheat it in a low oven. It won't be exactly like fresh-baked bread, but it will still be delicious!
- Always let your bread cool completely before freezing.
- Slice your bread before freezing if you want individual portions.
- Don’t defrost and refreeze – once it’s thawed, enjoy it within a day or two.
Slicing and Serving Your Sourdough Masterpiece
The moment of truth! Slicing into your perfectly baked sourdough is almost as satisfying as the baking itself. Use a sharp serrated knife; this prevents the bread from getting squished and makes for cleaner slices. A dull knife will just mangle your beautiful creation. Now for the fun part: enjoying your bread! Sourdough is incredibly versatile. It's amazing on its own, toasted with butter, or used to make sandwiches. It's also fantastic for dipping in soups or making croutons. Get creative! The possibilities are endless. Remember, the best way to enjoy your sourdough is to savor each bite and appreciate the time and effort you put into making it. And if you have any leftover, well, you know what to do – freeze it for later!
Final Thought
Baking two loaves of sourdough might seem daunting at first, but with the right approach and a little patience, you can master this rewarding process. Remember, consistency is key, especially when working with sourdough starters. Don't be afraid to experiment, and most importantly, enjoy the process of creating these beautiful, flavourful loaves. Now go forth and bake! And don't forget to share your creations with us at frenchbread.homes!