So, you want to bake a loaf of sourdough? Fantastic! It might seem intimidating, but trust me, it's more rewarding than wrestling a grumpy badger. This article, brought to you by frenchbread.homes, will guide you through a simple yet delicious 1 loaf sourdough recipe. We'll break down every step, from prepping your starter to achieving that perfect crusty exterior and fluffy interior. Forget those complicated, multi-loaf recipes; this is about mastering the art of the single, perfect loaf. We'll cover everything you need to know, from choosing the right flour to understanding the crucial role of fermentation. By the end, you'll be confidently crafting your own artisanal sourdough bread, ready to impress your friends and family (or just yourself – we won't judge). Let's get baking! Prepare for a process into the wonderful world of 1 loaf sourdough recipes.
Step | Action | Tip |
|---|---|---|
1 | Prepare your sourdough starter | Feed your starter 4-6 hours before you begin. |
2 | Mix the dough | Use a stand mixer or do it by hand. |
3 | Bulk fermentation | Let the dough rise in a warm place. |
4 | Shape the dough | Gently shape into a boule or batard. |
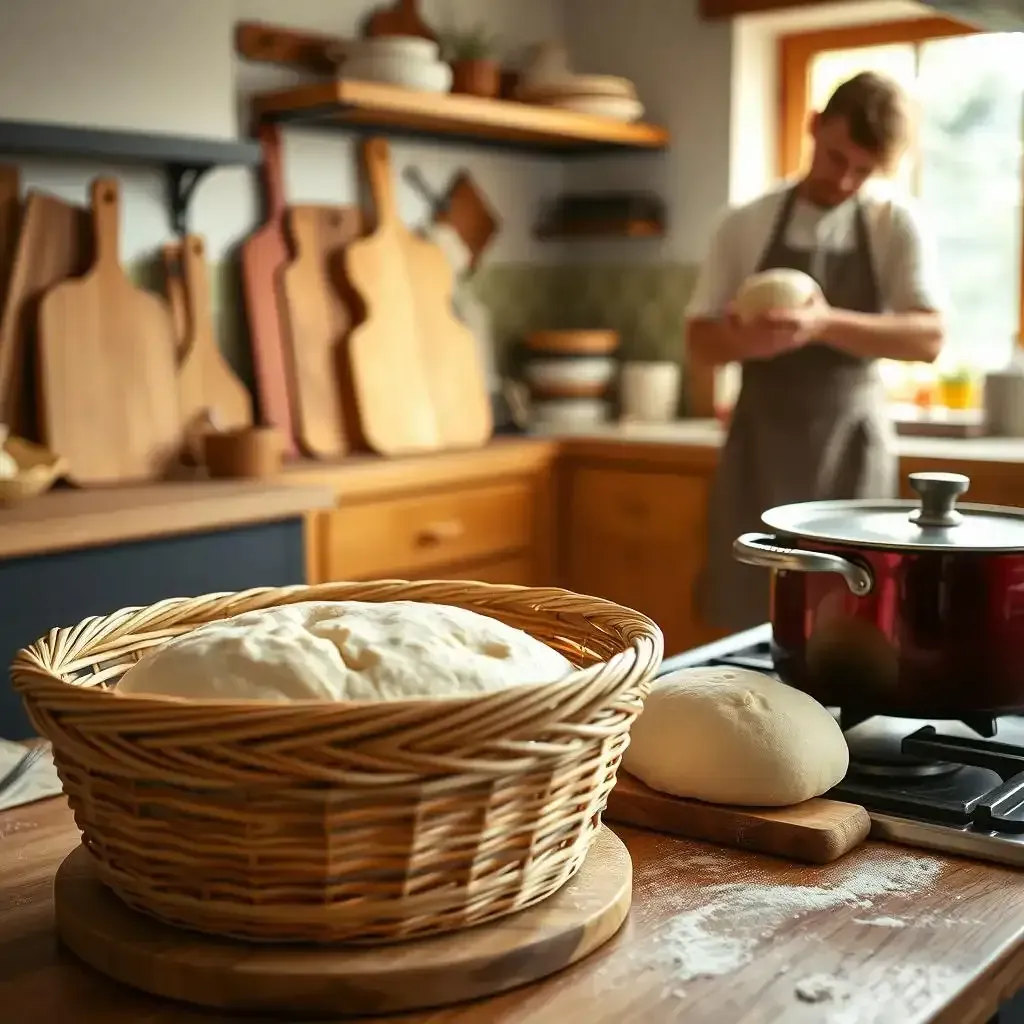
5 | Proof the dough | Let the dough rise in a banneton or bowl. |
6 | Bake the bread | Bake in a dutch oven or on a baking stone. |
7 | Cool and enjoy! | Let the bread cool completely before slicing. |
Mastering the Art of the 1 Loaf Sourdough Recipe
The Magic of the Starter: Your Sourdough's Secret Weapon
Okay, so you're making sourdough. That's awesome! But first, let's talk about the star of the show: your starter. Think of it as the tiny, bubbly superhero of your bread-baking world. It's a living thing, a colony of wild yeasts and bacteria, happily munching on flour and water, creating the magic that makes sourdough, well, sourdough. You've gotta feed this little guy regularly – think of it like giving your pet hamster its daily sunflower seeds. A healthy, active starter is the key to a successful loaf. If your starter looks sad and droopy, don't worry; I've been there! It's just like having a bad hair day; it happens. Just give it a little more attention, some fresh flour and water, and it'll perk right up. It's a bit like a friendship; you gotta put in the effort to see it thrive.
Starter Health | What it Looks Like | What to Do |
|---|---|---|
Happy and Active | Bubbly, doubled in size | Perfect! Proceed to the next step. |
Slightly Underactive | Slightly bubbly, slow rise | Feed it more flour and water, let it sit for a few hours in a warm spot. |
Unhappy and Inactive | No bubbles, flat | Discard and start again. Don't feel bad; it happens to the best of us! |
Mixing the Dough: A Symphony of Flour and Water
Mixing the dough is like making a really cool science experiment – you get to combine flour, water, your starter, and a pinch of salt (don't forget the salt!). The goal is to get everything nicely incorporated, creating a smooth, slightly sticky dough. Don't be afraid to get your hands dirty; it's way more fun than using a mixer. I remember my first time, I felt like a baker straight out of a movie! I was so focused on getting the right consistency, I totally forgot to set a timer! But hey, it all worked out in the end. The key is to develop the gluten, which gives your bread that beautiful chewy texture. Think of the gluten as tiny strands of protein, holding everything together like a super strong net. The more you knead (or mix), the stronger the net becomes. You'll notice the dough becomes more elastic as you work it. This is a good thing! It's like stretching a rubber band – the more you stretch it, the more elastic it gets.
- Measure your ingredients carefully.
- Mix gently at first, then gradually increase your kneading intensity.
- Don't overmix! Overmixing can lead to a tough loaf.
The Rise and Shine: Bulk Fermentation and Shaping
Now comes the waiting game – bulk fermentation. This is where the magic really happens. The yeast in your starter is hard at work, producing carbon dioxide which makes your dough rise. Imagine it as tiny balloons inflating inside your dough, making it soft and airy. This takes time, usually several hours. You'll know your dough is ready when it's noticeably increased in size and has a bubbly texture. It's like watching a sleeping giant slowly wake up. Once it's ready, it's time for shaping. This is where you get to be creative! You can shape your dough into a classic round boule, a rustic batard, or even some funky freeform shape. Have fun with it; it's your bread! I usually make a simple round loaf, because it's easy and it looks fancy. It’s like sculpting with dough – the possibilities are endless.
Essential Ingredients and Equipment for Your 1 Loaf Sourdough Recipe
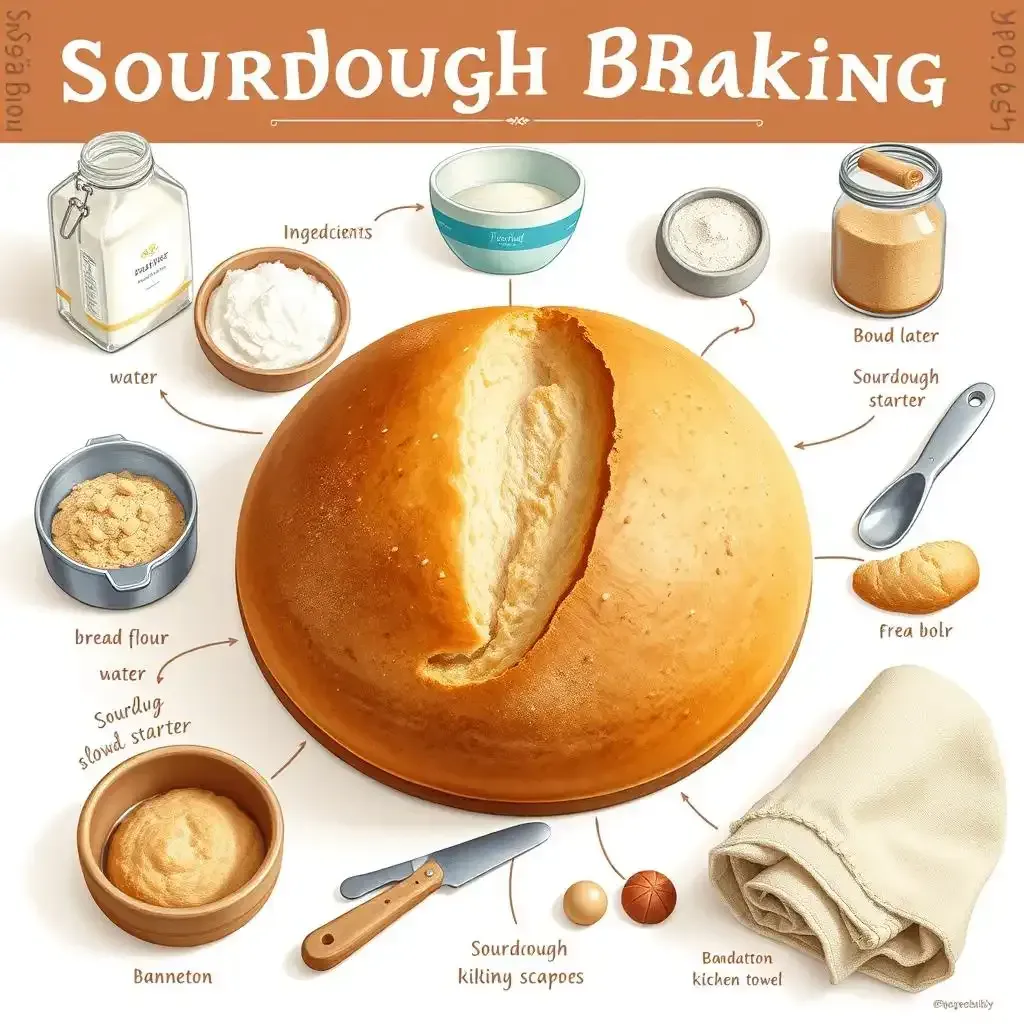
Essential Ingredients And Equipment For Your 1 Loaf Sourdough Recipe
Flour Capability: The Foundation of Your Loaf
Let's talk flour! It's the backbone of your sourdough, the main ingredient that gives it structure and flavor. I prefer using bread flour; it's got a higher protein content, which means more gluten. More gluten equals a chewier, more satisfying loaf. Think of it like building a house – you wouldn't use cardboard, would you? You need strong bricks, and in this case, bread flour is your super strong brick! Don't get me wrong, all-purpose flour works in a pinch, but bread flour really elevates your game. It's like the difference between a regular hamburger and a gourmet burger – you can taste the difference! I once tried using cake flour by mistake…let's just say it wasn't pretty. The loaf was flat as a pancake. Learn from my mistakes!
Flour Type | Protein Content | Resulting Loaf |
|---|---|---|
Bread Flour | High (12-14%) | Chewy, strong structure |
All-Purpose Flour | Medium (10-12%) | Okay texture, but less chewy |
Cake Flour | Low (8-9%) | Flat, crumbly |
Water Works: The Secret Ingredient
Water might seem simple, but it's crucial! The right amount of water is key to getting that perfect dough consistency. Too little, and your dough will be dry and crumbly. Too much, and it'll be a sticky mess. I usually start with the amount specified in the recipe, but I adjust based on how the dough feels. It's like making pancakes – you might need to add a little more liquid depending on the flour you're using. And the temperature of your water matters too! Lukewarm water is best; it helps activate the yeast in your starter. Cold water slows things down, while hot water can kill the yeast – like a grumpy grandma scolding you for touching her prized possessions. You don't want that!
- Use filtered water for the best taste.
- Adjust the water amount based on the flour's absorption.
- Lukewarm water is your best bet.
The Tools of the Trade: Your Baking Arsenal
You don't need fancy equipment to bake sourdough, but a few key tools will make your life easier. A good mixing bowl is essential – something large enough to hold your dough comfortably. A dough scraper is handy for scraping down the sides of the bowl and for shaping your dough. And a banneton – a special basket for proofing your dough – is highly recommended, although a bowl lined with a floured kitchen towel works too. It's like having the right tools for any job. Would you try to build a birdhouse with a hammer and a screwdriver? Probably not. Having the right tools just makes the whole process smoother and more enjoyable. I once tried to proof my dough in a colander, and let's just say it wasn't a pretty sight!
"The best sourdough is made with love and patience." - Anonymous Baker
Baking Your Perfect 1 Loaf Sourdough: A StepbyStep Guide
Baking Your Perfect 1 Loaf Sourdough A Stepbystep Guide
Alright, friend, we've got our starter bubbling away like a happy volcano, and our dough is mixed and ready. Now comes the fun part—the actual baking! First, we let our dough rise again, which is called bulk fermentation. Think of it as giving your dough a nice long nap. This is where the magic of sourdough happens—those tiny yeast are partying and creating air pockets, making the bread light and fluffy. I usually let it rise for about 4-6 hours, but it depends on the temperature of your kitchen—a warmer room means a faster rise. It's like watching a slow-motion balloon inflate; fascinating, right? Once it's puffed up nicely, we gently shape the dough into a round loaf, kind of like making a giant doughy snowball. Then, it's time for the final rise, called proofing. I like using a banneton basket; it gives the loaf a pretty pattern, but a bowl lined with a floured cloth works too. This usually takes a few hours, so grab a snack and relax! I once left my dough to proof overnight and it looked like a little sourdough monster in the morning! It was still delicious though.
Stage | Time | What to Look For |
|---|---|---|
Bulk Fermentation | 4-6 hours | Dough doubles in size, bubbly texture |
Shaping | 15-20 minutes | Gently form into a round loaf |
Proofing | 2-4 hours | Dough rises slightly in the banneton |
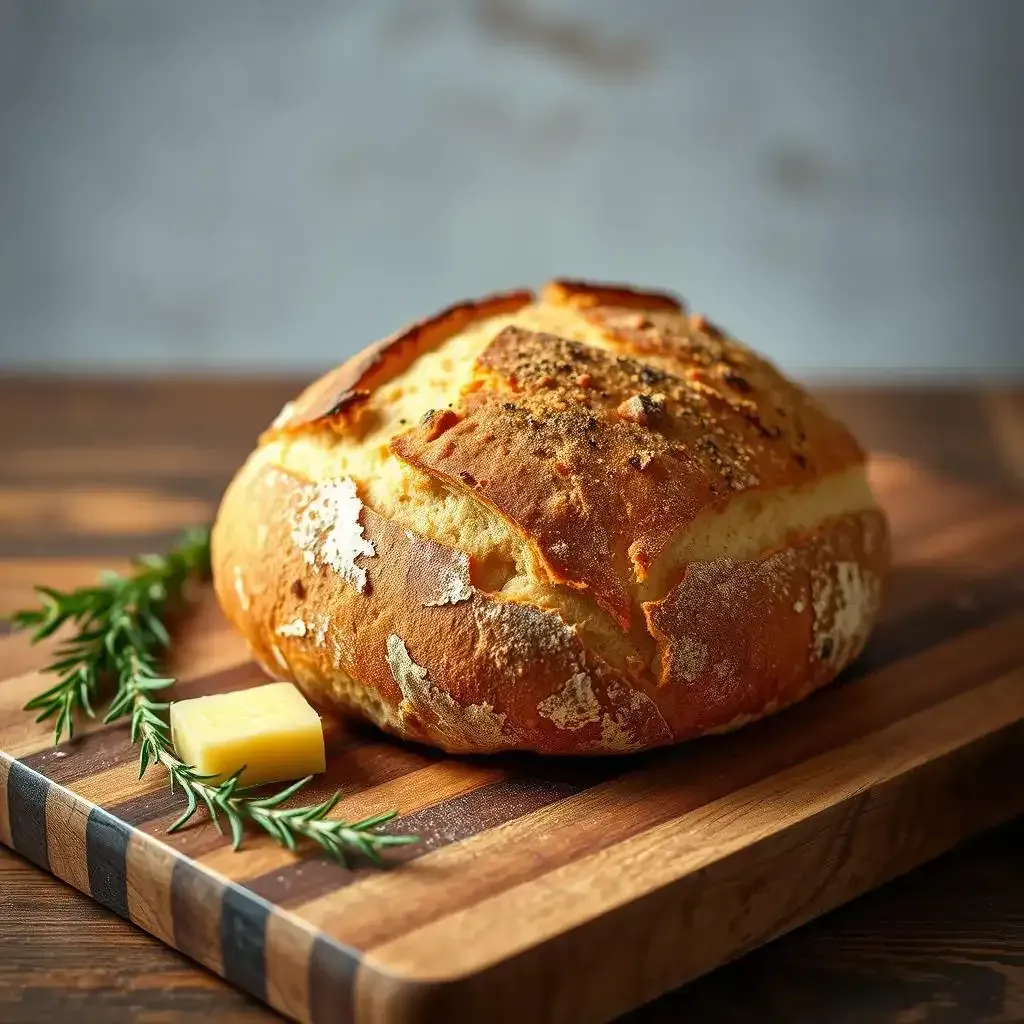
Now, for the grand finale: baking! Preheat your oven to 450°F (232°C). If you have a Dutch oven, that's perfect. It creates a lovely steamy environment that helps develop that awesome crust. Place the dough (carefully!) in the preheated Dutch oven, cover, and bake for 20 minutes. Then, uncover and bake for another 25-30 minutes, until it's golden brown and sounds hollow when tapped on the bottom. If you don't have a Dutch oven, you can bake it on a baking sheet with a pan of water underneath to create steam. It’s like giving your bread a little spa day. Once it's baked, let it cool completely on a wire rack before slicing and enjoying. Trust me, the wait is worth it. The aroma alone is enough to make your mouth water. The first time I baked a sourdough, I accidentally burned the crust. It was still tasty, but I learned my lesson about oven temperatures!
- Preheat your oven thoroughly.
- Use a Dutch oven for best results (but a baking sheet works too).
- Let the bread cool completely before slicing.
"Patience is a virtue, especially when baking sourdough." - My wise grandma.
Final Thought
Baking sourdough isn't just about following a recipe; it's about understanding the process and developing your own feel for it. Don't be discouraged if your first loaf isn't perfect. Each bake is a learning experience, and with practice, you'll be crafting incredible sourdough loaves that will make even the most seasoned bakers envious. Now go forth and bake! Remember to check out more amazing recipes on frenchbread.homes.