Welcome, fellow bread enthusiasts! Are you ready to start on a delicious process into the world of sourdough? Today, we're diving headfirst into creating the perfect 1 loaf sourdough bread recipe. Forget those bland, mass-produced loaves; this guide will empower you to craft a rustic, tangy, and utterly irresistible loaf right in your own kitchen. This isn’t just a recipe; it’s a story, a process of transformation from simple ingredients into something truly magical. At frenchbread.homes, we believe everyone can achieve sourdough perfection, and this 1 loaf sourdough bread recipe is your key to unlocking that potential. Follow along as we break down each step, offering tips and tricks to ensure your baking journey is a resounding success. Get ready to knead, rise, and enjoy the fruits of your labor—a beautiful, golden-brown sourdough loaf that will leave you wanting more!
Stage | Action | Tip |
|---|---|---|
Levain (Starter Preparation) | Mix starter, flour, and water; let rise. | Keep starter at optimal temperature for best results. |
Autolyse | Mix flour and water; rest. | This step improves dough strength and gluten development. |
Bulk Fermentation | Add levain, salt, and knead; let rise. | Stretch and folds strengthen the dough. |
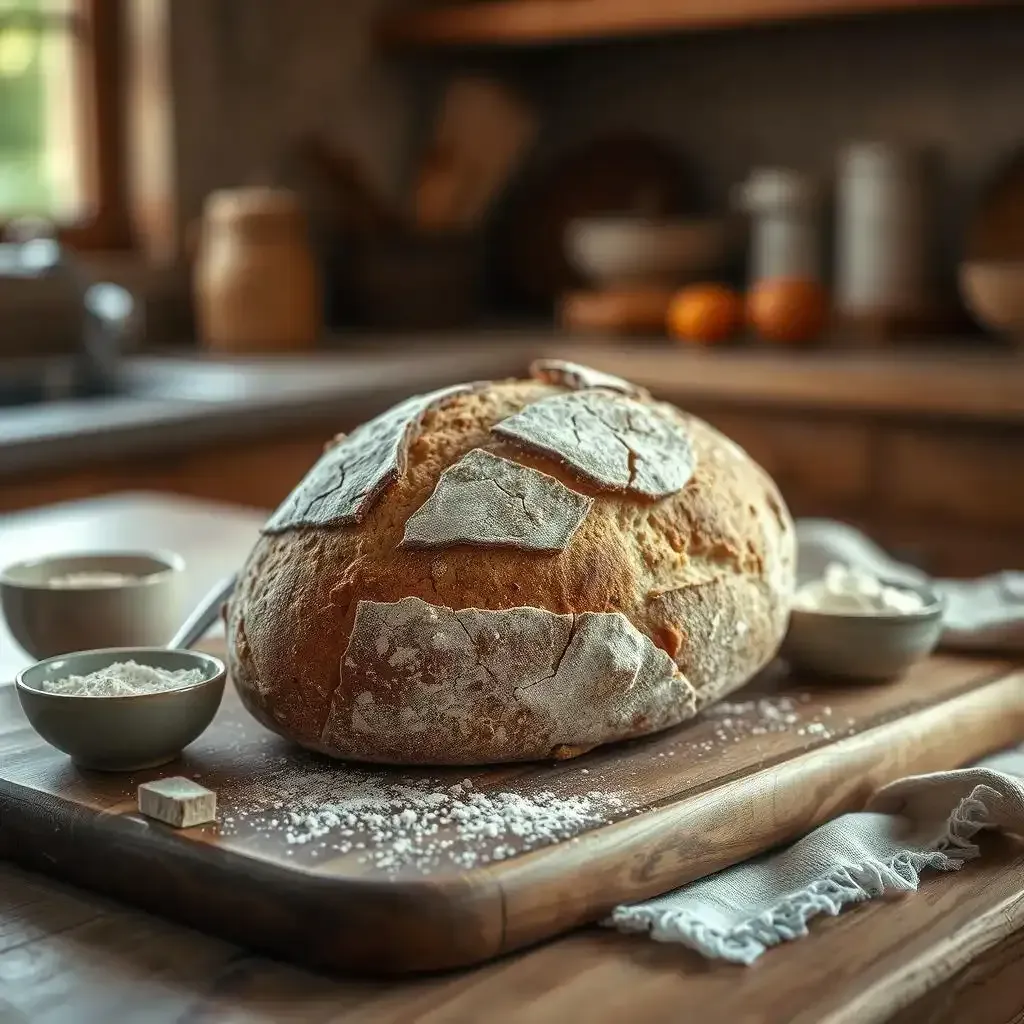
Shaping | Gently shape the dough into a boule. | Avoid over-handling the dough. |
Proofing | Allow the dough to rise in a banneton. | Ensure proper proofing for optimal oven spring. |
Baking | Bake in a dutch oven or on a baking stone. | Maintain oven temperature for even baking. |
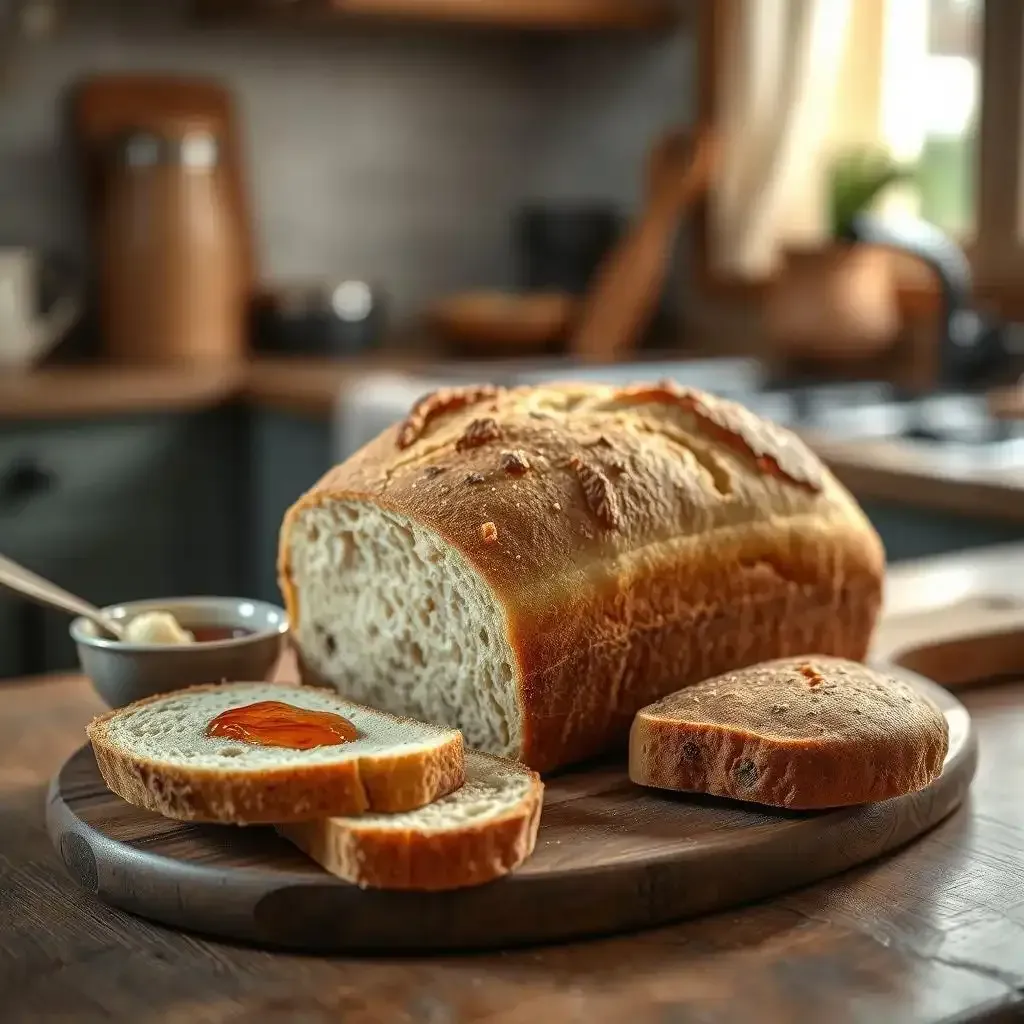
Cooling | Cool completely on a wire rack. | Avoid cutting into the bread while it's still warm. |
Mastering the 1 Loaf Sourdough Bread Recipe: A StepbyStep Guide
Mastering The 1 Loaf Sourdough Bread Recipe A Stepbystep Guide
Okay, let's bake! Making sourdough might seem like some super-secret wizardry, but trust me, it's way more fun than it sounds. Think of it like building a LEGO castle – you need to follow the instructions, but the end result is totally awesome. We're going to take it one step at a time, and before you know it, you'll have a magnificent loaf that smells like a bakery and tastes even better. I'm not going to lie, there's a bit of waiting involved, but it’s worth it. Think of it as a delicious journey that unfolds over time. This 1 loaf sourdough bread recipe is your map.
Step | Action | Important Note! |
|---|---|---|
1. Levain (Starter Prep) | Mix your sourdough starter with flour and water. Let it sit in a warm place until it's bubbly and happy (like a tiny sourdough party!). | The warmer it is, the faster the party happens! But not *too* warm, or it'll get stressed. |
2. Autolyse (Flour & Water) | Mix your flour and water. Let it rest. This is like giving your dough time to chill and get to know itself. It makes the gluten stronger. | Don't skip this step! It's like a pre-party for the flour, making it ready to mingle with the other ingredients. |
Next up is the bulk fermentation, where we add the levain (that happy, bubbly starter) salt, and then we get to knead the dough. Imagine you're giving the dough a really good hug – a firm, but gentle one. Stretching and folding the dough is key. This makes the gluten (the protein that gives bread its structure) happy and strong. It's like doing exercises for your dough – it builds strength and helps it rise beautifully.
- Gentle kneading is key – don't be a dough bully!
- Let the dough rise in a warm place. Think of it as a nap for the dough. It needs its beauty sleep to grow!
- Once it’s doubled in size, it’s ready for the next step!
Shaping the dough is an art form, but don't worry, it's easier than it looks. Think of it as sculpting a little bread-ball. You want it to be nice and round, ready for its final rise. This is called proofing, which is basically the dough's final nap before it goes into the oven. It's like getting ready for a big performance. After proofing, it's time to bake it, and that's where the magic happens. The heat transforms the dough into a golden-brown, crusty loaf.
Finally, let your loaf cool completely. This step is super important. Cutting into it while it’s still hot is like trying to eat a melting ice cream cone – a sticky, messy disaster. Let it cool, and you'll be rewarded with a perfectly crumbly and delicious loaf. And there you have it – your very own homemade sourdough bread. Enjoy the fruits of your labor! It's worth the time and effort, I promise!
Essential Ingredients and Equipment for Your 1 Loaf Sourdough Bread Recipe
The Flour Ability: Choosing Your Wheat
Okay, let's talk flour! Sourdough is all about the flour, and it's not just any flour; it's bread flour, my friend. Bread flour has more protein than all-purpose flour, and that protein is what gives your bread its wonderful chewy texture. Think of it like this: protein is the superhero of your dough, giving it the strength to rise high and proud. You don't want weak, flimsy bread, do you? I didn't think so. I usually use King Arthur Bread Flour, it's a personal favorite. But any good quality bread flour will do the trick. Don't go cheap on this; it's the foundation of your delicious masterpiece!
Flour Type | Protein Content (Approximate) | Good For |
|---|---|---|
Bread Flour | 12-14% | Sourdough, hearty loaves |
All-Purpose Flour | 10-12% | Cakes, cookies (not sourdough!) |
Water Works: The Unsung Hero
Next up, water! It might seem simple, but the type of water you use can actually impact the taste and texture of your bread. Filtered water is best, because tap water can have minerals and chlorine that might affect your dough's happy little fermentation party. Seriously, those minerals can be total party poopers. Think of your water as a blank canvas – pure and ready to be transformed into something amazing. The temperature of your water matters too. You want it lukewarm, not too hot (it'll kill the yeast!), and not too cold (it'll slow everything down). Aim for around 70-75°F (21-24°C). Trust me, your dough will thank you for it!
- Use filtered water for the best results.
- Aim for lukewarm water – not too hot, not too cold.
- A thermometer is your friend!
The Tools of the Trade: Your Baking Arsenal
Finally, let's talk equipment. You don't need a fancy bakery to make amazing sourdough. A few key tools will do the job. First, you'll need a good bowl for mixing – a big one! You'll also need a scale (trust me, considering your ingredients is way more accurate than measuring cups), a scraper (for scraping down the sides of your bowl), and a banneton (a special basket for shaping your dough). A Dutch oven is awesome for baking your bread, but if you don't have one, a baking stone works too. Don't stress about having every single thing right now; you can start with the basics and gradually add more tools as you go!
Troubleshooting Tips for a Perfect 1 Loaf Sourdough Bread Recipe

Troubleshooting Tips For A Perfect 1 Loaf Sourdough Bread Recipe
So, your sourdough didn't quite turn out like the imagine in the baking magazine? Don't despair! Sourdough is a bit like a temperamental pet; it needs patience and understanding. I've had my share of flat, dense, or even weirdly-shaped loaves. The key is to learn from your mistakes, and trust me, there will be mistakes – everyone has them. It's part of the trip! Think of each failed loaf as a lesson learned, bringing you closer to sourdough enlightenment. Let's look at some common issues and how to fix them.
Problem | Possible Cause | Solution |
|---|---|---|
Flat Loaf | Insufficient fermentation, weak starter, under-kneading | Ensure your starter is active, knead the dough properly, and let it rise in a warm place. |
Dense Loaf | Over-kneading, under-proofing, oven temperature too low | Avoid over-kneading, proof the dough until doubled in size, and bake at the correct temperature. |
Cracked Crust | Oven temperature too high, dough too dry | Reduce oven temperature, add more water to the dough. |
One common problem is a flat loaf. This usually happens when your starter isn't active enough, or you didn't knead the dough sufficiently. It's like trying to build a sandcastle with wet, weak sand – it won't stand tall! Make sure your starter is bubbly and lively before you begin, and don't skimp on the kneading. Think of it as giving your dough a good workout – it needs that strength to rise beautifully. A dense loaf, on the other hand, might indicate over-kneading or under-proofing. It's like over-exercising your dough – it gets tired and won't rise properly. Proofing is crucial. Give your dough enough time to relax and expand.
- Check your starter's activity before you begin.
- Don't be afraid to knead your dough well.
- Proofing is crucial for a light and airy loaf.
Another issue is a cracked crust. This often happens if the oven temperature is too high, or if your dough is too dry. Imagine baking a cake in an oven that's too hot – it'll crack and burn. Lower the temperature slightly, and ensure your dough has the right amount of moisture. If you're still having trouble, try adding a little more water to the dough. A little extra hydration can make all the difference. Remember, baking is a science and an art! Each loaf is a unique experience, and the more you practice, the better you'll become at troubleshooting.
Final Thought
Baking a 1 loaf sourdough bread recipe is a rewarding experience. It's a testament to patience, precision, and the magic of fermentation. While the initial steps may seem daunting, the taste of your homemade loaf will make it all worthwhile. So, gather your ingredients, embrace the process, and enjoy the progression of transforming flour, water, and time into a delicious masterpiece. Happy baking!