Table of Contents
Ever dreamed of enjoying the rich, tangy flavor of homemade sourdough bread without the all-day commitment? Then prepare yourself for a baking revelation! This article is your passport to the world of 8 hour sourdough bread, a delicious shortcut to artisanal baking perfection. We'll explore the magic behind this quicker method, revealing the secrets to a perfectly risen, crusty loaf in a fraction of the usual time. Forget the endless waits and complicated techniques; we'll equip you with simple, step-by-step instructions, expert tips, and troubleshooting advice to help you achieve sourdough success, even if you're a complete beginner. Get ready to ditch the store-bought loaves and embrace the satisfying aroma and delightful taste of your own 8 hour sourdough bread. This article will guide you through the process, from understanding the allure of this faster method to mastering the crucial techniques and resolving common baking challenges. So, grab your apron, gather your ingredients, and let's embark on this delicious adventure together! Prepare to be amazed at how easy it is to bake a truly exceptional loaf of 8 hour sourdough bread.
The Allure of 8Hour Sourdough Bread
The Allure of 8Hour Sourdough Bread
The Speed Factor
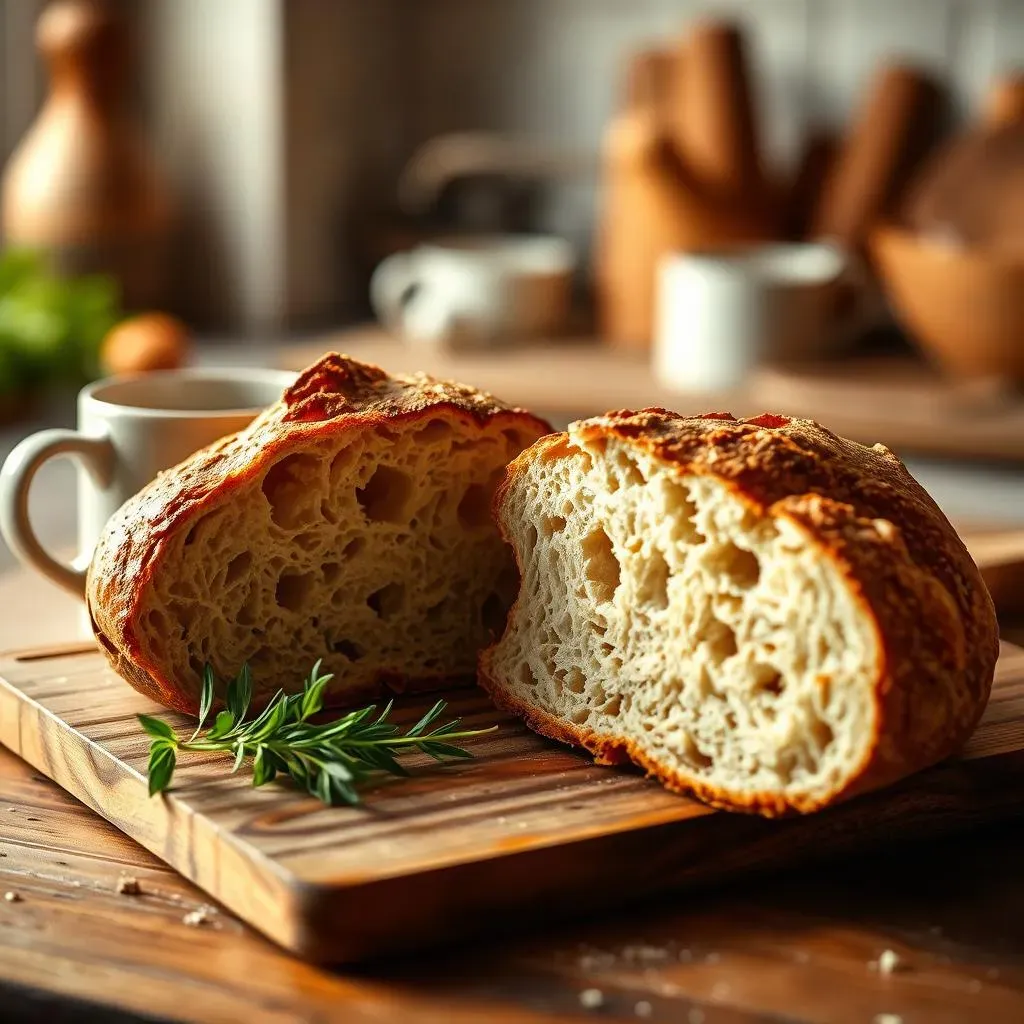
Let's face it, the traditional sourdough process can feel daunting. Days of waiting, precise temperature control – it's a commitment! But what if I told you could achieve that same incredible sourdough flavor and texture in a mere 8 hours? That's the beauty of 8-hour sourdough bread. It's a game-changer for busy bakers who crave that artisanal taste without sacrificing precious time. Imagine the satisfaction of biting into a perfectly crusty loaf, knowing you made it in just one workday! This is not some watered-down version of sourdough; it's the real deal, just faster.
This accelerated method doesn't compromise on flavor or texture. The shorter fermentation time might result in a slightly less tangy profile, but the benefits far outweigh this minor difference. You get that satisfying rise, that wonderful crust, and that unique sourdough taste, all within your busy schedule. It opens up a whole new world of baking possibilities, allowing you to enjoy fresh sourdough more frequently without feeling overwhelmed. For more options, check out our .
Traditional Sourdough | 8-Hour Sourdough |
|---|---|
24-48 hours fermentation | 8 hours fermentation |
Complex process | Simplified process |
More pronounced tang | Slightly less tang |
Accessibility and Flexibility
The allure of 8-hour sourdough bread extends beyond its speed. It's about accessibility and flexibility. It's a fantastic entry point for aspiring bakers who might be intimidated by the longer fermentation times of traditional sourdough. It lowers the barrier to entry, allowing more people to experience the joy of baking their own bread.
The shorter timeframe also offers incredible flexibility. Need bread for a dinner party but short on time? 8-hour sourdough is your answer. Planning a weekend baking session? It fits perfectly into a shorter timeframe. This method is adaptable to different schedules, making it an ideal choice for those with busy lives. Want to explore other options? Consider our for even faster results.
- Perfect for busy schedules
- Beginner-friendly approach
- Adaptable to various timings
Essential Tips for Baking Perfect 8Hour Sourdough

Essential Tips for Baking Perfect 8Hour Sourdough
Starter Strength
The foundation of any great sourdough, even an 8-hour one, is a robust starter. Your starter needs to be lively and active, bubbling happily and doubling in size within 4-6 hours of feeding. A weak starter will struggle to leaven the dough in the shorter timeframe, resulting in a dense, under-risen loaf. Ensure you feed your starter 12-24 hours before you begin the 8-hour process, allowing ample time for peak activity. A strong starter is the key to that beautiful, airy crumb.
Don't underestimate the importance of a well-fed starter. Think of it as a tiny, hardworking engine powering your bread-making journey. A healthy starter will ensure a successful 8-hour bake, while a sluggish one will lead to disappointment. For more in-depth information on sourdough starter care, check out our guide on .
- Feed your starter 12-24 hours in advance
- Ensure it's bubbly and active
- Aim for a doubling in size within 4-6 hours
Flour Power
The type of flour you use significantly impacts the outcome of your 8-hour sourdough. Bread flour, with its higher protein content, is ideal for building structure and achieving that satisfying rise. All-purpose flour can work in a pinch, but the result might be a slightly less airy loaf. Experiment with different flour types to discover your preferences, but for your first 8-hour sourdough, stick with bread flour for the best results. Remember, the right flour is your secret weapon for a perfect loaf!
Consider this: the flour you choose is like the foundation of a house. You wouldn't build a skyscraper with flimsy materials, would you? Similarly, using quality bread flour provides the necessary strength and elasticity for your 8-hour sourdough to rise beautifully. For more flour-focused recipes, check out our .
Flour Type | Characteristics | Suitable for 8-Hour Sourdough? |
|---|---|---|
Bread Flour | High protein, strong gluten development | Yes, ideal |
All-Purpose Flour | Moderate protein, weaker gluten | Acceptable, but may result in less airy loaf |
Temperature Control
Maintaining the right temperature is crucial for a successful 8-hour sourdough. A consistently warm environment (around 75-80°F) is essential for optimal yeast activity and fermentation. Too cold, and the dough will rise slowly; too hot, and it might overproof. Use a thermometer to monitor the temperature of your proofing area, and consider using a proofing box or a warm oven with the light on to maintain a consistent temperature. Don't let temperature fluctuations ruin your baking masterpiece!
Think of temperature as the Goldilocks of baking: it needs to be just right. Too hot, and the yeast will become overactive, resulting in a sour or bitter taste and a collapsed loaf. Too cold, and the yeast will be too sluggish to produce the desired rise. A consistent temperature is vital for the perfect 8-hour sourdough. For more tips on baking, check out our .
- Maintain a consistent temperature (75-80°F)
- Use a thermometer for monitoring
- Consider a proofing box or warm oven
Troubleshooting Common 8Hour Sourdough Bread Issues
Troubleshooting Common 8Hour Sourdough Bread Issues
Dough Doesn't Rise Enough
One of the most common frustrations with 8-hour sourdough is insufficient rising. If your dough barely expands, several factors could be at play. First, suspect your starter. A weak or inactive starter lacks the power to leaven the dough effectively within the shorter timeframe. Ensure your starter is vigorously bubbly and doubles in size within 4-6 hours of feeding before you begin. Secondly, check your flour. Bread flour is crucial for gluten development, crucial for a good rise. All-purpose flour might result in a denser loaf. Finally, temperature is key. A cool environment slows fermentation. Aim for a consistent 75-80°F. If you're still struggling, try using a proofing box or a warm oven with its light on to maintain a stable temperature. Need more starter tips? Check out our guide on .
Remember, a successful 8-hour sourdough hinges on a strong foundation. A lively starter, the right flour, and consistent temperature are non-negotiable. If your loaf is still under-risen, revisit these factors. Don't be discouraged; even experienced bakers encounter this occasionally. For more detailed information on different flour types, take a look at our .
- Check starter activity
- Verify flour type (bread flour preferred)
- Monitor proofing temperature
Over-Proofed Dough
On the opposite end of the spectrum is over-proofing. If your dough rises excessively, becomes overly bubbly, and even collapses, it's likely over-proofed. This often happens when the proofing environment is too warm or the dough is left to rise for too long. In this case, while the bread might still be edible, the texture will likely be less airy and the flavor might be overly sour or even bitter. To prevent over-proofing, carefully monitor the dough's rise, using the "poke test" (gently poking the dough; if it springs back slowly, it's ready). If over-proofing occurs, don't panic; you can still bake it, but expect a denser loaf. Want to explore other quick options? Check out our .
The key is to find that sweet spot between under-proofing and over-proofing. This requires practice and attention to detail. Remember, patience is a virtue in baking, especially sourdough. Don't be afraid to experiment and adjust your proofing time based on your environment and starter's activity. For more advanced sourdough techniques, consider our .
Problem | Cause | Solution |
|---|---|---|
Over-proofing | Too warm environment, excessive proofing time | Monitor rise closely, adjust proofing time |
Unattractive Crust or Crumb
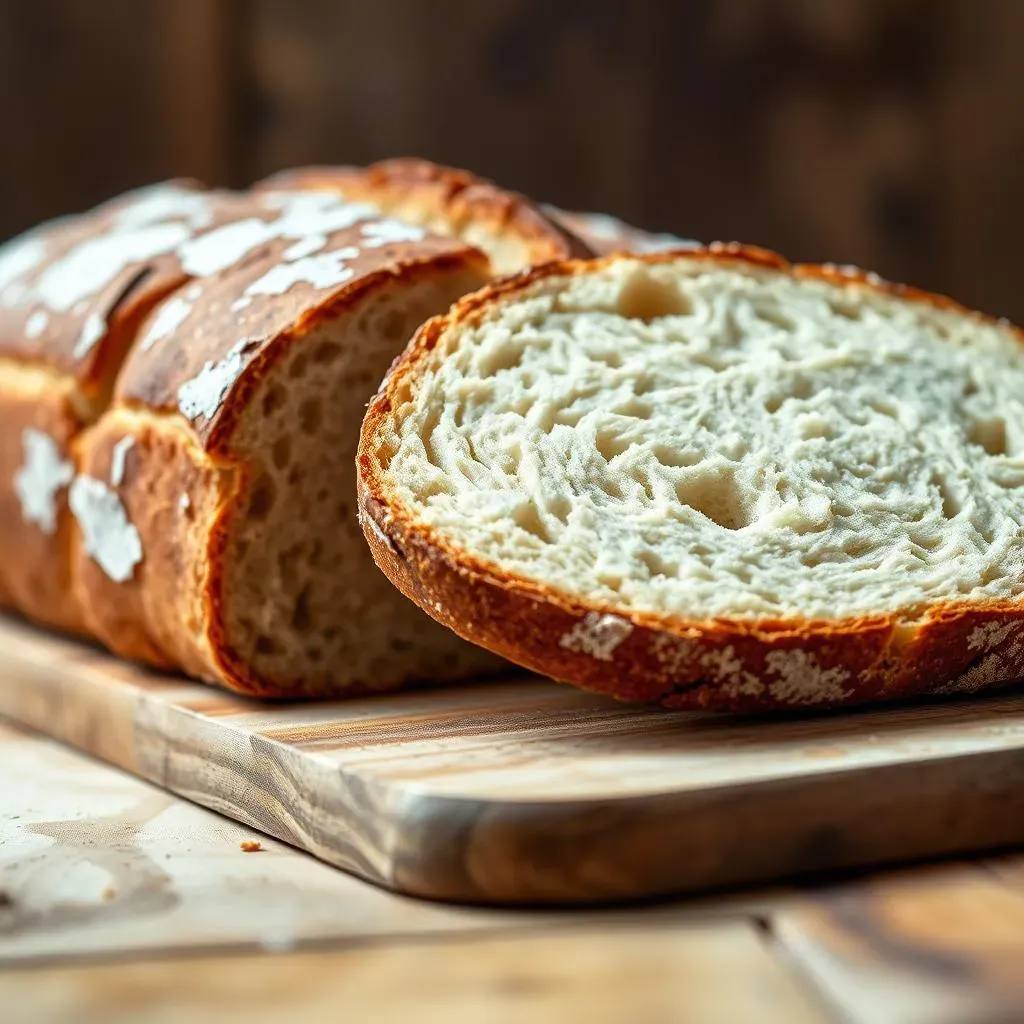
Sometimes, even with proper rising, the final loaf might not look quite right. A pale or uneven crust might indicate insufficient oven spring or baking time. Ensure your oven is preheated to a high temperature (around 450°F) and bake for the recommended time, checking the internal temperature with a thermometer. A gummy or dense crumb, on the other hand, might suggest under-proofing or an issue with the starter's strength. If your crust isn't developing nicely, try adjusting your baking time or using a Dutch oven to trap moisture. For more tips on getting a perfect crust, check out our .
Remember, the appearance of your sourdough is as important as its taste. A beautiful crust and airy crumb are testaments to a successful bake. Don't get discouraged if your first few attempts aren't picture-perfect. Practice makes perfect, and with time, you'll master the art of creating stunning 8-hour sourdough loaves. For more inspiration on sourdough shapes, take a look at our .
- Check oven temperature and baking time
- Assess crumb texture for signs of under-proofing
- Experiment with Dutch oven baking