Table of Contents
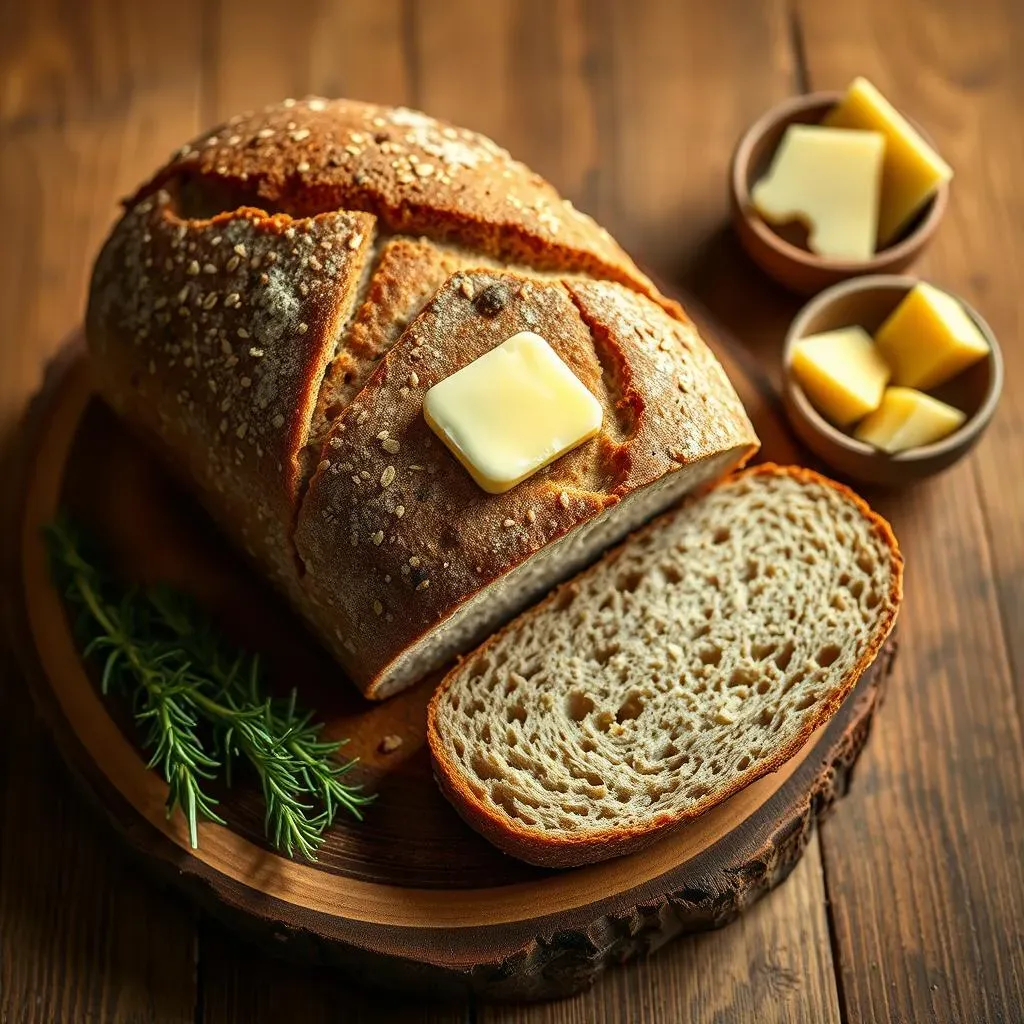
Ready to bake the most amazing bread you've ever tasted? This comprehensive guide dives deep into the art of creating a truly exceptional 7 grain sourdough bread recipe. Forget bland, store-bought loaves – we're about to embark on a journey to craft a crusty, flavorful, and deeply satisfying sourdough experience. This isn't just a recipe; it's a process, a blend of science and artistry that will transform your baking skills. We'll break down every step of the 7 grain sourdough bread recipe, from understanding the ingredients and their roles to mastering the delicate dance of fermentation and baking. We'll explore essential techniques, offer troubleshooting advice for common sourdough challenges, and share insider tips to elevate your baking game. Whether you're a seasoned sourdough pro or a curious beginner, this 7 grain sourdough bread recipe guide will equip you with the knowledge and confidence to create a masterpiece in your own kitchen. Prepare to be amazed by the results, and get ready to impress your friends and family with your newfound baking prowess!
Understanding the 7 Grain Sourdough Bread Recipe

Understanding the 7 Grain Sourdough Bread Recipe
The Magic of Grains
So, you're diving into the world of 7-grain sourdough? Fantastic! The beauty of this bread lies in the diverse array of grains. Each grain contributes unique flavors, textures, and nutritional benefits. Think of it as an orchestra of flavors – whole wheat for heartiness, rye for a tangy edge, oats for a subtle sweetness, and so on. The specific blend you choose will heavily influence the final product's taste and texture. Experimenting with different grain combinations is half the fun! For inspiration, check out our post on the amazing 00 flour sourdough recipe. It uses a different type of flour but the principles are the same. You'll discover how different grains can completely change the character of your bread.
A crucial aspect to grasp is the "soaker" method. This involves pre-soaking the grains in hot water. This step isn't just about hydration; it activates enzymes within the grains, unlocking their full flavor potential and improving digestibility. The soaking time varies depending on the grains; some need a quick soak, while others benefit from a longer one. The soaker method is key to unlocking the full potential of your grains. Want a super quick recipe? Check out our 3-ingredient sourdough bread recipe!
Grain | Flavor Profile | Texture Contribution |
|---|---|---|
Whole Wheat | Nutty, Earthy | Chewy, Dense |
Rye | Tangy, Spicy | Slightly Dense, Moist |
Oats | Sweet, Mild | Slightly Chewy |
Sourdough Starter: The Heart of the Matter
The sourdough starter is the beating heart of this recipe. It's a living culture of wild yeasts and bacteria, responsible for the bread's characteristic tang and unique flavor profile. A healthy, active starter is key to a successful bake. You'll need to feed your starter regularly to maintain its vigor. The timing and frequency of feeding depend on the ambient temperature and your starter's activity level. A strong, bubbly starter is a sign of its health, indicating it's ready to work its magic in your dough. Want to learn more about sourdough starters? Check out our ultimate guide on making sourdough starters!
Beyond just the starter's activity, its age and maturity also play a significant role. A younger starter might yield a milder tang, while a mature starter brings a more pronounced sourness. The balance between the tang and sweetness in your bread is partly determined by the starter's age and activity. Don't worry about getting it perfect right away. Practice makes perfect! For another recipe idea, check out this post on making french toast with sourdough bread.
- Maintain a healthy starter.
- Observe its activity level.
- Understand the role of starter age.
Flour Power: Types and Proportions
The type and proportion of flours you use significantly impact the texture and overall quality of your 7-grain sourdough. Bread flour, with its high protein content, provides structure and chewiness. Whole wheat flour adds depth of flavor and nutrients, but can also make the dough a bit more challenging to work with. The ratio of bread flour to whole wheat flour (or other flours) is a key factor in determining the final texture. A higher proportion of bread flour leads to a chewier loaf, while more whole wheat flour results in a denser, more rustic texture.
Experimentation is key! Don't be afraid to tweak the flour ratios to find your perfect balance. Some bakers even incorporate other flours, like rye or spelt, to add complexity. Consider the characteristics of each flour type when selecting your blend. Remember, the journey of sourdough baking is a continuous exploration of flavors and textures. If you want to make a truly crusty loaf, check out our recipe for crusty sourdough french bread!
Mastering the 7 Grain Sourdough Bread Baking Process

Mastering the 7 Grain Sourdough Bread Baking Process
Mixing and Kneading: The Foundation
Now that we've covered the ingredients, let's get our hands dirty! Mixing and kneading are crucial steps for developing gluten, the protein network responsible for the bread's structure. For a 7-grain sourdough, the process might be a little more involved due to the diverse range of grains. The dough might be stickier than a typical sourdough. This is where patience and the right technique come in. Gentle but thorough mixing is key. Over-kneading can lead to a tough loaf, while under-kneading results in a crumbly one. It's all about finding that sweet spot. For a visual guide, check out our video on the perfect kneading technique.
Many bakers find that using a stand mixer with a dough hook simplifies the process, especially with a high-hydration dough. However, hand-kneading can be just as effective, providing a more tactile experience. The method you choose depends on your preference and the tools you have available. You might find hand kneading more therapeutic. Whatever you choose, aim for a smooth and elastic dough that passes the windowpane test (stretching a small piece of dough until it's thin enough to see light through it without tearing).
- Mix gently but thoroughly.
- Avoid over-kneading.
- Aim for a smooth, elastic dough.
Bulk Fermentation: The Rise and Fall
Bulk fermentation is where the magic happens. This is the period when the yeast and bacteria in your sourdough starter are hard at work, producing gases that give your bread its airy texture. The length of bulk fermentation depends on several factors, including the temperature of your environment, the activity of your starter, and the type of flour you used. A warmer environment leads to a faster fermentation, while a cooler one slows it down. It's all about observation. Look for signs of active fermentation: the dough will rise, and you'll see bubbles forming on its surface.
During bulk fermentation, you'll likely perform a series of "stretch and folds." This technique gently strengthens the gluten structure and distributes the yeast evenly throughout the dough. These folds are gentle manipulations of the dough, helping to build strength and structure and to evenly distribute the yeast and bacteria within the dough. The number of folds and the timing between them depend on your dough's behavior. A skilled baker can tell when the dough needs a fold. Don't be afraid to experiment to find what works best for your recipe and environment. The key is to patiently allow the dough to rise to its full potential.
Factor | Impact on Fermentation |
|---|---|
Temperature | Warmer = faster; Cooler = slower |
Starter Activity | More active = faster |
Flour Type | Different flours ferment at different rates |
Shaping and Proofing: The Final Flourishes
Once the bulk fermentation is complete, it's time to shape your dough. This step is crucial for achieving the desired loaf shape and for creating surface tension, which contributes to a beautiful crust. For a 7-grain sourdough, the dough might be quite sticky, so work with floured hands or a lightly floured surface. Gentle shaping is key to avoid deflating the dough. There are various shaping techniques, from simple boules (round loaves) to more intricate designs. Choose a technique that suits your skill level and desired aesthetic. For more detailed instruction, check out our guide to sourdough shaping techniques.
After shaping, the dough undergoes a final rise, called proofing. During this time, the dough continues to ferment, developing flavor and texture. The proofing time depends on the temperature and the dough's condition. It's essential to observe the dough carefully. It should rise but not overproof, which can lead to a collapsed loaf. The proofing environment should be warm and humid to encourage a gentle rise. Once proofed, your dough is ready for baking. For tips on proofing, check out our article on the best ways to proof sourdough bread.
Baking: The Grand Finale
The baking process is the culmination of all your previous efforts. The oven's heat transforms the dough, creating a crusty exterior and a fluffy interior. Preheating your oven to a high temperature is crucial for creating a good oven spring (the initial rapid rise of the dough in the oven). Using a Dutch oven or a covered baking vessel helps trap steam, leading to a softer crumb. Baking times vary depending on the size of your loaf and your oven's characteristics. A reliable oven thermometer is an excellent investment.
Keep a close eye on your bread as it bakes. The crust should develop a deep golden-brown color, and the internal temperature should reach the appropriate level (around 200-210°F). Use an instant-read thermometer to ensure your loaf is perfectly baked. Once baked, let the bread cool completely on a wire rack before slicing and serving. This allows the crumb to set properly and prevents a soggy loaf. For a detailed guide to baking sourdough, see our sourdough baking guide.
- Preheat your oven thoroughly.
- Use a Dutch oven or covered baker.
- Monitor the baking process closely.
- Cool completely before slicing.
Tips and Tricks for the Perfect 7 Grain Sourdough Bread
Tips and Tricks for the Perfect 7 Grain Sourdough Bread
Water is Your Friend (and Enemy)
Getting the hydration right is crucial for a 7-grain sourdough. Too little water, and your dough will be stiff and difficult to work with; too much, and it'll be a sticky mess. The ideal hydration level depends on several factors, including the type of flour you're using and the absorption rate of your grains. Start with the recipe's suggested hydration, and then adjust as needed based on how your dough feels. Don't be afraid to add a little extra water if the dough seems too dry, or a little more flour if it's too wet. Remember, experience is the best teacher!
A great way to get a feel for your dough's hydration is to perform the windowpane test. This involves stretching a small piece of dough until it's thin enough to see light through it without tearing. If your dough tears easily, it needs more water; if it stretches easily and forms a thin, translucent membrane, you've nailed it! For more on hydration, check out this post on . It's a different type of flour, but the hydration principles are the same.
Hydration Level | Dough Consistency |
|---|---|
Low | Stiff, difficult to work with |
Medium | Smooth, elastic |
High | Sticky, but workable |
Temperature Control: The Goldilocks Zone
Temperature plays a significant role in sourdough fermentation. Too cold, and your yeast will be sluggish; too hot, and they'll be overworked and produce off-flavors. Aim for a consistent temperature throughout the fermentation process. A warm kitchen is ideal, but you might need to use a proofing box or a warm oven (turned off) if your kitchen is too cool. Monitor the temperature regularly using a thermometer. This is especially important during bulk fermentation and proofing. Remember, consistent temperature is key to a successful bake.
Consider using a thermometer to monitor your dough's temperature during fermentation. This will give you a better understanding of how the temperature affects the fermentation process. You'll learn to adjust your proofing time accordingly, ensuring your bread rises properly. For a deeper dive into temperature control, check out our guide on .
- Maintain a consistent temperature.
- Use a thermometer to monitor dough temperature.
- Adjust proofing time as needed.
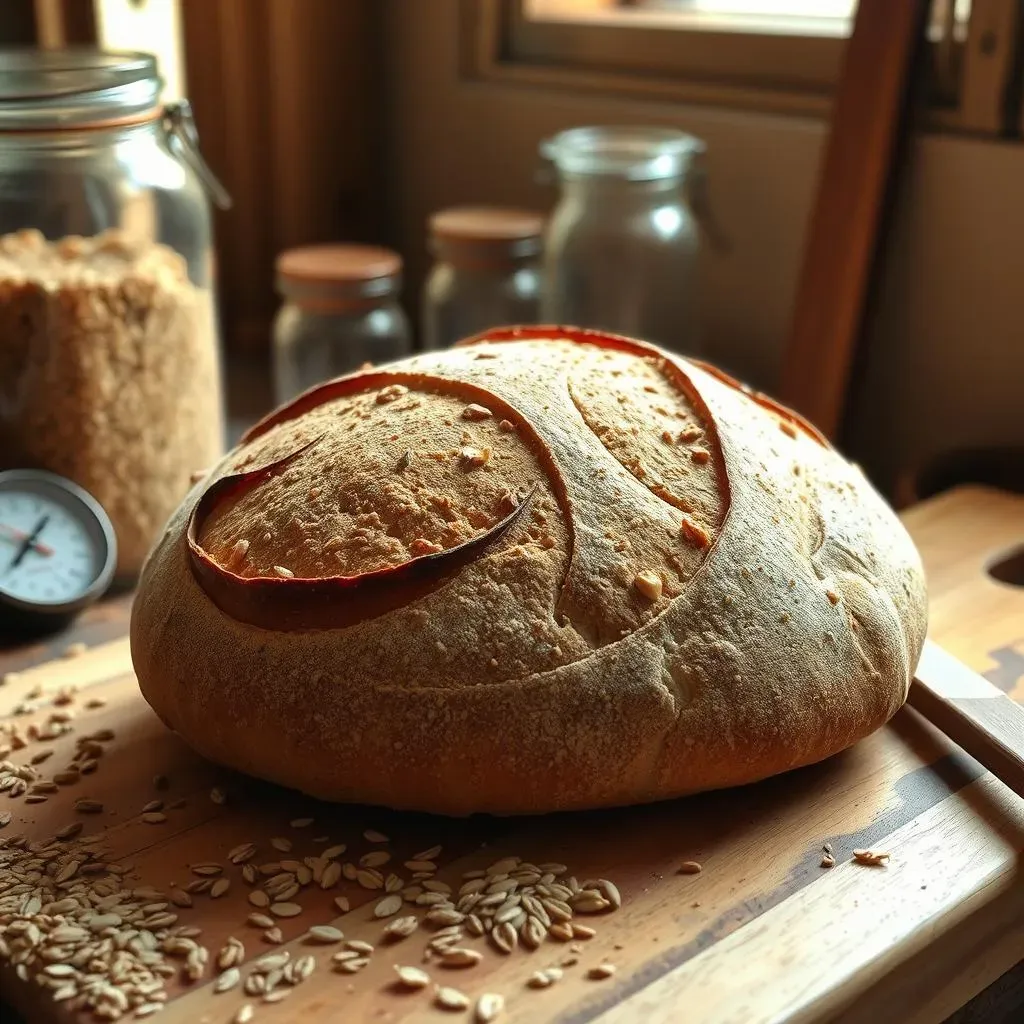
The Art of Scoring: Unleash Your Creativity
Scoring your dough before baking is more than just aesthetics; it controls the direction of oven spring, preventing the loaf from bursting unpredictably. Different scoring patterns create different loaf shapes and crust textures. Start with simple slashes, and then experiment with more intricate designs as you gain confidence. A sharp lame or razor blade is the best tool for scoring. A dull blade will tear the dough, rather than creating clean cuts. Practice makes perfect. Don't be afraid to experiment with different scoring techniques.
For inspiration, browse online for various scoring patterns and try them out on your dough. You'll be surprised at how much a simple score can affect the final look and feel of your loaf. Check out this post about for some great scoring ideas. Remember, scoring is part of the fun!
Baking with Confidence: Oven Spring and Beyond
Oven spring is the magical initial rise your dough experiences in the hot oven. This is what gives your sourdough that beautiful, airy texture. To enhance oven spring, preheat your oven to a high temperature (usually around 450°F or 232°C) and use a Dutch oven or covered baker to trap steam. The steam creates a moist environment in the oven, which encourages a vigorous rise. Baking in a Dutch oven also helps to produce a beautifully browned crust.
Don't forget to use an oven thermometer to ensure your oven is at the correct temperature. A simple oven thermometer placed inside your oven can help you avoid any surprises. Remember that ovens can vary significantly in their temperature accuracy. Using an oven thermometer is a small detail that goes a long way in achieving consistent results. For more information about baking sourdough, check out our .
Tip | Benefit |
|---|---|
High oven temperature | Enhances oven spring |
Dutch oven or covered baker | Traps steam, creates softer crumb |
Oven thermometer | Ensures accurate temperature |