Table of Contents
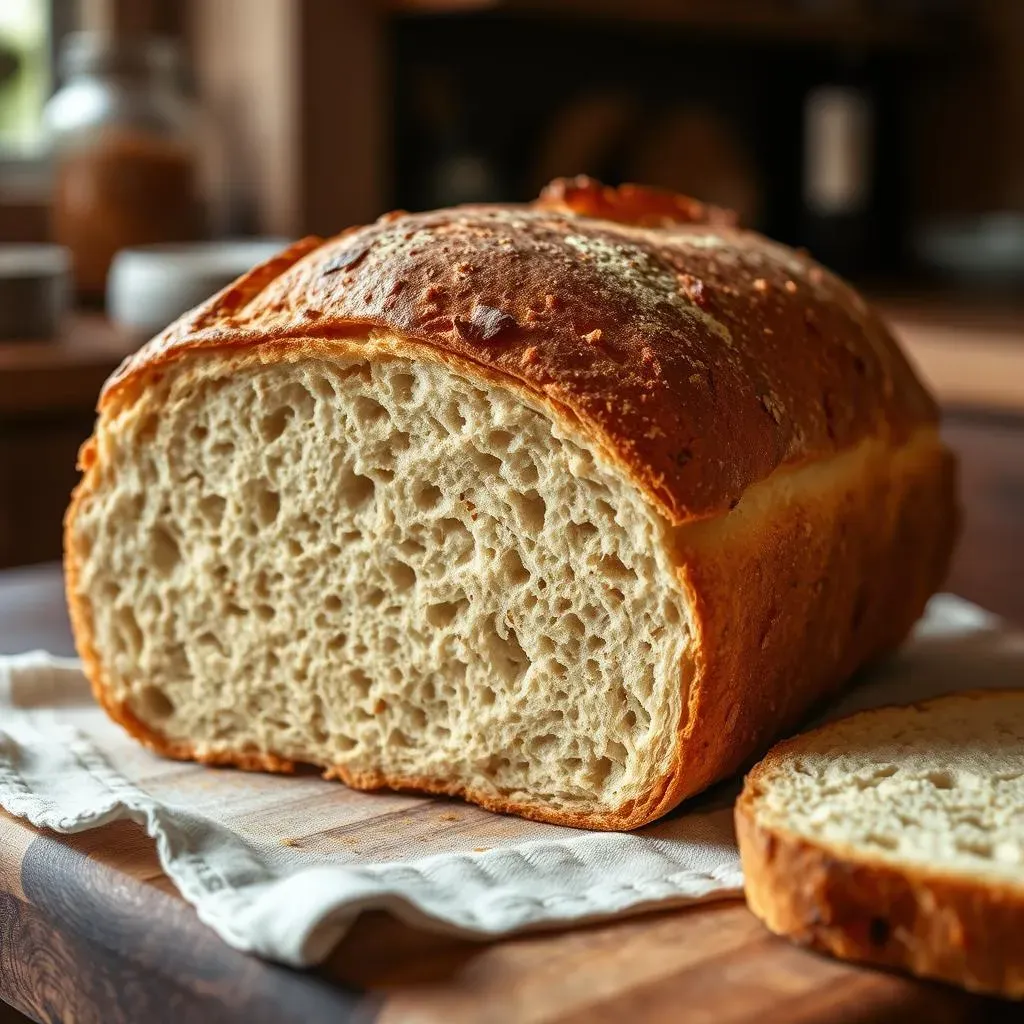
Let's face it: the allure of freshly baked sourdough bread is undeniable, but the traditional recipe often involves a multi-day commitment. Who has time for that? Life's too short to wait! That's why we've cracked the code to a faster, tastier loaf with our revolutionary 6 hour sourdough bread recipe. This isn't some quick bread masquerading as sourdough; this recipe delivers the authentic tang and satisfying chew you crave, all within a remarkably short timeframe. Prepare to be amazed as we unveil the secrets behind this accelerated fermentation process, guiding you through each crucial step with crystal-clear instructions and helpful tips. We'll explore the science behind the speed, examine the essential tools and ingredients, walk you through a simple step-by-step baking process, and equip you with troubleshooting advice to handle any baking hiccups. Get ready to elevate your baking game with a 6 hour sourdough bread recipe that's both efficient and incredibly delicious. Let's get baking!
The Science Behind a Speedy 6Hour Sourdough Bread Recipe
The Science Behind a Speedy 6Hour Sourdough Bread Recipe
So, you want to bake sourdough in just 6 hours? That sounds crazy, right? Well, it's not magic, it's science! The key is understanding how we can manipulate the natural fermentation process to speed things up without sacrificing flavor or texture. Traditional sourdough relies on long, slow fermentation to develop complex flavors and a light, airy crumb. This happens because the wild yeasts and bacteria in your starter produce carbon dioxide, which causes the dough to rise, and organic acids, which give sourdough its distinctive tang. The longer the fermentation, the more pronounced these effects become. However, by carefully controlling factors like temperature, hydration, and the amount of starter used, we can accelerate this process. A warmer environment encourages faster yeast activity, resulting in quicker rising times. Higher hydration doughs, while trickier to work with, can also ferment more rapidly due to increased surface area for the microbes. Finally, using a more active starter will help speed up the whole process. This recipe uses a high-hydration dough and a strong, active starter, which along with a warmer environment, allows for a much faster rise. Think of it like this: we're giving the sourdough microbes the perfect conditions to work their magic at warp speed!
But don't worry, even with this accelerated process, we're still getting that delicious sourdough flavor. The organic acids produced during fermentation are still developing, just at a faster rate. It's all about finding the sweet spot between speed and flavor development. And trust me, this recipe delivers on both fronts. For a more in-depth look at sourdough fermentation, check out our .
Factor | Effect on Fermentation Speed |
|---|---|
Temperature | Warmer temperatures speed up yeast activity |
Hydration | Higher hydration increases surface area for microbes |
Starter Activity | A more active starter leads to faster rising |
This 6-hour method isn't about shortcuts; it's about optimization. We're not compromising the integrity of the sourdough process; instead, we're refining it for modern life. Want to learn more about the different types of sourdough bread? Our might interest you.
- High hydration dough
- Active starter
- Controlled temperature
One of the most common questions we get is about the type of flour to use. Many bakers swear by 00 flour, and you can learn more in our post on . But for this recipe, we recommend high-protein bread flour for its strength and ability to hold the structure of the dough.
Essential Tools and Ingredients for Your 6Hour Sourdough Bread
Essential Tools and Ingredients for Your 6Hour Sourdough Bread
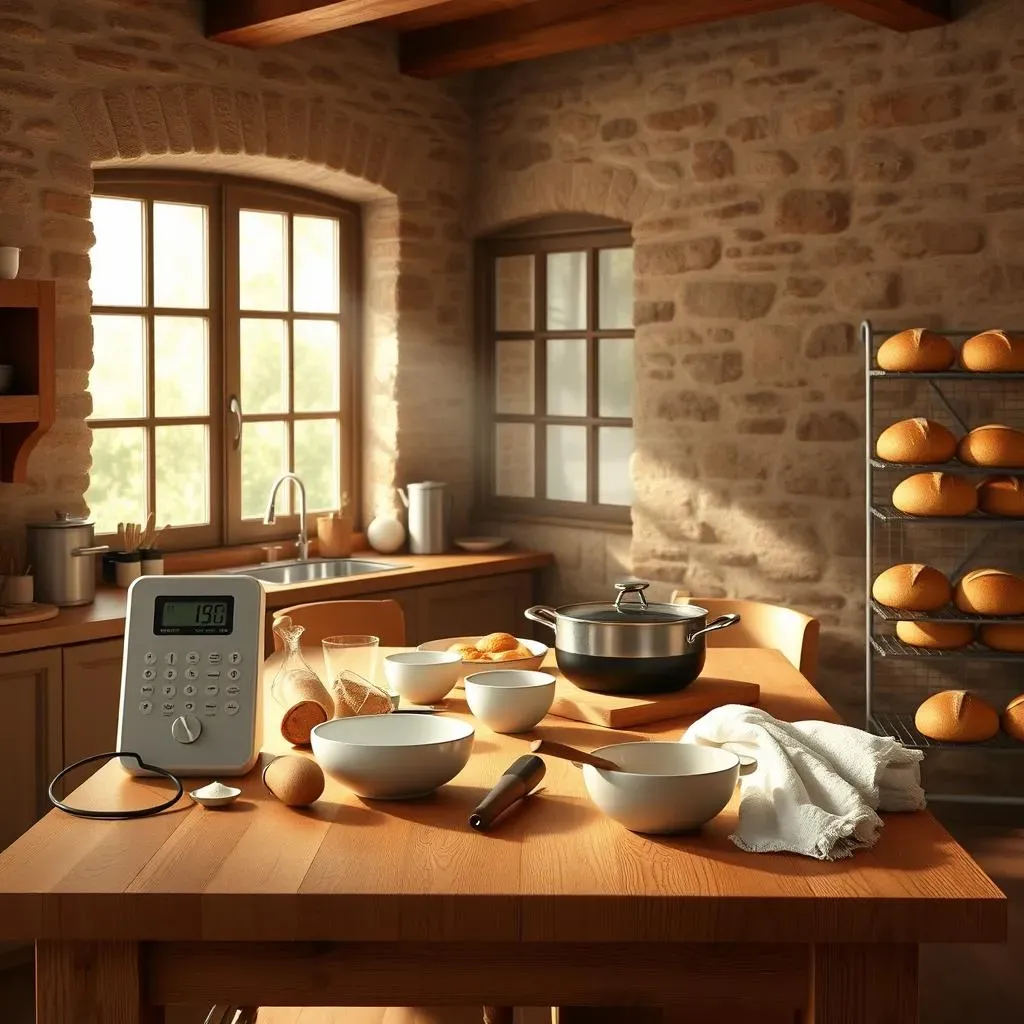
Alright, let's talk tools and ingredients! Having the right equipment makes all the difference in achieving a perfect 6-hour sourdough loaf. Don't worry, you don't need a fancy, top-of-the-line kitchen – just a few essential items. First, you'll need a digital kitchen scale. This is crucial for accurate measurements, especially when dealing with sourdough, where precision is key to success. Trust me, ditching the measuring cups and embracing the scale will significantly improve your results. For a deeper dive into essential baking tools, check out our guide on .
- Digital Kitchen Scale
- Mixing Bowls (various sizes)
- Spatula or Dough Scraper
Next up, you'll need a few mixing bowls of varying sizes. One large bowl will be your main mixing station, while smaller bowls are perfect for pre-measuring ingredients. A spatula or dough scraper will come in handy for mixing and shaping the dough. And don't forget about a good quality Dutch oven or a similar oven-safe pot with a lid. The Dutch oven is essential for trapping moisture and creating that signature crispy crust. Thinking about other types of bread? Our post on might help you decide what to bake next!
Ingredient | Purpose |
|---|---|
Active Sourdough Starter | Provides yeast and flavor |
High-Protein Bread Flour | Structure and strength |
Water | Hydration and fermentation |
Salt | Flavor and dough development |
Now, let's talk ingredients. The star of the show is, of course, your active sourdough starter. Make sure it's bubbly and lively – this is crucial for a quick fermentation. We'll use high-protein bread flour for its strength and ability to create a beautiful, open crumb. Water provides hydration and is essential for fermentation. Finally, salt adds flavor and controls the yeast activity. Looking for a simple starter recipe? Check out our recipe!
Beyond the basics, you might want to consider adding some extra flair. A few seeds (sunflower, poppy, flax) sprinkled on top before baking add visual appeal and a nice textural element. If you're feeling adventurous, consider adding herbs or even cheese to your dough. But for your first 6-hour sourdough, stick to the basics to master the technique. Want to experiment with different flours? Our post on is a great place to start!
StepbyStep Guide: Baking a 6Hour Sourdough Bread Recipe

StepbyStep Guide: Baking a 6Hour Sourdough Bread Recipe
Mixing the Dough: The Foundation of Flavor
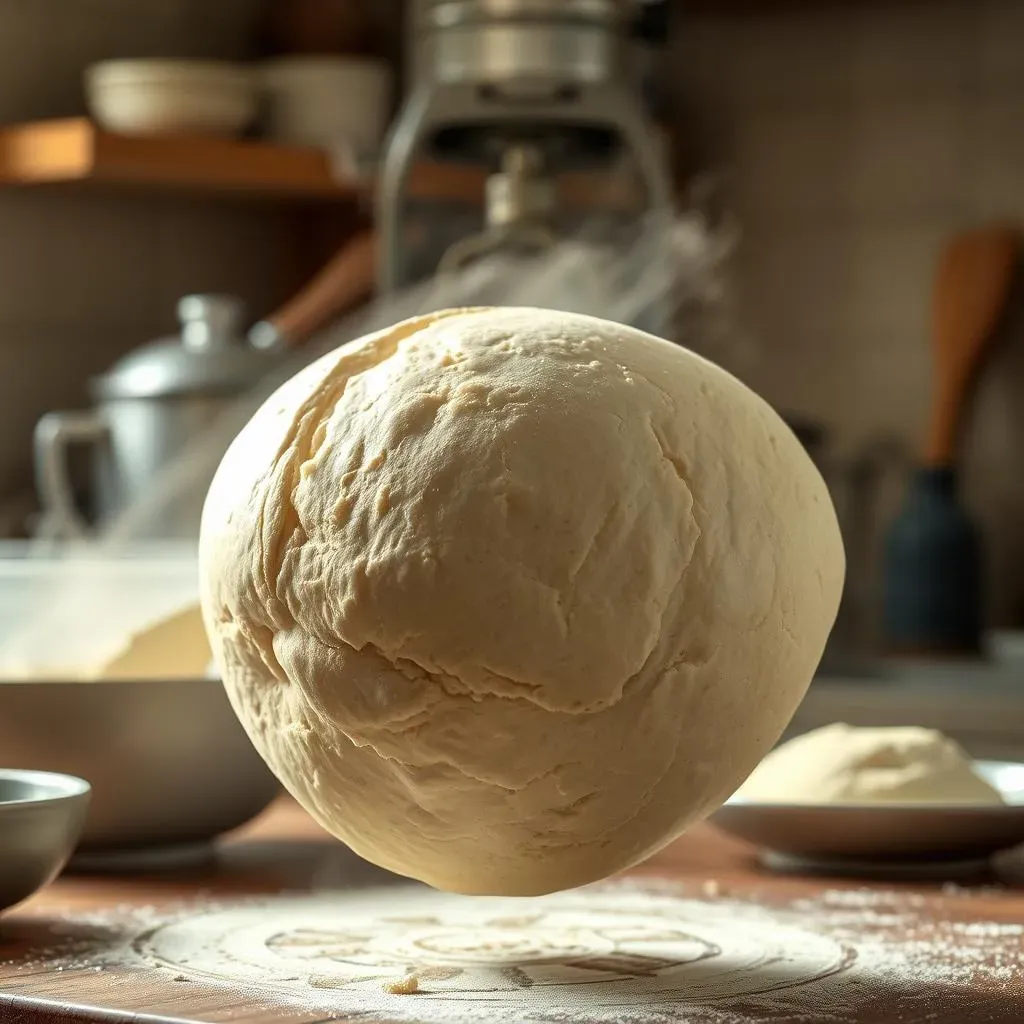
Let's get our hands dirty! Begin by accurately weighing your ingredients using your trusty digital scale. Combine your active sourdough starter with lukewarm water in a large bowl. Give it a gentle whisk to ensure the starter is fully incorporated. Now, add your high-protein bread flour and salt. Mix everything together using a spatula or your hands until a shaggy dough forms. Don't overmix at this stage; just aim for a rough, cohesive dough. This is where the magic starts!
This initial mixing is crucial; it’s the foundation upon which your 6-hour sourdough marvel will be built. A well-hydrated, properly mixed dough is key to rapid fermentation and a satisfying texture. For more tips on mixing sourdough dough, check out our guide on .
- Accurate measurements are crucial
- Mix until a shaggy dough forms
- Avoid overmixing
Bulk Fermentation: The Rise to Success
Now comes the crucial bulk fermentation stage. Transfer your dough to a lightly oiled bowl, cover it with plastic wrap, and let it rest in a warm spot (around 75-80°F). During this time, the yeasts and bacteria in your starter will work their magic, producing carbon dioxide and organic acids. You'll notice the dough increasing in volume, and it'll become more relaxed and easier to handle. The goal is a 50-75% increase in volume – this usually takes around 2-3 hours depending on your environment.
During the bulk fermentation, you can perform a few stretch and folds to develop the gluten structure of your dough, making it stronger and more elastic. This is optional but helps create a more open crumb. For a visual guide and more detailed instructions, take a look at our helpful post on .
Time | Action |
|---|---|
0-30 minutes | Rest |
30-60 minutes | Stretch and folds (optional) |
60-90 minutes | Rest |
90-120 minutes | Stretch and folds (optional) |
Shaping and Baking: The Final Flourishes
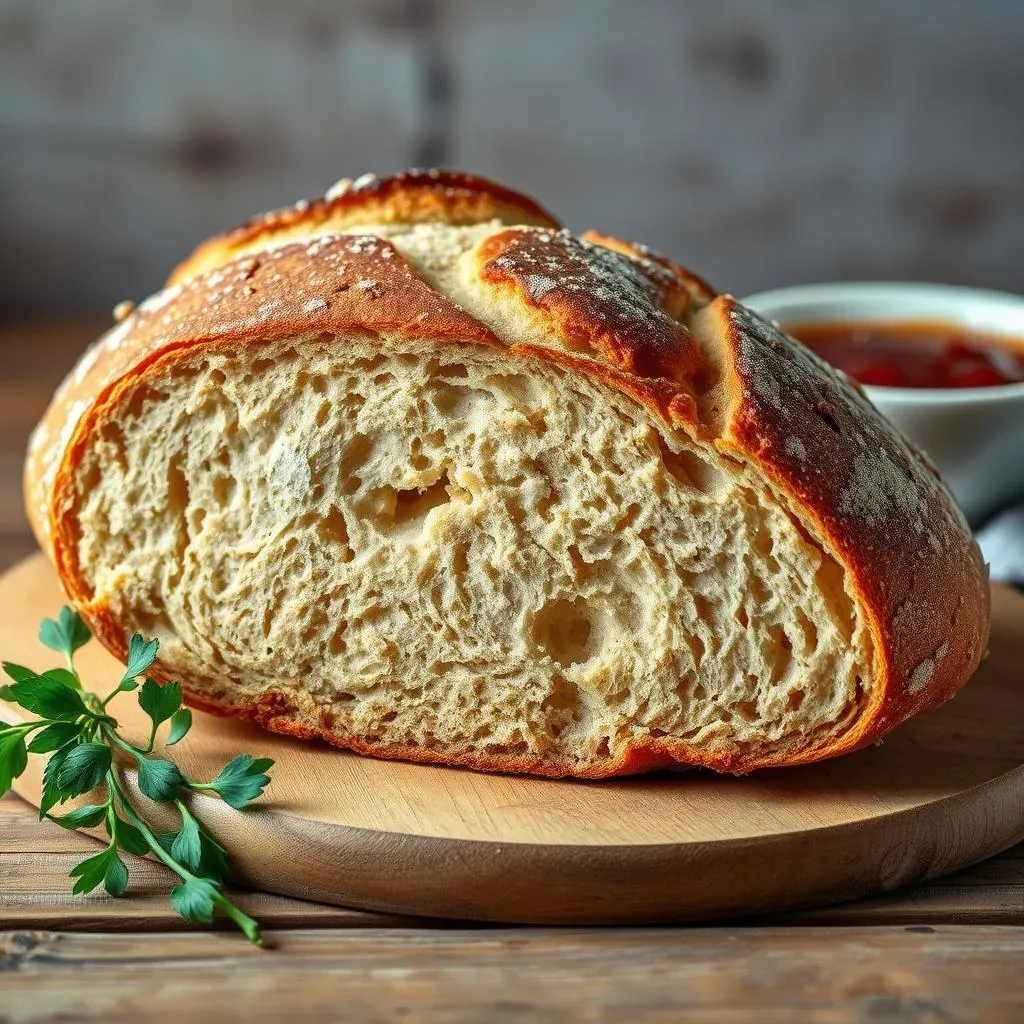
Once your dough has reached the desired volume, it's time to shape it. Gently turn the dough out onto a lightly floured surface. Shape it into a round boule or a rustic oval. This shaping process helps create tension in the dough, contributing to a better oven spring. Place the shaped dough into a floured banneton or bowl, seam-side up, and cover it. Let it rest for another 30 minutes at room temperature for a final proof. This allows the dough to relax and prepare for the oven.
Preheat your oven to 450°F (230°C) with your Dutch oven inside. Carefully transfer the dough from the banneton to the preheated Dutch oven, using parchment paper to prevent sticking. Score the top of the dough with a sharp knife or lame to allow steam to escape during baking. Cover the Dutch oven and bake for 20-25 minutes. Then, remove the lid and bake for another 15-20 minutes, or until the crust is golden brown and the internal temperature reaches 205-210°F (96-99°C). Let the bread cool completely on a wire rack before slicing and enjoying your delicious, quick sourdough!
Troubleshooting Tips for Your 6Hour Sourdough Bread Recipe
Troubleshooting Tips for Your 6Hour Sourdough Bread Recipe
My Dough is Too Sticky!
Ah, the sticky dough dilemma – a common sourdough struggle! This often happens due to incorrect hydration or a weak starter. If your dough is too wet, you might need to reduce the water amount slightly next time. Remember, accurate measurements are crucial with sourdough. Our guide might help you create a stronger starter.
If your starter isn't up to par, it might not be producing enough gas for the quick rise. Try feeding your starter more frequently before baking to ensure it's active and bubbly. For more on starter care, check out our complete guide on .
- Check your hydration levels.
- Ensure your starter is active and bubbly.
- Try a different flour (high protein works best).
My Bread Didn't Rise Enough!
A flat loaf is disheartening, but there are several reasons why your 6-hour sourdough might not have risen to its full potential. A weak starter is a major culprit; a sluggish starter won't produce enough gas for a good rise. Make sure your starter is at its peak activity before you begin. Consider checking our post on to see if you need to adjust your flour choice.
Another possibility is under-fermentation. Ensure your dough has reached the target volume increase during bulk fermentation before shaping and proofing. Remember, a warmer environment speeds up fermentation, so consider adjusting your baking location. Sometimes, even a slightly cooler kitchen can throw off your timing. For more on proofing, refer to our guide on .
Problem | Possible Cause | Solution |
|---|---|---|
Insufficient rise | Weak starter | Feed starter more frequently |
Insufficient rise | Under-fermentation | Increase bulk fermentation time or temperature |
My Crust is Too Hard or Too Soft!
The perfect sourdough crust is a delicate balance of crispness and chewiness. If your crust is too hard, you might have overbaked it. Next time, monitor the internal temperature closely and remove the bread from the oven when it reaches the desired temperature (205-210°F). Consider adjusting your baking time to achieve a slightly softer crust. For more on baking times, refer to our recipe for guidance.
Conversely, a soft crust might indicate underbaking. Ensure your oven is properly preheated and that your dough has achieved sufficient oven spring. Using a Dutch oven helps retain moisture, leading to a softer crumb but a crispier crust. For alternative baking methods, check out our post on to see what works best for you.