
Table of Contents
Have you ever dreamed of baking bread so good, it earns five stars? This article is your guide to achieving just that! We'll take you on a journey to crafting the ultimate 5-star sourdough bread recipe, from understanding the nuances of a thriving sourdough starter to mastering essential baking techniques. Forget store-bought loaves; prepare to elevate your baking game to a whole new level. Inside, you'll find a detailed, step-by-step 5-star sourdough bread recipe, ensuring even beginners can achieve bakery-quality results. We'll explore the secrets to a perfectly active starter, the key to unlocking that signature tangy flavor and airy crumb. We'll also reveal essential tips and tricks – from the ideal scoring techniques to troubleshooting common problems – guaranteeing consistent success. Get ready to impress your friends and family with a loaf so delicious, they'll be begging for more. Let's embark on this exciting culinary adventure together and unlock the secrets to your very own 5-star sourdough bread recipe!
The Ultimate 5Star Sourdough Bread Recipe: A StepbyStep Guide
The Ultimate 5Star Sourdough Bread Recipe: A StepbyStep Guide
Getting Started: Ingredients and Equipment
Before we dive into the baking process, let's gather our essential ingredients and tools. You'll need active sourdough starter (check out our guide on if you're unsure!), high-quality flour (bread flour is ideal, but all-purpose works in a pinch), water, and salt. For equipment, a large mixing bowl, a kitchen scale (highly recommended for accuracy), a banneton basket (optional, but helpful for shaping), and a Dutch oven (for that perfect crust) are essential. Don't forget parchment paper to line your Dutch oven!
Once you have everything ready, we can begin mixing the dough. The exact measurements will depend on the size of loaf you desire, but a typical recipe involves combining the flour, water, starter, and salt in your mixing bowl. Remember, using a scale ensures consistent results. Gradually combine the ingredients until a shaggy dough forms. We'll then move on to the crucial step of bulk fermentation, where the magic of sourdough truly happens. For more information on this part of the process, check out our guide on for more information.
Ingredient | Quantity (example) |
|---|---|
Active Sourdough Starter | 200g |
Bread Flour | 500g |
Water | 350g |
Salt | 10g |
Bulk Fermentation and Shaping: The Art of Sourdough
After mixing the dough, cover the bowl and let it rest for a period of bulk fermentation. This is where the dough rises and develops flavor. The time required depends on factors such as room temperature and starter activity. You'll notice the dough expanding and becoming more airy. During bulk fermentation, we will perform stretch and folds, gently stretching and folding the dough to strengthen the gluten structure and promote even rising. This step is key to achieving that desirable open crumb. For more tips on this, take a look at our to sourdough French bread.
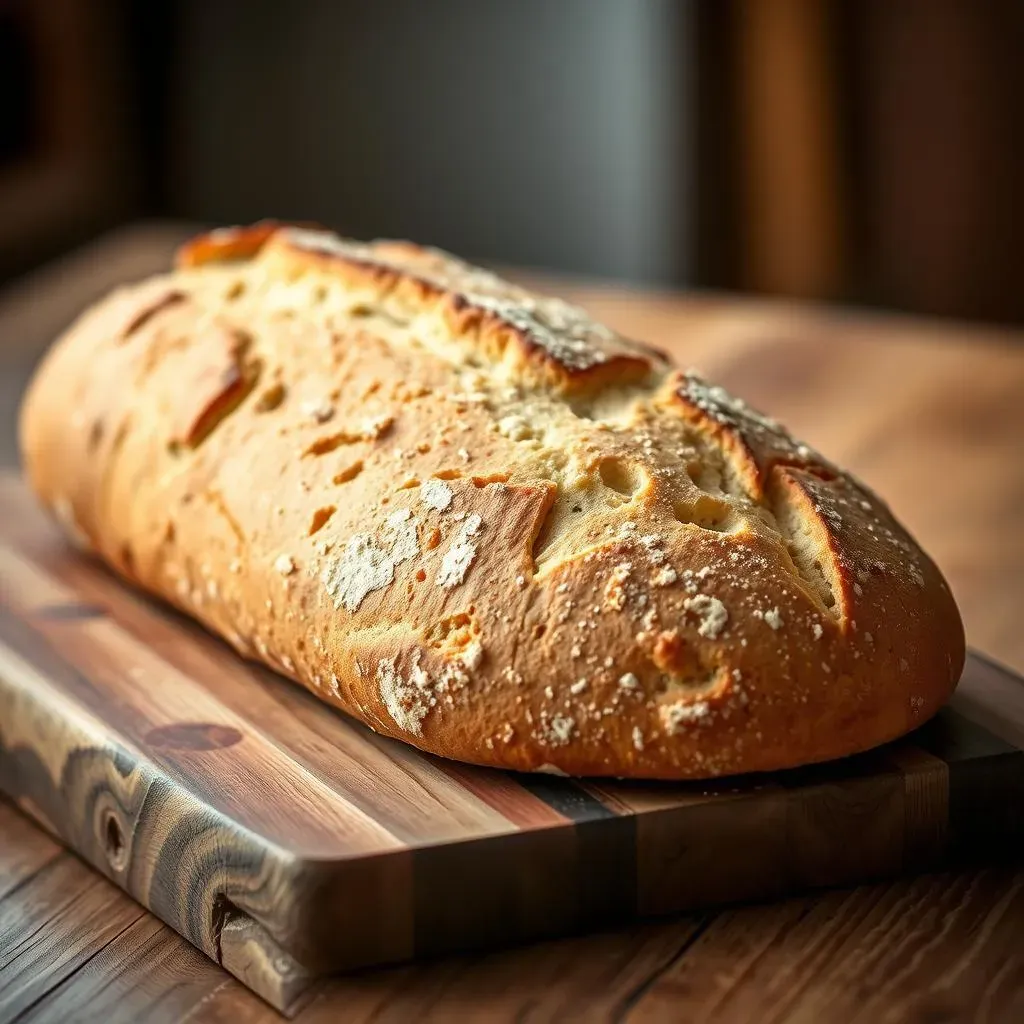
Once bulk fermentation is complete, it’s time to shape the dough. Gently turn the dough onto a lightly floured surface. Shape it into a boule (round) or batard (oval) – your choice! Then, place the shaped dough into a banneton basket lined with a floured cloth. The banneton helps to maintain the shape of the dough during the final proof. This final proof, often done in the refrigerator, allows for a slow, controlled rise. You can find more shaping techniques in our post on .
- Mix ingredients thoroughly.
- Perform stretch and folds.
- Shape the dough gently.
- Proof in the refrigerator.
Mastering the Sourdough Starter: Your Key to 5Star Success
Mastering the Sourdough Starter: Your Key to 5Star Success
Understanding Your Starter
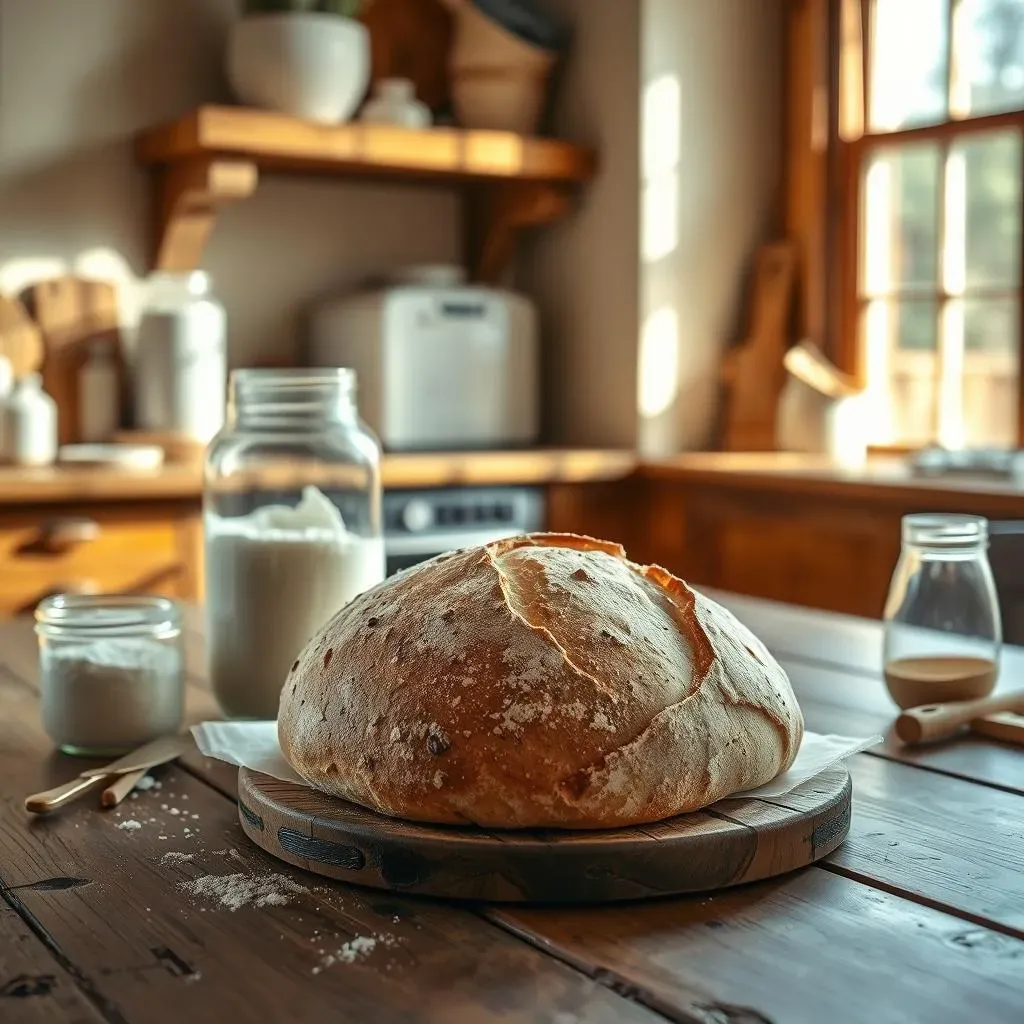
Your sourdough starter is the heart and soul of your bread. It's a living ecosystem of wild yeasts and bacteria, and its health directly impacts the final product. A strong, active starter is the foundation for a 5-star loaf. Think of it as a tiny, bubbly friend that needs proper care and feeding! A happy starter will be bubbly, light, and have a pleasant, slightly tangy aroma. If your starter isn't behaving as expected, don't worry; we have a comprehensive guide on troubleshooting common sourdough starter issues. Check out our for more details.
Feeding your starter regularly is crucial. This involves discarding a portion of the starter and then adding fresh flour and water. The frequency of feeding depends on whether it’s stored in the fridge or at room temperature. A refrigerated starter needs feeding less frequently, about once a week, while a room-temperature starter might need feeding daily or every other day. The goal is to maintain a healthy balance, ensuring your starter remains active and ready for baking. For more information on feeding schedules, see our .
Feeding Frequency | Storage Location |
|---|---|
Weekly | Refrigerator |
Daily/Every Other Day | Room Temperature |
Recognizing a Healthy Starter
Knowing when your starter is ready to bake with is key. A healthy, active starter will have a bubbly, airy texture, almost like a sponge. It should also have doubled in size since its last feeding. You can perform a simple float test: drop a small spoonful of starter into a glass of water. If it floats, it's ready to go! If it sinks, it needs more time to ferment. Remember, patience is key! A well-fed, active starter is essential for a successful bake. For more detail on recognizing a healthy starter, see our post on .
The appearance and smell of your starter provide valuable clues. A healthy starter will generally have a light, slightly acidic aroma, while an unhealthy starter might smell off or have an unpleasant odor. It's important to note that the exact smell and appearance can vary depending on the type of flour and water you're using. But a sour, slightly alcoholic smell is a good sign. If you're unsure about your starter's health, it's always best to err on the side of caution and wait until it shows clear signs of activity before using it in your recipe. Learn more about starter health with our .
- Bubbly and airy texture
- Doubled in size since last feeding
- Floats in water test
- Pleasant, slightly acidic aroma
Maintaining Your Starter for Long-Term Success
Once you have a healthy starter, you want to keep it that way! Proper storage is crucial for maintaining its activity. If you plan to bake regularly, keeping your starter at room temperature and feeding it frequently is ideal. For less frequent baking, refrigerating your starter is a good option. This slows down its activity, requiring less frequent feeding. For long-term storage, you can even freeze your starter. You can find more information on this in our detailed guide about .
Remember, your starter is a living organism. It needs consistent care and attention, but the reward is worth the effort! With proper care, your starter can last for years, providing you with a constant supply of delicious, homemade sourdough bread. It's a rewarding experience to nurture your own starter and see it thrive, baking bread time and time again. Don't hesitate to experiment and find what works best for you and your baking schedule. For more tips on long-term starter care, check out our tips on .
Essential Tips and Tricks for a Perfect 5Star Sourdough Loaf

Essential Tips and Tricks for a Perfect 5Star Sourdough Loaf
Flour Power: Choosing the Right Flour
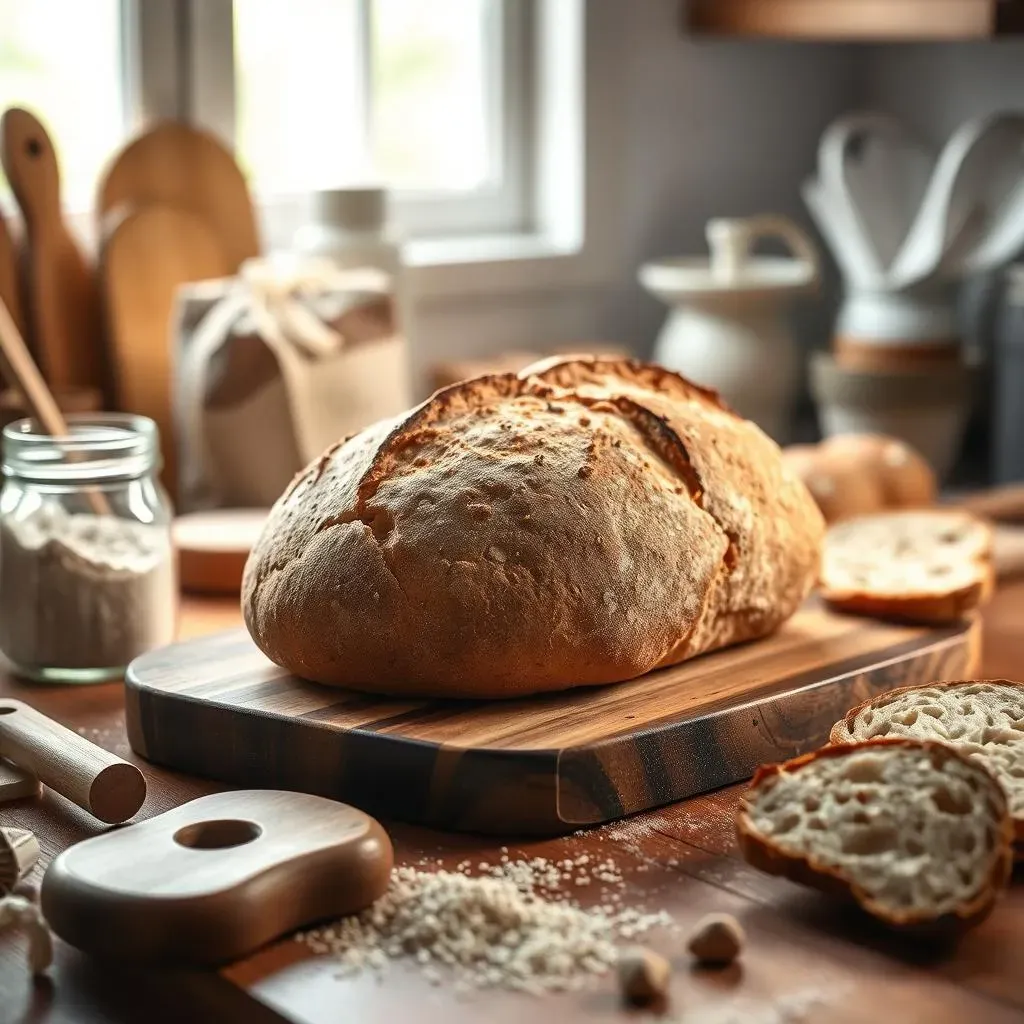
The type of flour you choose significantly impacts your sourdough's texture and flavor. Bread flour, with its higher protein content, is generally preferred for its ability to create a strong gluten network, resulting in a chewier crumb and better rise. All-purpose flour can work, but you might get a slightly denser loaf. Experimenting with different flours – like whole wheat or rye – can add unique flavors and textures. For a truly exceptional loaf, consider using freshly milled flour; it often produces a more nuanced flavor profile. For more ideas on flour choice, check out our recipe using 00 flour: .
Beyond flour type, the quality of your flour matters. Look for organic, high-protein options whenever possible. The protein content directly influences gluten development, which is vital for that beautiful, airy crumb. The freshness of your flour also plays a role; older flour can sometimes lead to a less satisfactory rise. Storing your flour properly in an airtight container in a cool, dry place helps maintain its quality. For a simpler recipe, try our .
- Bread flour for best results
- Consider organic, high-protein options
- Store flour properly
Water Wisdom: Hydration and Temperature
The water you use is just as important as the flour. The ratio of water to flour (hydration) significantly affects the dough's consistency. Higher hydration leads to a more open crumb, but it can be trickier to handle. Lower hydration results in a denser loaf but is easier to work with. Find the sweet spot that suits your skill level and preferences. For a deeper dive into hydration, check out our .
Water temperature also influences the fermentation process. Using lukewarm water (around 70-75°F or 21-24°C) is generally recommended as it allows for optimal yeast activity. Colder water slows down fermentation, while hotter water can kill the yeast. Using a thermometer to ensure the correct water temperature is highly recommended, especially when you're starting. For another great recipe, try our .
Hydration Level | Crumb Texture | Dough Handling |
|---|---|---|
High (80%+) | Open and airy | Trickier |
Low (65%-75%) | Denser | Easier |
Troubleshooting Common Sourdough Problems: Achieving 5Star Results Every Time
Troubleshooting Common Sourdough Problems: Achieving 5Star Results Every Time
Flat or Dense Loaves: Diagnosing the Issue
Ah, the dreaded flat loaf! This is a common sourdough woe, often stemming from a few key culprits. An underactive starter is a prime suspect; it simply doesn't have the oomph to provide a good rise. Insufficient bulk fermentation is another common cause; the dough hasn't had enough time to develop the necessary gas bubbles. Finally, improper shaping can also contribute to a flat loaf. Don't worry, though! These issues are easily addressed with a little attention to detail. Remember to check the activity of your starter before you begin baking, ensuring it’s bubbly and active.
Over-proofing is another reason for a flat loaf. This happens when the dough rises too much before baking, causing the gluten structure to break down. This results in a flat, dense loaf with little to no rise. To avoid this, carefully monitor the rise during bulk fermentation and pay close attention to the "poke test." If the dough feels too soft and doesn't spring back when poked, it's likely over-proofed. For more detailed information about bulk fermentation, take a look at our . A proper understanding of the fermentation process is key to avoiding over-proofing.
- Check starter activity
- Ensure sufficient bulk fermentation
- Proper shaping techniques
- Avoid over-proofing
Gummy or Under-Developed Crumb: Addressing Texture Issues
A gummy crumb is another common sourdough problem. It often indicates under-fermentation, meaning the dough hasn't had sufficient time to develop the necessary flavor and texture. This can be due to a weak starter or insufficient bulk fermentation time. Remember, patience is a virtue in sourdough baking! Allow ample time for the dough to ferment and develop its full potential. Under-baking can also contribute to a gummy texture; ensure the internal temperature of your loaf reaches the ideal range (around 205-210°F).
On the other hand, an overly dense crumb can be a sign of under-mixing or insufficient gluten development. The stretch and folds during bulk fermentation are crucial for building gluten strength. If you're not performing enough stretch and folds, or if your technique is weak, the gluten won't develop properly, resulting in a dense crumb. For more tips on proper mixing and gluten development, see our guide to . Remember, consistent, gentle handling during the stretch and folds is key. For more information on crumb development, check out our detailed guide on .
Problem | Possible Cause | Solution |
|---|---|---|
Gummy crumb | Under-fermentation | Increase bulk fermentation time |
Dense crumb | Insufficient gluten development | Perform more stretch and folds |