Table of Contents
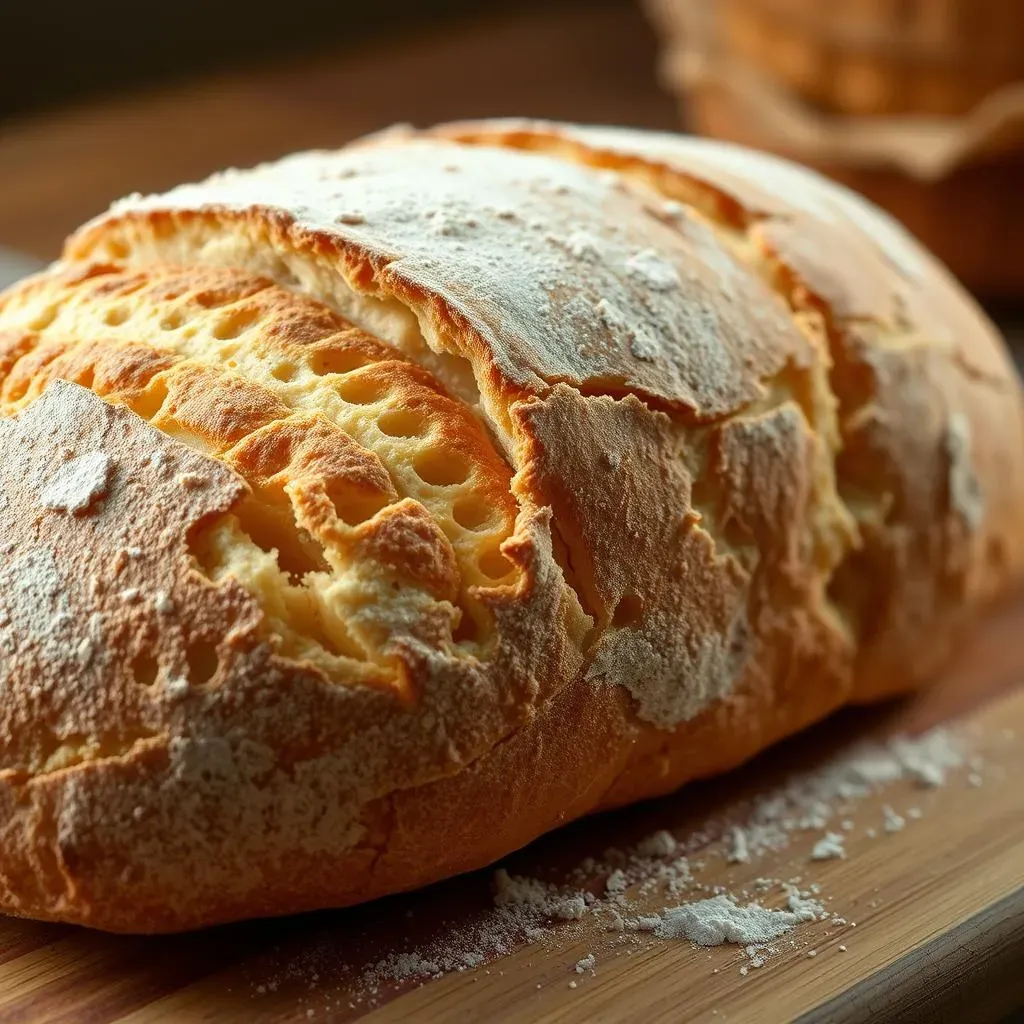
Ever dreamed of baking artisan bread without the fuss? This article unlocks the secret to delicious, homemade loaves with our foolproof 3 ingredient sourdough bread recipe. Forget complicated instructions and lengthy ingredient lists; we'll guide you through each step, from activating your sourdough starter to achieving that perfect crusty exterior and fluffy interior. We'll cover essential ingredients and equipment, ensuring you're well-prepared for a baking adventure that's both rewarding and surprisingly simple. This isn't just a recipe; it's a journey into the world of sourdough, demystifying the process and empowering you to create delicious bread with minimal effort. Get ready to impress yourself and your loved ones with this incredible 3 ingredient sourdough bread recipe – a testament to the power of simplicity and the magic of sourdough. Prepare for a step-by-step guide filled with expert tips, troubleshooting advice, and everything you need to bake the perfect loaf, every time. Let's get baking!
The Ultimate 3Ingredient Sourdough Bread Recipe: Ingredients and Equipment
The Ultimate 3Ingredient Sourdough Bread Recipe: Ingredients and Equipment
Essential Ingredients for Success
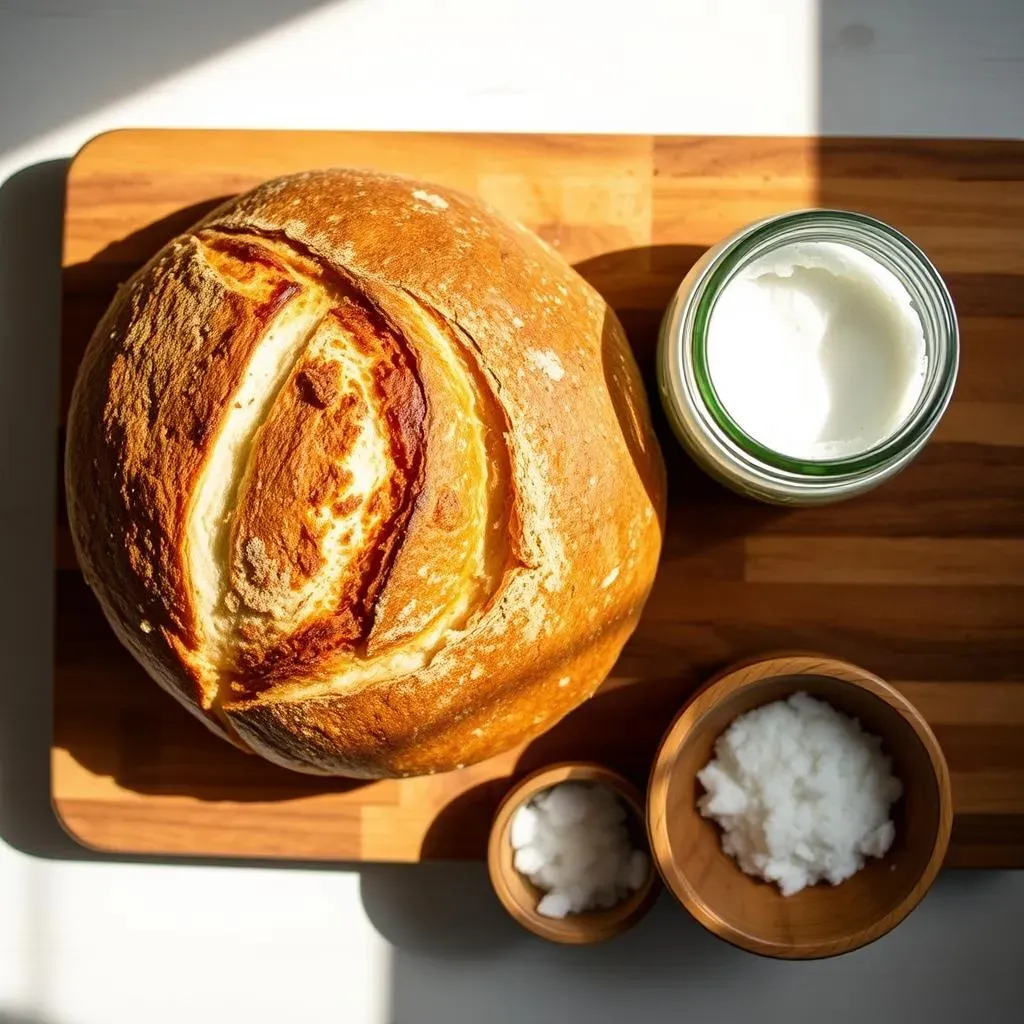
So, you're diving into the world of 3-ingredient sourdough? Fantastic! Let's start with the essentials. You'll need a vibrant, active sourdough starter – the heart and soul of this recipe. Don't worry if you're new to sourdough; many resources are available to help you cultivate your own starter. Then there's flour—the building blocks of your bread. While you can experiment, a good quality bread flour or a blend of bread and whole wheat flour works best. Finally, you'll need sea salt to enhance the flavor and provide structure to your dough. Avoid using iodized salt, as it can affect the taste and texture of your bread. This simple combination of ingredients will surprise you with the delicious results!
Remember, a successful sourdough journey begins with a healthy starter. If your starter isn't behaving quite right, don't panic! Check out our guide on troubleshooting sourdough starter issues for some helpful tips and tricks. For a more detailed exploration of sourdough starters, we've got a comprehensive guide on how to make a sourdough starter from scratch. This simple process is well worth the effort.
Ingredient | Quantity (Approximate) | Notes |
|---|---|---|
Active Sourdough Starter | 100g | Fed 4-6 hours prior to use |
Bread Flour | 500g | Can substitute with a blend of bread and whole wheat |
Sea Salt | 10g | Use fine sea salt |
Essential Equipment for Baking
Now, let's talk about the tools of the trade. While you don't need a fancy kitchen, having the right equipment makes the process much smoother. A kitchen scale is your best friend here. Weighing your ingredients ensures consistency and accuracy, leading to more predictable results. Next up is a large bowl for mixing, preferably glass or ceramic. Avoid using metal bowls, as they can affect the fermentation process. A Dutch oven is highly recommended for baking, as it creates a steamy environment ideal for sourdough. If you don't own one, a baking stone or even a cast iron skillet will work, just bear in mind that the results may be slightly different. Finally, a lame (a razor blade on a handle) is great for scoring your loaf before baking; this helps control the rise and creates a beautiful pattern on the crust. But if you don't have one, a sharp knife will do the job!
For those interested in taking their sourdough skills to the next level, we have a detailed guide on baking sourdough bread in a Dutch oven. This guide discusses the benefits of using a Dutch oven and provides helpful tips and tricks for achieving the best results. If you're experimenting with different flours, check out our recipe for a 00 flour sourdough bread for inspiration. This recipe uses 00 flour which is very commonly used in Italy for pizza and bread.
- Kitchen Scale
- Large Glass or Ceramic Bowl
- Dutch Oven (or Baking Stone/Cast Iron Skillet)
- Lame (or Sharp Knife)
StepbyStep Guide to Baking a 3Ingredient Sourdough Bread: From Starter to Oven
StepbyStep Guide to Baking a 3Ingredient Sourdough Bread: From Starter to Oven
Mixing the Dough
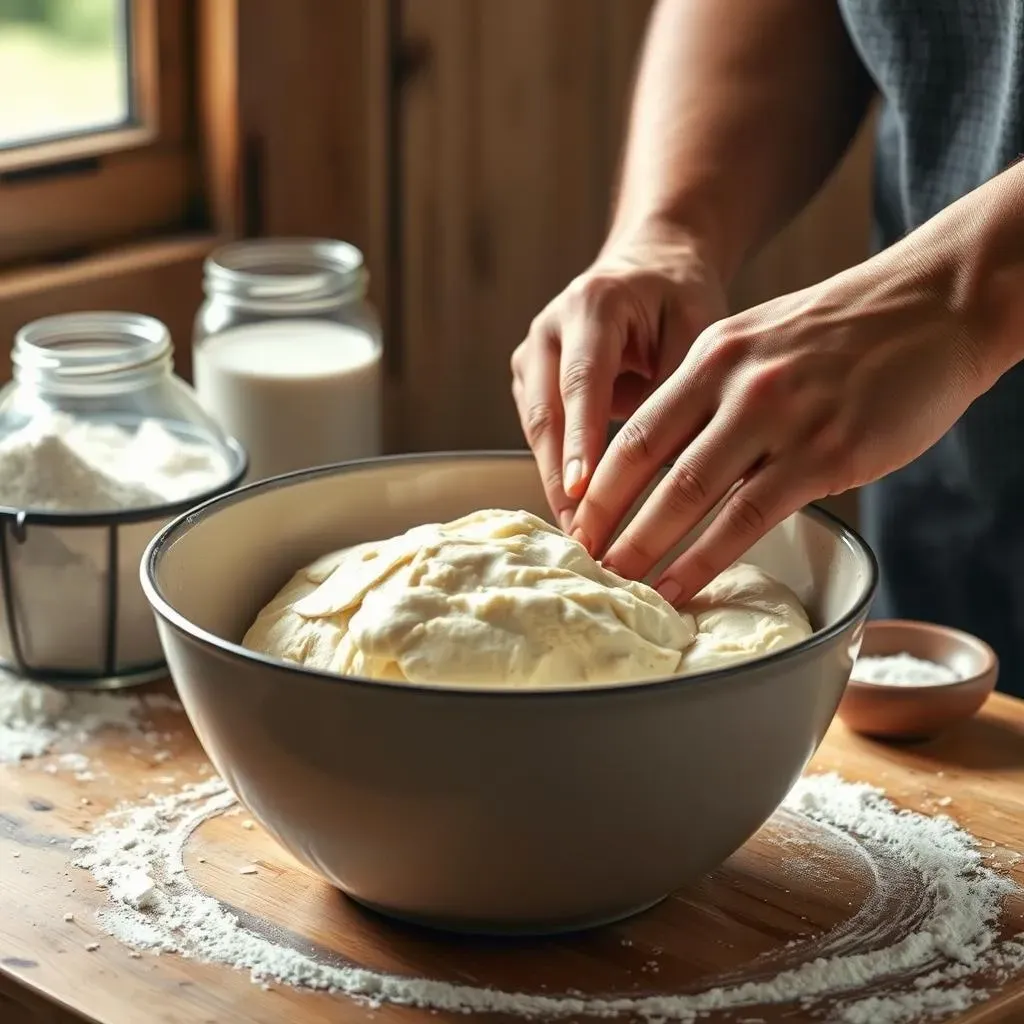
Alright, let's get our hands dirty! First, gently mix your active sourdough starter (remember, fed 4-6 hours beforehand!) with the flour and salt in your large bowl. Use a sturdy spatula or your hands – it's okay if the mixture is a little lumpy at this stage. Now, gradually add your warm water, mixing until a shaggy dough forms. Don't worry about achieving a perfectly smooth consistency; a slightly uneven dough is perfectly fine. The magic happens during the fermentation process!
Once everything is combined, cover the bowl with a clean kitchen towel or plastic wrap and let it rest for 30 minutes. This is called autolyse, and it allows the flour to fully hydrate, resulting in a more developed gluten structure. This seemingly small step makes a big difference in the final texture of your bread. Want to learn more about this crucial step? Check out our post on for optimal sourdough results.
- Gently combine starter, flour, and salt.
- Gradually add warm water, mixing until a shaggy dough forms.
- Cover and let rest for 30 minutes (autolyse).
Bulk Fermentation and Shaping
After the autolyse, gently stretch and fold the dough. Wet your hands slightly to prevent sticking. Reach under the dough, gently lift a section, and fold it over itself. Rotate the bowl and repeat this process several times. This develops the gluten network, giving your bread its characteristic structure and rise. Don't be afraid to get a little messy here; it's part of the fun!
Continue this process every 30-45 minutes for about 4-5 hours, or until the dough has noticeably increased in volume and shows signs of bubbly activity. The exact timing depends on the temperature of your environment and the activity of your starter. For more information on judging the end of bulk fermentation, check out our guide on and how to know when your dough is ready.
Time | Action | Observation |
|---|---|---|
30-45 min intervals | Stretch and fold dough | Note dough's texture and volume increase |
4-5 hours | Bulk fermentation complete | Dough should be significantly larger and bubbly |
Proofing and Baking
Once bulk fermentation is complete, gently turn the dough out onto a lightly floured surface. Shape it into a round boule or an oblong loaf. This is where you can get creative! Check out our for inspiration on shaping. Place your shaped loaf into a floured banneton basket (or a bowl lined with a floured cloth) seam-side up. Cover and let it proof in the refrigerator overnight (or for at least 8 hours) for a slow, cold proof. This will enhance the flavor and texture of your bread.
The next morning (or after 8 hours), preheat your Dutch oven to 450°F (232°C) with the lid on. Carefully remove the hot Dutch oven and place your proofed loaf (still in the banneton or cloth) inside. Score the top of the loaf with a lame or sharp knife. This allows the bread to expand properly during baking. Cover the Dutch oven with the lid and bake for 20 minutes. Then remove the lid and bake for another 25-30 minutes, until the crust is deeply golden brown and the internal temperature reaches 200-210°F (93-99°C). For a more detailed guide on scoring, check out our .
- Shape the dough into a boule or loaf.
- Proof in a banneton or floured bowl overnight (8+ hours).
- Preheat Dutch oven, add loaf, score, and bake.
Cooling and Enjoying
Once baked, carefully remove the bread from the Dutch oven and let it cool completely on a wire rack before slicing and serving. Resist the urge to cut into it while it's still warm; this allows the crumb to set properly. The aroma alone is enough to make your mouth water!
And there you have it – your very own 3-ingredient sourdough masterpiece! Enjoy the fruits of your labor – slather it with butter, pair it with soups, or savor it simply on its own. For more recipes using your sourdough, check out our to avoid waste.
“The smell of freshly baked bread is the smell of home.” – Unknown
Tips and Troubleshooting for Your 3Ingredient Sourdough Bread Recipe
Tips and Troubleshooting for Your 3Ingredient Sourdough Bread Recipe
Starter Shenanigans: Troubleshooting Your Starter
Let's face it, sourdough starters have minds of their own. Sometimes they're bubbly and happy, other times they're stubbornly inactive. If your starter isn't performing as expected, don't despair! A few common issues include inconsistent feeding, temperature fluctuations, and even the type of flour used. Inconsistent feeding can lead to a weak starter, while temperature changes can impact yeast activity. Using the wrong type of flour can also affect its ability to rise properly. For detailed guidance on troubleshooting a variety of common sourdough starter problems, check out our comprehensive guide on . Remember, patience is key!
If your starter smells off (like alcohol or something unpleasant), it might be time to start over. But don't throw away your old starter just yet! You can still use it for other delicious things. Check out our page on for some creative ideas. From pancakes to crackers, the possibilities are endless!
- Ensure consistent feeding schedule.
- Maintain a stable room temperature.
- Use high-quality flour.
Dough Dilemmas: Addressing Common Baking Issues
Even with a perfectly active starter, dough can sometimes be unpredictable. If your dough is too wet, it might be difficult to handle and shape. Adding a little more flour, one tablespoon at a time, can help. Conversely, if your dough is too dry, it might be crumbly and difficult to work with. Adding a little warm water, a teaspoon at a time, can restore the right consistency. Remember, the ideal dough should be slightly sticky but still hold its shape. For visual guidance, check out our video tutorial on .
If your loaf doesn't rise as expected, several factors could be at play. This could be due to an underactive starter, insufficient bulk fermentation, or even a problem with your oven temperature. Make sure your oven is properly preheated, your Dutch oven is hot enough, and the baking time is appropriate. Remember, every oven is different. You might need to adjust baking time depending on your specific oven. For tips on achieving a perfect rise, consult our guide on .
Problem | Solution |
|---|---|
Too wet dough | Add flour, 1 tbsp at a time |
Too dry dough | Add warm water, 1 tsp at a time |
Poor rise | Check starter activity, fermentation time, and oven temperature |
Baking Bliss: Tips for the Perfect Loaf
To achieve a truly exceptional loaf, pay attention to detail. A properly preheated Dutch oven is crucial for creating steam, which contributes to a beautiful crust and a tender crumb. Don't open the oven door during the first 20 minutes of baking, as this can cause the bread to collapse. Scoring your loaf before baking allows for proper expansion and creates a beautiful crust pattern. For inspiration on scoring techniques, check out our detailed guide on . Deep scores are generally better.
Lastly, remember that practice makes perfect! Don't be discouraged if your first few attempts aren't flawless. Sourdough baking is a journey, not a race. Each loaf you bake is a learning experience, and each one will be delicious in its own way. For more inspiration and tips, check out our . The more you bake, the better you'll become at understanding your dough and oven. Happy baking!
- Preheat Dutch oven thoroughly.
- Avoid opening the oven door during initial baking.
- Score the loaf properly before baking.