Table of Contents
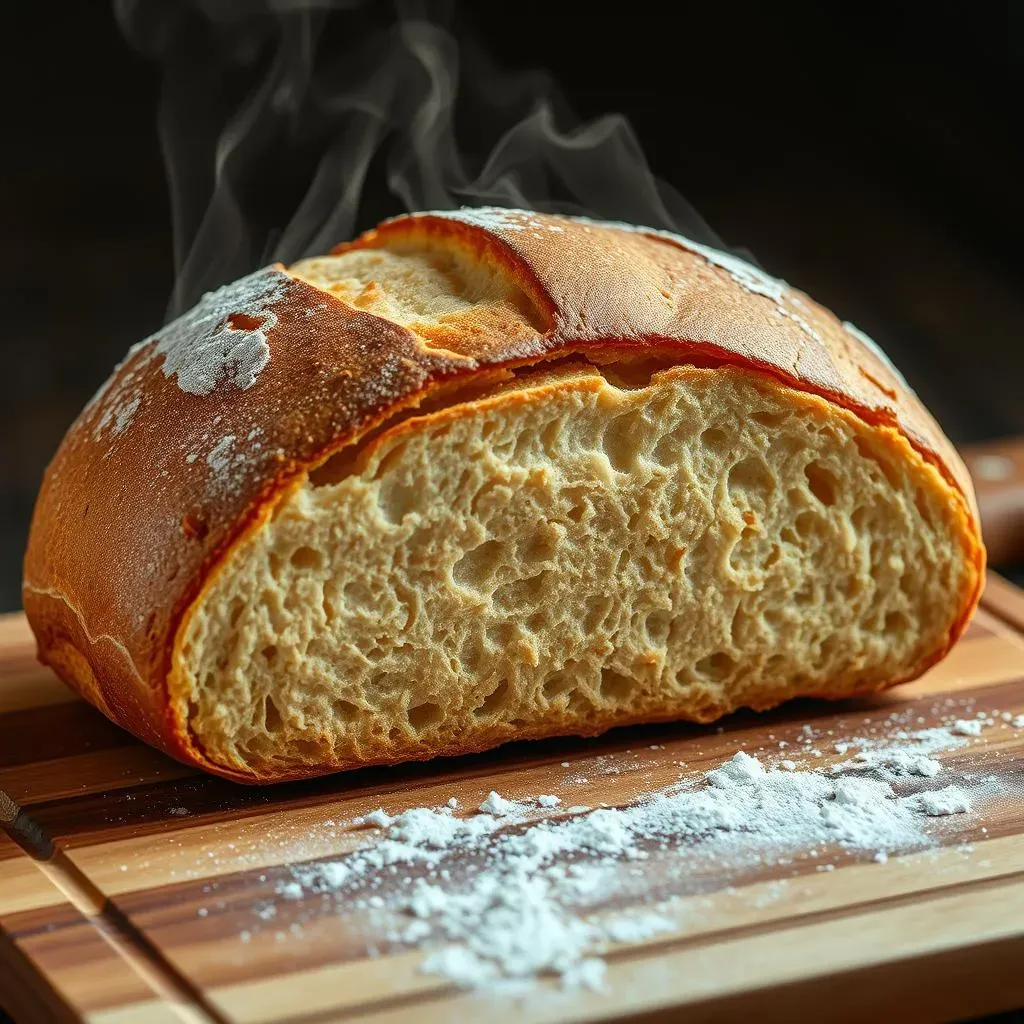
Let's face it: sourdough bread has a reputation. It's the culinary equivalent of a long, drawn-out, slightly dramatic movie – delicious, but demanding time. But what if I told you that you could enjoy the tangy goodness of homemade sourdough without the week-long commitment? This article is your passport to a faster, more manageable approach to baking: the art of the 3 hour sourdough bread. We'll explore the exciting possibility of dramatically reducing the traditional sourdough rise time, tackling the challenges and celebrating the triumphs. We’ll journey through the science behind a shorter rise, providing practical techniques and tips to ensure your success. Get ready to discover recipe variations that cater to diverse tastes, from classic rustic loaves to innovative flavor combinations. And don't worry, we'll cover common problems and their solutions, so even if things go a little sideways, you'll know exactly how to recover. By the end, you’ll be equipped to confidently bake your own 3 hour sourdough bread, proving that artisanal bread can be both delicious and surprisingly efficient.
The Quest for Speedy Sourdough: Is 3Hour Bread Possible?

The Quest for Speedy Sourdough: Is 3Hour Bread Possible?
The Myth of the Slow Rise
So, you're diving into the world of sourdough, huh? Fantastic! But let's be honest, the traditional sourdough process isn't exactly a sprint. It often involves days of waiting, careful monitoring, and a whole lot of patience. The idea of a 3-hour sourdough bread might seem like a fantasy, a sourdough unicorn – something whispered about in hushed tones in baking circles. You might think it's impossible to achieve that signature tangy flavor and satisfying texture in such a short timeframe. But what if I told you that this "myth" is actually within reach? It's all about understanding the process, tweaking a few things, and embracing a little bit of controlled chaos.
The key is manipulating the variables that govern sourdough's rise. We're talking about temperature, hydration, and the power of your starter. A robust, active sourdough starter is your secret weapon. A properly fed starter is crucial, full of life and ready to work its magic. That's why we'll explore the optimal conditions for a rapid yet controlled fermentation. Think of it like this: we're not trying to cheat sourdough, we're optimizing it, making it work *with* us, not against us. And while a longer fermentation certainly yields a complex flavor profile, a well-executed 3-hour loaf can be surprisingly delicious. In fact, some bakers argue that a shorter rise gives a fresher, lighter crumb. To learn more about maximizing your starter's potential, check out our ultimate guide to sourdough starters!
Challenging the Status Quo
The conventional wisdom surrounding sourdough often emphasizes the lengthy fermentation process as essential for developing flavor and texture. Many recipes boast multi-day rises, often involving cold retardation in the refrigerator to slow down fermentation. This long, slow process allows the wild yeasts and bacteria in the starter to work their magic, creating complex flavor compounds and a unique tang. But what if we were to challenge this traditional notion? What if we could harness the power of a more vigorous, shorter rise to achieve a delicious loaf in a fraction of the time?
The answer lies in understanding the interplay between several factors: starter activity, flour type, hydration levels, and baking temperature. By carefully controlling these elements, we can accelerate the fermentation process without compromising the quality of the final product. We’ll discuss how to choose the right flour for a quick rise (hint: bread flour is your friend!), how to adjust hydration levels to optimize fermentation speed, and the critical role of oven temperature in achieving a perfectly baked crust. We’ll also provide a step-by-step guide to creating the ideal environment for your dough to rise quickly and efficiently. For a more in-depth understanding of flour types, check out our guide comparing bread flour and all-purpose flour.
Factor | Impact on 3-Hour Sourdough |
|---|---|
Starter Activity | Crucial for rapid fermentation |
Flour Type | Bread flour provides strength |
Hydration | Affects fermentation speed |
Temperature | Controls rise rate |
Mastering the 3Hour Sourdough: Techniques and Tips for Success

Mastering the 3Hour Sourdough: Techniques and Tips for Success
Harnessing the Power of Temperature
The temperature game is crucial for a 3-hour sourdough. Think of your dough as a living organism; it thrives in specific conditions. Too cold, and fermentation crawls; too hot, and you risk burning your dough before it even rises. The sweet spot? A warm environment, around 75-80°F (24-26°C). This encourages a rapid yet controlled rise. You can achieve this using a proofing box, a warm oven with the light on (don't forget to check regularly!), or even placing your dough bowl on top of a warm water bath. Remember to monitor the dough closely – it will rise faster than a traditional loaf. Don’t be afraid to experiment to find what works best in your kitchen. For a more in-depth look at temperature control, check out our guide on proofing techniques.
Beyond ambient temperature, consider the temperature of your ingredients. Lukewarm water for mixing activates the yeast more quickly. Similarly, using a warm starter (one that's recently been fed and is bubbly and active) significantly speeds up fermentation. Using a thermometer to accurately measure the temperature of both your water and starter ensures consistency and predictability in your baking. A consistent temperature throughout the process is key to a successful 3-hour sourdough. For more tips on maximizing your starter's potential, see our guide to sourdough starters!
Mastering the Art of Hydration and Shaping
Hydration is another critical factor influencing rise time. Higher hydration (more water relative to flour) generally leads to a faster rise, but it also requires a more experienced hand when it comes to shaping. For a 3-hour sourdough, aim for a hydration level slightly higher than you might use for a longer rise loaf. However, too much water can result in a sticky, unmanageable dough. Find a balance! The goal is a dough that's pliable and easy to work with, but not so wet that it collapses under its own weight. We’ll explore the perfect hydration levels for a quick rise sourdough and techniques to work with a wetter dough effectively. Check out our recipe using 00 flour for a different hydration experience!
Once your dough has risen, shaping is key to maintaining its structure during baking. Gentle, deliberate movements are crucial to avoid deflating the dough. Avoid aggressive kneading or rough handling. We recommend a simple round boule or oval shape for ease of handling and even baking. Proper shaping helps the dough maintain its air pockets, contributing to a lighter, airier crumb. Our guide to shaping sourdough loaves offers visual aids and detailed instructions.
Hydration Level | Impact on Dough | Shaping Difficulty |
|---|---|---|
Low (60-65%) | Firm, less sticky | Easy |
Medium (70-75%) | Pliable, slightly sticky | Medium |
High (75-80%) | Very soft, sticky | Difficult |
Recipe Variations: 3Hour Sourdough Bread for Every Taste

Recipe Variations: 3Hour Sourdough Bread for Every Taste
Beyond the Basic Loaf: Exploring Flavor Adventures
Okay, so you've mastered the basic 3-hour sourdough – fantastic! But the real fun begins when you start experimenting with different flavors and ingredients. Think of your 3-hour sourdough as a blank canvas, ready for your culinary masterpiece. The possibilities are endless! You can easily adapt this technique to create a wide array of delicious loaves. This isn't just about speed; it's about unlocking the potential for creativity within a shorter timeframe.
Let's start with flour variations. While bread flour is generally recommended for its strength, you can experiment with a blend of bread flour and whole wheat flour for a nuttier flavor and a slightly denser crumb. Or, try using 00 flour for a lighter, airier texture. Adding different grains, like rye or spelt, will introduce unique flavors and textures, too. For a truly unique experience, try our recipe using 00 flour!
Adding Flavor: Herbs, Spices, and More
Once you've got your flour sorted, it's time to get creative with additions! Incorporate fresh or dried herbs like rosemary, thyme, or oregano for an aromatic twist. A pinch of cinnamon or cardamom can add a warm, comforting touch, while a bit of chili flakes can give your loaf a spicy kick. The possibilities are endless, depending on your preference. Consider adding seeds, such as sunflower, pumpkin, or poppy seeds, for added texture and visual appeal. Even dried fruits, like cranberries or raisins, can create a delightful sweet and sour contrast.
Don't be afraid to experiment with different combinations! A simple combination of herbs, spices, and seeds can transform a basic loaf into something truly special. Think about what flavors you enjoy and don't hesitate to create your own unique blends. For more inspiration, check out our guide to sourdough flavor combinations!
Addition | Flavor Profile | Texture Impact |
|---|---|---|
Herbs (Rosemary, Thyme) | Earthy, Aromatic | Minimal |
Spices (Cinnamon, Cardamom) | Warm, Sweet | Minimal |
Seeds (Sunflower, Pumpkin) | Nutty | Adds Crunch |
Troubleshooting Your 3Hour Sourdough Bread: Common Problems and Solutions
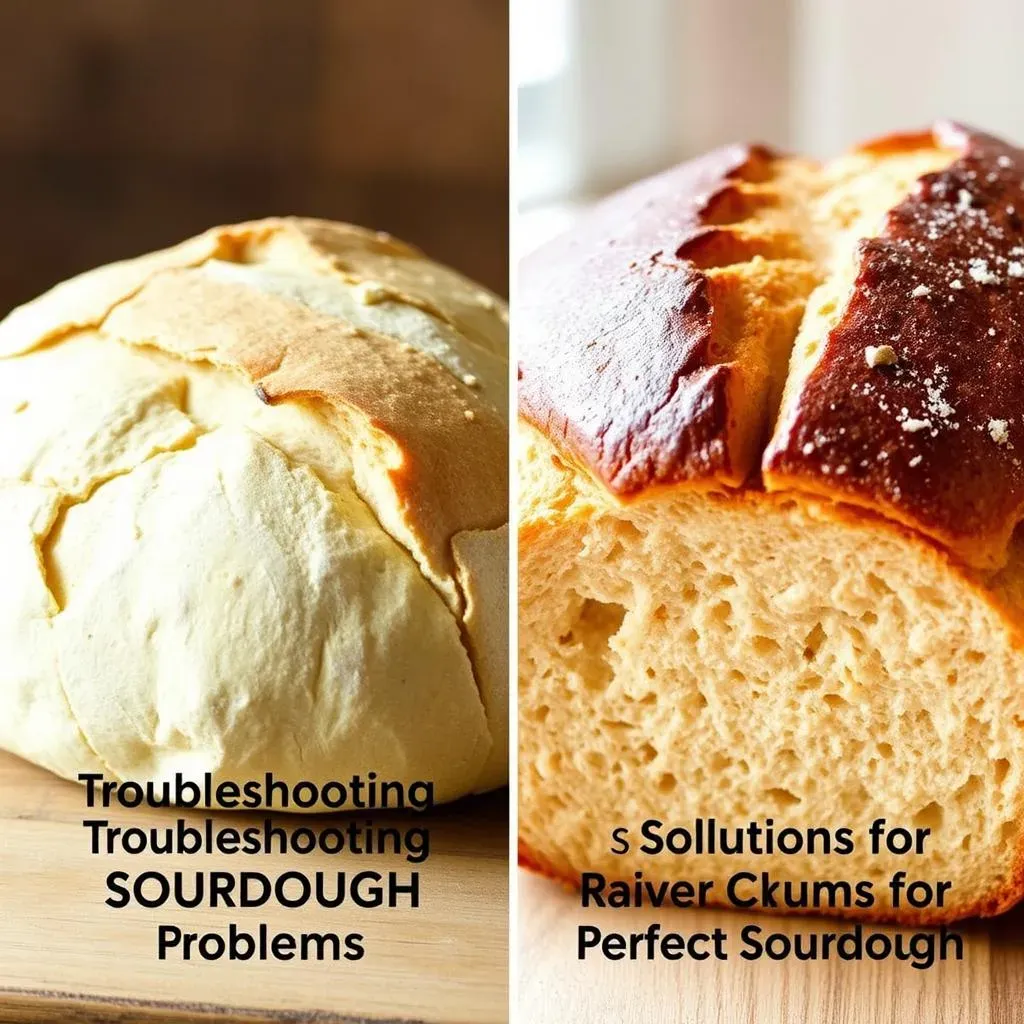
Troubleshooting Your 3Hour Sourdough Bread: Common Problems and Solutions
The Flop: Why Didn't My Bread Rise?
Let's talk about the dreaded sourdough flop. You followed the recipe, you maintained the temperature, but your loaf refused to rise. This is a common issue, especially with quick-rise sourdough. Several culprits could be at play. First, your starter might not have been active enough. A weak starter lacks the necessary yeast and bacteria to produce enough gas for a proper rise. Make sure your starter is bubbly and doubled in size before using it. Check out our guide on for more details.
Secondly, the temperature could have been off. Remember, consistency is key. Fluctuations in temperature can significantly affect the fermentation process. Too cold, and the yeast becomes sluggish; too hot, and you risk killing it entirely. Using a thermometer to monitor both your starter and dough is crucial. If your kitchen is particularly cold, consider using a proofing box or a warm oven with the light on. If you're struggling to manage temperature, read our for additional advice.
- Starter Activity: Ensure it's bubbly and doubled.
- Temperature Control: Maintain consistent warmth (75-80°F).
- Hydration: Correct water-to-flour ratio is crucial.
The Gummy Interior: Underbaked or Overproofed?
A gummy interior is another common problem. This could be due to underbaking or overproofing. Underbaking is easily solved by increasing the baking time. However, overproofing is trickier. Overproofed dough has lost its structure due to excessive fermentation. The gluten has broken down, resulting in a dense, gummy crumb. To avoid this, carefully monitor your dough during the rise. It should almost double in size, but not more. The provides a good example of how to judge the ideal rise.
Another cause of gummy bread could be improper hydration. Too much water results in a weak gluten structure, making the bread gummy. If you are using a high hydration recipe, be sure you are properly shaping and handling the dough. Be sure to check out our guide to for more tips on dealing with wetter doughs.
Problem | Possible Cause | Solution |
|---|---|---|
Gummy Interior | Underbaking | Bake longer |
Gummy Interior | Overproofing | Monitor rise carefully |
Gummy Interior | Incorrect Hydration | Adjust water amount |
The Crust: Too Hard, Too Soft, or Too Brown?
The crust is the final frontier! A perfectly crisp crust is the hallmark of a great sourdough. A crust that's too hard might indicate overbaking. Try reducing baking time or temperature. A soft crust, on the other hand, often results from underbaking or insufficient steam during baking. Adding a pan of water to the bottom of your oven helps create steam, resulting in a crispier crust. For more information on achieving the perfect crust, check out our .
And finally, excessive browning can occur if the oven is too hot or the dough is left in for too long. Adjust your baking time and temperature to achieve a golden-brown crust. If you're baking in a dark-colored pan, consider using a lighter-colored pan or lining it with parchment paper to prevent excessive browning. For a deeper dive into baking techniques, our has you covered.
- Too Hard: Reduce baking time/temperature.
- Too Soft: Increase baking time/add steam.
- Too Brown: Lower temperature/reduce baking time.