Table of Contents
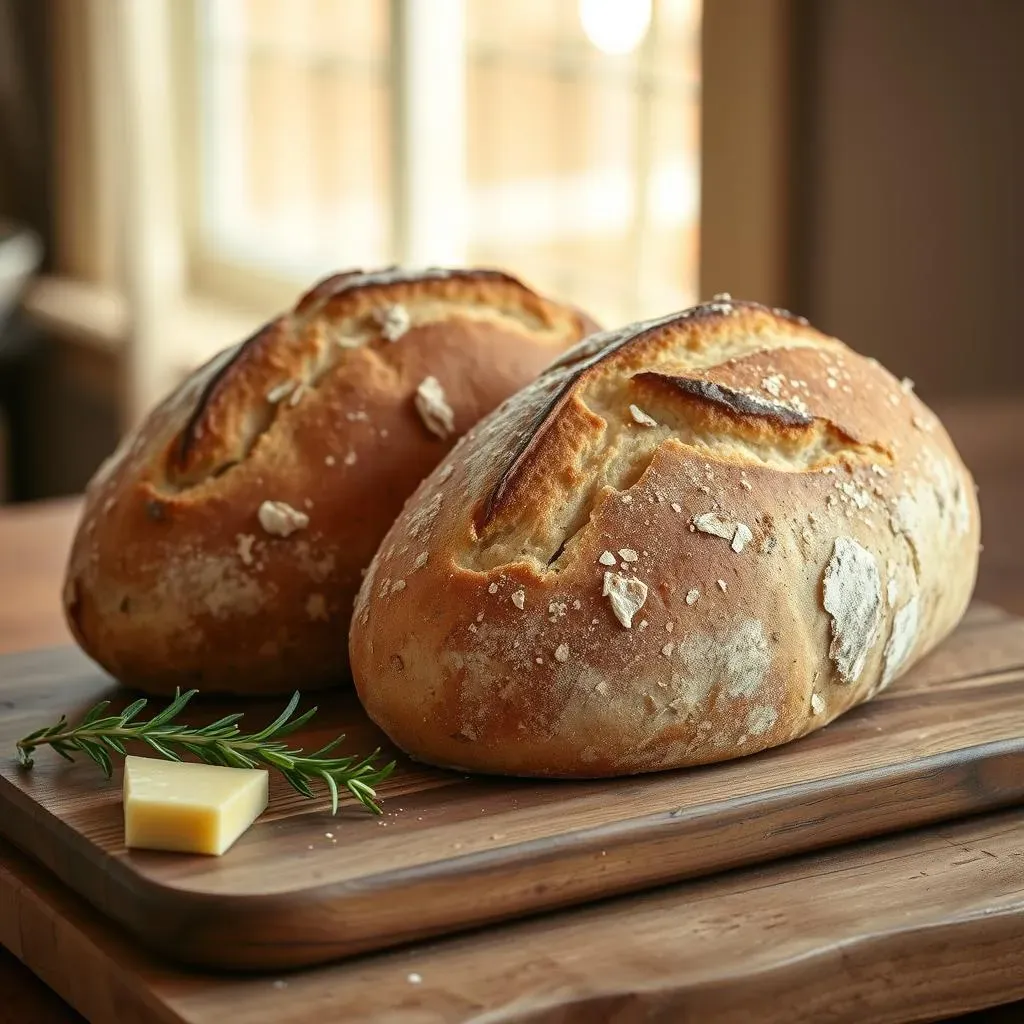
Are you ready to elevate your baking game and experience the pure joy of crafting two magnificent loaves of sourdough bread? This comprehensive guide provides a detailed, step-by-step "2 loaf sourdough bread recipe," designed to empower both beginners and experienced bakers alike. We'll walk you through every stage, from gathering the essential ingredients and understanding the nuances of sourdough fermentation to troubleshooting common challenges and unlocking the secrets to achieving that perfect crusty exterior and airy interior. This isn't just a recipe; it's a journey into the art of sourdough baking, where you'll learn valuable techniques and gain the confidence to consistently produce delicious, shareable loaves. Whether you're aiming for a rustic country loaf or a perfectly formed batard, this "2 loaf sourdough bread recipe" will guide you to success. Prepare to be amazed by the incredible aroma and taste of your homemade sourdough, perfect for sharing with friends and family or simply savoring yourself. Let's embark on this delightful baking adventure together!
Mastering the 2 Loaf Sourdough Bread Recipe: A StepbyStep Guide

Mastering the 2 Loaf Sourdough Bread Recipe: A StepbyStep Guide
Levain Creation: The Foundation of Flavor
Let's kick things off with the levain, the heart and soul of your sourdough journey. This pre-ferment is crucial for developing the characteristic tang and rise of your bread. The accuracy of your measurements here is paramount; a kitchen scale is your best friend. You'll combine your active sourdough starter (ensure it's bubbly and lively!), flour (a mix of bread flour and whole wheat for depth of flavor), and water. This mixture will then rest in a warm place for several hours, allowing the yeast and bacteria to multiply and create a complex flavor profile. Don't rush this process; patience is key to unlocking the full potential of your sourdough. For an even more detailed guide, check out my post on to ensure your starter is in tip-top shape.
Remember, a successful levain is the cornerstone of a great loaf. The ideal levain will be more than doubled in size and exhibit a pleasant, slightly sour aroma. Its texture should be bubbly and airy, a testament to the active fermentation taking place. If your levain isn't quite right, don't worry! We'll explore troubleshooting tips later in this article. If you're looking for a quicker sourdough option, our might be perfect for you. But for this 2-loaf masterpiece, we're taking the time for maximum flavor.
Ingredient | Quantity (grams) | Notes |
|---|---|---|
Active Sourdough Starter | 50 | Bubbly and active |
Bread Flour | 50 | High protein content |
Whole Wheat Flour | 50 | Adds depth of flavor |
Water | 100 | Tepid, around 75°F (24°C) |
Mixing and Bulk Fermentation: Building Strength and Flavor
With your vibrant levain ready, it's time to mix the main dough. Combine the flour (again, a blend of bread flour and whole wheat is recommended), water, salt, and the levain in a large bowl. The hydration level is crucial here, impacting the final texture of your bread. A higher hydration dough will yield a more open crumb, while a lower hydration will result in a denser loaf. Mix thoroughly, ensuring all ingredients are well incorporated. For this 2-loaf recipe, a stand mixer can be a significant time saver, but don't underestimate the satisfaction of hand-mixing. Once mixed, the dough will undergo bulk fermentation, a period of rest and rise. During this time, perform several sets of "stretch and folds" to develop the gluten structure and strengthen the dough. This simple technique involves gently stretching and folding sections of the dough over itself, building strength and creating a more resilient structure.
The bulk fermentation process is where the magic really happens! The yeast and bacteria in your levain work their alchemy, producing carbon dioxide that leavens the bread and creating the signature sourdough tang. Keep a close eye on your dough during this stage; it should rise noticeably and exhibit a bubbly texture. The duration of bulk fermentation can vary depending on the temperature of your environment. A warmer kitchen will accelerate fermentation, while a cooler one will slow it down. For more details on this crucial step, check out my . This is where you’ll learn to recognize the signs of a perfectly fermented dough ready for shaping.
- Mix all ingredients thoroughly.
- Perform stretch and folds every 30 minutes for 2-3 hours.
- Monitor dough rise; it should increase by about 50%.
Essential Ingredients for Your 2 Loaf Sourdough Bread Baking Adventure
Essential Ingredients for Your 2 Loaf Sourdough Bread Baking Adventure
The Flour Powerhouse
Let's talk flour, the backbone of any sourdough masterpiece! For this 2-loaf recipe, we’re aiming for a blend that delivers both structure and flavor. A high-protein bread flour (around 12-14% protein) forms the foundation, providing the necessary gluten strength for a good rise and a satisfying chew. But don't stop there! Incorporating whole wheat flour adds a delightful nutty complexity and a richer, deeper color to your loaves. The ratio is up to you, but a 70/30 split (bread flour/whole wheat) works wonderfully. Experiment to find your perfect balance of texture and taste. For a truly unique experience, consider using freshly milled flour – the flavor is simply unmatched! Check out my guide on for some inspiration.
Remember, the quality of your flour directly impacts the final product. Look for high-quality flours from reputable sources, and pay attention to their protein content. This is one area where investing a little extra can make a big difference. And if you're feeling adventurous, why not try experimenting with different types of flour – rye, spelt, or even a blend of grains? The possibilities are endless! To learn more about the magic of flour and its role in sourdough, you might find my guide on helpful.
Flour Type | Protein Content (%) | Impact on Bread |
|---|---|---|
Bread Flour | 12-14 | Strong gluten development, good rise |
Whole Wheat Flour | Variable | Nutty flavor, darker color, slightly denser crumb |
The Water's Role: Hydration is Key
Water might seem like a simple ingredient, but its role in sourdough is anything but! The amount of water you use, relative to the flour (hydration), significantly impacts the final texture of your bread. A higher hydration dough (75-80%) will result in a more open, airy crumb, while a lower hydration (65-70%) will produce a denser loaf. It's all about finding the sweet spot that suits your taste preferences. For this 2-loaf recipe, aim for a hydration level that allows you to comfortably handle the dough while still achieving the desired texture. Remember, the temperature of your water also matters. Lukewarm water (around 75°F or 24°C) is ideal for activating the yeast and bacteria in your levain and for efficient fermentation. If you're struggling with hydration, my offers a wealth of information.
Precise measurements are crucial when it comes to hydration, which is why a kitchen scale is an essential tool for any serious sourdough baker. Measuring water by volume can lead to inconsistencies, and even small variations can significantly impact your results. Also, consider the type of water you use – filtered or spring water is preferable, as tap water can contain minerals that may affect the taste or fermentation process. It's the small details that often make the biggest difference in sourdough baking. Want to explore different ways to use water in your sourdough creations? My article on might inspire you.
- Use filtered or spring water.
- Maintain consistent water temperature (75°F/24°C).
- Weigh your water accurately using a kitchen scale.
Salt, Starter, and Beyond: The Supporting Cast
While flour and water are the stars of the show, several other ingredients play crucial supporting roles in your 2-loaf sourdough adventure. Salt, for instance, is essential for controlling yeast activity, enhancing flavor, and strengthening the dough's gluten structure. Don't skimp on the salt; it's a vital part of the process. Use a fine sea salt for even distribution and optimal flavor. And of course, we have the sourdough starter, the living heart of your bread. Make sure your starter is active and bubbly before you begin, as this will determine the success of your fermentation. A healthy starter is a happy starter! For more tips on how to maintain a healthy starter, check out my post on .
Beyond the essentials, you can experiment with adding other ingredients to enhance the flavor and texture of your loaves. Consider incorporating seeds (sunflower, flax, pumpkin), nuts, dried fruits, or even herbs and spices. The possibilities are endless! But remember, when experimenting, start small and gradually increase the amount of your add-ins to avoid disrupting the delicate balance of your dough. For example, check out my for some inspiration. These additions can add unique flavors and textures to your bread, making each loaf a unique culinary experience.
"The best sourdough is made with simple ingredients, treated with respect." - Unknown
Troubleshooting Common Issues in 2 Loaf Sourdough Bread Baking
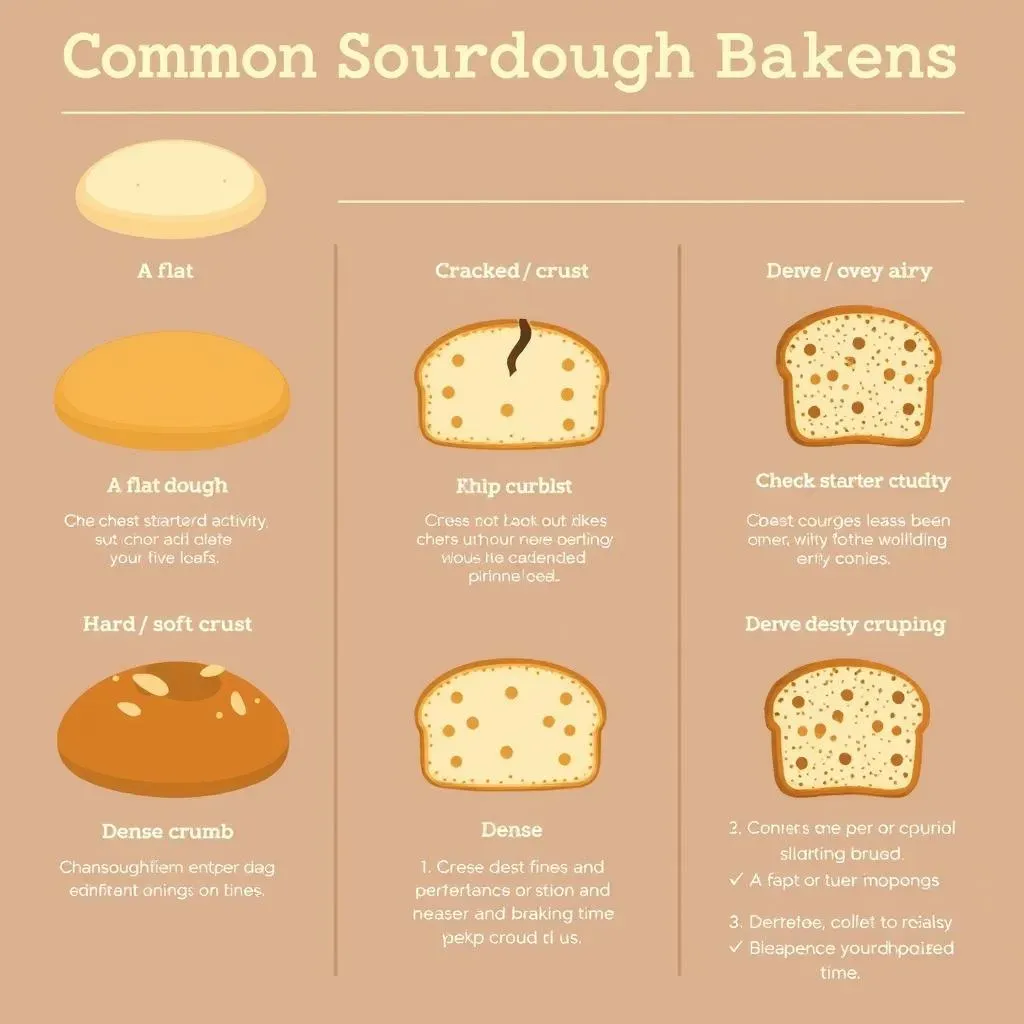
Troubleshooting Common Issues in 2 Loaf Sourdough Bread Baking
Dough That Won't Rise: A Sourdough Mystery
One of the most common sourdough woes is a dough that refuses to rise properly. This can stem from several culprits: an inactive starter (check for bubbles!), insufficient fermentation time (remember, patience is key!), or an incorrect dough temperature (aim for a cozy 75-78°F or 24-26°C). If your dough seems stubbornly flat, the first thing to check is your starter. Is it bubbly and active? If not, you might need to refresh it before attempting the recipe again. You can find more information on maintaining a healthy starter in my post on .
Another common issue is improper kneading or folding, which can hinder gluten development and reduce the dough's ability to trap gas. Gentle but consistent stretch and folds are crucial for building strength. If you're unsure about your technique, my detailed guide on offers visual instructions and tips. Don't be afraid to experiment and find the right rhythm for your dough. Remember, a well-developed gluten network is essential for a good rise.
- Check your starter's activity.
- Ensure proper fermentation time and temperature.
- Practice consistent stretch and folds.
Crust Issues: Too Hard, Too Soft, or Just Wrong
The crust is the crowning glory of any sourdough loaf, and achieving the perfect balance of crispness and chewiness can be tricky. A crust that's too hard might indicate over-baking or insufficient steam during the initial baking phase. Conversely, a soft crust might result from under-baking or a lack of sufficient surface tension in the dough. Steam is your secret weapon in achieving a beautifully browned and textured crust. For a deep dive into oven steaming techniques, consult my guide on .
Scoring your dough properly also impacts crust formation. A too-shallow score might not allow the loaf to expand fully, resulting in a dense crust. Conversely, an overly aggressive score can lead to uneven expansion and cracking. Practice makes perfect! Experiment with different scoring patterns and depths to find what works best for your dough. For inspiration, explore my gallery of . A well-executed score is both functional and aesthetically pleasing, contributing to a beautiful final product.
Crust Problem | Possible Cause | Solution |
|---|---|---|
Too hard | Over-baking, insufficient steam | Reduce baking time, increase steam |
Too soft | Under-baking, low surface tension | Increase baking time, improve shaping |
Uneven | Improper scoring, uneven oven heat | Practice scoring, rotate loaf during baking |
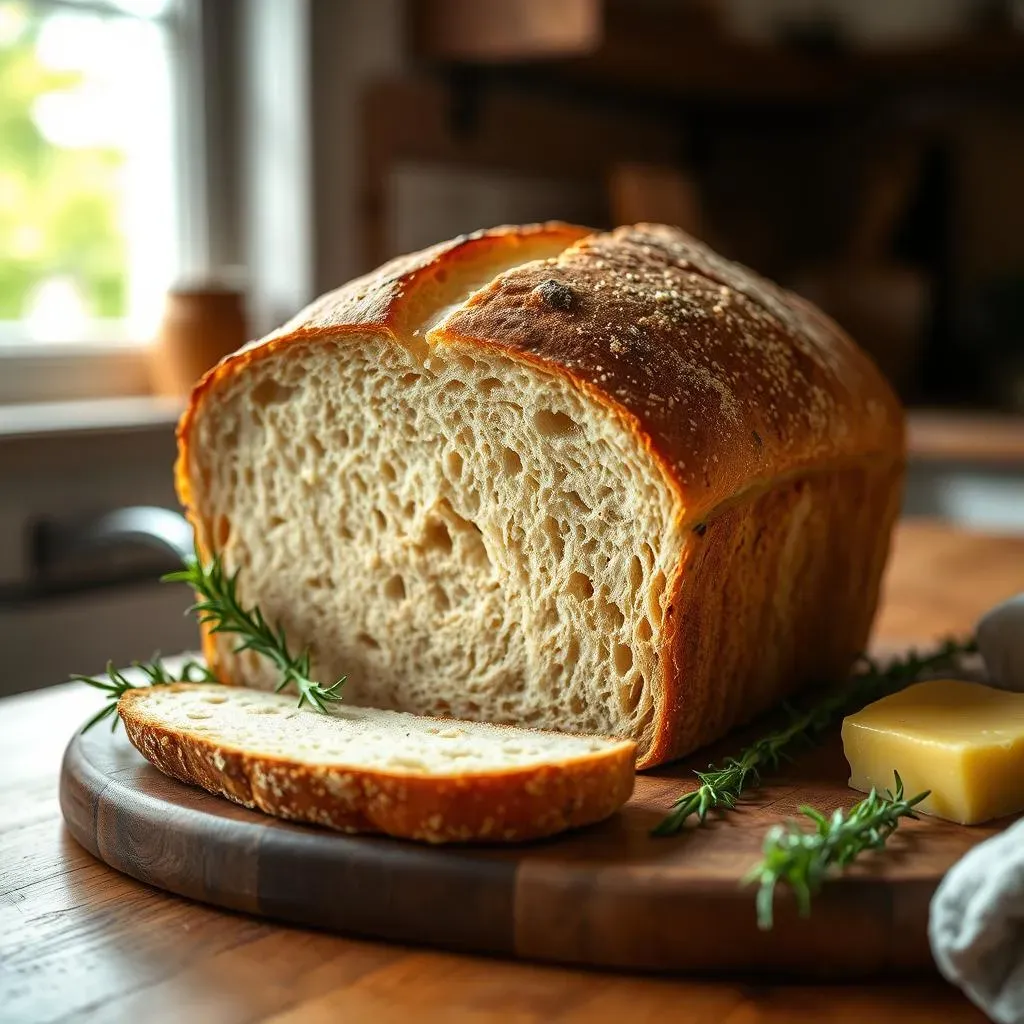
Crumb Structure: Achieving the Perfect Airiness
The crumb—the interior texture of your bread—is equally important as the crust. An open, airy crumb is a hallmark of good sourdough, but achieving it consistently can be challenging. A dense, compact crumb could indicate under-fermentation (not enough time for the yeast and bacteria to work their magic), insufficient gluten development (those stretch and folds are crucial!), or a low hydration dough. Remember, the crumb structure is directly related to the gas production during fermentation, so ensuring adequate fermentation and gluten development is key. For more information on the science behind this, check out my .
Conversely, a crumb that's too open and airy might indicate over-fermentation, which can lead to a weak structure and a slightly sour taste. Finding the right balance is key; you're aiming for a crumb that's both airy and supportive, with a pleasant texture and flavor. Careful monitoring of the dough's rise during bulk fermentation and proofing is essential for achieving the perfect crumb structure. My helps you learn to recognize the signs of a perfectly fermented dough.
- Ensure adequate fermentation time.
- Develop gluten properly through stretch and folds.
- Use appropriate hydration levels.
Tips and Tricks for Baking the Best 2 Loaf Sourdough Bread
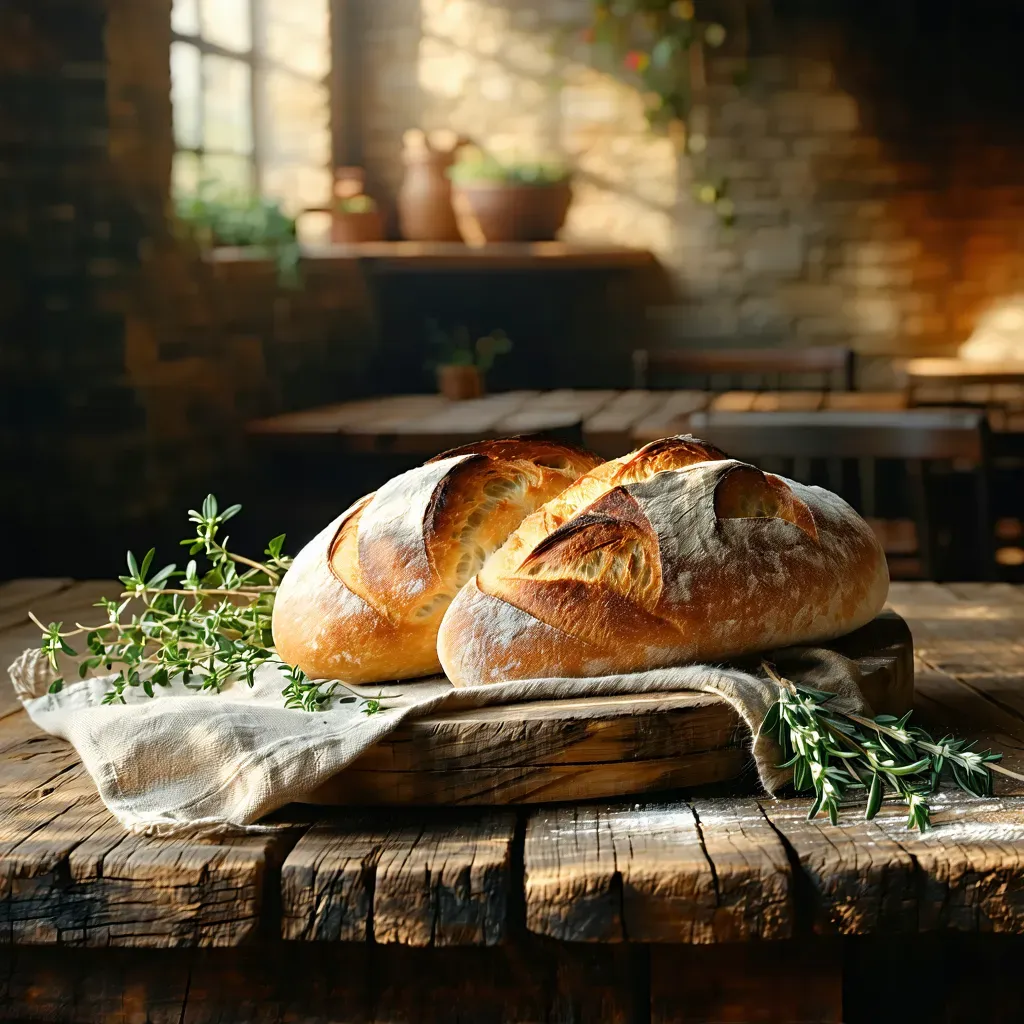
Tips and Tricks for Baking the Best 2 Loaf Sourdough Bread
Mastering the Art of Shaping
Shaping your dough is more than just aesthetics; it directly impacts the final rise and crumb structure of your loaves. A properly shaped loaf creates surface tension, promoting a beautiful oven spring and an even bake. For the 2-loaf recipe, gently preshape your dough into rounds, allowing them to rest for about 20-30 minutes before final shaping. This relaxation period helps the gluten relax, making the final shaping easier and more consistent. For detailed instructions and videos, check out my guide on .
During the final shaping, aim for a smooth, taut surface with minimal air bubbles trapped inside. This helps create a nice, even crust. Remember, gentle but firm handling is key; avoid over-manipulating the dough, as this can deflate it. Consider using a bench scraper to help you handle the dough efficiently and precisely. The goal is to create a loaf that's both beautiful and structurally sound, setting the stage for a perfect bake. For inspiration on various shaping techniques, have a look at my .
- Gently preshape into rounds, allowing for rest.
- Aim for a smooth, taut surface.
- Use a bench scraper for efficient handling.
Baking Secrets for a Perfect Crust
The crust is the star of the show! Achieving that perfect balance of crispness and chewiness requires attention to detail. Preheating your oven thoroughly, along with using a Dutch oven or combo cooker, is crucial for trapping steam and creating a beautifully browned crust. The steam helps to create a crispy exterior while keeping the interior moist and tender. My offers detailed instructions on oven steaming and Dutch oven baking techniques. Remember, a well-heated oven and sufficient steam are key components to a beautiful crust.
Scoring your loaves just before baking not only adds visual appeal but also guides the expansion of the dough during baking. A well-executed score promotes even rising and helps create those characteristic "ears" on your sourdough. Experiment with different scoring patterns to find your style. For more detailed scoring techniques, check out my post on . A perfectly scored loaf is a thing of beauty!
Tip | Benefit |
|---|---|
Thoroughly preheat oven | Ensures even baking and crust development |
Use a Dutch oven or combo cooker | Traps steam, creates a crispy crust |
Score loaves before baking | Guides expansion, enhances appearance |
The Proof is in the Pudding (or Bread!): Proofing Perfection
The final proofing stage is just as important as the others! Proper proofing allows the dough to fully develop its flavor and texture, resulting in a light and airy crumb. After shaping, place your loaves in well-floured bannetons (or bowls lined with floured cloth) and let them proof in the refrigerator for at least 12-16 hours. This cold fermentation slows down the fermentation process, allowing for a more complex flavor development. My provides detailed instructions on cold proofing and recognizing the signs of a perfectly proofed loaf.
Before baking, gently remove the loaves from the bannetons and allow them to rest at room temperature for about 30 minutes. This helps to relax the dough, making it easier to handle and score. Pay attention to the dough's appearance during the final proof; it should show signs of gentle expansion and a slightly domed surface. Remember, a well-proofed loaf is the key to a beautiful and delicious final product. For a deeper understanding of the proofing process and its impact on bread quality, explore my .
- Proof in the refrigerator for 12-16 hours.
- Allow for a 30-minute rest at room temperature before baking.
- Observe for gentle expansion and a slightly domed surface.