Table of Contents
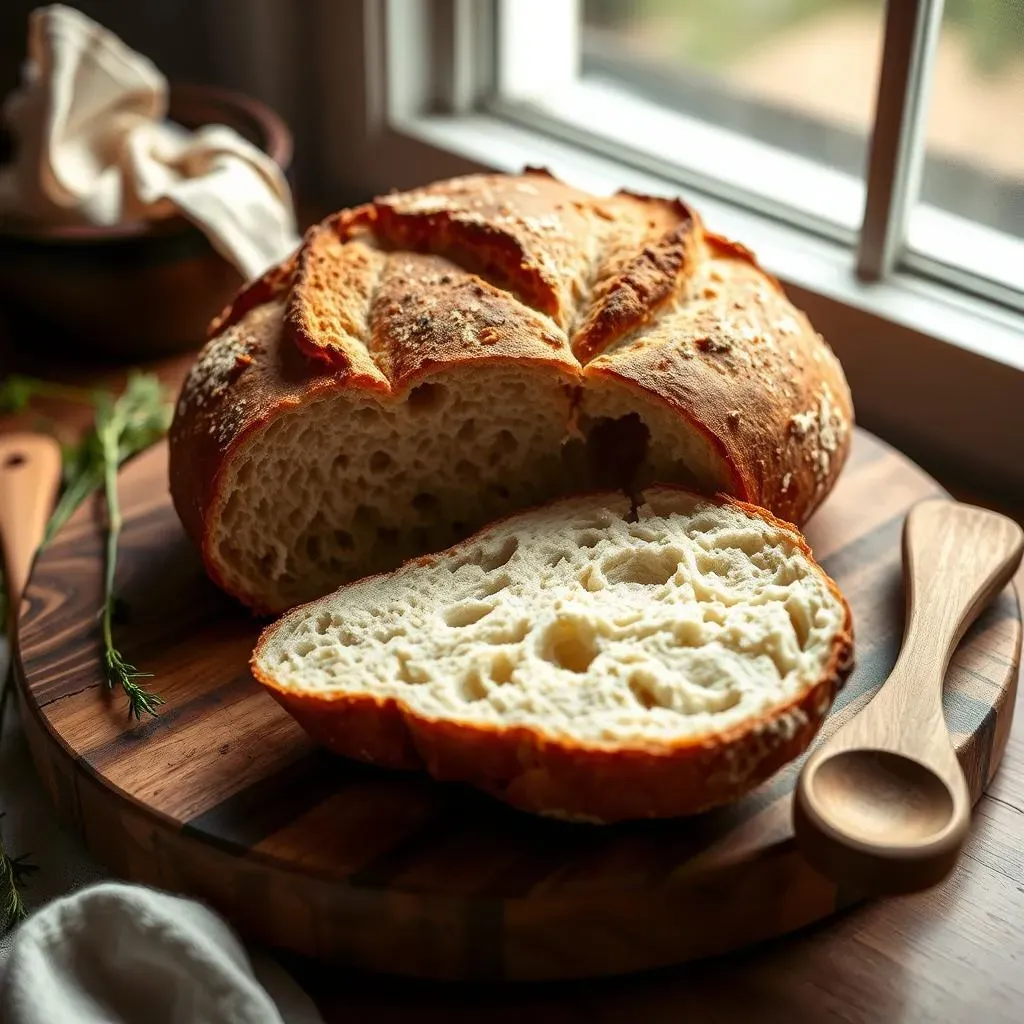
Ready to elevate your sourdough game? This article is your comprehensive guide to mastering the art of baking with "00 flour sourdough bread recipe". We'll explore the unique properties of 00 flour, why it's a fantastic choice for sourdough, and walk you through a detailed, easy-to-follow recipe. Forget confusing jargon and frustrating failures; we'll demystify the process, offering practical tips and troubleshooting advice for achieving that perfect, airy crumb every time. Whether you're a seasoned baker looking to experiment or a beginner eager to tackle a new challenge, this guide will equip you with the knowledge and confidence to create mouthwatering 00 flour sourdough bread. Get ready to discover the secrets to a superior loaf – let's bake!
Understanding 00 Flour in Sourdough Baking
Understanding 00 Flour in Sourdough Baking
What is 00 Flour?
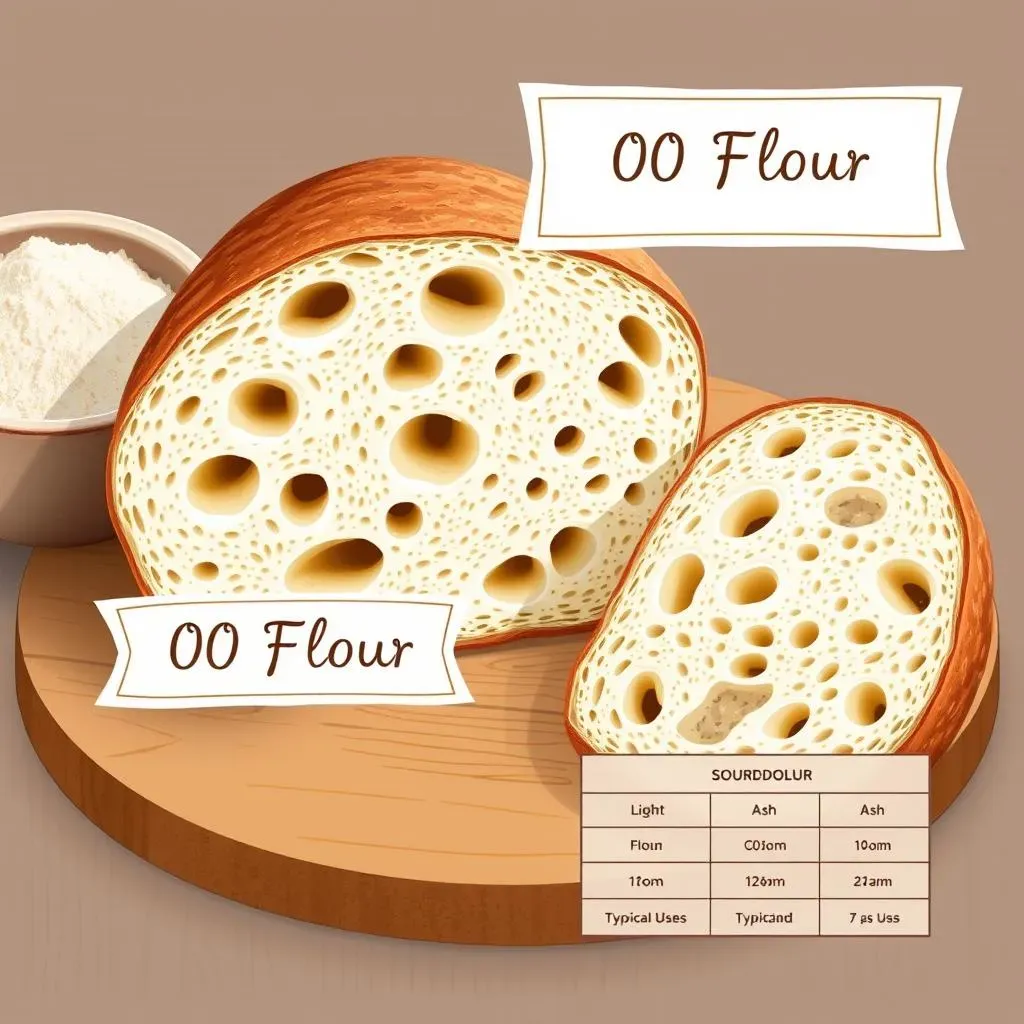
00 flour, or "doppio zero," is a finely ground Italian flour with a low ash content. This means it's been highly refined, resulting in a very smooth texture. Unlike many other flours, its classification isn't directly tied to protein content, which can be confusing! It's often made from soft wheat (grano tenero), but can also incorporate hard wheat (grano duro) blends, leading to varying protein levels. This is something to keep in mind when you're choosing your flour. The lower ash content contributes to a softer, more delicate crumb in your sourdough, compared to a bread flour with higher ash. For a deeper dive into flour types, check out our .
Many bakers love 00 flour for its ability to create a beautiful, open crumb structure in sourdough. The fine grind contributes to a smoother dough that's easier to work with. However, because of the lower protein content in some 00 flours, you might need to adjust hydration levels in your recipe. A simple slurry test can help you determine the right amount of water to use, ensuring a perfect consistency. You can find more information about this type of test by looking at .
Flour Type | Ash Content | Typical Use |
|---|---|---|
00 Flour | Low | Pasta, pizza, delicate breads |
Bread Flour | Medium-High | Loaves, rolls |
Why Use 00 Flour for Sourdough?
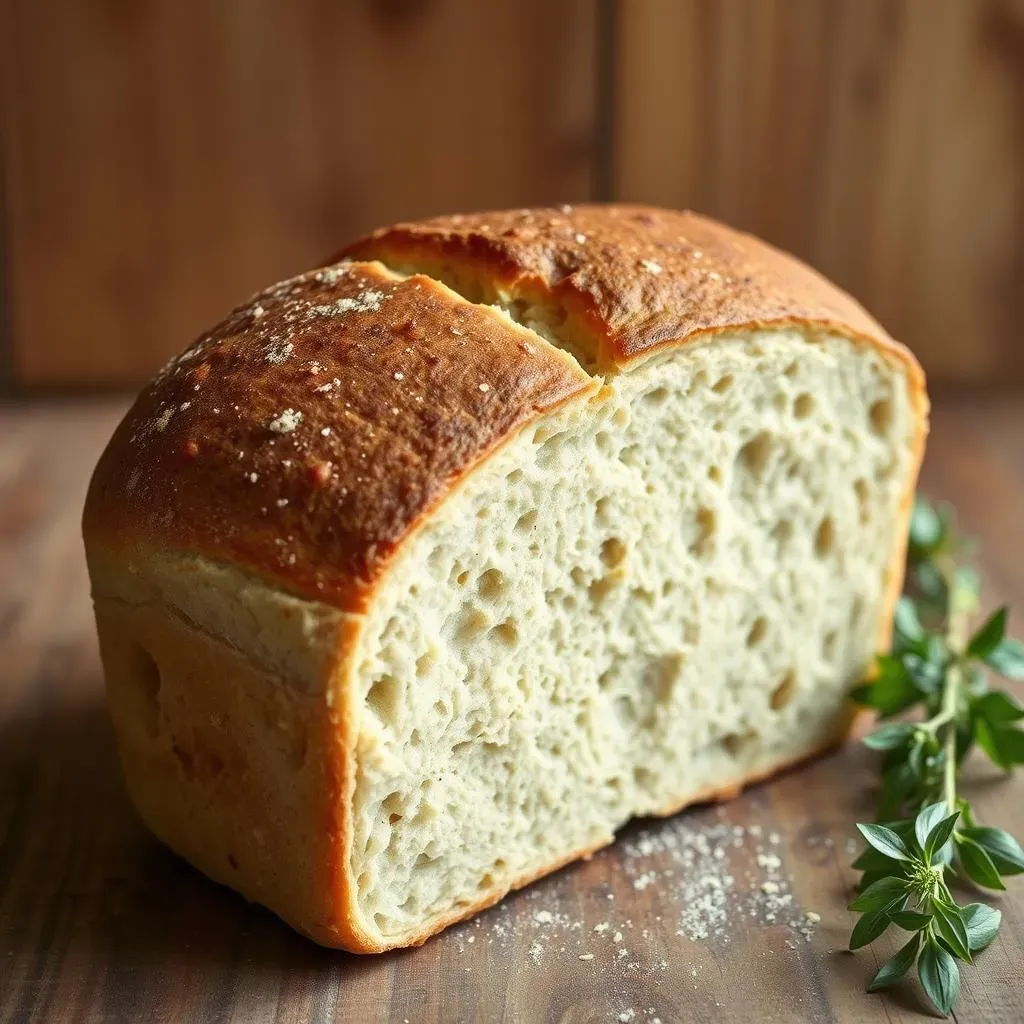
Using 00 flour in your sourdough can result in a lighter, airier crumb than you might get with other flours. The finer grind creates a smoother texture, making the dough easier to handle, especially for those new to sourdough baking. It's also a great option if you want a bread with a slightly softer texture. Many recipes, especially those for pizza dough, call for 00 flour because it develops a nice elasticity and tenderness. If you're intrigued by the possibilities of quick sourdough recipes, you might want to check out our .
However, remember that the lower protein content might require you to adjust your hydration. Too much water, and your dough will be too wet; too little, and it'll be too dry. This is where understanding your specific 00 flour becomes crucial. Read the label to see the protein percentage – higher protein means you might need less water. Alternatively, a simple hydration test (mixing a small amount of flour and water to see how the dough behaves) is a great way to get it right. This is also important when you are trying to use 00 flour for your French toast. Check out for more information.
- Creates a lighter, airier crumb
- Smoother dough texture
- Suitable for delicate breads and pizza
- May require hydration adjustments
A StepbyStep 00 Flour Sourdough Bread Recipe
A StepbyStep 00 Flour Sourdough Bread Recipe
Preparing the Levain (Sourdough Starter Build)
First, we'll create a levain, which is a pre-ferment that gives your sourdough its characteristic tang and flavor. In a medium bowl, combine 50g of your active sourdough starter, 50g of 00 flour, and 50g of lukewarm water. Mix thoroughly until a smooth paste forms. Cover the bowl and let it rest at room temperature for 4-6 hours, or until doubled in size and bubbly. This process activates the yeast in your starter and sets the stage for a flavorful loaf. For more tips on managing your sourdough starter, check out our guide on .
This step is crucial for developing the flavor profile of your bread. The levain provides a robust foundation of wild yeasts and beneficial bacteria. Don't rush this process; the wait is worth it! The longer you let your levain rise, the more complex and delicious your bread will become. If you are interested in experimenting with different sourdough recipes, consider checking out our for a simpler approach.
- Combine 50g active starter, 50g 00 flour, 50g water
- Mix well until smooth
- Let rise 4-6 hours, or until doubled
Mixing and Kneading the Dough
Once your levain is ready, it's time to mix the main dough. In a large bowl, combine the levain with 500g of 00 flour, 350g of lukewarm water, and 10g of salt. Mix gently, gradually incorporating all the ingredients. Once everything is combined, start kneading the dough. You can do this by hand on a lightly floured surface, or in a stand mixer with a dough hook. Knead for 8-10 minutes until the dough becomes smooth, elastic, and slightly sticky. The kneading process develops the gluten network, which is responsible for the structure and texture of your bread. For more advanced kneading techniques, see our article on .
Don't be afraid to get your hands dirty! Kneading is an essential part of the process, and it's a great way to connect with your baking. A well-kneaded dough will yield a loaf with a beautiful open crumb and a satisfying chew. If you're short on time and looking for a quicker sourdough option, check out our for a faster result.
Ingredient | Quantity |
|---|---|
Levain | 150g (from previous step) |
00 Flour | 500g |
Water | 350g |
Salt | 10g |
Bulk Fermentation, Shaping, and Baking
After kneading, place the dough in a lightly oiled bowl, cover, and let it bulk ferment at room temperature for 4-6 hours, or until it's almost doubled in size. During this time, perform a few gentle stretch and folds every 30-45 minutes to develop the gluten structure and improve the bread's texture. Once bulk fermentation is complete, gently shape the dough into a round or oval loaf. Place it in a well-floured banneton basket (or a bowl lined with a floured cloth) and let it cold proof in the refrigerator overnight (8-12 hours). This slow fermentation in the fridge develops flavor and helps create a beautiful crumb. For more info on cold proofing, read our post on .
The next morning, preheat your oven to 450°F (232°C) with a Dutch oven inside. Carefully remove the dough from the banneton, score it with a sharp knife or lame, and place it in the hot Dutch oven. Cover and bake for 20 minutes, then remove the lid and bake for another 25-30 minutes, or until the crust is deeply golden brown and the internal temperature reaches 200-210°F (93-99°C). Let the bread cool completely on a wire rack before slicing and enjoying. If you're interested in exploring different scoring techniques, check out our article on .
- Bulk fermentation: 4-6 hours at room temperature, with stretch and folds
- Shaping: Form into a round or oval loaf
- Cold proof: 8-12 hours in the refrigerator
- Baking: 20 minutes covered, 25-30 minutes uncovered in a preheated Dutch oven
Troubleshooting and Tips for Perfect 00 Flour Sourdough Bread
Troubleshooting and Tips for Perfect 00 Flour Sourdough Bread
Dealing with a Soggy Dough
If your dough feels excessively wet and sticky, even after adjusting hydration, don't panic! It's a common issue, especially with 00 flour. The key is to gently add a little more 00 flour, a tablespoon at a time, until the dough becomes more manageable. Don't overdo it, though – you still want it to be slightly sticky. Over-correcting can lead to a dry, dense loaf. For more detailed instructions on achieving the perfect dough consistency, check out our guide on .
Another solution is to extend the bulk fermentation time slightly. This allows the flour to fully hydrate and the gluten to develop, resulting in a firmer dough. Observe your dough; if it remains excessively wet after a longer bulk fermentation, then adding a little more flour is the better option. Remember, patience is key in sourdough baking! If you're looking for a quicker sourdough option, try our .
- Add flour gradually, a tablespoon at a time
- Extend bulk fermentation time
- Observe dough consistency carefully
Addressing a Tight or Uncooperative Dough
On the other hand, if your dough feels too tight and difficult to work with, it's likely that you haven't added enough water. This can happen if your 00 flour has a higher protein content than anticipated. Again, patience is your friend here. Try adding a little more water, a teaspoon at a time, and kneading it in thoroughly. The goal is to achieve a dough that's smooth, elastic, and slightly tacky but not overly wet. Remember, the ideal dough should pass the windowpane test (stretching a small piece of dough until you can almost see light through it). Check our guide on for more details.
Sometimes, the environment also plays a role. A cooler room temperature can slow down fermentation and make the dough feel stiffer. If this is the case, try moving your dough to a warmer spot. You can also perform a few extra stretch and folds during bulk fermentation to help relax the gluten and improve the dough's extensibility. For a recipe that's known for its forgiving nature, take a look at our .
Problem | Solution |
|---|---|
Tight Dough | Add water gradually, knead thoroughly |
Cooler Room Temp | Move to warmer location |
Achieving the Perfect Oven Spring
Oven spring, that beautiful rise your bread gets in the oven, can be tricky with 00 flour. A good oven spring relies on a well-developed gluten structure and sufficient gas production during baking. Ensure your levain is properly active before starting, and make sure your dough has had enough time for both bulk and cold fermentation. Proper scoring of the dough also helps with oven spring. A sharp lame or knife creates controlled openings for the bread to expand. Our article on can help you master this technique.
Preheat your oven thoroughly, and use a Dutch oven or baking stone to create a hot, humid environment that supports oven spring. If your oven spring is still lacking, try adjusting your baking time and temperature slightly. Experimentation is key! And remember, every oven is different, so don't be afraid to tweak the recipe to suit your own equipment. For a recipe that's known for its reliable oven spring, check out our guide.
- Active levain
- Sufficient fermentation time
- Proper scoring
- Hot oven, Dutch oven or baking stone